
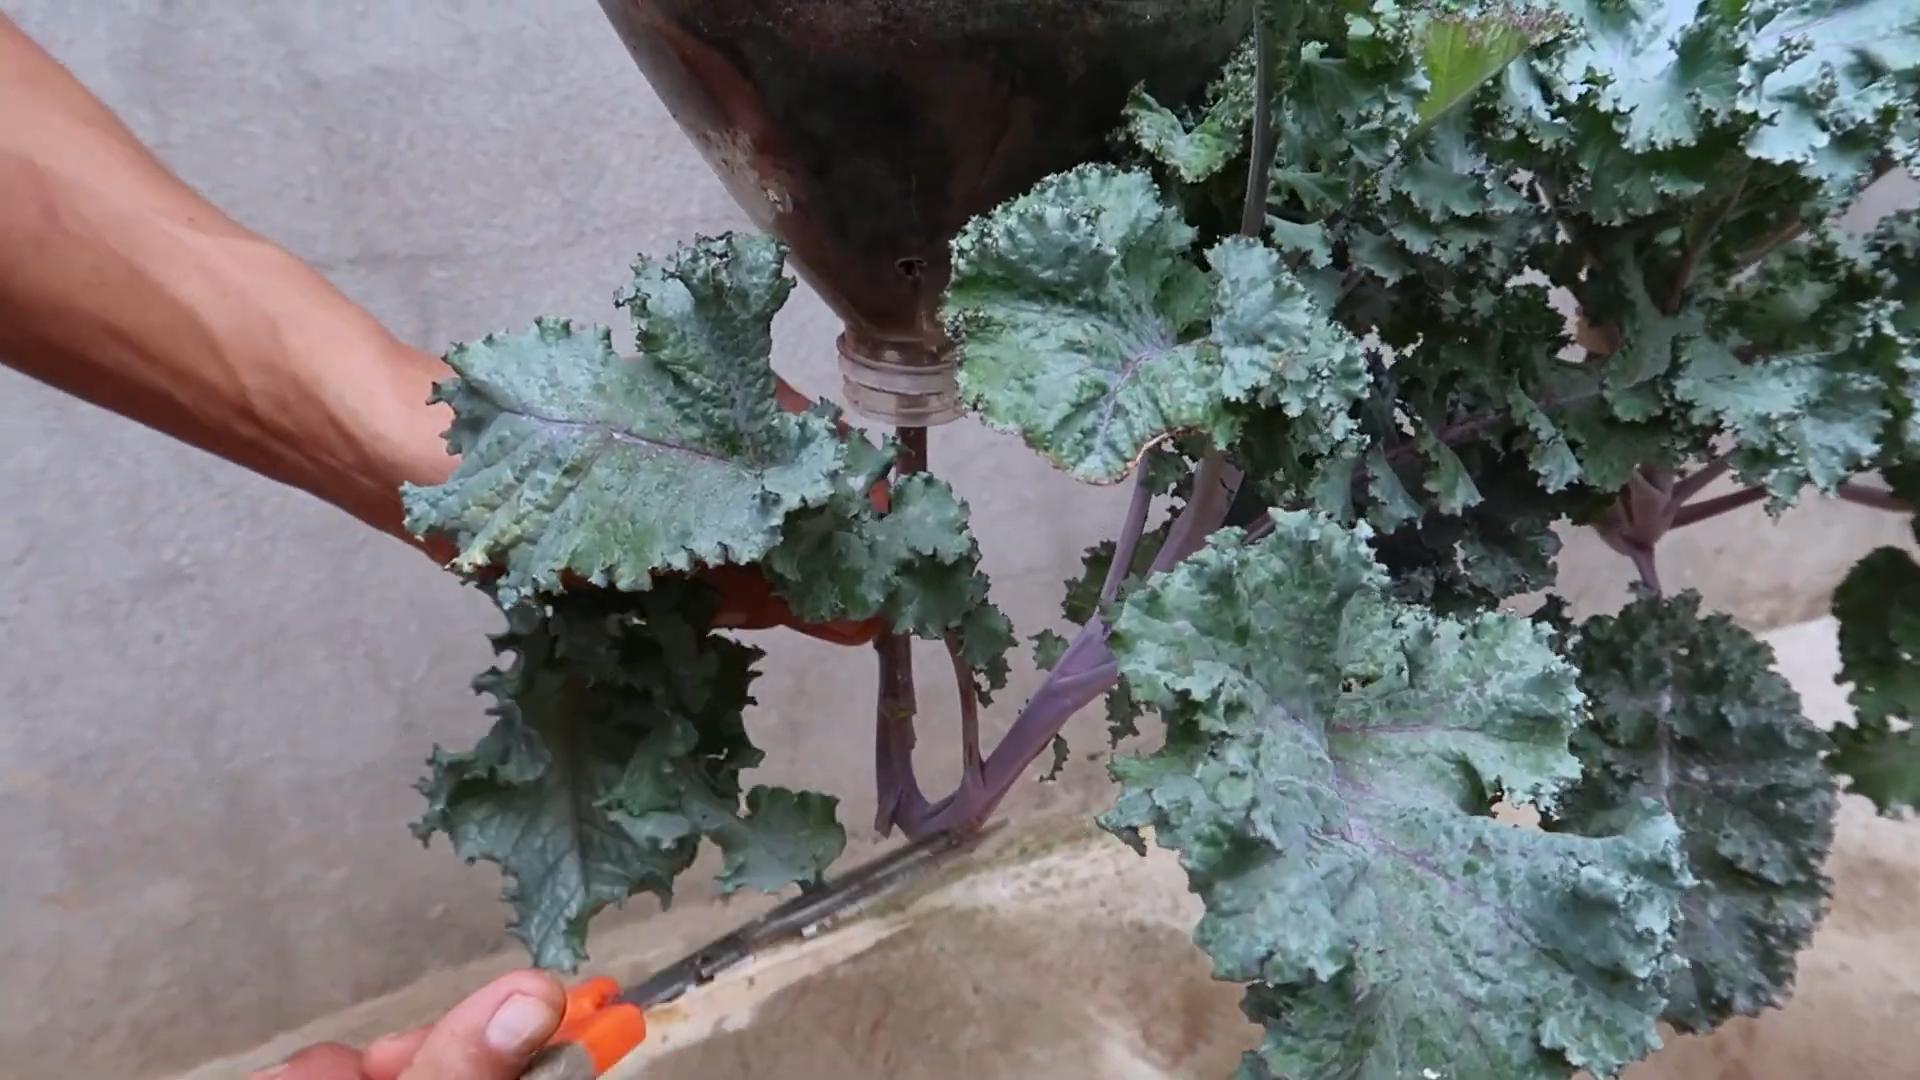
Waterless Mint Growing: Imagine fresh, fragrant mint thriving in your home, not just surviving, but flourishing, all without the constant worry of watering! Sounds too good to be true? Well, get ready to ditch the watering can because I’m about to share some incredible DIY tricks that will revolutionize your mint-growing game.
Mint, with its vibrant history stretching back to ancient Egypt and Rome, has always been prized for its medicinal and culinary uses. From flavoring teas and desserts to adding a refreshing zing to savory dishes, mint is a versatile herb that deserves a place in every home. But let’s be honest, keeping mint happy can sometimes feel like a chore, especially if you’re prone to forgetting to water your plants (guilty!).
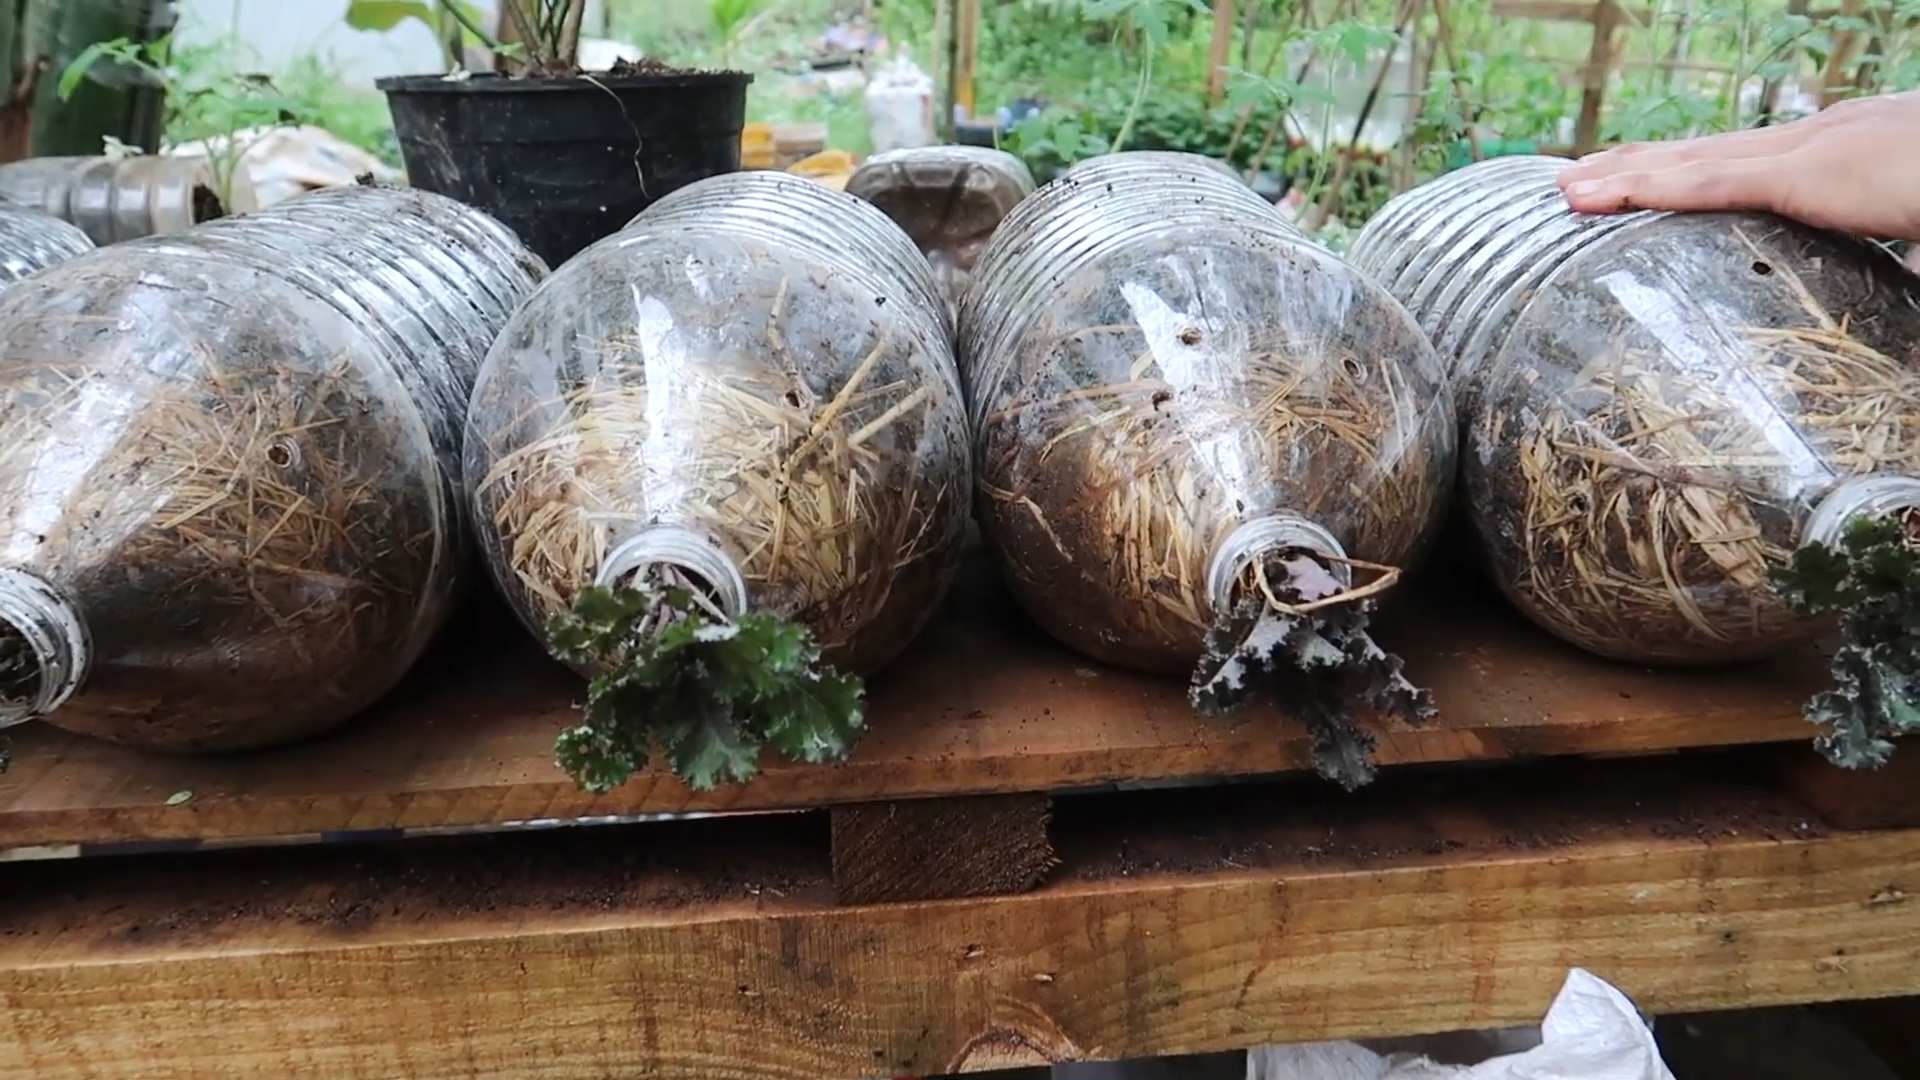
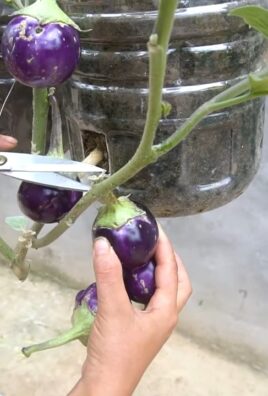
That’s where these waterless mint growing hacks come in. In today’s busy world, who has time to constantly monitor their plants’ moisture levels? These DIY methods are perfect for busy bees, forgetful gardeners, or anyone simply looking for a more sustainable and low-maintenance way to enjoy fresh mint. I’m going to show you how to create a self-sufficient environment where your mint can thrive with minimal intervention. Get ready to unlock the secrets to effortless, waterless mint growing and enjoy a constant supply of this delightful herb right at your fingertips!
Growing Mint Without Soil: A Fun DIY Hydroponic Project
Hey there, fellow plant enthusiasts! Ever wanted to grow fresh mint indoors without the mess of soil? Well, you’ve come to the right place! I’m going to walk you through a super cool DIY project: growing mint hydroponically. It’s easier than you think, and the results are incredibly rewarding – fresh mint for your mojitos, teas, and culinary creations, all year round!
What is Hydroponics?
Before we dive in, let’s quickly touch on what hydroponics actually is. Simply put, it’s growing plants without soil, using water and nutrient solutions to provide everything the plant needs. This method can be incredibly efficient and allows you to control the growing environment, leading to faster growth and healthier plants.
Why Grow Mint Hydroponically?
* Cleanliness: No soil means no mess! This is perfect for indoor gardening.
* Faster Growth: Plants receive nutrients directly, leading to quicker growth.
* Less Water Waste: Hydroponic systems can recycle water, making them more efficient.
* Pest Control: Soil-borne pests are less of a problem.
* Year-Round Harvest: Grow mint regardless of the season.
Materials You’ll Need
Alright, let’s gather our supplies. Here’s what you’ll need to get started:
* Mint Cuttings: You can get these from a friend’s garden, a local nursery, or even a grocery store (look for mint with roots).
* Net Pots: These are small, plastic pots with holes that allow the roots to access the nutrient solution. I usually go for 2-inch net pots.
* Hydroponic Growing Medium: I recommend using Rockwool cubes, coco coir, or clay pebbles (LECA). They provide support for the plant and retain moisture.
* Nutrient Solution: Specifically formulated for hydroponics. You can find these at most garden centers or online. Make sure it’s suitable for leafy greens.
* A Container: This will hold the nutrient solution and the net pots. A dark-colored plastic tub or bucket works well. Opaque containers prevent algae growth.
* Air Pump and Air Stone: These provide oxygen to the roots, which is crucial for healthy growth.
* pH Meter or pH Test Kit: To monitor and adjust the pH of the nutrient solution. Mint thrives in a slightly acidic environment (around 6.0-6.5).
* Grow Lights (Optional): If you don’t have a sunny spot, grow lights will ensure your mint gets enough light.
* Measuring Cups and Spoons: For accurately mixing the nutrient solution.
* Scissors or a Sharp Knife: For taking mint cuttings.
* Water: Filtered or tap water that has been left out for 24 hours to dechlorinate.
Taking Mint Cuttings (If Needed)
If you don’t already have mint cuttings, here’s how to take them:
1. Choose Healthy Stems: Select healthy, vigorous stems from a mature mint plant. Look for stems that are at least 4-6 inches long.
2. Make the Cut: Using clean scissors or a sharp knife, cut the stem just below a node (the point where leaves grow).
3. Remove Lower Leaves: Remove the leaves from the bottom 2 inches of the stem. This will encourage root growth.
4. Rooting in Water (Optional): You can place the cuttings in a glass of water for a few days until roots develop. This isn’t strictly necessary for hydroponics, but it can give your cuttings a head start. Change the water every day or two.
Setting Up Your Hydroponic System
Now for the fun part! Let’s put everything together.
1. Prepare the Container: Clean your container thoroughly with soap and water. Rinse well to remove any soap residue.
2. Drill Holes (If Necessary): If your container doesn’t have pre-made holes, you’ll need to drill holes in the lid (or a piece of foam board that fits snugly inside the container) to accommodate the net pots. The holes should be slightly smaller than the diameter of the net pots so they sit securely.
3. Prepare the Growing Medium:
* Rockwool: Soak the Rockwool cubes in water for several hours before use. This helps to saturate them and remove any excess alkalinity.
* Coco Coir: Rinse the coco coir thoroughly to remove any excess salts.
* Clay Pebbles (LECA): Rinse the clay pebbles to remove any dust or debris.
4. Place Growing Medium in Net Pots: Fill the net pots with your chosen growing medium. Leave a little space at the top.
5. Insert Mint Cuttings: Gently insert the mint cuttings into the growing medium in the net pots. Make sure the stems are supported and the leaves are above the growing medium.
6. Prepare the Nutrient Solution: Follow the instructions on the nutrient solution package to mix the correct concentration. Use measuring cups and spoons to ensure accuracy.
7. Fill the Container: Pour the nutrient solution into the container. The level of the solution should be high enough to reach the bottom of the net pots, but not so high that it submerges the stems or leaves.
8. Add Air Stone and Air Pump: Place the air stone in the bottom of the container and connect it to the air pump with tubing. Turn on the air pump to provide oxygen to the roots.
9. Check and Adjust pH: Use your pH meter or test kit to check the pH of the nutrient solution. Adjust the pH as needed to maintain a level between 6.0 and 6.5. You can use pH up or pH down solutions, available at garden centers.
Caring for Your Hydroponic Mint
Now that your system is set up, here’s how to keep your mint happy and healthy:
1. Light: Mint needs plenty of light to thrive. If you’re growing indoors, place your system near a sunny window or use grow lights. Aim for at least 6-8 hours of light per day.
2. Nutrient Solution: Monitor the nutrient solution level and replenish it as needed. Change the entire solution every 1-2 weeks to prevent nutrient imbalances.
3. pH: Regularly check and adjust the pH of the nutrient solution to maintain a level between 6.0 and 6.5.
4. Air Circulation: Good air circulation helps prevent fungal diseases. You can use a small fan to circulate the air around your plants.
5. Pruning: Prune your mint regularly to encourage bushier growth. Simply pinch off the top leaves of the stems. You can use these leaves for cooking or tea!
6. Pest Control: While hydroponics reduces the risk of soil-borne pests, you may still encounter aphids or other insects. Inspect your plants regularly and treat any infestations promptly with insecticidal soap or neem oil.
Troubleshooting
Even with the best care, you might encounter some problems. Here are a few common issues and how to address them:
* Yellowing Leaves: This could be a sign of nutrient deficiency. Make sure you’re using the correct nutrient solution and that the pH is within the optimal range.
* Slow Growth: This could be due to insufficient light, low nutrient levels, or poor air circulation. Make sure your plants are getting enough light, that you’re changing the nutrient solution regularly, and that the air is circulating well.
* Root Rot: This is caused by a lack of oxygen in the nutrient solution. Make sure your air pump and air stone are working properly. You can also add hydrogen peroxide to the nutrient solution to help kill harmful bacteria.
* Algae Growth: Algae can grow in the nutrient solution if it’s exposed to light. Use an opaque container to prevent algae growth. You can also add hydrogen peroxide to the nutrient solution to kill algae.
Harvesting Your Mint
The best part! You can start harvesting your mint as soon as it’s big enough to use. Simply snip off the leaves or stems as needed. Regular harvesting will encourage bushier growth and keep your mint producing fresh leaves for months to come.
Enjoy Your Fresh Mint!
And there you have it! You’ve successfully grown mint hydroponically. Now you can enjoy fresh, flavorful mint in your favorite recipes, teas, and cocktails. This is a fun and rewarding project that anyone can do, so give it a try and see for yourself! Happy growing!
Conclusion
So, there you have it! Growing mint without soil might sound like something out of a science fiction novel, but it’s surprisingly simple, incredibly rewarding, and a fantastic way to enjoy fresh, vibrant mint year-round. This waterless mint growing method is a game-changer for anyone who loves the refreshing taste of mint but struggles with traditional gardening or lacks the space for a sprawling mint patch.
Why is this a must-try? Think about it: no more battling invasive roots taking over your garden, no more worrying about overwatering or underwatering, and no more messy soil to deal with. It’s clean, efficient, and perfect for urban dwellers, apartment residents, or anyone who wants a low-maintenance way to cultivate their own herbs. Plus, it’s a fantastic conversation starter! Imagine the look on your friends’ faces when you tell them you’re growing mint in just water and a jar.
But the best part? The possibilities are endless! While we’ve focused on a simple water-based setup, you can easily adapt this method to suit your own preferences and resources. Consider experimenting with different types of containers – mason jars, repurposed glass bottles, or even decorative vases can all work beautifully. You can also explore adding a diluted liquid fertilizer to the water every few weeks to give your mint an extra boost, especially if you notice the leaves starting to pale.
For a fun variation, try propagating different varieties of mint using this method. Chocolate mint, spearmint, peppermint – the choice is yours! Each variety will bring its unique flavor and aroma to your kitchen, allowing you to create a diverse and flavorful herb garden without taking up a lot of space. You can even combine different mint varieties in the same container for a visually appealing and aromatic display.
Don’t be afraid to get creative with your setup. Add some decorative pebbles or marbles to the bottom of the container for added visual appeal. You can also use colored glass or add a few drops of food coloring to the water to create a unique and eye-catching display. Just be sure to use food-safe materials and avoid anything that could leach harmful chemicals into the water.
Ultimately, the success of your waterless mint growing endeavor depends on your willingness to experiment and adapt. Pay close attention to your mint’s needs, adjust your watering schedule as needed, and don’t be afraid to try new things. With a little patience and care, you’ll be rewarded with a bountiful supply of fresh, flavorful mint that you can use in everything from teas and cocktails to salads and desserts.
So, what are you waiting for? Gather your supplies, find a sunny spot, and give this waterless mint growing trick a try. We’re confident that you’ll be amazed at how easy and rewarding it is. And once you’ve experienced the joy of growing your own mint without soil, we encourage you to share your experiences with us! Post photos of your setup, share your tips and tricks, and let us know what you’ve learned along the way. Together, we can spread the word about this fantastic method and help more people discover the joys of growing their own herbs. Happy growing!
Frequently Asked Questions (FAQ)
1. What exactly is waterless mint growing, and how does it work?
Waterless mint growing, in this context, refers to growing mint in water without soil as the primary growing medium. Instead of planting mint cuttings or sprigs in soil, you place them in a container filled with water, allowing them to develop roots and continue growing. The mint absorbs nutrients from the water (and potentially a diluted fertilizer) and utilizes sunlight for photosynthesis. This method is particularly effective for mint because it readily roots in water.
2. What kind of mint varieties are best suited for waterless growing?
Most mint varieties thrive in water. Spearmint, peppermint, chocolate mint, and even more exotic varieties like apple mint or orange mint can be successfully grown using this method. The key is to start with healthy cuttings or sprigs from a mature plant. Experiment with different varieties to see which ones perform best in your specific environment.
3. What kind of container should I use for waterless mint growing?
The best containers are clear glass jars or vases. Clear containers allow you to monitor the water level and root growth. Mason jars are a popular and readily available option. Repurposed glass bottles can also work well. Ensure the container is clean and free of any residue. The size of the container will depend on the size of your mint cuttings, but a jar that holds at least a cup of water is generally sufficient.
4. How often should I change the water in my waterless mint setup?
It’s generally recommended to change the water every 1-2 days. This helps prevent the buildup of algae and bacteria, which can harm the mint. Use fresh, clean water each time. If you notice the water becoming cloudy or discolored more quickly, you may need to change it more frequently.
5. Does waterless mint need fertilizer?
While mint can grow in just water, adding a diluted liquid fertilizer can provide essential nutrients and promote healthier growth. Use a balanced liquid fertilizer specifically formulated for herbs, and dilute it to half the recommended strength. Add the fertilizer to the water every 2-4 weeks, depending on the growth rate of your mint. If you notice any signs of nutrient deficiency, such as yellowing leaves, you may need to fertilize more frequently.
6. How much sunlight does waterless mint need?
Mint thrives in bright, indirect sunlight. Place your waterless mint setup in a location that receives at least 4-6 hours of sunlight per day. Avoid direct sunlight, especially during the hottest part of the day, as this can scorch the leaves. If you don’t have access to enough natural light, you can supplement with a grow light.
7. How do I take cuttings from a mint plant for waterless propagation?
To take cuttings, select healthy stems from a mature mint plant. Use clean, sharp scissors or pruning shears to cut the stems just below a leaf node (the point where leaves grow from the stem). Remove the leaves from the bottom inch or two of the stem to prevent them from rotting in the water. Place the cuttings in a glass of water, ensuring that the cut ends are submerged.
8. How long does it take for mint cuttings to root in water?
Mint cuttings typically start to root in water within 1-2 weeks. You’ll notice small white roots emerging from the cut ends of the stems. Once the roots are about an inch long, you can either continue growing the mint in water or transplant it to a pot filled with soil.
9. Can I transplant my waterless mint to soil later?
Yes, you can definitely transplant your waterless mint to soil once it has developed a good root system. Choose a pot that is slightly larger than the root ball, and fill it with well-draining potting mix. Gently remove the mint from the water, being careful not to damage the roots. Plant the mint in the pot, and water thoroughly. Keep the soil moist but not soggy, and provide bright, indirect sunlight.
10. What are some common problems I might encounter with waterless mint growing, and how can I fix them?
Some common problems include algae growth in the water, yellowing leaves, and stunted growth. Algae growth can be prevented by changing the water frequently and keeping the container clean. Yellowing leaves can indicate a nutrient deficiency, which can be addressed by adding a diluted liquid fertilizer. Stunted growth can be caused by insufficient sunlight or poor water quality. Ensure your mint is receiving enough light and that you are using fresh, clean water. If you notice any signs of pests or diseases, treat them promptly with an appropriate organic solution.

Leave a Comment