
Vinegar and Vaseline DIY hack – sounds a little crazy, right? I know, I know, it might seem like I’m pulling ingredients straight from your pantry and medicine cabinet for some bizarre science experiment. But trust me, this unexpected combination is about to become your new secret weapon for tackling some common gardening woes! For generations, gardeners have relied on ingenuity and resourcefulness, passing down tips and tricks to make the most of what they have. Think of this as a modern twist on those time-tested traditions.
Why do you need this in your gardening arsenal? Well, let’s face it, gardening can be tough. Pesky insects, stubborn stains, and dry, cracked hands are just a few of the challenges we face. This simple Vinegar and Vaseline DIY hack offers a surprisingly effective and affordable solution to these problems. I’m going to show you how to use this dynamic duo to protect your plants, clean your tools, and even soothe your skin after a long day in the garden. Get ready to unlock the power of this unlikely pairing and take your gardening game to the next level!
DIY Volcano Science Experiment: A Classic Eruption!
Hey everyone! Get ready to unleash your inner scientist because today we’re building a classic: the baking soda and vinegar volcano! This is a super fun, educational project that’s perfect for kids (and adults who are kids at heart!). I’ll walk you through every step, so you can create your own erupting masterpiece.
What You’ll Need: The Volcano Supply List
Before we dive in, let’s gather our supplies. Don’t worry, most of these are probably already in your kitchen!
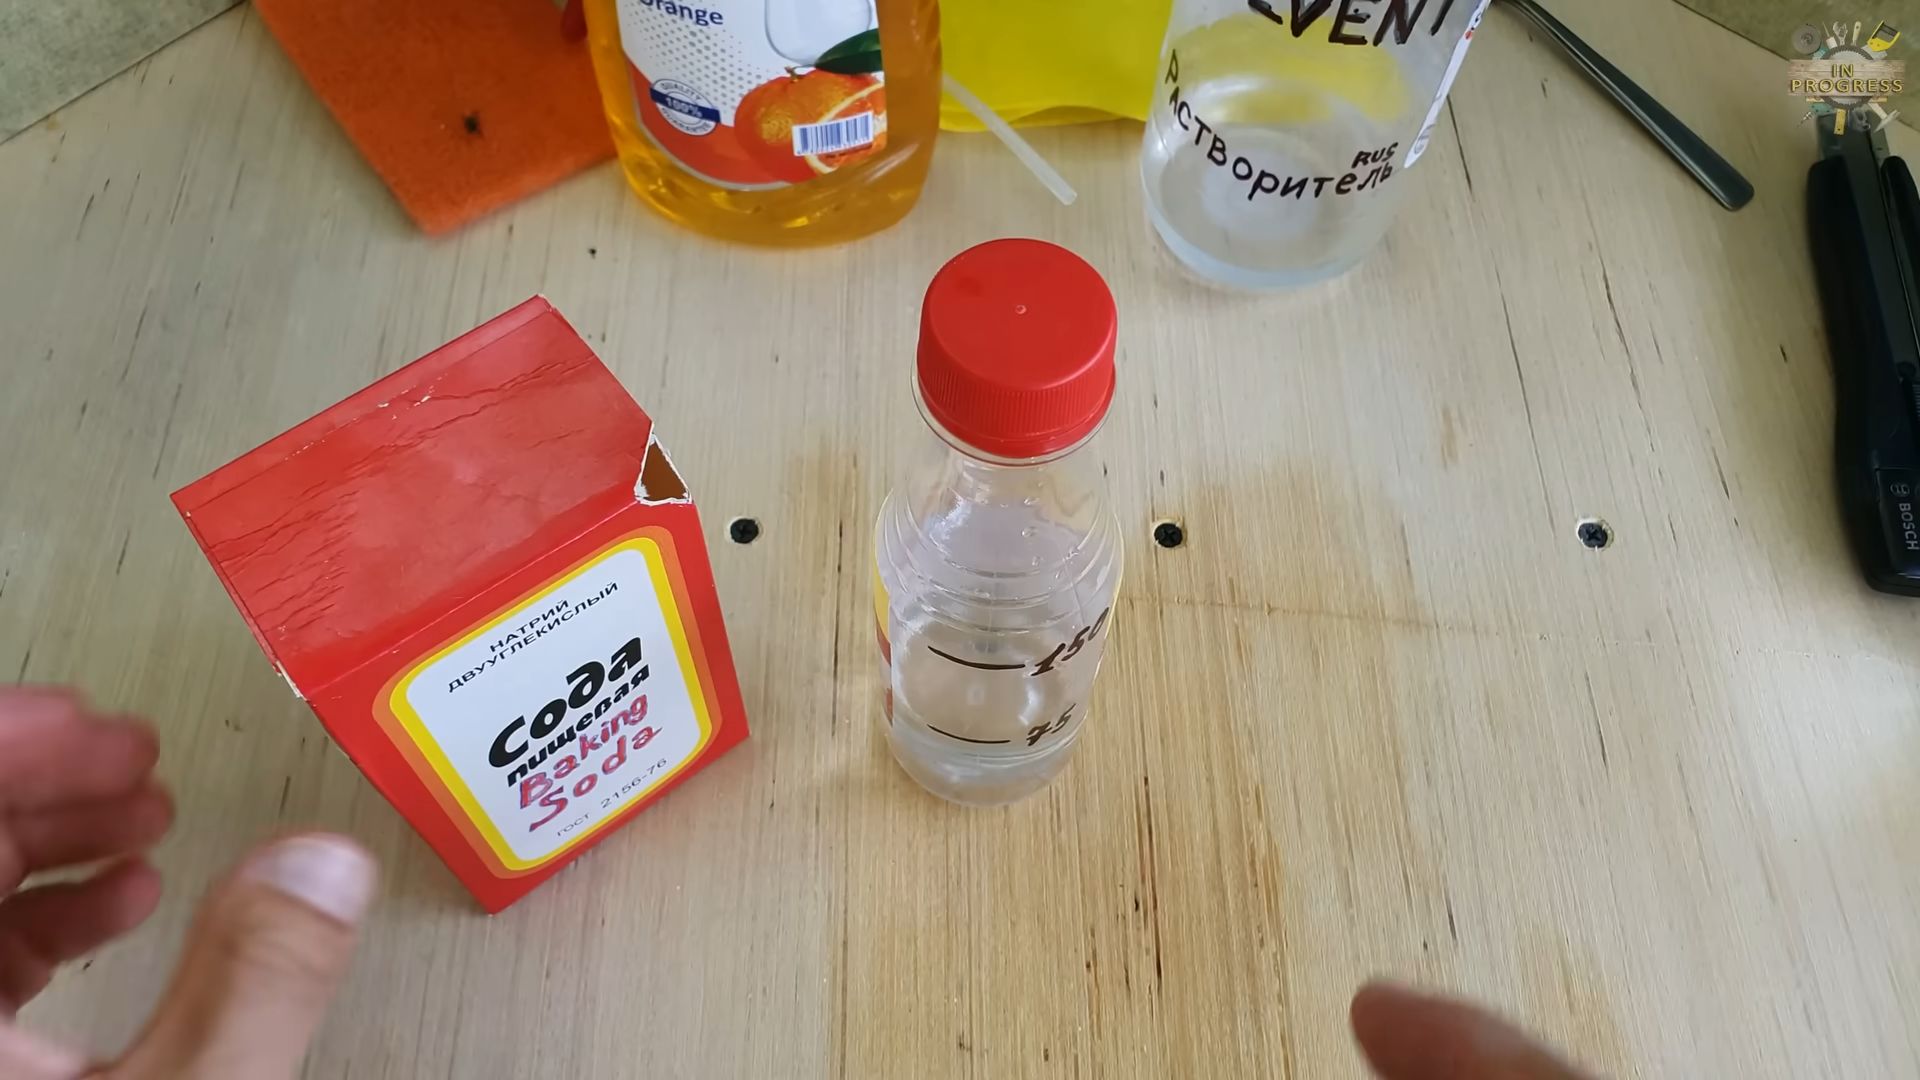
* A plastic bottle (a soda bottle or water bottle works great)
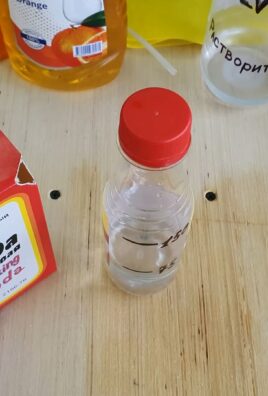
* Baking soda (about 2-3 tablespoons)
* Vinegar (about 1/2 cup)
* Dish soap (a squirt or two)
* Food coloring (red, orange, and yellow are perfect for lava!)
* Modeling clay or playdough (for building the volcano structure)
* A small cup or container (to pre-mix the baking soda)
* A spoon or stirring stick
* Newspaper or a tray (to contain the mess!)
* Optional: Sand, small rocks, twigs, or paint (for decorating your volcano)
Building Your Volcano: The Foundation for Eruption
This is where the fun really begins! We’re going to sculpt our volcano around the plastic bottle.
1. Prepare Your Workspace: First things first, lay down some newspaper or put down a tray. Trust me, this experiment can get a little messy, and you’ll thank me later!
2. Position the Bottle: Place your plastic bottle in the center of your prepared workspace. This will be the “cone” of your volcano.
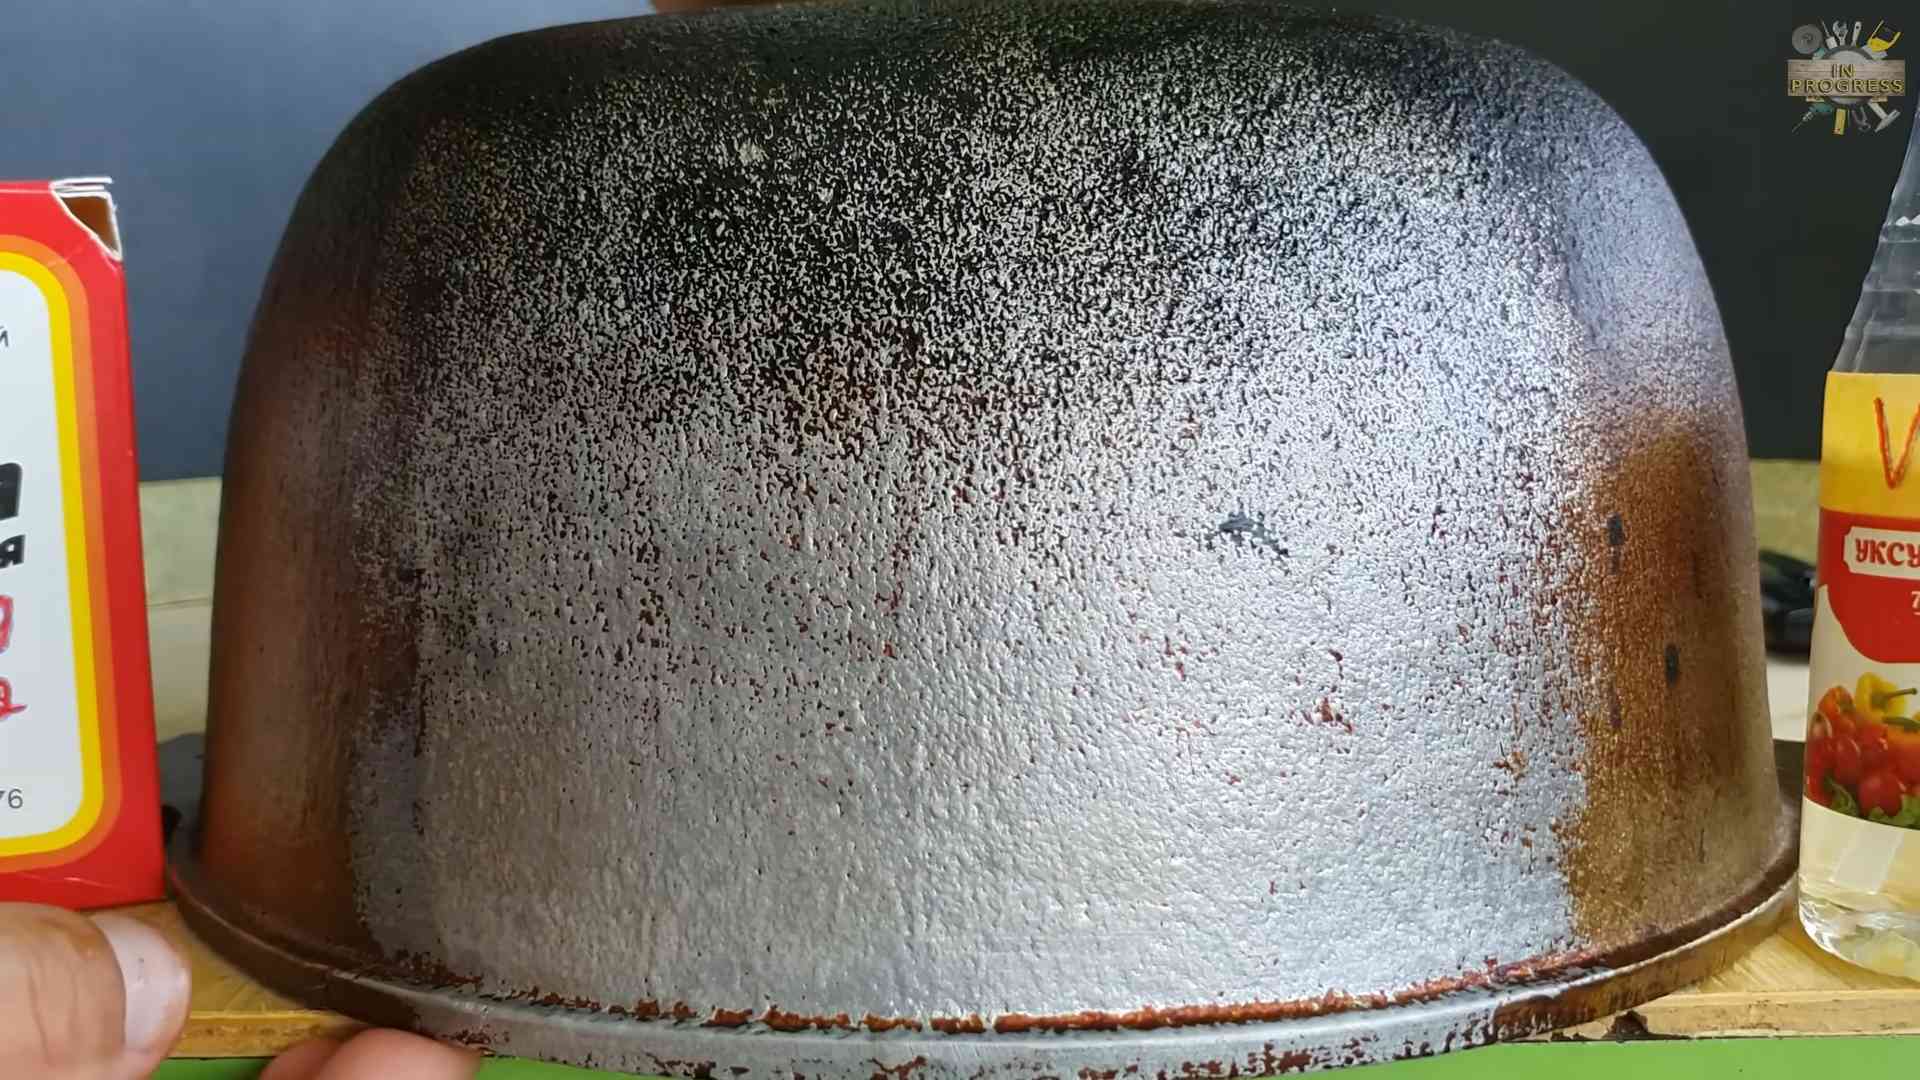
3. Mold the Clay: Now, grab your modeling clay or playdough. Start molding it around the base of the bottle, gradually building upwards to create the shape of a volcano. You can make it as tall or as wide as you like! I like to make mine look a bit rugged and uneven for a more realistic effect.
4. Shape the Cone: Make sure the clay slopes smoothly up to the opening of the bottle. You want to create a good seal around the bottle so the eruption comes out the top and not from the sides.
5. Add Details (Optional): This is where you can get creative! You can press small rocks or twigs into the clay to add texture. You can also use paint to color your volcano. I sometimes use brown and green paint to make it look like a real mountain.
6. Let it Dry (If Painted): If you painted your volcano, let it dry completely before moving on to the next step. This will prevent the paint from mixing with the eruption mixture.
Preparing the Eruption Mixture: The Secret Sauce
Now for the exciting part: creating the eruption! This is where the magic happens.
1. Mix the Baking Soda: In your small cup or container, mix the baking soda with a little bit of water (just enough to make a paste). This will help it dissolve more easily and create a bigger eruption.
2. Add Dish Soap: Add a squirt or two of dish soap to the baking soda paste. The dish soap will create bubbles, making the eruption look more like foamy lava.
3. Add Food Coloring: Now, add a few drops of red, orange, and yellow food coloring to the baking soda mixture. This will give your lava that fiery, realistic look. Stir everything together until it’s well combined.
4. Pour into the Volcano: Carefully pour the baking soda mixture into the plastic bottle inside your volcano.
The Eruption! Witnessing the Volcanic Power
Get ready for the grand finale! This is the moment we’ve all been waiting for.
1. Prepare the Vinegar: Have your vinegar ready to go. You can use a measuring cup or just pour it directly from the bottle.
2. Pour the Vinegar: Now, slowly pour the vinegar into the plastic bottle containing the baking soda mixture.
3. Watch the Eruption! Stand back and watch as the volcano erupts! The vinegar will react with the baking soda, creating carbon dioxide gas. The gas will build up pressure inside the bottle, forcing the foamy, colorful mixture out of the top, creating a spectacular eruption.
4. Repeat (If Desired): If you want to see the eruption again, you can add more baking soda and vinegar. You might need to add a little more water and dish soap as well.
Troubleshooting Tips: Making Sure Your Volcano Roars
Sometimes, things don’t go exactly as planned. Here are a few tips to troubleshoot common problems:
* No Eruption: If your volcano doesn’t erupt, it could be because you didn’t use enough baking soda or vinegar. Try adding more of both. Also, make sure the baking soda is fresh. Old baking soda can lose its potency.
* Weak Eruption: If the eruption is weak, try adding more dish soap. The dish soap helps create more bubbles, which makes the eruption look bigger and more dramatic.
* Eruption Leaking from the Sides: If the eruption is leaking from the sides of the volcano, it means the clay isn’t sealed properly around the bottle. Try adding more clay to seal the gaps.
* Not Enough Color: If the lava isn’t colorful enough, add more food coloring.
The Science Behind the Eruption: Learning While Having Fun
This volcano experiment isn’t just fun; it’s also educational! Here’s a little science lesson to go along with it:
* Acid-Base Reaction: The eruption is caused by a chemical reaction between baking soda (a base) and vinegar (an acid). When they mix, they create carbon dioxide gas.
* Carbon Dioxide: Carbon dioxide is the same gas that we breathe out and that plants use for photosynthesis. It’s also what makes soda fizzy.
* Pressure: The carbon dioxide gas builds up pressure inside the bottle. When the pressure gets too high, it forces the mixture out of the top, creating the eruption.
* Dish Soap: The dish soap helps create bubbles, which makes the eruption look more like foamy lava.
Variations and Extensions: Taking Your Volcano to the Next Level
Want to take your volcano experiment to the next level? Here are a few ideas:
* Different Colors: Experiment with different food coloring combinations to create different colored lava. You could even try using glow-in-the-dark paint for a nighttime eruption!
* Different Liquids: Try using different acids instead of vinegar, such as lemon juice or citric acid. See if they create a different type of eruption.
* Larger Volcano: Build a larger volcano using a bigger bottle and more clay. This will create a bigger and more impressive eruption.
* Volcano Diorama: Create a volcano diorama by adding miniature trees, animals, and buildings around your volcano. This will make it look like a real volcanic landscape.
* Investigate Real Volcanoes: Use this experiment as a springboard to learn more about real volcanoes. Research different types of volcanoes, their locations, and the impact they have on the environment.
Safety First: Keeping Your Experiment Safe and Fun
While this experiment is generally safe, it’s important to take a few precautions:
* Adult Supervision: Always supervise children when they are conducting this experiment.
* Eye Protection: Wear safety glasses or goggles to protect your eyes from splashes.
* Avoid Ingestion: Do not eat or drink any of the materials used in this experiment.
* Clean Up: Clean up any spills immediately.
* Ventilation: Conduct the experiment in a well-ventilated area.
Decorating Your Volcano: Making it Look Authentic
While the eruption is the main event, decorating your volcano can add another layer of fun and realism to the project. Here are some ideas to make your volcano stand out:
* Paint: Use acrylic paints to create a realistic landscape on your volcano. Browns, greens, and grays are great for mimicking the colors of mountains and volcanic rock. You can also add streaks of red and orange near the top to simulate lava flows.
* Sand and Gravel: Glue sand and small gravel to the surface of the volcano to add texture and a more natural look. This is especially effective if you’re aiming for a rocky, barren landscape.
* Rocks and Pebbles: Arrange small rocks and pebbles around the base of the volcano to create a rocky terrain. You can even use larger rocks to create cliffs or outcroppings.
* Vegetation: Add small twigs, moss, or artificial plants to simulate vegetation growing on the slopes of the volcano. This can help to create a more realistic and vibrant scene.
* Lava Flows: Use hot glue or craft foam to create simulated lava flows running down the sides of the volcano. Paint them with red, orange, and yellow to make them look like molten rock.
* Snow Cap: If
Conclusion
So, there you have it! The vinegar and Vaseline DIY hack – a simple, cost-effective, and surprisingly powerful solution for a multitude of household and personal care needs. We’ve explored how this dynamic duo can tackle everything from stubborn stains and dull furniture to dry skin and cracked heels. But why is this DIY trick a must-try?
Firstly, it’s about accessibility. Both vinegar and Vaseline are readily available and incredibly affordable. You likely already have them in your pantry and bathroom cabinet, saving you a trip to the store and a dent in your wallet. Secondly, it’s about versatility. This isn’t a one-trick pony. As we’ve discussed, the combination of vinegar and Vaseline can be adapted to address a wide range of issues, making it a true multi-purpose solution. Thirdly, it’s about avoiding harsh chemicals. In a world increasingly concerned about the impact of chemicals on our health and the environment, this DIY hack offers a natural and gentle alternative to many commercial products.
But the real magic lies in the synergy between these two ingredients. The acidity of the vinegar helps to break down grime, dissolve mineral deposits, and exfoliate dead skin cells, while the Vaseline acts as a protective barrier, locking in moisture and preventing further damage. This combination creates a powerful yet gentle solution that is both effective and safe for most applications.
Looking for variations? Consider adding a few drops of essential oil to your vinegar and Vaseline mixture for a pleasant scent and added therapeutic benefits. Lavender oil can promote relaxation, tea tree oil can help fight bacteria, and lemon oil can provide a refreshing boost. For tougher stains, you can increase the concentration of vinegar in the mixture. For sensitive skin, you can dilute the vinegar with water before combining it with Vaseline. The possibilities are endless!
We truly believe that this vinegar and Vaseline DIY hack is a game-changer. It’s a simple, effective, and affordable way to tackle a variety of everyday problems. But don’t just take our word for it. We encourage you to try it for yourself and see the amazing results firsthand. Experiment with different variations, find what works best for you, and most importantly, share your experience with us! Let us know how you’re using this DIY trick and what amazing results you’ve achieved. Your feedback will not only help us improve this guide but also inspire others to discover the power of this simple yet effective solution. So go ahead, give it a try, and unlock the potential of this incredible DIY hack!
Frequently Asked Questions
Is the vinegar and Vaseline mixture safe for all skin types?
While the vinegar and Vaseline DIY hack is generally considered safe for most skin types, it’s always a good idea to perform a patch test before applying it to a larger area. Apply a small amount of the mixture to an inconspicuous area of your skin, such as your inner arm, and wait 24 hours to see if any irritation occurs. If you experience any redness, itching, or burning, discontinue use immediately. People with sensitive skin should dilute the vinegar with water before mixing it with Vaseline. If you have any underlying skin conditions, such as eczema or psoriasis, it’s best to consult with a dermatologist before trying this DIY hack.
What type of vinegar should I use?
White distilled vinegar is the most commonly recommended type of vinegar for DIY cleaning and beauty applications. It’s inexpensive, readily available, and has a consistent acidity level. However, you can also experiment with other types of vinegar, such as apple cider vinegar, which has a slightly milder acidity and may offer additional benefits for the skin. Just be sure to choose a vinegar that is free of any added ingredients or flavorings.
Can I use petroleum jelly instead of Vaseline?
Vaseline is a brand name for petroleum jelly, so yes, you can use any brand of petroleum jelly in this DIY hack. Petroleum jelly is a mixture of mineral oils and waxes that forms a protective barrier on the skin, locking in moisture and preventing dryness. It’s a versatile ingredient that can be used for a variety of purposes, from moisturizing dry skin to protecting minor cuts and scrapes.
How long will the vinegar and Vaseline mixture last?
The vinegar and Vaseline mixture doesn’t typically expire, but it’s best to store it in an airtight container in a cool, dark place to prevent it from drying out or becoming contaminated. If you notice any changes in the color, texture, or odor of the mixture, it’s best to discard it and make a fresh batch.
Can I use this mixture on my face?
While some people have reported positive results using the vinegar and Vaseline mixture on their face, it’s important to proceed with caution, especially if you have sensitive skin. The acidity of the vinegar can be irritating to the delicate skin on the face, so it’s best to dilute it with water before mixing it with Vaseline. Avoid using this mixture on areas around the eyes and mouth. If you experience any irritation, discontinue use immediately. It’s always a good idea to consult with a dermatologist before trying any new DIY beauty treatments on your face.
What are some other uses for the vinegar and Vaseline DIY hack?
Besides the uses mentioned in the article, the vinegar and Vaseline DIY hack can also be used to:
* Remove water stains from wood furniture.
* Shine stainless steel appliances.
* Loosen stuck zippers.
* Protect leather shoes from water damage.
* Remove sticky residue from labels and stickers.
* Condition dry cuticles.
* Soothe minor burns and sunburns.
* Remove makeup stains from clothing.
How often can I use this DIY trick?
The frequency of use depends on the specific application and your individual skin type. For cleaning purposes, you can use the mixture as needed. For skin care, it’s best to start with once or twice a week and gradually increase the frequency as tolerated. Pay attention to how your skin responds and adjust accordingly. If you experience any irritation, reduce the frequency of use or discontinue use altogether.
Can I add other ingredients to the mixture?
Yes, you can experiment with adding other ingredients to the vinegar and Vaseline mixture to customize it to your specific needs. Some popular additions include:
* Essential oils for fragrance and therapeutic benefits.
* Honey for its moisturizing and antibacterial properties.
* Sugar or salt for added exfoliation.
* Lemon juice for extra brightening power.
* Aloe vera gel for soothing and hydrating effects.
Just be sure to research the potential benefits and risks of any new ingredients before adding them to the mixture.
Is this DIY hack environmentally friendly?
Compared to many commercial cleaning and beauty products, the vinegar and Vaseline DIY hack is a more environmentally friendly option. Vinegar is a natural and biodegradable cleaning agent, and Vaseline is a petroleum-based product that is generally considered safe for the environment. However, it’s important to use these ingredients responsibly and avoid excessive use. You can also choose to purchase vinegar and Vaseline in bulk to reduce packaging waste.
Leave a Comment