
Swiss chard gardening easy tips are what you need to unlock a vibrant and productive garden, even if you think you have a “brown thumb”! Have you ever admired those lush, colorful leaves of Swiss chard at the farmer’s market and wished you could grow your own? Well, I’m here to tell you that you absolutely can! For centuries, Swiss chard has been a staple in Mediterranean cuisine, prized not only for its nutritional value but also for its resilience and beauty. From humble peasant gardens to the grand estates of Europe, this leafy green has nourished generations.
But let’s be honest, sometimes gardening can feel overwhelming. That’s where these Swiss chard gardening easy tips come in. I’m going to share some simple, DIY tricks and hacks that will take the guesswork out of growing this amazing vegetable. Whether you’re dealing with limited space, challenging soil, or just a lack of confidence, these tips will empower you to cultivate a thriving Swiss chard patch. Imagine harvesting fresh, vibrant leaves for salads, soups, and stir-fries, all grown with your own two hands. It’s not just about the food; it’s about connecting with nature, reducing your carbon footprint, and enjoying the satisfaction of growing your own food. So, let’s get started and transform your garden into a Swiss chard paradise!
Growing Swiss Chard: A Beginner’s Guide to Bountiful Harvests
Hey there, fellow gardening enthusiasts! I’m so excited to share my tips and tricks for growing Swiss chard. This leafy green is not only incredibly nutritious but also surprisingly easy to cultivate, even if you’re a complete beginner. Plus, its vibrant colors add a beautiful touch to any garden. Let’s dive in!
Choosing Your Swiss Chard Variety
Before we get our hands dirty, let’s talk about the different types of Swiss chard you can grow. Each variety boasts unique characteristics, so choosing the right one is key.
* ‘Bright Lights’: This is my personal favorite! It features a mix of colorful stems in shades of red, yellow, orange, pink, and white. It’s a real showstopper in the garden and tastes fantastic.
* ‘Fordhook Giant’: If you’re looking for a classic, reliable variety, ‘Fordhook Giant’ is a great choice. It has dark green, heavily crumpled leaves and thick, white stalks.
* ‘Lucullus’: This variety offers tender, light green leaves and pale green stalks. It’s known for its mild flavor and excellent heat tolerance.
* ‘Ruby Red’: As the name suggests, this variety has striking red stalks and dark green leaves with red veins. It’s a beautiful and flavorful option.
Preparing the Soil
Swiss chard thrives in well-drained, fertile soil. Here’s how I prepare my garden beds:
1. Choose a Sunny Location: Swiss chard needs at least 6 hours of sunlight per day. Pick a spot in your garden that gets plenty of sunshine.
2. Test Your Soil: A soil test will tell you the pH level and nutrient content of your soil. Swiss chard prefers a slightly acidic to neutral pH (6.0 to 7.0). You can purchase a soil testing kit at most garden centers.
3. Amend the Soil: Based on your soil test results, amend the soil with compost, aged manure, or other organic matter. This will improve drainage, fertility, and water retention. I usually add a generous layer of compost to my beds.
4. Loosen the Soil: Use a garden fork or tiller to loosen the soil to a depth of 12 inches. This will make it easier for the Swiss chard roots to grow.
5. Remove Rocks and Debris: Clear the area of any rocks, weeds, or other debris that could hinder growth.
Planting Swiss Chard
You can start Swiss chard from seed either indoors or directly in the garden. I prefer direct sowing because it’s less work, but starting indoors can give you a head start.
Direct Sowing
1. Timing is Key: Sow seeds directly into the garden 2-4 weeks before the last expected frost in spring, or in late summer for a fall harvest.
2. Create Furrows: Make shallow furrows about ½ inch deep and 12-18 inches apart.
3. Sow the Seeds: Sow the seeds about 1 inch apart in the furrows.
4. Cover the Seeds: Gently cover the seeds with soil and water thoroughly.
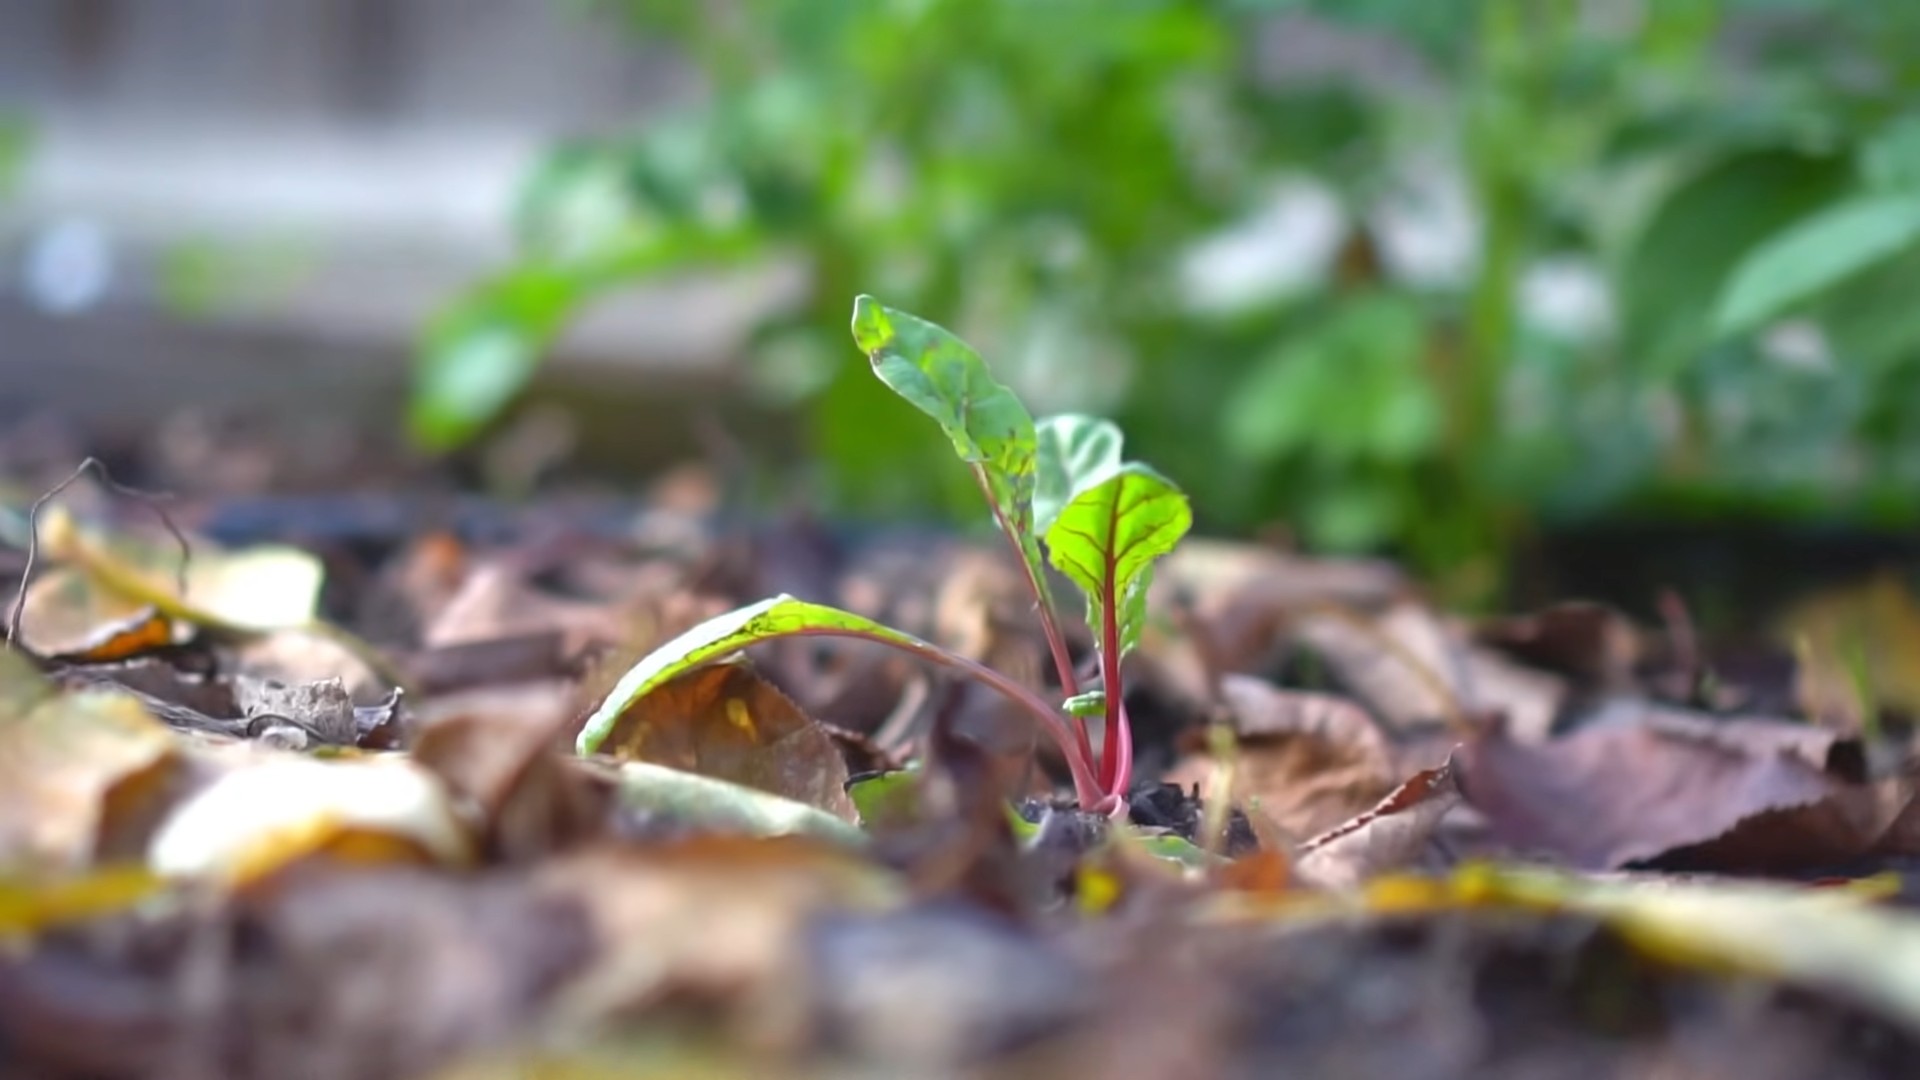
5. Thin the Seedlings: Once the seedlings emerge and have a few true leaves, thin them to 6-12 inches apart. This will give them enough room to grow.
Starting Indoors
1. Start Early: Sow seeds indoors 4-6 weeks before the last expected frost.
2. Use Seed Starting Trays: Fill seed starting trays with a good quality seed starting mix.
3. Sow the Seeds: Sow the seeds about ½ inch deep in the trays.
4. Keep Moist: Keep the soil moist but not soggy.
5. Provide Light: Place the trays under grow lights or in a sunny window.
6. Harden Off: Before transplanting the seedlings outdoors, harden them off by gradually exposing them to outdoor conditions for a week.
7. Transplant: Transplant the seedlings into the garden, spacing them 6-12 inches apart.
Caring for Your Swiss Chard
Swiss chard is relatively low-maintenance, but here are a few things you can do to keep it happy and healthy:
1. Water Regularly: Water deeply and regularly, especially during dry periods. Aim for about 1 inch of water per week.
2. Mulch: Apply a layer of mulch around the plants to help retain moisture, suppress weeds, and regulate soil temperature. I like to use straw or shredded leaves.
3. Fertilize: Fertilize every 4-6 weeks with a balanced fertilizer or compost tea. This will provide the plants with the nutrients they need to grow.
4. Weed Regularly: Keep the garden bed free of weeds, which can compete with the Swiss chard for nutrients and water.
5. Pest Control: Keep an eye out for pests like aphids, slugs, and snails. Handpick them off the plants or use organic pest control methods like insecticidal soap or diatomaceous earth.
6. Bolting Prevention: Swiss chard can bolt (go to seed) in hot weather. To prevent bolting, provide shade during the hottest part of the day and water regularly.
Harvesting Swiss Chard
One of the best things about Swiss chard is that you can harvest it continuously throughout the growing season.
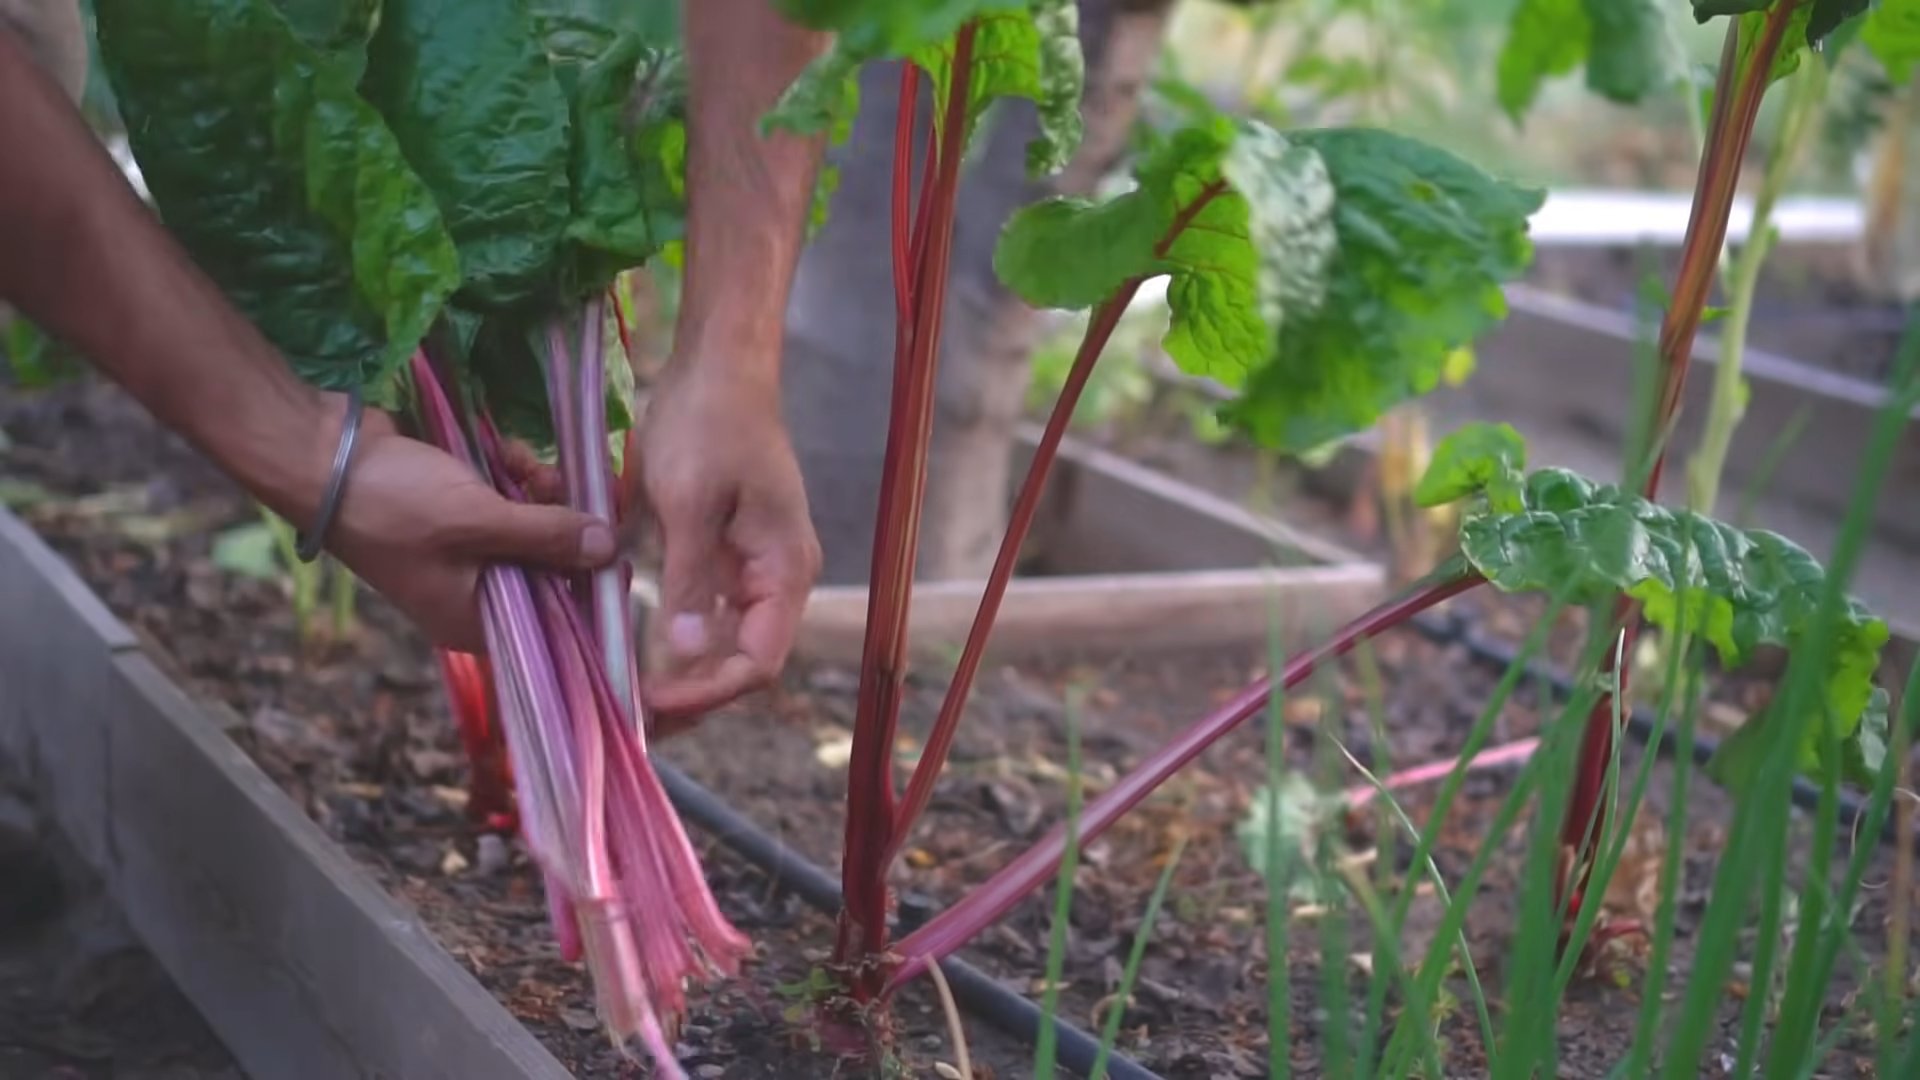
1. When to Harvest: You can start harvesting Swiss chard when the leaves are about 6 inches long.
2. How to Harvest: Use a sharp knife or scissors to cut the outer leaves near the base of the plant. Leave the inner leaves to continue growing.
3. Continuous Harvest: Harvest regularly to encourage new growth.
4. Storage: Store Swiss chard in the refrigerator for up to a week. Wash and dry the leaves before storing them in a plastic bag or container.
Dealing with Common Problems
Even with the best care, you might encounter a few problems while growing Swiss chard. Here are some common issues and how to address them:
* Aphids: These tiny pests can suck the sap from the leaves, causing them to become distorted and yellow. Spray the plants with insecticidal soap or neem oil to control aphids.
* Slugs and Snails: These slimy creatures can munch on the leaves, leaving holes and trails. Handpick them off the plants or use slug bait.
* Leaf Miners: These pests tunnel inside the leaves, creating unsightly trails. Remove and destroy affected leaves.
* Downy Mildew: This fungal disease can cause yellow spots on the leaves. Improve air circulation and avoid overhead watering to prevent downy mildew.
* Bolting: As mentioned earlier, bolting can occur in hot weather. Provide shade and water regularly to prevent bolting.
Delicious Ways to Enjoy Your Harvest
Now for the fun part – eating your homegrown Swiss chard! This versatile green can be used in a variety of dishes.
* Sautéed: Sauté Swiss chard with garlic, olive oil, and a pinch of salt and pepper for a simple and delicious side dish.
* In Soups and Stews: Add chopped Swiss chard to soups and stews for extra nutrients and flavor.
* In Salads: Use young, tender Swiss chard leaves in salads.
* In Frittatas and Quiches: Add chopped Swiss chard to frittatas and quiches for a healthy and flavorful meal.
* Steamed: Steam Swiss chard until tender and serve with a squeeze of lemon juice.
* Swiss Chard Chips: Bake Swiss chard leaves in the oven for crispy and healthy chips.
Extending the Harvest
Want to enjoy Swiss chard for as long as possible? Here are a few tips for extending the harvest:
* Succession Planting: Sow seeds every few weeks to ensure a continuous supply of Swiss chard.
* Cold Frames or Row Covers: Use cold frames or row covers to protect the plants from frost and extend the growing season.
* Overwintering: In mild climates, you can overwinter Swiss chard by mulching heavily around the plants.
Saving Seeds
If you want to save seeds from your Swiss chard plants, allow a few plants to bolt and go to seed. Once the seed pods are dry and brown, harvest them and store the seeds in a cool, dry place.
Conclusion
Growing Swiss chard is a rewarding experience that provides you with a continuous supply of fresh, nutritious greens. With a little bit of care and attention, you can enjoy a bountiful harvest all season long. So, get out there and start planting! Happy gardening!
Conclusion
So, there you have it! Mastering the art of growing your own Swiss chard is not only achievable, but also incredibly rewarding. From seed to table, the journey is filled with vibrant colors, fresh flavors, and the satisfaction of knowing exactly where your food comes from. This isn’t just about saving money at the grocery store; it’s about connecting with nature, embracing sustainable practices, and enjoying the unparalleled taste of homegrown goodness.
We’ve covered the essential steps, from selecting the right variety and preparing your soil to providing adequate sunlight and water. Remember, Swiss chard is a relatively low-maintenance crop, making it perfect for beginner gardeners and seasoned pros alike. Don’t be intimidated by the slightly unusual appearance of this leafy green; its versatility in the kitchen is truly remarkable.
Why is this DIY Swiss chard gardening trick a must-try? Because it empowers you to take control of your food supply, reduces your reliance on commercially grown produce, and allows you to enjoy the freshest, most nutritious Swiss chard imaginable. Plus, the vibrant colors of the leaves will add a touch of beauty to your garden.
Consider these variations to personalize your Swiss chard growing experience:
* **Succession Planting:** Plant seeds every few weeks to ensure a continuous harvest throughout the growing season. This will prevent you from being overwhelmed with a single large harvest and allow you to enjoy fresh Swiss chard for months on end.
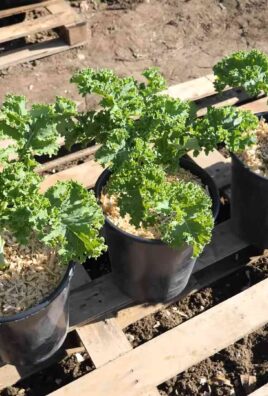
* **Container Gardening:** If you have limited space, Swiss chard thrives in containers. Choose a pot that is at least 12 inches deep and wide to accommodate the plant’s root system. This is a great option for balconies, patios, or small gardens.
* **Companion Planting:** Plant Swiss chard alongside other vegetables and herbs that can benefit from its presence. For example, planting it near beans can help repel bean beetles, while planting it near onions can deter aphids.
* **Different Varieties:** Experiment with different varieties of Swiss chard to discover your favorites. ‘Bright Lights’ is a popular choice for its colorful stems, while ‘Fordhook Giant’ is known for its large, dark green leaves.
* Seed Saving: Allow a few plants to bolt (go to seed) at the end of the season and collect the seeds for planting next year. This is a great way to save money and ensure that you always have a supply of Swiss chard seeds on hand.
We strongly encourage you to give this DIY Swiss chard gardening trick a try. It’s a simple, rewarding, and sustainable way to enjoy fresh, healthy produce. Once you taste the difference between homegrown Swiss chard and store-bought, you’ll never go back!
Don’t forget to share your experiences with us! We’d love to hear about your successes, challenges, and favorite ways to use your homegrown Swiss chard. Share your photos and stories on social media using #HomegrownSwissChard or leave a comment below. Let’s build a community of passionate gardeners who are dedicated to growing their own food. Your insights and tips can inspire others to embark on their own Swiss chard gardening journey. Happy gardening!
Frequently Asked Questions (FAQ)
What is the best time of year to plant Swiss chard?
The best time to plant Swiss chard depends on your climate. In cooler climates, you can start seeds indoors 4-6 weeks before the last expected frost and transplant them outdoors after the danger of frost has passed. In warmer climates, you can direct sow seeds in the garden in early spring or late summer for a fall or winter harvest. Swiss chard can tolerate light frost, so it can often be grown year-round in mild climates.
How much sunlight does Swiss chard need?
Swiss chard thrives in full sun, which means at least 6 hours of direct sunlight per day. However, it can also tolerate partial shade, especially in hotter climates. If you live in a region with intense summer heat, providing some afternoon shade can help prevent the leaves from wilting or scorching.
What kind of soil is best for growing Swiss chard?
Swiss chard prefers well-drained soil that is rich in organic matter. Before planting, amend your soil with compost or aged manure to improve its fertility and drainage. A soil pH of 6.0 to 7.5 is ideal for Swiss chard. You can test your soil pH using a soil testing kit and amend it accordingly.
How often should I water Swiss chard?
Water Swiss chard regularly, especially during dry periods. Aim to keep the soil consistently moist but not waterlogged. Water deeply at the base of the plants, avoiding wetting the leaves, which can increase the risk of fungal diseases. Mulching around the plants can help retain moisture in the soil and suppress weeds.
How do I harvest Swiss chard?
You can begin harvesting Swiss chard leaves when they are about 6 inches long. Harvest the outer leaves first, leaving the inner leaves to continue growing. This cut-and-come-again method allows you to harvest Swiss chard continuously throughout the growing season. Use a sharp knife or scissors to cut the leaves near the base of the plant.
What are some common pests and diseases that affect Swiss chard?
Swiss chard is generally a pest-resistant crop, but it can be susceptible to certain pests and diseases, such as aphids, flea beetles, leaf miners, and fungal diseases. To prevent pest and disease problems, practice good garden hygiene, such as removing weeds and debris from around the plants. You can also use organic pest control methods, such as insecticidal soap or neem oil, to control pests.
Can I eat the stems of Swiss chard?
Yes, the stems of Swiss chard are edible and can be cooked in the same way as the leaves. They have a slightly different texture and flavor than the leaves, but they are equally nutritious. The stems can be sautéed, steamed, or added to soups and stews.
How do I store Swiss chard after harvesting?
To store Swiss chard after harvesting, wash the leaves thoroughly and pat them dry. Wrap the leaves in a damp paper towel and store them in a plastic bag in the refrigerator. Swiss chard can be stored in the refrigerator for up to a week.
Is Swiss chard nutritious?
Yes, Swiss chard is a highly nutritious vegetable. It is an excellent source of vitamins A, C, and K, as well as minerals such as iron, magnesium, and potassium. It is also a good source of fiber and antioxidants.
Can I freeze Swiss chard?
Yes, you can freeze Swiss chard for longer storage. To freeze Swiss chard, wash the leaves thoroughly and blanch them in boiling water for 2-3 minutes. Then, transfer the leaves to an ice bath to stop the cooking process. Drain the leaves well and pack them into freezer bags or containers. Frozen Swiss chard can be stored in the freezer for up to 12 months.


Leave a Comment