
Sink Odor Removal: That’s right, we’re tackling the dreaded kitchen sink funk! Let’s be honest, we’ve all been there. You walk into your kitchen, and instead of the inviting aroma of freshly baked cookies, you’re greeted by a less-than-pleasant smell wafting up from the drain. It’s embarrassing, it’s annoying, and it’s definitely something we can fix ourselves without calling a plumber or resorting to harsh chemicals.
For centuries, people have been battling household odors, often relying on natural remedies passed down through generations. Think of your grandmother’s secret weapon – maybe it was lemon peels or baking soda. These simple, time-tested solutions are the foundation of many modern sink odor removal techniques. The good news is, you don’t need to be a plumbing expert to banish that bad smell.
Why is this DIY trick so important? Because a smelly sink isn’t just unpleasant; it can also be a breeding ground for bacteria and a sign of a bigger problem lurking in your pipes. Plus, who wants guests thinking your kitchen is anything less than sparkling clean? I’m going to show you some easy, affordable, and effective ways to get rid of that sink odor and keep it from coming back. Get ready to say goodbye to that nasty smell and hello to a fresh, clean kitchen!
DIY Sink Odor Removal: A Comprehensive Guide
Okay, let’s face it, a smelly sink is the bane of any homeowner’s existence. That funky odor wafting up from your drain can be embarrassing and just plain unpleasant. But don’t worry, you don’t need to call a plumber just yet! I’m going to walk you through a few tried-and-true DIY methods to banish that sink stink for good. We’ll tackle everything from simple solutions to more involved cleaning, so you’re sure to find something that works for you.
Identifying the Culprit
Before we dive into the cleaning, let’s quickly figure out what’s causing the smell. Common culprits include:
* Food Debris: This is the most common cause. Bits of food get trapped in the drain and decompose, creating a lovely (not!) odor.
* Grease Buildup: Grease solidifies in the pipes, trapping food and other debris.
* Biofilm: A slimy layer of bacteria and organic matter that coats the inside of your pipes.
* Clogged P-Trap: The P-trap is the U-shaped pipe under your sink. It’s designed to trap water and prevent sewer gases from entering your home. If it’s clogged, it can’t do its job properly.
* Dry P-Trap: If you haven’t used a sink in a while, the water in the P-trap can evaporate, allowing sewer gases to escape.
* Ventilation Issues: A blocked vent pipe can prevent proper drainage and cause odors. This is less common but worth considering.
Now that we know the potential suspects, let’s get to cleaning!
Method 1: The Boiling Water Flush
This is the simplest and often most effective first step. It’s amazing how much a good flush of boiling water can do.
1. Boil Water: Bring a large pot of water to a rolling boil. I usually use my largest stockpot.
2. Carefully Pour: Slowly and carefully pour the boiling water down the drain. Be cautious to avoid splashing, as boiling water can cause serious burns.
3. Repeat if Necessary: If the odor persists, repeat the process a couple of times.
Why it works: The boiling water helps to melt grease and dislodge loose debris that’s causing the smell.
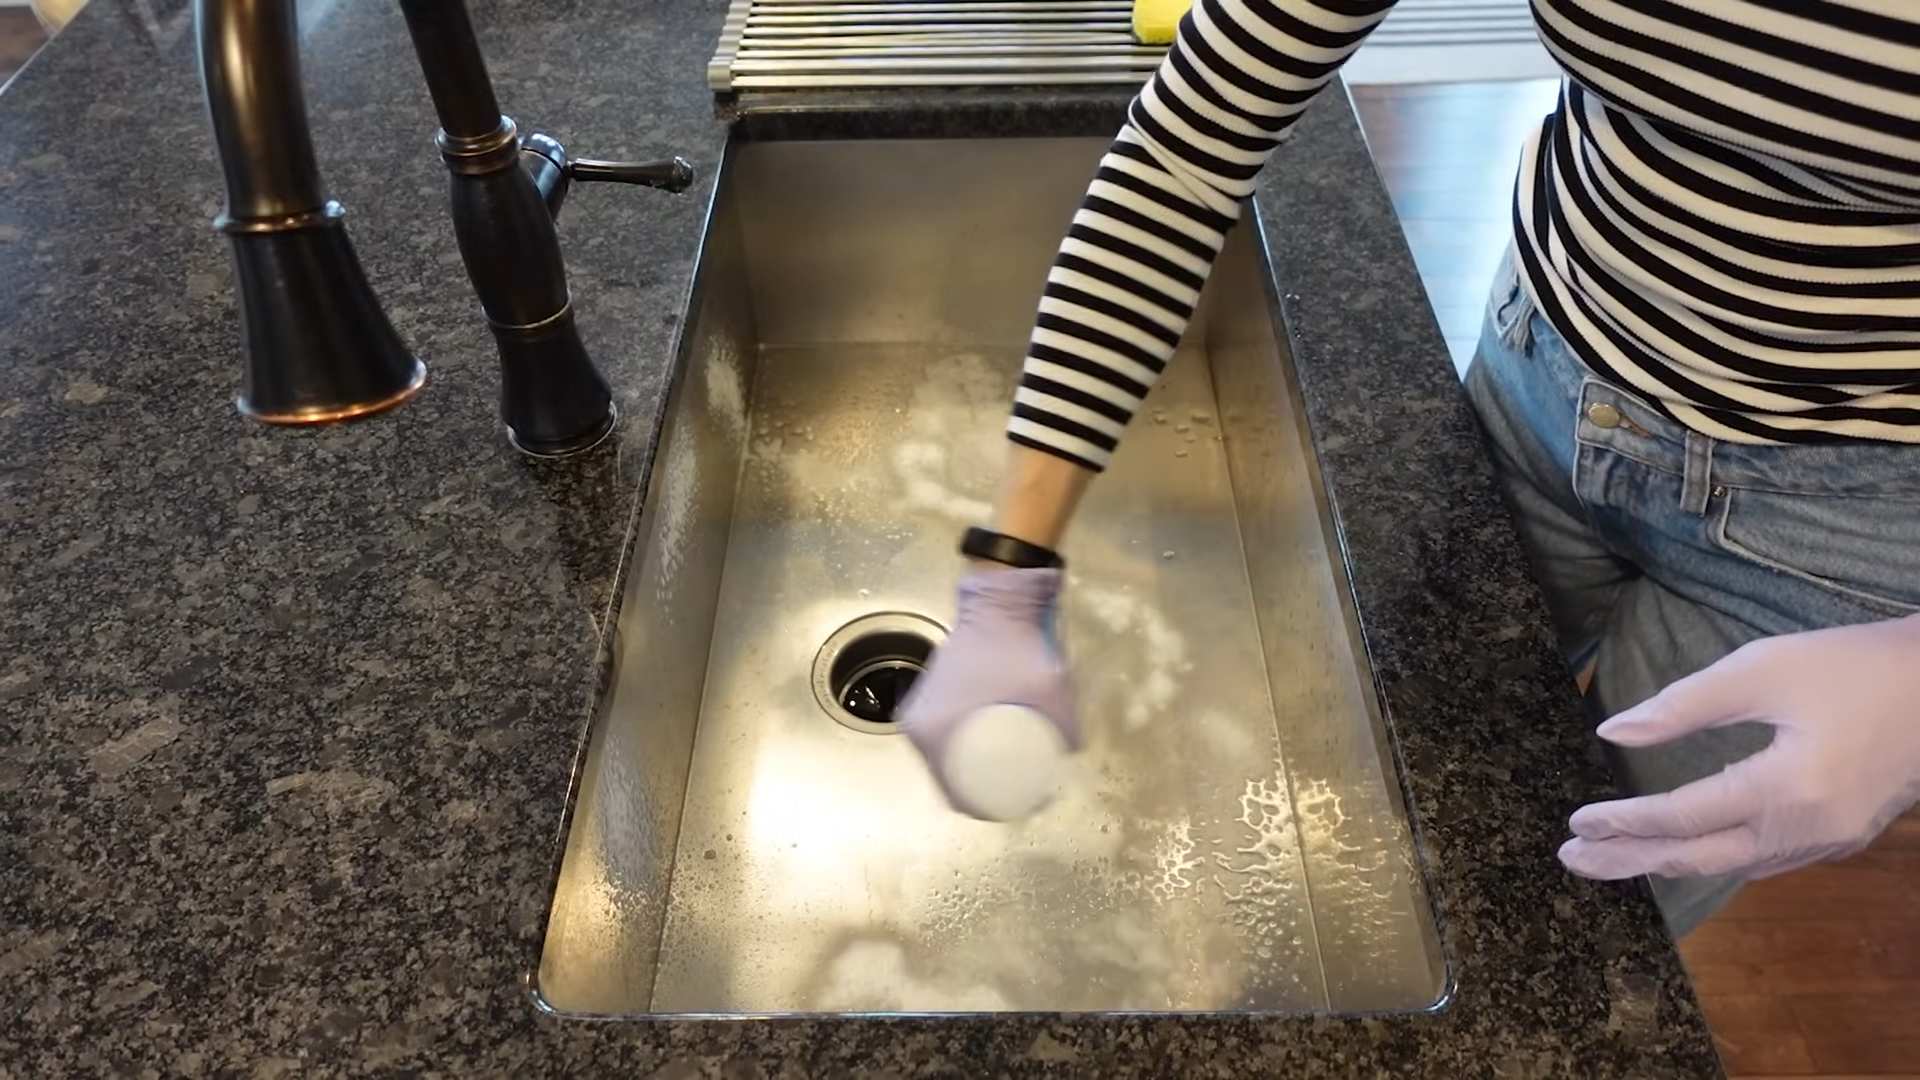
Method 2: Baking Soda and Vinegar Volcano
This is a classic DIY cleaning solution that’s safe, effective, and uses ingredients you probably already have in your pantry.
1. Pour Baking Soda: Pour about one cup of baking soda down the drain. Try to get it as far down as possible.
2. Add Vinegar: Follow the baking soda with one cup of white vinegar.
3. Let it Fizz: The mixture will fizz and bubble. Let it sit for at least 30 minutes, or even better, overnight. I usually do this before bed so it has plenty of time to work its magic.
4. Flush with Hot Water: After the waiting period, flush the drain with hot water for several minutes.
Why it works: The baking soda and vinegar react to create carbon dioxide, which helps to loosen debris and break down grease. The hot water then washes everything away.
Method 3: Baking Soda, Salt, and Boiling Water
This method is similar to the baking soda and vinegar trick, but the salt adds an extra abrasive element to help scrub the pipes.
1. Mix Ingredients: Combine 1/2 cup of baking soda and 1/4 cup of salt.
2. Pour Down Drain: Pour the mixture down the drain.
3. Let it Sit: Let it sit for at least 30 minutes, or overnight for stubborn odors.
4. Flush with Boiling Water: Flush the drain with boiling water for several minutes.
Why it works: The salt acts as a mild abrasive to help scrub away grime, while the baking soda neutralizes odors. The boiling water helps to melt grease and flush everything out.
Method 4: Enzyme Cleaner
If the natural methods aren’t cutting it, an enzyme cleaner might be your next best bet. These cleaners contain enzymes that break down organic matter, which is often the source of sink odors.
1. Choose an Enzyme Cleaner: Look for an enzyme cleaner specifically designed for drains. You can find these at most hardware stores or online.
2. Follow Instructions: Carefully follow the instructions on the product label. Typically, you’ll pour a specific amount of the cleaner down the drain and let it sit for a certain period of time.
3. Flush with Water: After the waiting period, flush the drain with water.
Why it works: The enzymes in the cleaner break down the organic matter that’s causing the odor, effectively eliminating the source of the problem.
Method 5: Cleaning the P-Trap
If none of the above methods work, it’s time to get a little more hands-on and clean the P-trap. This can be a bit messy, so be prepared!
Preparing to Clean the P-Trap
1. Gather Supplies: You’ll need a bucket, adjustable wrench or pliers, rubber gloves, and old towels or rags.
2. Place Bucket: Place the bucket under the P-trap to catch any water and debris that will come out when you remove it.
3. Prepare for Mess: Lay down old towels or rags around the work area to protect your floor.
Removing and Cleaning the P-Trap
1. Loosen the Slip Nuts: Use the adjustable wrench or pliers to loosen the slip nuts that connect the P-trap to the drain pipes. Be careful not to overtighten or strip the nuts.
2. Remove the P-Trap: Once the slip nuts are loose, carefully remove the P-trap. Tip it into the bucket to empty any remaining water and debris.
3. Clean the P-Trap: Thoroughly clean the P-trap with soap and water. Remove any debris or buildup that you find. You can use an old toothbrush or bottle brush to scrub the inside of the trap.
4. Inspect the Drain Pipes: While the P-trap is removed, take a look inside the drain pipes that connect to it. If you see any buildup, try to remove it with a wire hanger or other tool.
5. Reassemble the P-Trap: Once everything is clean, reassemble the P-trap. Make sure the slip nuts are snug, but not overtightened.
6. Run Water: Run water down the drain to check for leaks. If you see any leaks, tighten the slip nuts slightly.
Why it works: The P-trap is a common place for debris to accumulate and cause odors. Cleaning it removes the source of the smell and ensures that it’s functioning properly.
Method 6: Checking the Air Admittance Valve (AAV)
If you have an Air Admittance Valve (AAV), sometimes called a Studor vent, under your sink, it could be the source of the odor. These valves are designed to allow air into the drainpipe to prevent siphoning, but they can sometimes fail and allow sewer gases to escape.
1. Locate the AAV: The AAV is usually located near the top of the drainpipe, often above the P-trap. It looks like a small, cylindrical cap.
2. Inspect the AAV: Check the AAV for any signs of damage or wear. If it looks cracked or broken, it may need to be replaced.
3. Test the AAV: To test the AAV, run water down the drain. You should hear a slight hissing sound as the valve opens to allow air in. If you don’t hear anything, or if you smell sewer gas coming from the valve, it’s likely faulty.
4. Replace the AAV: Replacing an AAV is usually a simple process. You can typically unscrew the old valve and screw in a new one. Make sure to buy a replacement valve that’s the same size and type as the original.
Why it works: A faulty AAV can allow sewer gases to escape into your home, causing unpleasant odors. Replacing it ensures that the drain system is properly vented.
Preventative Measures
Once you’ve eliminated the sink odor, it’s important to take steps to prevent it from returning. Here are a few tips:
* Avoid Pouring Grease Down the Drain: Dispose of grease in a container and throw it away.
* Use a Drain Strainer: A drain strainer will catch food particles and other debris before they enter the drain.
* Flush with Hot Water Regularly: Run hot water down the drain for a few minutes every week to help flush out any buildup.
* Regular Baking Soda and Vinegar Treatment: Perform the baking soda and vinegar treatment every month or so to keep your drains clean and fresh.
* Consider Enzyme Treatments:
Conclusion
So, there you have it! Banishing those unpleasant sink odors doesn’t require expensive plumbers or harsh chemicals. This simple, effective, and eco-friendly DIY sink odor removal trick is a game-changer for any homeowner. We’ve shown you how to harness the power of readily available ingredients to tackle the source of the problem, leaving your kitchen and bathroom smelling fresh and clean.
Why is this a must-try? Because it’s cost-effective, environmentally conscious, and, most importantly, it works! Think about all the money you’ll save on commercial drain cleaners, not to mention the peace of mind knowing you’re not pouring harmful chemicals down your drain and into the water system. This method is gentle enough for regular use, preventing future build-up and keeping those pesky odors at bay.
But don’t stop there! Feel free to experiment with variations to personalize your sink odor removal routine. For a citrusy boost, add a few drops of lemon, orange, or grapefruit essential oil to the baking soda mixture. The citrus oils not only enhance the cleaning power but also leave a delightful, refreshing scent. Another option is to use white vinegar instead of apple cider vinegar. While apple cider vinegar has a slightly milder scent, white vinegar is a powerhouse cleaner and disinfectant. If you suspect a particularly stubborn clog, try letting the baking soda and vinegar mixture sit in the drain overnight before flushing with hot water.
This DIY sink odor removal method is a simple, effective, and eco-friendly way to keep your drains fresh and clean.
We’re confident that this DIY trick will become a staple in your cleaning arsenal. It’s a quick, easy, and satisfying way to maintain a fresh-smelling home. But the real magic happens when you share your experiences! We encourage you to try this method and let us know how it works for you. Did you discover any unique variations? Did you find it particularly effective for a specific type of drain? Share your tips and tricks in the comments below! Your feedback will not only help us improve this guide but also inspire others to embrace the power of DIY cleaning. So, go ahead, give it a try, and let’s say goodbye to those unpleasant sink odors once and for all!
Frequently Asked Questions (FAQ)
Why does my sink smell in the first place?
Sink odors are typically caused by a build-up of organic matter, such as food scraps, hair, grease, and soap scum, in the drainpipe. This debris decomposes over time, creating foul-smelling gases like hydrogen sulfide. Bacteria thrive in this environment, further contributing to the odor. Sometimes, the P-trap (the curved pipe under the sink) can dry out, allowing sewer gases to escape into your home.
How often should I use this DIY sink odor removal method?
The frequency depends on how often you use your sink and how prone it is to developing odors. As a general guideline, we recommend using this method once a month as a preventative measure. If you notice odors returning more frequently, you can increase the frequency to once a week or every other week. Regular maintenance will prevent build-up and keep your drains smelling fresh.
Is this DIY method safe for all types of pipes?
Yes, this DIY method is generally safe for all types of pipes, including PVC, copper, and cast iron. The ingredients used – baking soda, vinegar, and hot water – are gentle and non-corrosive. Unlike harsh chemical drain cleaners, they won’t damage your pipes or contribute to environmental pollution. However, if you have very old or fragile pipes, it’s always a good idea to test a small amount of the mixture in an inconspicuous area first.
What if the odor persists after trying this method?
If the odor persists after trying this method several times, it could indicate a more serious problem, such as a clog deeper in the drainpipe or a problem with the sewer line. In this case, it’s best to consult a professional plumber. They have the tools and expertise to diagnose and resolve complex plumbing issues.
Can I use this method to unclog a slow drain?
While this method can help with minor clogs, it’s not a substitute for a dedicated drain cleaner or plumbing snake for more significant blockages. The baking soda and vinegar reaction can help loosen some debris, but it may not be powerful enough to clear a completely blocked drain. If you have a slow drain, try using a plunger or a drain snake before resorting to chemical drain cleaners.
What kind of vinegar is best to use?
Both white vinegar and apple cider vinegar can be used for this DIY sink odor removal method. White vinegar is generally more potent and effective at cleaning and disinfecting, while apple cider vinegar has a milder scent. Choose whichever vinegar you prefer based on your personal preference and the severity of the odor.
Can I use boiling water instead of hot water?
While hot water is recommended, boiling water can be used with caution. Boiling water can potentially damage PVC pipes, especially if they are old or already weakened. If you choose to use boiling water, pour it slowly and carefully to avoid any sudden temperature changes that could cause the pipes to crack. Hot tap water is generally sufficient for this method and is a safer option for most plumbing systems.
Is there anything else I can do to prevent sink odors?
Yes! Here are a few additional tips to prevent sink odors:
* Use a drain strainer: A drain strainer will catch food scraps, hair, and other debris before they enter the drainpipe.
* Flush the drain with hot water after each use: This will help wash away any remaining debris and prevent build-up.
* Avoid pouring grease down the drain: Grease solidifies as it cools, creating stubborn clogs and foul odors.
* Clean the sink regularly: Wipe down the sink basin and faucet with a disinfectant cleaner to prevent bacteria growth.
* Run the garbage disposal regularly: If you have a garbage disposal, run it regularly with cold water to grind up any food scraps and prevent them from accumulating in the drainpipe.
Can I add essential oils to the baking soda and vinegar mixture?
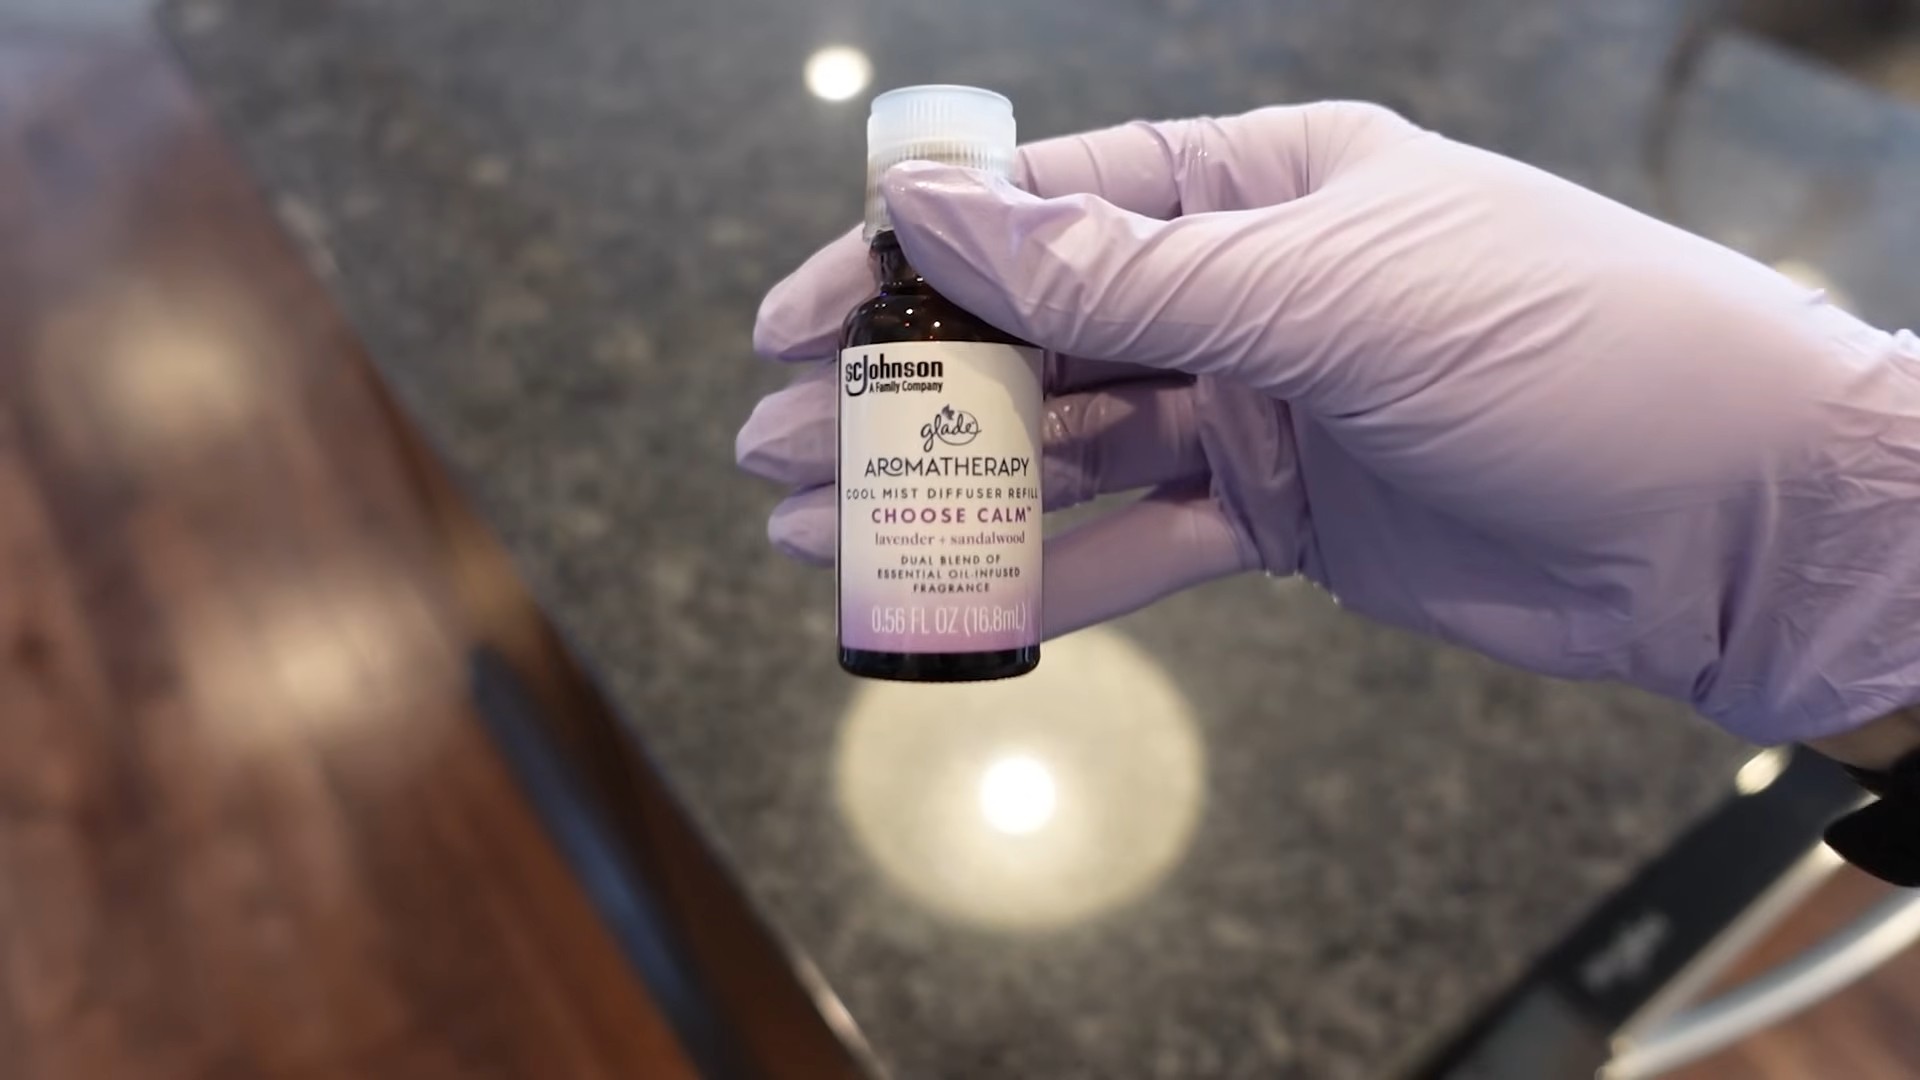
Yes, adding a few drops of essential oils can enhance the cleaning power and leave a pleasant scent. Citrus oils like lemon, orange, and grapefruit are particularly effective at cutting through grease and deodorizing. Other options include tea tree oil, which has antibacterial properties, and lavender oil, which has a calming scent. Add the essential oils after the baking soda and vinegar have reacted to avoid diluting their effectiveness.
What if I don’t have baking soda or vinegar? Are there any alternatives?
While baking soda and vinegar are the most common and effective ingredients for this DIY method, there are a few alternatives you can try. You can use borax instead of baking soda, or lemon juice instead of vinegar. However, these alternatives may not be as effective at neutralizing odors and breaking down debris. For best results, we recommend using baking soda and vinegar.

Leave a Comment