
Salt and Detergent Cleaning Tips: Unlock the secrets to a sparkling home with these simple, yet incredibly effective, DIY cleaning solutions! Are you tired of spending a fortune on expensive cleaning products filled with harsh chemicals? I know I was! That’s why I started exploring natural and budget-friendly alternatives, and let me tell you, the results have been amazing.
For generations, resourceful homemakers have relied on the power of everyday ingredients to keep their homes clean and fresh. Think about it – before the advent of commercial cleaners, salt and other natural elements were the go-to solutions. This tradition of resourcefulness is something I deeply admire, and I’m excited to share these time-tested techniques with you.
In today’s world, where we’re all striving to be more eco-conscious and save a few dollars, mastering these salt and detergent cleaning tips is more relevant than ever. Not only will you reduce your reliance on potentially harmful chemicals, but you’ll also discover how incredibly versatile these common household items can be. From tackling stubborn stains to brightening dull surfaces, these DIY hacks will transform your cleaning routine and leave your home looking and feeling its best. So, grab your salt and detergent, and let’s get started on creating a cleaner, healthier, and happier home together!
DIY Power Cleaner: Salt and Detergent for Sparkling Results!
Hey everyone! I’m so excited to share this super simple, yet incredibly effective cleaning hack with you. Forget those expensive, chemical-laden cleaners – all you need are two common household ingredients: salt and detergent! This combination creates a powerful cleaning paste that can tackle everything from stubborn stains to grimy surfaces. Trust me, you’ll be amazed at the results!
What Makes This Combo So Effective?
Before we dive into the how-to, let’s quickly understand why this dynamic duo works so well:
* Salt: Acts as a gentle abrasive, helping to scrub away dirt, grime, and even light rust without scratching most surfaces. It also has mild disinfectant properties.
* Detergent: Provides the cleaning power, breaking down grease and lifting away dirt. It also helps to create a paste-like consistency that’s easy to apply.
What You’ll Need
* Table salt (or coarse salt, depending on the surface you’re cleaning)
* Dish soap (any brand will do!)
* A small bowl or container for mixing
* A spoon or spatula for mixing
* A cleaning cloth or sponge
* Gloves (optional, but recommended, especially for sensitive skin)
* Water for rinsing
Surfaces You Can Clean with Salt and Detergent
This cleaning paste is surprisingly versatile! Here are some of the surfaces I’ve successfully cleaned with it:
* Sinks (stainless steel, porcelain): Removes water spots, soap scum, and general grime.
* Tubs and Showers: Tackles soap scum, mildew stains (test in an inconspicuous area first!), and hard water deposits.
* Ovens: Helps loosen baked-on food and grease (use caution and avoid heating elements).
* Stovetops: Cleans up spills and splatters (avoid direct contact with gas burners).
* Grout: Brightens dingy grout lines.
* Pots and Pans: Removes burnt food residue (avoid using on non-stick surfaces).
* Shoes (canvas or rubber): Cleans dirty sneakers and rubber boots.
* Cutting Boards (wood or plastic): Helps sanitize and remove food stains.
* Iron: Cleans the soleplate of your iron.
* Copper and Brass: Polishes and removes tarnish.
Important Note: Always test the cleaning paste in an inconspicuous area first, especially on delicate surfaces like painted walls, polished wood, or certain types of plastic.
Step-by-Step Instructions: Making and Using the Cleaning Paste
Okay, let’s get down to business! Here’s how to make and use this amazing cleaning paste:
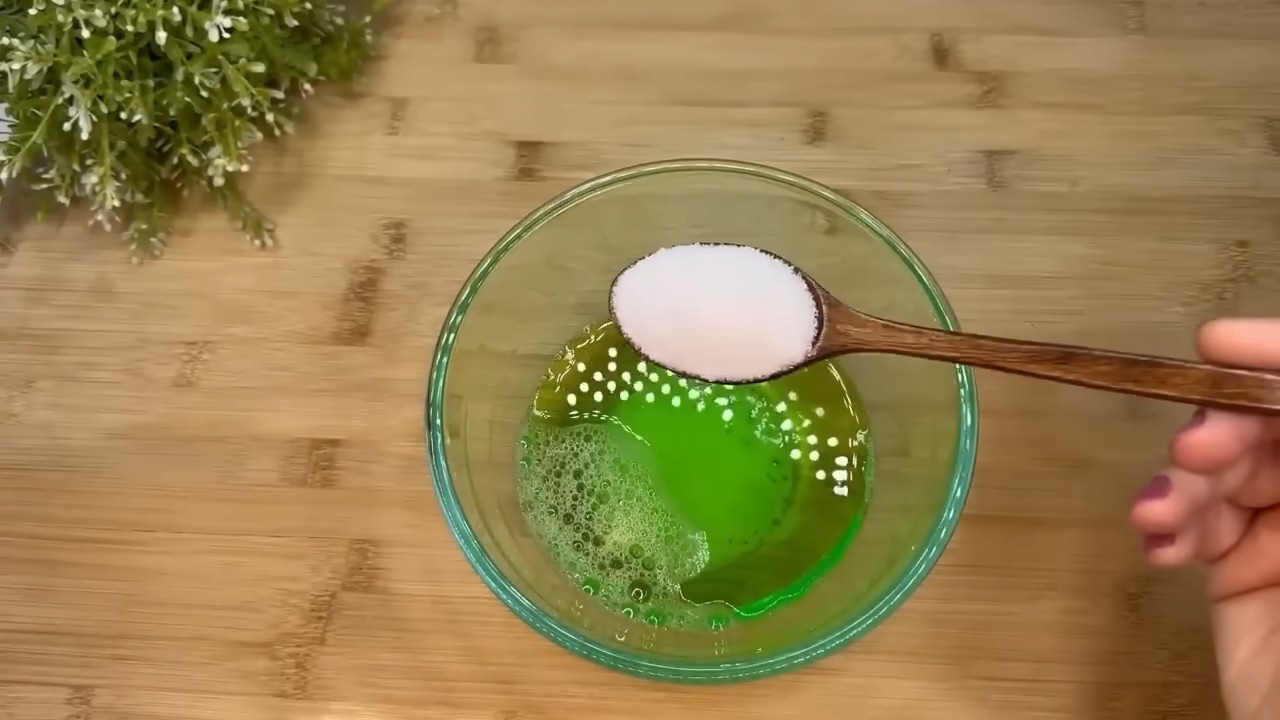
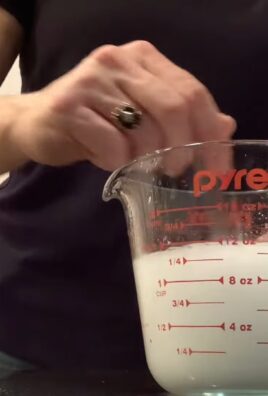
1. Mixing the Paste
1. Grab your bowl: Find a small bowl or container that you don’t mind getting a little messy.
2. Add the salt: Pour about 1/2 cup of salt into the bowl. The amount you need will depend on the size of the area you’re cleaning. You can always make more if you run out.
3. Add the detergent: Squirt a generous amount of dish soap into the bowl with the salt. Start with about 1/4 cup and adjust as needed.
4. Mix it up: Use a spoon or spatula to mix the salt and detergent together. You want to create a thick, paste-like consistency. If the mixture is too dry, add a little more detergent. If it’s too runny, add a little more salt.
5. Achieve the right consistency: The ideal consistency should be similar to toothpaste – thick enough to stay in place when applied, but still spreadable.
2. Applying the Paste
1. Prepare the surface: Before applying the paste, wipe down the surface you’re cleaning with a damp cloth to remove any loose dirt or debris.
2. Apply the paste: Using your fingers (with gloves on!), a sponge, or a cleaning cloth, apply the salt and detergent paste to the surface you want to clean.
3. Don’t be shy: Make sure to cover the entire area you want to clean with a generous layer of the paste.
4. Let it sit (optional): For stubborn stains or grime, let the paste sit on the surface for a few minutes (5-10 minutes should do the trick). This will give the salt and detergent time to work their magic.
3. Scrubbing and Cleaning
1. Grab your scrubbing tool: Depending on the surface you’re cleaning, you can use a sponge, a cleaning cloth, a scrub brush, or even an old toothbrush for tight spaces like grout lines.
2. Scrub gently: Using circular motions, gently scrub the surface with your chosen tool. The salt will act as a mild abrasive, helping to loosen dirt and grime.
3. Adjust pressure as needed: For tougher stains, you may need to apply a little more pressure, but be careful not to scratch the surface.
4. Focus on problem areas: Pay extra attention to areas with stubborn stains or grime.
4. Rinsing and Drying
1. Rinse thoroughly: Once you’ve finished scrubbing, rinse the surface thoroughly with clean water to remove all traces of the salt and detergent paste.
2. Use a damp cloth: You may need to use a damp cloth to wipe away any remaining residue.
3. Dry the surface: Finally, dry the surface with a clean towel or let it air dry.
Specific Cleaning Applications: Tips and Tricks
Now, let’s get into some specific cleaning applications and some extra tips to help you get the best results:
Cleaning Sinks and Tubs
* Stainless Steel Sinks: This paste works wonders on stainless steel sinks! It removes water spots, food stains, and general grime, leaving your sink sparkling. Just be sure to rinse thoroughly to prevent any salt residue.
* Porcelain Sinks and Tubs: For porcelain sinks and tubs, the salt and detergent paste can help remove soap scum and hard water deposits. Be gentle when scrubbing to avoid scratching the surface.
* Stubborn Stains: For stubborn stains in sinks or tubs, let the paste sit for a longer period of time (up to 30 minutes) before scrubbing.
Cleaning Ovens and Stovetops
* Ovens: This paste can help loosen baked-on food and grease in your oven. Apply the paste to the affected areas, let it sit for a while, and then scrub with a sponge or scrub brush. Be careful not to get the paste on the heating elements.
* Stovetops: For stovetops, the paste can help clean up spills and splatters. Avoid direct contact with gas burners.
* Safety First: Always unplug your oven or stovetop before cleaning.
Cleaning Grout
* Apply Carefully: Apply the paste directly to the grout lines using an old toothbrush or a grout brush.
* Let it Sit: Let the paste sit for a few minutes to allow the salt and detergent to penetrate the grout.
* Scrub Thoroughly: Scrub the grout lines with the brush to remove dirt and grime.
* Rinse Well: Rinse thoroughly with water to remove all traces of the paste.
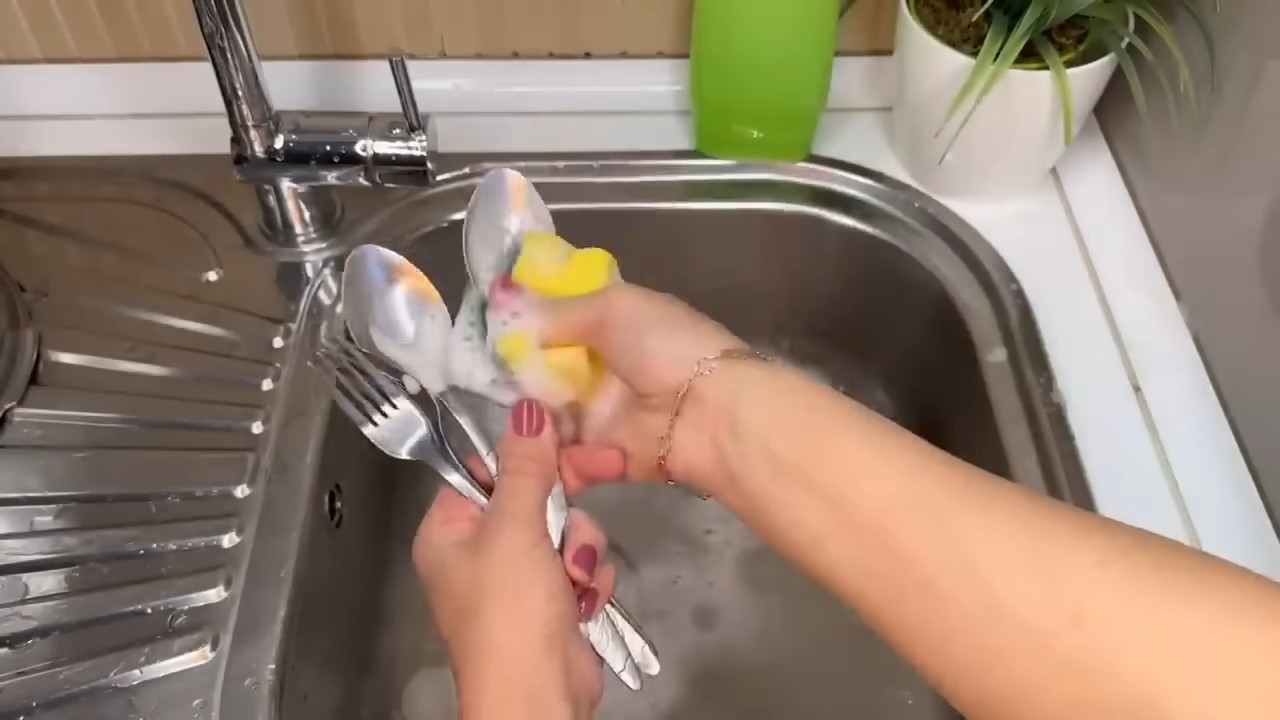
Cleaning Pots and Pans
* Burnt Food Residue: This paste can help remove burnt food residue from pots and pans.
* Avoid Non-Stick: Avoid using this paste on non-stick surfaces, as the salt can scratch the coating.
* Soak First: For heavily burnt pots and pans, soak them in water for a few hours before applying the paste.
Cleaning Shoes
* Canvas and Rubber: This paste works well on canvas and rubber shoes.
* Apply and Scrub: Apply the paste to the dirty areas of the shoes and scrub with a brush or sponge.
* Rinse and Air Dry: Rinse thoroughly with water and let the shoes air dry.
Cleaning Cutting Boards
* Sanitize and Remove Stains: This paste can help sanitize and remove food stains from cutting boards.
* Apply and Scrub: Apply the paste to the cutting board and scrub with a sponge or brush.
* Rinse Thoroughly: Rinse thoroughly with water to remove all traces of the paste.
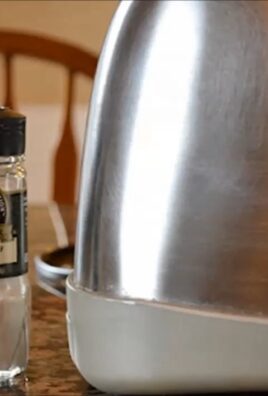
Cleaning Irons
* Cool Iron: Make sure your iron is cool and unplugged before cleaning.
* Apply and Wipe: Apply the paste to the soleplate of the iron and wipe with a clean cloth.
* Rinse and Dry: Rinse with a damp cloth and dry thoroughly.
Polishing Copper and Brass
* Apply and Rub: Apply the paste to the copper or brass item and rub gently with a soft cloth.
* Rinse and Polish: Rinse with water and polish with a clean, dry
Conclusion
So, there you have it! This simple yet remarkably effective DIY cleaning solution using salt and detergent is a game-changer for anyone looking to tackle stubborn stains and grime without resorting to harsh chemicals or expensive commercial products. We’ve explored how the abrasive power of salt, combined with the degreasing action of detergent, creates a synergistic effect that lifts dirt and leaves surfaces sparkling.
Why is this a must-try? Because it’s cost-effective, readily available, and surprisingly versatile. Think about all the money you spend on specialized cleaners for different areas of your home. This salt and detergent solution can replace many of them, simplifying your cleaning routine and saving you a significant amount of money in the long run. Plus, you likely already have these ingredients in your pantry and laundry room, making it incredibly convenient.
But the benefits extend beyond just cost and convenience. This DIY cleaner is also a more environmentally friendly option compared to many commercial cleaners that contain harsh chemicals that can pollute waterways and harm the environment. By opting for a simple, homemade solution, you’re making a conscious choice to reduce your environmental footprint.
Variations and Suggestions:
While the basic recipe of salt and detergent is incredibly effective, there are a few variations you can try to tailor it to your specific needs.
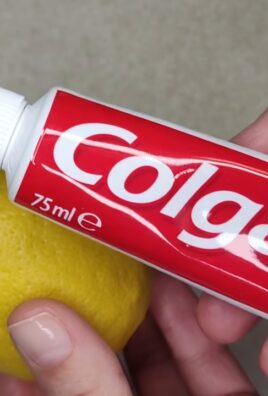
* For extra degreasing power: Add a tablespoon of white vinegar to the mixture. The acidity of the vinegar will help to cut through grease and grime even more effectively.
* For a pleasant scent: Add a few drops of your favorite essential oil to the solution. Lemon, lavender, and tea tree oil are all great options that not only smell wonderful but also have antibacterial properties.
* For delicate surfaces: Use a finer grain of salt, such as table salt, instead of coarse salt. You can also dilute the solution with more water to make it less abrasive. Always test the solution on an inconspicuous area first to ensure it doesn’t damage the surface.
* For mold and mildew: Mix the salt and detergent with hydrogen peroxide to create a powerful mold and mildew remover. Be sure to wear gloves and eye protection when working with hydrogen peroxide.
We’ve covered a range of applications, from scrubbing grout and cleaning sinks to reviving stained pots and pans. Remember to always test the solution on a small, inconspicuous area first, especially when dealing with delicate surfaces. Adjust the ratio of salt to detergent based on the severity of the stain or grime. For tougher stains, you may need to use a higher concentration of salt.
Now it’s your turn! We encourage you to try this simple yet effective salt and detergent cleaning tips and see the amazing results for yourself. Don’t be afraid to experiment with different variations and find what works best for your specific needs.
We’re confident that you’ll be impressed with the cleaning power of this DIY solution. Once you’ve tried it, we’d love to hear about your experience. Share your before-and-after photos, tips, and variations in the comments below. Let’s build a community of DIY cleaning enthusiasts and help each other discover new and innovative ways to keep our homes sparkling clean!
Frequently Asked Questions (FAQ)
Q: What kind of salt and detergent should I use?
A: For salt, you can use either table salt, sea salt, or kosher salt. Coarse salt is generally more effective for scrubbing tough stains, but finer salt is gentler on delicate surfaces. As for detergent, any dish soap or laundry detergent will work. Choose a detergent that is effective at cutting through grease and grime. For heavily soiled areas, consider using a stronger detergent.
Q: Can I use this solution on all surfaces?
A: While this solution is generally safe for most surfaces, it’s always best to test it on an inconspicuous area first, especially when dealing with delicate materials like painted walls, wood, or certain types of plastic. Avoid using it on surfaces that are easily scratched, such as polished marble or stainless steel appliances.
Q: How do I adjust the ratio of salt to detergent?
A: The ideal ratio of salt to detergent will depend on the severity of the stain or grime. For light cleaning, you can use a ratio of 1 part salt to 2 parts detergent. For tougher stains, you may need to use a higher concentration of salt, such as 2 parts salt to 1 part detergent. Start with a lower concentration and gradually increase it until you achieve the desired results.
Q: How long should I let the solution sit on the stain before scrubbing?
A: The amount of time you let the solution sit on the stain will depend on the type of stain and the surface you’re cleaning. For light stains, a few minutes may be sufficient. For tougher stains, you may need to let the solution sit for 10-15 minutes or even longer. Be sure to keep the area moist by reapplying the solution as needed.
Q: What kind of scrubbing tool should I use?
A: The best scrubbing tool will depend on the surface you’re cleaning. For grout and other hard surfaces, a stiff-bristled brush is ideal. For more delicate surfaces, a sponge or soft cloth is a better choice. Avoid using abrasive scrubbing pads, as they can scratch or damage the surface.
Q: Can I use this solution to clean my oven?
A: Yes, this solution can be used to clean your oven, but it may require some extra effort. First, remove any loose debris from the oven. Then, apply the salt and detergent solution to the interior surfaces of the oven. Let it sit for several hours or overnight. Finally, scrub the oven with a stiff-bristled brush and wipe clean with a damp cloth.
Q: Is this solution safe for septic systems?
A: Yes, this solution is generally safe for septic systems, as long as you don’t use excessive amounts of detergent. Choose a detergent that is biodegradable and septic-safe. Avoid using detergents that contain harsh chemicals, such as bleach or phosphates.
Q: Can I store the leftover solution?
A: Yes, you can store the leftover solution in an airtight container for several days. However, it’s best to use it as soon as possible, as the salt may settle to the bottom of the container over time. Be sure to shake the solution well before each use.
Q: What if the solution doesn’t remove the stain completely?
A: If the solution doesn’t remove the stain completely, you can try repeating the process or using a stronger concentration of salt. You can also try adding a tablespoon of white vinegar or hydrogen peroxide to the solution for extra cleaning power. If all else fails, you may need to resort to a commercial stain remover.
Q: Are there any safety precautions I should take when using this solution?
A: While this solution is generally safe, it’s always a good idea to wear gloves to protect your hands from irritation. Avoid getting the solution in your eyes. If you do, rinse them thoroughly with water. Keep the solution out of reach of children and pets.
Leave a Comment