
Reuse plastic pots cucumbers – sounds like a recipe for a sustainable and thriving garden, doesn’t it? I’m so excited to share some clever DIY tricks that will not only help you grow delicious cucumbers but also give those often-discarded plastic pots a new lease on life!
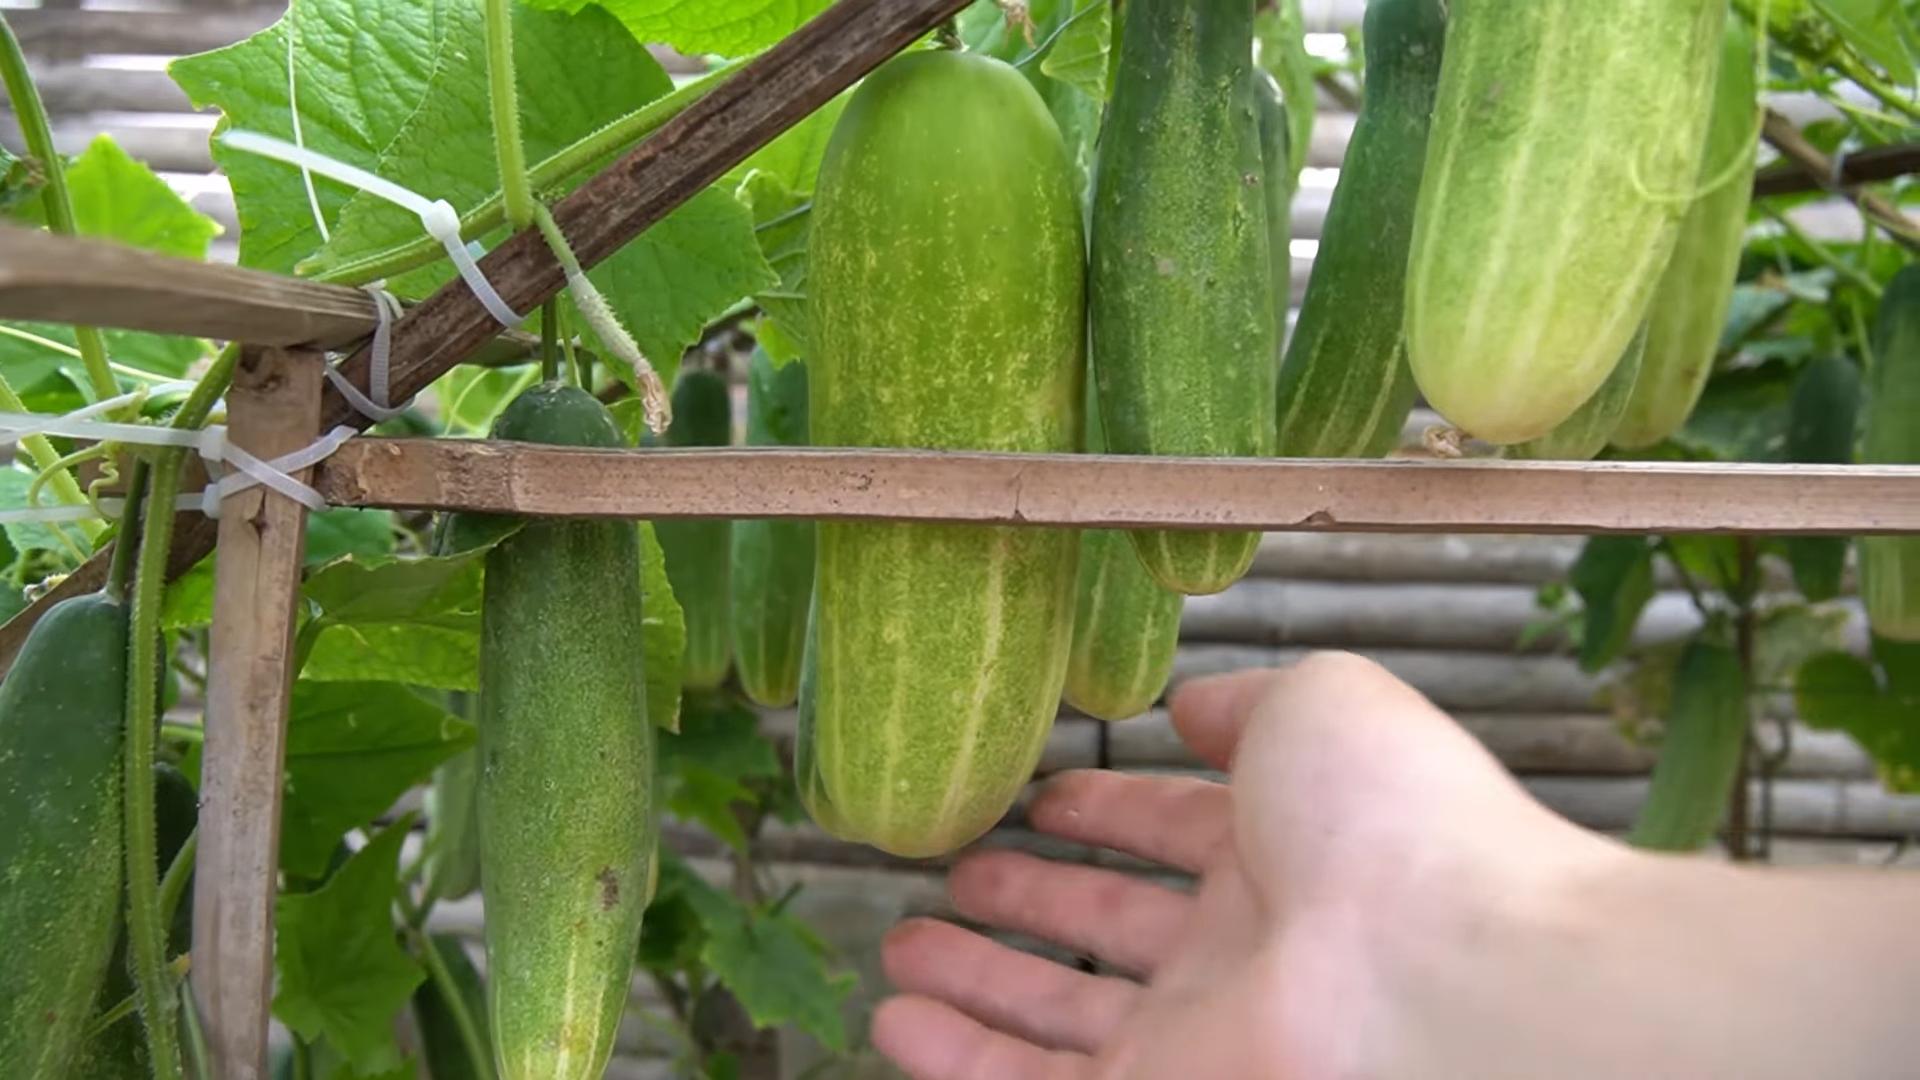
For centuries, cultivating cucumbers has been a practice deeply rooted in various cultures. From ancient Rome, where emperors demanded them year-round, to Asian traditions where they symbolize good health and fortune, cucumbers have always held a special place. Now, you can bring that rich history into your own backyard, or even your balcony, with a touch of eco-consciousness.
Why should you bother with these DIY hacks? Well, let’s face it, gardening can sometimes feel expensive and wasteful. Buying new pots every season adds up, and all that plastic ends up in landfills. But what if you could drastically reduce your gardening costs, minimize waste, and still enjoy a bountiful harvest of crisp, refreshing cucumbers? That’s where these tricks come in! I’ll show you how to creatively reuse plastic pots cucumbers love, ensuring they have the perfect environment to flourish. Plus, you’ll feel amazing knowing you’re doing your part for the planet while enjoying the fruits (or vegetables!) of your labor. Get ready to transform those discarded containers into cucumber-growing powerhouses!
Transforming Plastic Cucumber Containers into Thriving Herb Gardens
Hey there, fellow DIY enthusiasts! Are you drowning in those clear plastic containers that cucumbers come in? Don’t toss them! I’m going to show you how to upcycle them into adorable and functional herb gardens. It’s a fantastic way to reduce waste, add some greenery to your space, and have fresh herbs right at your fingertips. Plus, it’s a super easy and rewarding project. Let’s get started!
Materials You’ll Need
Before we dive in, let’s gather our supplies. Here’s what you’ll need:
* Cucumber Containers: Obviously! Make sure they’re clean and dry. I usually give mine a good wash with soap and water.
* Potting Soil: Choose a good quality potting mix that’s suitable for herbs. I prefer one that drains well.
* Gravel or Small Stones: This is for drainage. You can find these at any garden center or even collect them from your yard (just make sure they’re clean!).
* Herb Seedlings or Seeds: Pick your favorite herbs! Basil, mint, parsley, chives, oregano – the possibilities are endless. Seedlings are quicker, but seeds are more economical.
* Drill or Sharp Object: For creating drainage holes. A drill is ideal, but a nail or screwdriver heated with a lighter can also work in a pinch (be careful!).
* Watering Can or Spray Bottle: For watering your herbs.
* Optional: Decorative Elements: Paint, markers, labels, twine – anything you want to use to personalize your herb gardens.
Preparing the Containers
This is a crucial step to ensure your herbs thrive. Good drainage is key to preventing root rot.
1. Clean the Containers: Start by thoroughly washing the cucumber containers with warm, soapy water. Remove any labels or sticky residue. Rinse them well and let them dry completely. This will prevent any mold or bacteria from affecting your herbs.
2. Drill Drainage Holes: This is probably the most important step. You need to create drainage holes in the bottom of the containers so excess water can escape.
* Using a Drill: If you have a drill, use a drill bit that’s about ¼ inch in diameter. Drill several holes (at least 4-5) evenly spaced across the bottom of each container.
* Using a Heated Object: If you don’t have a drill, you can use a nail, screwdriver, or even a skewer. Heat the tip of the object with a lighter (be very careful not to burn yourself!). Then, carefully poke holes in the bottom of the container. Again, aim for at least 4-5 holes.
* Important Note: Be careful when drilling or poking holes. The plastic can be brittle and crack. Go slowly and apply gentle pressure.
3. Optional: Decorate the Containers: This is where you can get creative! You can paint the containers with acrylic paint, use permanent markers to draw designs, or wrap them with twine for a rustic look. You can also add labels to identify your herbs. I like to use chalkboard paint so I can easily change the labels as needed. Let your imagination run wild!
Planting Your Herbs
Now for the fun part – planting your herbs!
1. Add Drainage Layer: Pour a layer of gravel or small stones into the bottom of each container. This will help improve drainage and prevent the soil from becoming waterlogged. Aim for a layer that’s about 1-2 inches thick.
2. Fill with Potting Soil: Fill the containers with potting soil, leaving about an inch of space at the top. Gently pat down the soil to remove any air pockets.
3. Plant Your Herbs:
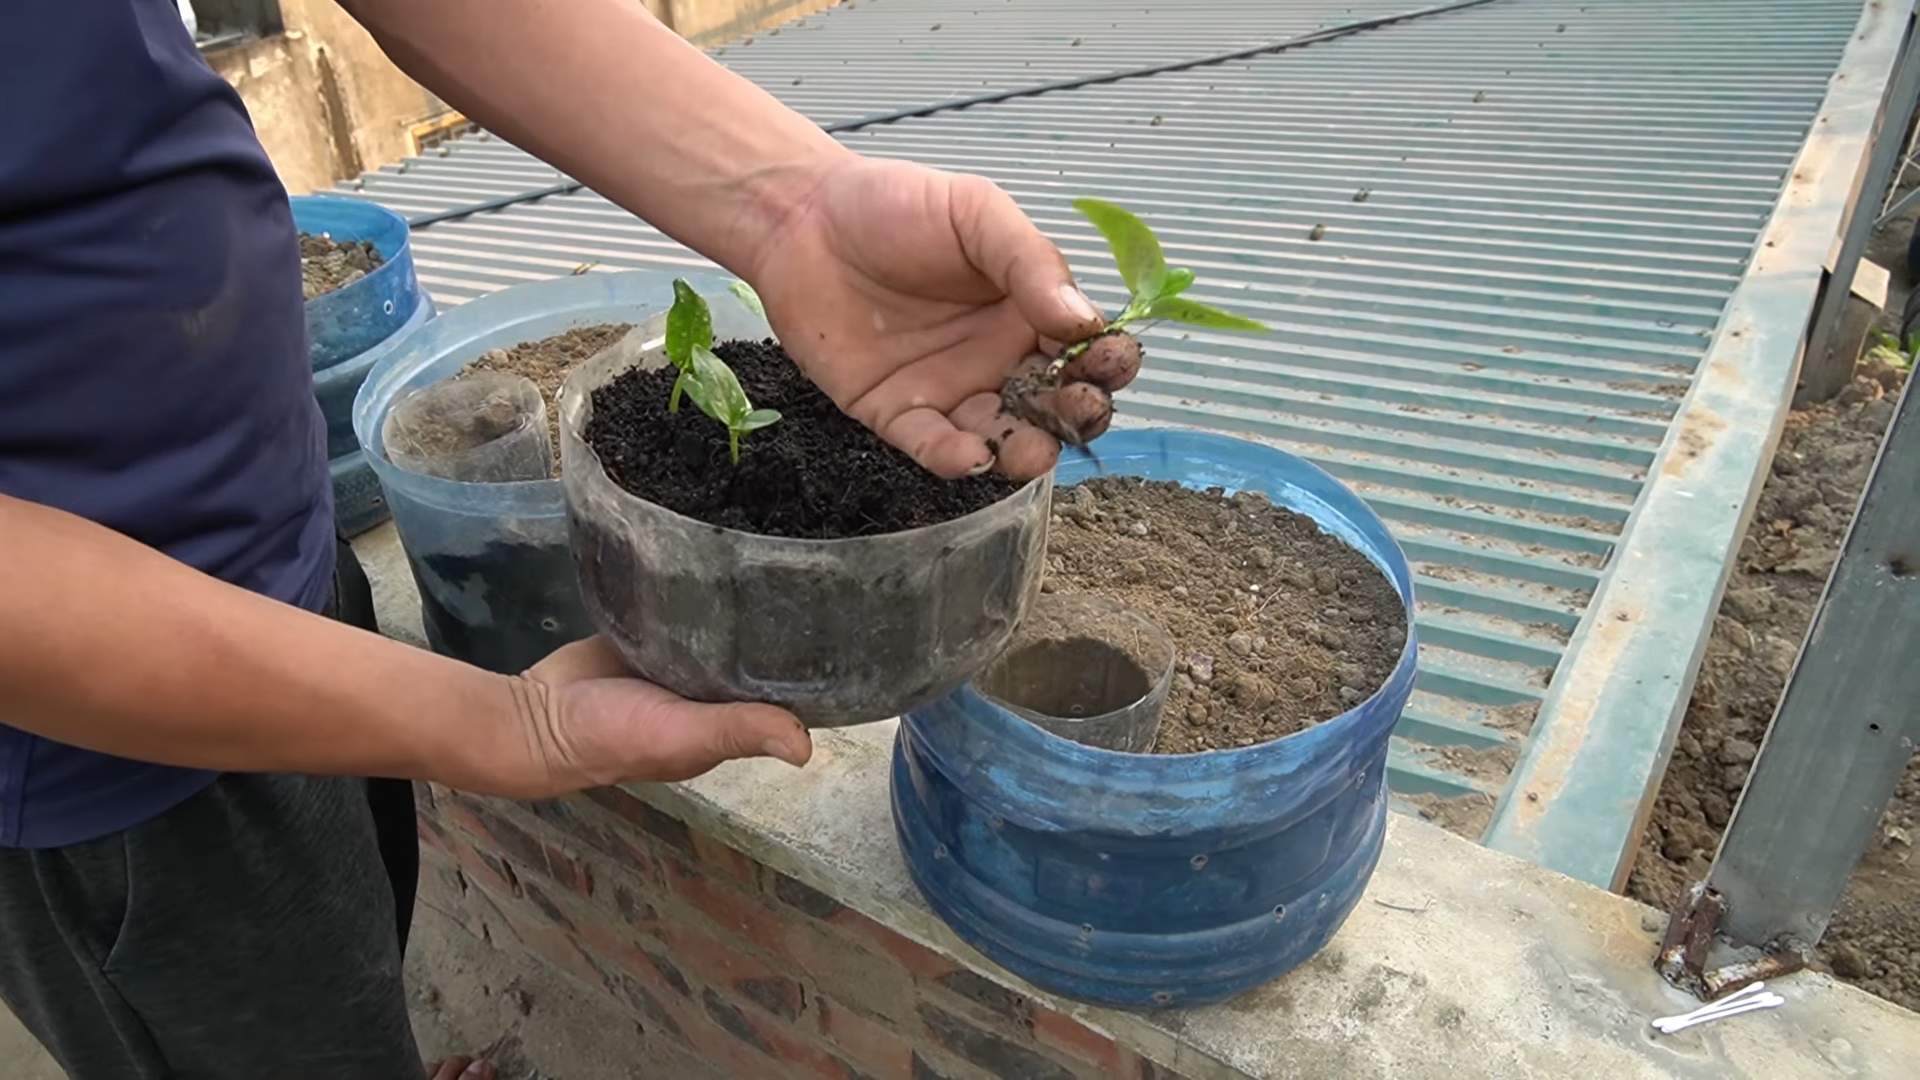
* Using Seedlings: Gently remove the seedlings from their containers. Loosen the roots slightly with your fingers. Dig a small hole in the potting soil and place the seedling in the hole. Make sure the top of the root ball is level with the surrounding soil. Fill in the hole with more potting soil and gently pat it down.
* Using Seeds: Sprinkle the seeds evenly over the surface of the potting soil. Cover them with a thin layer of soil, following the instructions on the seed packet. Gently water the soil.
4. Water Thoroughly: After planting, water the herbs thoroughly. Use a watering can or spray bottle to gently moisten the soil. Avoid overwatering, as this can lead to root rot.
Caring for Your Herb Gardens
Proper care is essential for keeping your herb gardens healthy and thriving.
1. Sunlight: Most herbs need at least 6 hours of sunlight per day. Place your herb gardens in a sunny location, such as a windowsill, balcony, or patio. If you don’t have enough natural light, you can supplement with a grow light.
2. Watering: Water your herbs regularly, but avoid overwatering. The soil should be moist but not soggy. Check the soil moisture by sticking your finger into the soil. If the top inch of soil is dry, it’s time to water. Water deeply, allowing the water to drain out of the drainage holes.
3. Fertilizing: Herbs don’t need a lot of fertilizer, but a light feeding every few weeks can help them grow. Use a balanced liquid fertilizer diluted to half strength.
4. Pruning: Pruning your herbs regularly will encourage them to grow bushier and produce more leaves. Pinch off the tips of the stems to promote branching. You can also remove any yellow or brown leaves.
5. Pest Control: Keep an eye out for pests, such as aphids, spider mites, and whiteflies. If you notice any pests, you can try spraying them with insecticidal soap or neem oil.
Specific Herb Tips
Here are a few tips for growing some popular herbs:
* Basil: Basil loves warm weather and plenty of sunlight. Water it regularly and pinch off the flower buds to encourage leaf production.
* Mint: Mint is a vigorous grower and can quickly take over a garden. It’s best to grow it in a container to prevent it from spreading. Water it regularly and prune it frequently.
* Parsley: Parsley prefers moist soil and partial shade. It’s a biennial, meaning it will produce leaves for two years before going to seed.
* Chives: Chives are easy to grow and tolerate a wide range of conditions. Water them regularly and cut them back to the base after flowering.
* Oregano: Oregano is a drought-tolerant herb that prefers well-drained soil and plenty of sunlight. Prune it regularly to encourage bushier growth.
Troubleshooting
Even with the best care, you might encounter some problems with your herb gardens. Here are a few common issues and how to fix them:
* Yellowing Leaves: This could be a sign of overwatering, underwatering, or nutrient deficiency. Check the soil moisture and adjust your watering schedule accordingly. If the soil is dry, water more frequently. If the soil is soggy, water less frequently. You can also try fertilizing your herbs with a balanced liquid fertilizer.
* Leggy Growth: This is usually caused by insufficient sunlight. Move your herb gardens to a sunnier location or supplement with a grow light.
* Pests: As mentioned earlier, keep an eye out for pests and treat them promptly with insecticidal soap or neem oil.
* Root Rot: This is caused by overwatering and poor drainage. Make sure your containers have adequate drainage holes and avoid overwatering. If you suspect root rot, you can try repotting your herbs in fresh potting soil.
Enjoying Your Herb Gardens
Now that you’ve created your herb gardens, it’s time to enjoy them! Use your fresh herbs to flavor your favorite dishes, make herbal teas, or even create homemade beauty products. The possibilities are endless!
I hope you found this DIY guide helpful. Happy gardening!
Conclusion
So, there you have it! Transforming those discarded plastic pots into thriving cucumber planters is not just a clever way to recycle; it’s a game-changer for your gardening experience. We’ve shown you how to give these humble containers a new lease on life, turning them into miniature ecosystems perfectly suited for nurturing your cucumber plants. This DIY project is a must-try for several compelling reasons.
First and foremost, it’s incredibly cost-effective. Instead of purchasing new pots, you’re repurposing materials you already have, saving money and reducing waste. This is a win-win for your wallet and the environment. Secondly, it’s surprisingly simple. The steps are straightforward and require minimal effort, making it an accessible project for gardeners of all skill levels. Even if you’re a complete beginner, you can confidently tackle this DIY trick and achieve impressive results.
But the benefits extend beyond mere practicality. Growing cucumbers in repurposed plastic pots allows for better control over the growing environment. You can easily move the pots to optimize sunlight exposure, protect them from harsh weather, and monitor soil conditions more closely. This level of control translates to healthier, more productive cucumber plants.
Ready to take your cucumber gardening to the next level?
Consider these variations to personalize your project:
* Vertical Gardening: Stack the repurposed pots to create a vertical cucumber garden, maximizing space and adding a visually appealing element to your patio or balcony. Use a sturdy frame or trellis to support the climbing vines.
* Companion Planting: Plant companion herbs like basil or marigolds in the same pot to deter pests and attract beneficial insects. This natural pest control method can significantly improve the health of your cucumber plants.
* Self-Watering System: Modify the pots to create a simple self-watering system by adding a reservoir at the bottom. This will help maintain consistent moisture levels, especially during hot summer months.
* Painted Pots: Get creative and paint the pots with vibrant colors or decorative designs. This will not only enhance the aesthetic appeal of your garden but also protect the plastic from UV damage.
We are confident that this DIY trick will revolutionize your cucumber gardening. It’s a sustainable, cost-effective, and highly rewarding way to grow delicious, homegrown cucumbers. Don’t just take our word for it – try it yourself and witness the transformation firsthand.
We encourage you to embark on this exciting gardening adventure. Gather your plastic pots, follow our simple instructions, and prepare to be amazed by the results. And most importantly, share your experience with us! We’d love to see your repurposed cucumber planters and hear about your gardening successes. Post photos and stories on social media using #RepurposedCucumberPots and #DIYGardening. Let’s inspire others to embrace sustainable gardening practices and create thriving gardens, one repurposed pot at a time. Your journey to a bountiful cucumber harvest starts now!
Frequently Asked Questions (FAQ)
What type of plastic pots are best for this project?
Ideally, you should use sturdy, food-grade plastic pots that are at least 12 inches in diameter. Larger pots are preferable as they provide more room for the cucumber roots to grow. Avoid using pots that are cracked or damaged, as they may not be able to support the weight of the soil and plants. Also, ensure the pots are thoroughly cleaned before use to remove any residual chemicals or contaminants.
How do I prepare the plastic pots for planting cucumbers?
First, thoroughly clean the pots with soap and water to remove any dirt or debris. Drill drainage holes in the bottom of the pots to prevent waterlogging. A good rule of thumb is to have at least four to five holes, each about half an inch in diameter. You can also add a layer of gravel or small stones at the bottom of the pot to further improve drainage.
What type of soil should I use for growing cucumbers in repurposed pots?
Cucumbers thrive in well-draining, nutrient-rich soil. A good potting mix specifically formulated for vegetables is ideal. You can also create your own mix by combining equal parts of garden soil, compost, and perlite or vermiculite. The compost will provide essential nutrients, while the perlite or vermiculite will improve drainage and aeration.
How often should I water my cucumber plants in repurposed pots?
Water your cucumber plants regularly, especially during hot and dry weather. The soil should be kept consistently moist but not waterlogged. Check the soil moisture by inserting your finger about an inch deep. If the soil feels dry, it’s time to water. Water deeply, allowing the water to drain out of the drainage holes. Avoid overhead watering, as this can promote fungal diseases.
How much sunlight do cucumber plants need?
Cucumbers need at least six to eight hours of direct sunlight per day to thrive. Choose a sunny location for your repurposed pots, preferably one that receives morning sun and afternoon shade. If you live in a particularly hot climate, providing some shade during the hottest part of the day can prevent the plants from wilting.
Do I need to fertilize my cucumber plants in repurposed pots?
Yes, cucumbers are heavy feeders and benefit from regular fertilization. Use a balanced fertilizer specifically formulated for vegetables, following the instructions on the package. You can also supplement with organic fertilizers like compost tea or fish emulsion. Fertilize every two to three weeks during the growing season.
How do I support my cucumber plants in repurposed pots?
Cucumbers are vining plants and need support to grow properly. You can use a trellis, stake, or cage to support the vines. Insert the support structure into the pot when you plant the seedlings to avoid disturbing the roots later. Train the vines to climb the support structure by gently tying them with soft twine or plant clips.
What are some common pests and diseases that affect cucumber plants?
Common pests that affect cucumber plants include aphids, cucumber beetles, and squash bugs. Common diseases include powdery mildew, downy mildew, and fusarium wilt. Regularly inspect your plants for signs of pests or diseases. Treat infestations with insecticidal soap or neem oil. Prevent diseases by providing good air circulation, avoiding overhead watering, and using disease-resistant varieties.
Can I grow different varieties of cucumbers in repurposed pots?
Yes, you can grow various cucumber varieties in repurposed pots. Choose varieties that are well-suited for container gardening, such as bush cucumbers or compact vining varieties. Be sure to provide adequate space for each plant to grow and support the vines as needed.
How do I know when my cucumbers are ready to harvest?
Cucumbers are typically ready to harvest when they are firm, green, and of the desired size for the variety you are growing. Check the seed packet or plant tag for specific harvesting instructions. Harvest regularly to encourage continued production. Overripe cucumbers will become yellow and seedy.

Leave a Comment