
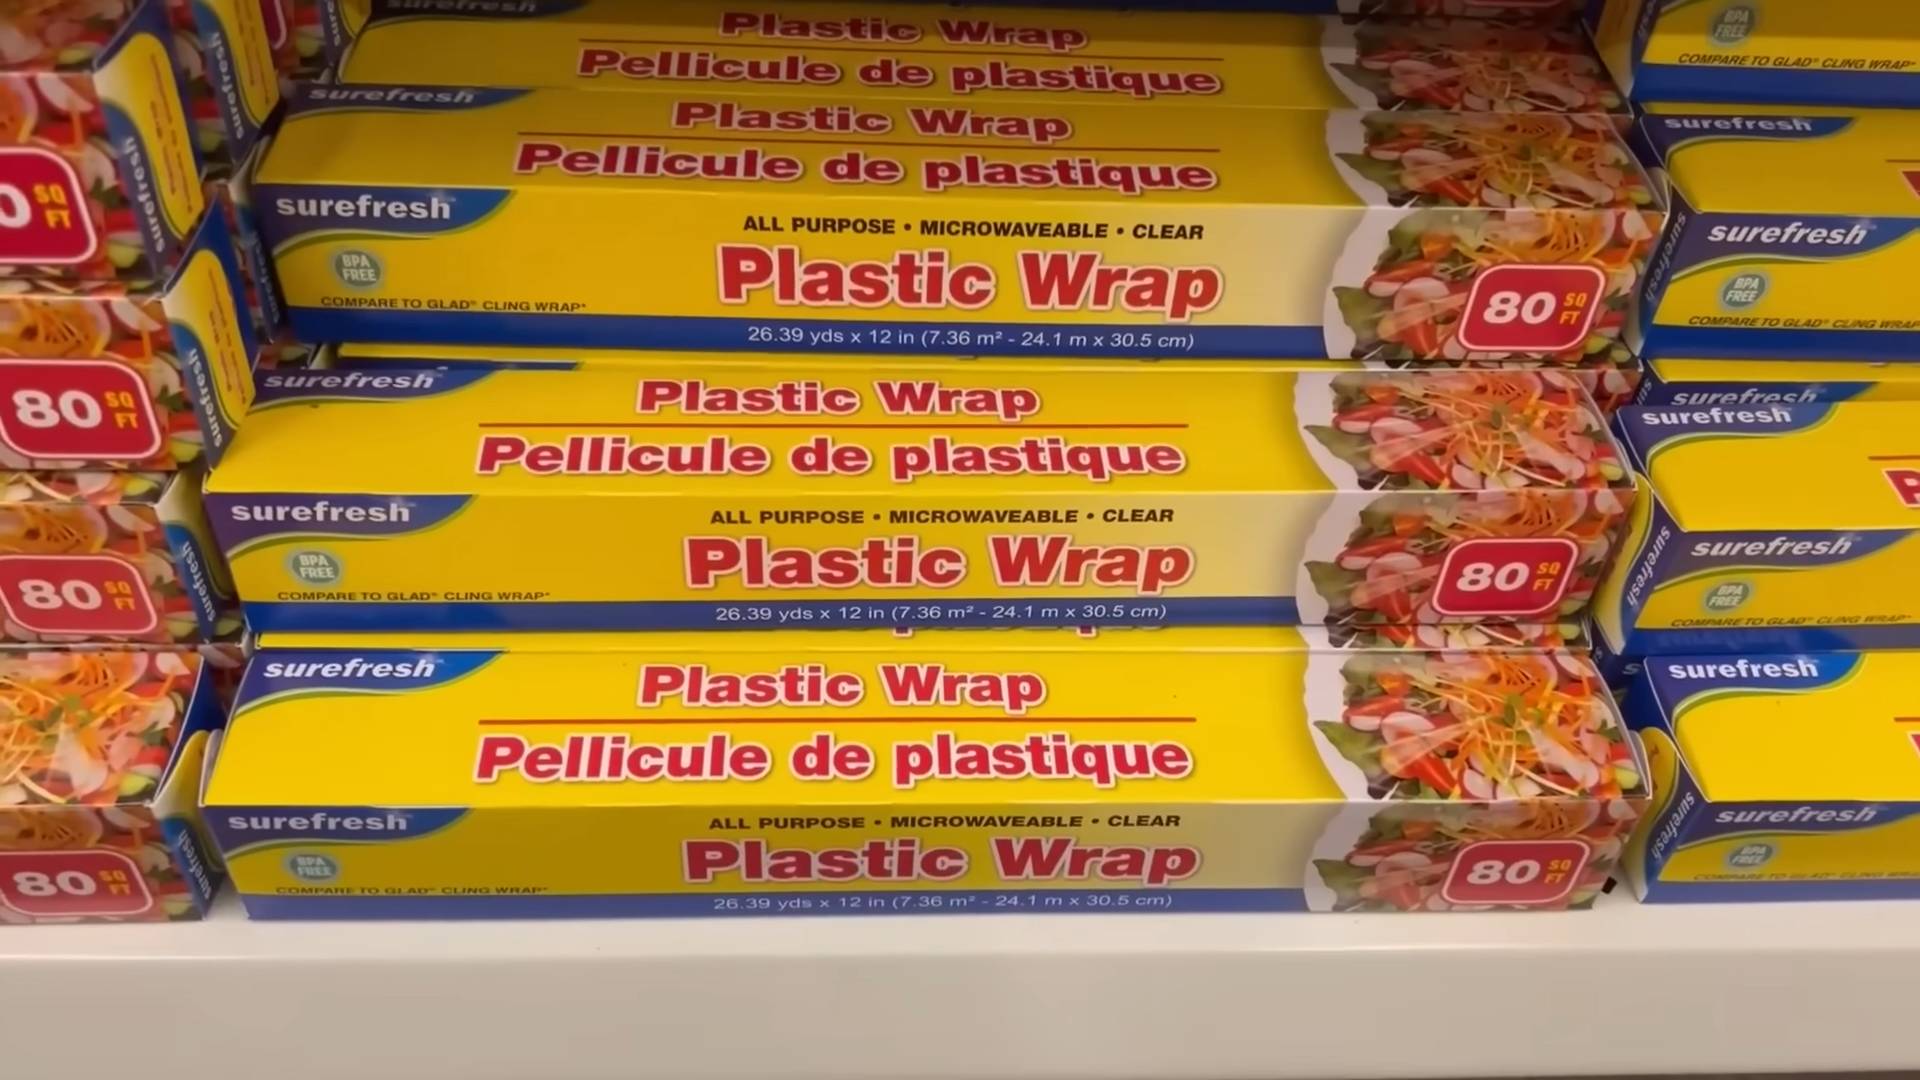
Plastic wrap DIY ideas – who knew these three words could unlock a world of creative possibilities right in your home? I’m always on the lookout for clever ways to repurpose everyday items, and plastic wrap has proven to be a surprisingly versatile tool. From the kitchen to the garden, this humble material can be transformed into something truly useful and even beautiful.
While plastic wrap might seem like a modern invention, the concept of using thin, protective layers to preserve and protect dates back centuries. Ancient Egyptians used beeswax to wrap mummies, and various cultures have employed natural resins and oils for similar purposes. Today, we have the convenience of plastic wrap, and I’m excited to show you how to take it beyond simply covering leftovers.
Let’s face it, we all want to save money and reduce waste. That’s where these plastic wrap DIY ideas come in! Whether you’re looking to protect your plants from frost, create stunning art projects, or even give your beauty routine a boost, I’ve got you covered. These hacks are easy, affordable, and incredibly satisfying. So, grab a roll of plastic wrap, and let’s get started on some amazing DIY projects that will transform your home and garden!
Grow Potatoes Like a Pro: My Secret to a Bountiful Harvest!
Okay, potato lovers, gather ’round! I’m about to share my tried-and-true method for growing potatoes faster and getting a seriously impressive yield. Forget those tiny, sad potatoes you sometimes get from the store – we’re talking about a mountain of spuds, ready for roasting, mashing, and everything in between. This method, often called “potato towers” or “vertical potato gardening,” maximizes space and sunlight, leading to quicker growth and a much bigger harvest. Trust me, once you try this, you’ll never go back to traditional potato planting!
What You’ll Need: The Potato Powerhouse Arsenal
Before we dive into the nitty-gritty, let’s make sure you have everything you need. Don’t worry, it’s not a huge list, and you probably have some of these items already!
* Seed Potatoes: These are your starting point! Choose certified seed potatoes from a reputable source. Avoid using potatoes from the grocery store, as they may be treated to prevent sprouting. I usually go for varieties like Yukon Gold (creamy and delicious!), Red Pontiac (great for boiling), or Russet Burbank (perfect for baking). The amount you need will depend on the size of your container, but generally, 3-5 seed potatoes per container is a good starting point.
* Large Container: This is where the magic happens! You’ll need a container that’s at least 2 feet in diameter and 2-3 feet deep. Think large plastic tubs, old barrels, or even repurposed trash cans (make sure they’re clean and food-safe!). You can even build your own tower using wood or chicken wire.
* Potting Mix: Don’t skimp on the soil! Use a high-quality potting mix that’s well-draining. A mix of compost, peat moss, and perlite works wonders. Avoid using garden soil, as it can be too heavy and compact.
* Compost: This is the secret ingredient for happy potatoes! Compost provides essential nutrients and helps retain moisture. I like to use a mix of homemade compost and store-bought compost.
* Water: Obvious, but essential! Potatoes need consistent moisture, especially during the growing season.
* Sunlight: Potatoes are sun-worshippers! Choose a location that gets at least 6-8 hours of direct sunlight per day.
* Sharp Knife: For cutting the seed potatoes (if needed).
* Gloves: To protect your hands from the soil.
* Optional: Fertilizer specifically formulated for potatoes.
Step-by-Step: Building Your Potato Paradise
Alright, let’s get our hands dirty! Here’s how to build your potato tower and get those spuds growing:
1. Prepare Your Seed Potatoes: A week or two before planting, place your seed potatoes in a cool, bright location to encourage them to sprout. This process is called “chitting.” If your seed potatoes are large (bigger than an egg), cut them into smaller pieces, making sure each piece has at least 2-3 “eyes” (those little bumps where sprouts will emerge). Let the cut pieces dry for a day or two to prevent rotting.
2. Prepare Your Container: If your container doesn’t have drainage holes, drill some in the bottom. Good drainage is crucial to prevent waterlogging and root rot.
3. The First Layer: Add about 6-8 inches of potting mix to the bottom of your container. Mix in a generous amount of compost. This will be the foundation for your potato plants.
4. Planting the First Round: Place your seed potato pieces (or whole seed potatoes if they’re small) on top of the soil, with the sprouts facing upwards. Space them evenly around the container, about 6-8 inches apart.
5. Cover with Soil: Cover the seed potatoes with another 4-6 inches of potting mix and compost. Gently water the soil until it’s moist but not soggy.
6. Wait for the Sprouts: Now comes the waiting game! Keep the soil consistently moist and wait for the potato plants to emerge from the soil. This usually takes about 2-3 weeks.
7. The “Hilling” Process: This is where the magic really happens! Once the potato plants are about 6-8 inches tall, it’s time to “hill” them. This means adding more soil around the base of the plants, burying the lower part of the stems. This encourages the plants to produce more potatoes along the buried stems.
8. Add More Soil: Add another 4-6 inches of potting mix and compost around the plants, leaving only the top few inches of the stems exposed. Water the soil thoroughly.
9. Repeat the Hilling: Continue the hilling process every 2-3 weeks as the plants grow taller. Each time, add more soil around the base of the plants, burying the lower part of the stems. The goal is to fill the container with soil as the plants grow, creating a tall “tower” of potato-producing stems.
10. Watering and Feeding: Potatoes need consistent moisture, especially during the growing season. Water deeply whenever the top inch of soil feels dry. You can also fertilize your potato plants every 2-3 weeks with a fertilizer specifically formulated for potatoes. Follow the instructions on the fertilizer package.
11. Pest Control: Keep an eye out for pests like potato beetles and aphids. Hand-pick them off the plants or use an organic insecticide if necessary.
12. Harvest Time! This is the most exciting part! You can start harvesting “new potatoes” (small, tender potatoes) about 2-3 weeks after the plants flower. To harvest new potatoes, carefully dig around the base of the plants and remove a few potatoes. For a full harvest, wait until the plants start to die back and the foliage turns yellow or brown. This usually takes about 3-4 months.
13. Harvesting the Bounty: To harvest the potatoes, gently tip the container over and carefully remove the soil. You’ll be amazed at the number of potatoes you find!
Troubleshooting: Common Potato Problems and Solutions
Even with the best planning, sometimes things can go wrong. Here are a few common potato problems and how to fix them:
* Potato Blight: This is a fungal disease that can cause brown spots on the leaves and stems. To prevent potato blight, choose disease-resistant varieties and avoid overhead watering. If you see signs of blight, remove the affected leaves and stems immediately.
* Potato Beetles: These pesky beetles can quickly defoliate your potato plants. Hand-pick them off the plants or use an organic insecticide like neem oil.
* Aphids: These tiny insects suck the sap from potato plants, weakening them. Spray the plants with a strong stream of water or use an insecticidal soap.
* Scab: This is a bacterial disease that causes rough, scabby patches on the potatoes. To prevent scab, avoid planting potatoes in alkaline soil and rotate your crops.
* Green Potatoes: Potatoes that are exposed to sunlight can turn green and produce a toxic substance called solanine. Avoid eating green potatoes. To prevent greening, make sure the potatoes are completely covered with soil.
Tips and Tricks for Potato-Growing Success
Here are a few extra tips to help you grow the best potatoes ever:
* Choose the Right Variety: Different potato varieties have different growing requirements and flavors. Do some research to find the varieties that are best suited for your climate and taste preferences.
* Use Certified Seed Potatoes: Certified seed potatoes are guaranteed to be disease-free and true to type. This will give you a much better chance of success.
* Don’t Overwater: Overwatering can lead to root rot and other problems. Water deeply but infrequently, allowing the soil to dry out slightly between waterings.
* Mulch: Mulching around the base of the plants can help retain moisture, suppress weeds, and regulate soil temperature.
* Rotate Your Crops: Avoid planting potatoes in the same location year after year. Crop rotation can help prevent soilborne diseases and pests.
* Have Fun! Growing potatoes should be a fun and rewarding experience. Don’t be afraid to experiment and try new things.
Harvesting and Storing Your Potato Treasure
Once you’ve harvested your potatoes, it’s important to store them properly to keep them fresh for as long as possible.
* Curing: Before storing your potatoes, cure them for about 1-2 weeks in a cool, dark, and well-ventilated place. This will help them develop a thicker skin and prevent rotting.
* Storage: Store your cured potatoes in a cool, dark, and dry place, such as a root cellar or basement. The ideal temperature is between 40-50 degrees Fahrenheit.
* Avoid Sunlight: Exposure to sunlight can cause potatoes to turn green and produce solanine.
Conclusion
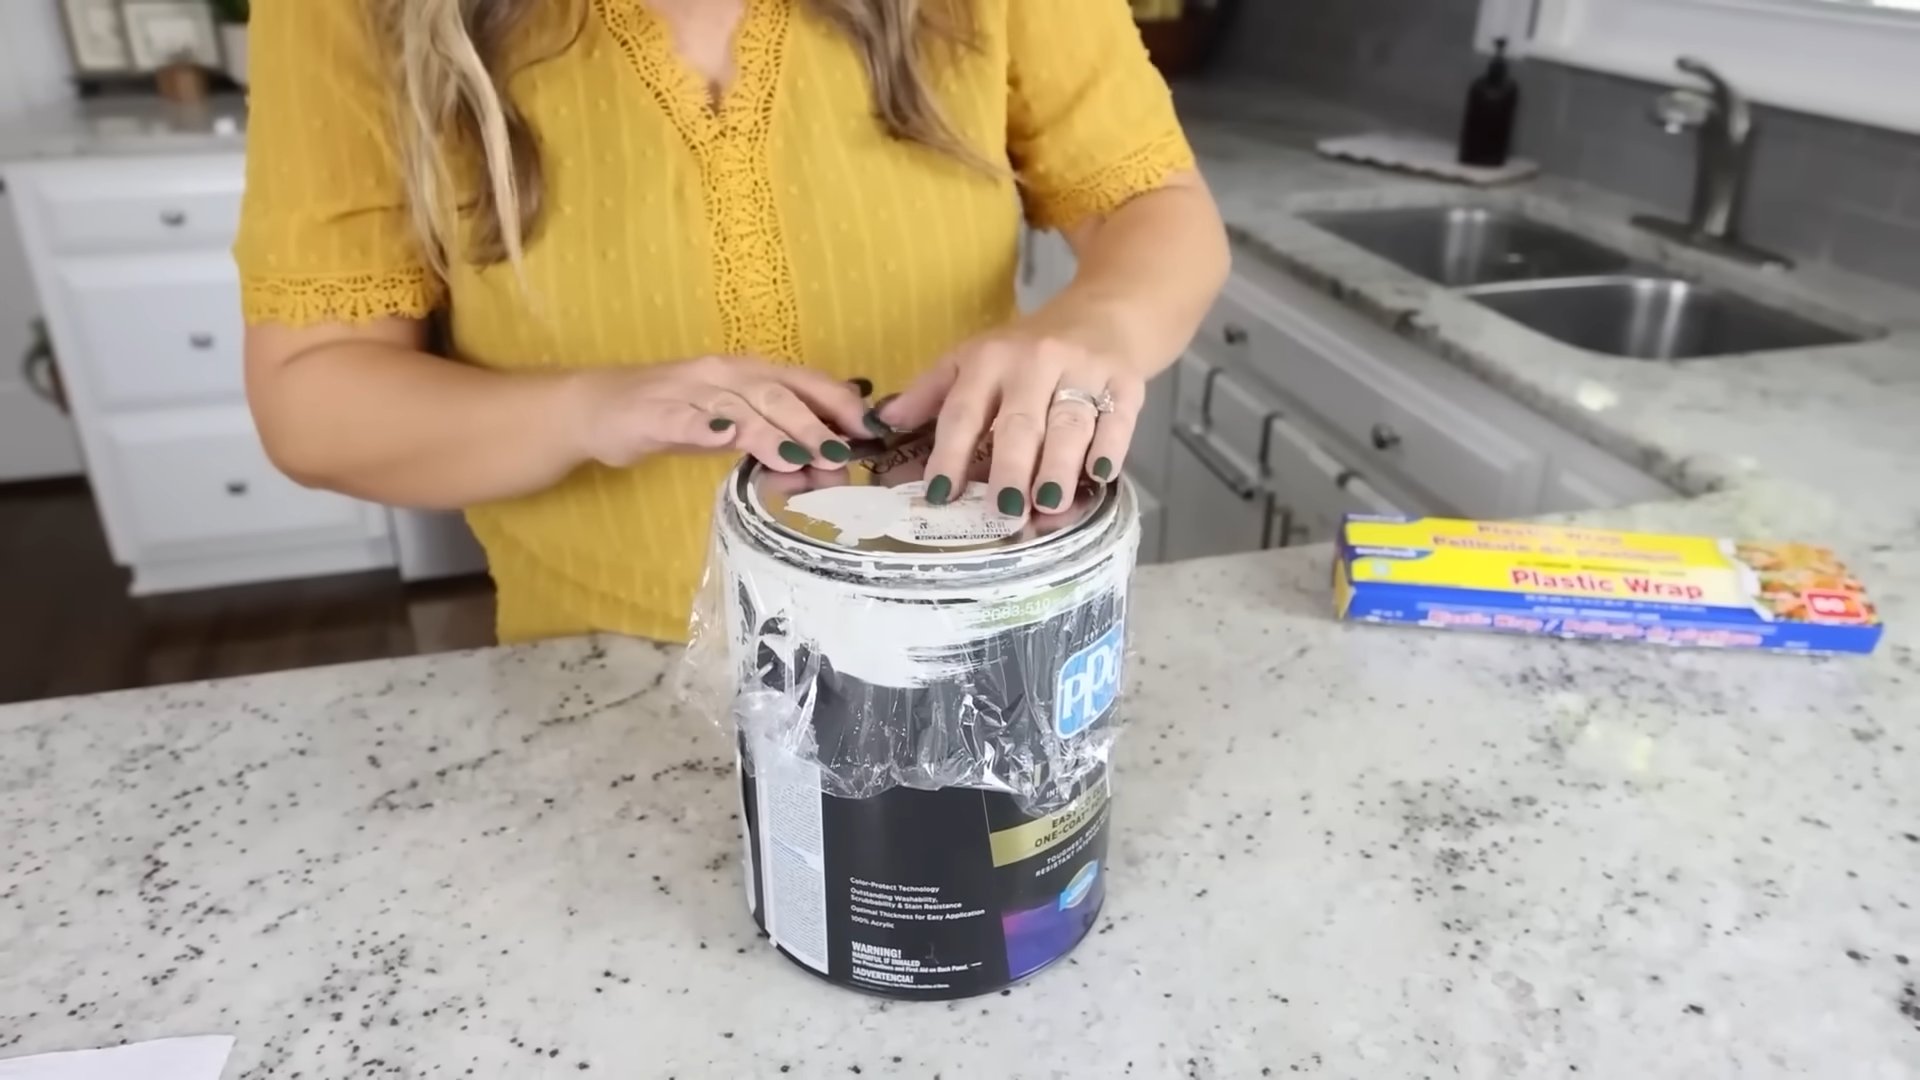
So, there you have it! Ditching store-bought solutions and embracing these ingenious plastic wrap DIY ideas is more than just a clever hack; it’s a game-changer for your kitchen, your budget, and even the environment. We’ve explored how this everyday kitchen staple can be transformed into a versatile tool for everything from preserving your avocados to creating stunning nail art.
But why is this a must-try? Because it’s simple, effective, and readily available. You likely already have plastic wrap in your drawer, making these solutions instantly accessible. Think about the money you’ll save by extending the life of your produce, preventing messy spills, and creating salon-worthy manicures at home. Beyond the financial benefits, you’re also reducing waste by repurposing a material that might otherwise end up in the trash.
Consider these variations to personalize your experience. For the avocado-saving trick, experiment with different types of plastic wrap to see which provides the best seal. Some prefer a thicker, clingier wrap, while others find a thinner option works just as well. When using plastic wrap for nail art, try layering different colors of polish or adding glitter for a truly unique design. You can even use small pieces of plastic wrap to create textured effects on your walls with paint! The possibilities are truly endless.
Don’t be afraid to get creative and adapt these ideas to your own needs and preferences. The beauty of DIY is the freedom to experiment and discover what works best for you. We encourage you to try these plastic wrap DIY ideas and see the difference they can make in your daily life.
We are confident that once you experience the convenience and cost-effectiveness of these tricks, you’ll wonder how you ever lived without them. So, grab your roll of plastic wrap and get started!
And most importantly, we want to hear from you! Share your experiences, your successes, and even your funny mishaps in the comments below. What other creative uses have you discovered for plastic wrap? What variations have you tried? Let’s build a community of DIY enthusiasts and inspire each other with our ingenuity. Your insights could be just what someone else needs to unlock the full potential of this humble kitchen essential. Let us know if you have any questions. We are here to help.
Frequently Asked Questions (FAQ)
Q: Is all plastic wrap food-safe?
A: Not all plastic wrap is created equal. It’s crucial to check the packaging to ensure that the plastic wrap you’re using is specifically labeled as food-safe. This means it’s been tested and approved for contact with food without leaching harmful chemicals. Avoid using industrial-grade plastic wrap for food-related applications, as it may contain substances that are not safe for consumption. If you’re unsure, err on the side of caution and choose a brand that clearly states its food-safe status. Also, be mindful of the temperature limitations of your plastic wrap. Some types are not suitable for use in the microwave or oven. Always refer to the manufacturer’s instructions for safe usage guidelines.
Q: Can I reuse plastic wrap after using it for these DIY tricks?
A: Reusing plastic wrap depends on its previous use and condition. If you’ve used it to cover food, especially raw meat or poultry, it’s best to discard it to prevent the spread of bacteria. However, if you’ve used it for a clean application, such as protecting a surface while painting or creating nail art, you may be able to reuse it. Inspect the plastic wrap for any tears, holes, or residue before reusing it. If it’s clean and intact, you can wash it with soap and water and allow it to dry completely. Keep in mind that plastic wrap is not designed for repeated use, so it may lose its clinginess or become brittle over time. When in doubt, it’s always best to err on the side of caution and use a fresh piece of plastic wrap.
Q: Are there any eco-friendly alternatives to plastic wrap for these DIY ideas?
A: Absolutely! If you’re looking for more sustainable options, there are several eco-friendly alternatives to plastic wrap that you can use for some of these DIY ideas. Beeswax wraps are a great option for covering food and can be reused multiple times. Silicone lids and containers are also excellent for storing leftovers and preventing spills. For applications where a thin, flexible material is needed, such as protecting surfaces while painting, you can use parchment paper or reusable silicone mats. While these alternatives may not be suitable for every single DIY trick, they offer a more environmentally conscious way to achieve similar results. Consider investing in a variety of reusable options to reduce your reliance on single-use plastic wrap.
Q: How can I prevent plastic wrap from sticking to itself when I’m trying to use it?
A: The struggle with plastic wrap sticking to itself is a common one! Here are a few tips to make it easier to handle:
* Store it properly: Keep your plastic wrap in a cool, dry place away from direct sunlight. Heat and humidity can make it stickier.
* Use the box’s cutting edge: The serrated edge on the plastic wrap box is designed to provide a clean cut. Use it to avoid tearing or bunching the wrap.
* Pull it out slowly: Avoid pulling the plastic wrap out too quickly, as this can create static electricity and cause it to cling to itself.
* Stretch it slightly: Before applying the plastic wrap, gently stretch it to remove any wrinkles or creases. This will also help it cling better to the surface you’re covering.
* Use a damp cloth: If the plastic wrap is particularly stubborn, try wiping your hands with a damp cloth before handling it. This will reduce static electricity and make it easier to work with.
Q: Can I use these plastic wrap DIY ideas for commercial purposes, like in a restaurant or catering business?
A: While many of these plastic wrap DIY ideas are suitable for both home and commercial use, it’s essential to consider food safety regulations and best practices when applying them in a professional setting. For example, when using plastic wrap to preserve food in a restaurant, ensure that you’re following proper labeling and storage procedures to prevent spoilage and contamination. In some cases, commercial kitchens may be required to use specific types of plastic wrap that meet certain safety standards. Always consult with your local health department or regulatory agency to ensure that you’re complying with all applicable rules and regulations. Additionally, consider the cost-effectiveness of using plastic wrap for large-scale operations. In some cases, investing in more durable and reusable containers or equipment may be a more sustainable and economical solution in the long run.

Leave a Comment