
Planting Taro at Home might seem like an exotic endeavor, reserved for tropical landscapes, but I’m here to tell you it’s totally achievable, even if you’re miles away from Hawaii! For centuries, taro has been a staple food in Polynesian cultures, deeply intertwined with their traditions and way of life. Imagine bringing a piece of that rich heritage into your own backyard!
But beyond the cultural significance, why should you consider planting taro at home? Well, for starters, fresh, homegrown taro offers a unique flavor and nutritional boost that you simply can’t find in store-bought varieties. Plus, let’s be honest, there’s something incredibly satisfying about nurturing a plant from a humble corm to a thriving, leafy beauty.
This DIY guide is your passport to successfully planting taro at home. I’ll walk you through every step, from selecting the right corm to providing the ideal growing conditions. Whether you’re a seasoned gardener or a complete newbie, I’m confident that you’ll be harvesting your own delicious taro in no time. So, grab your gardening gloves, and let’s get started!
Planting Taro at Home: A Beginner’s Guide
Hey there, fellow plant enthusiasts! Ever thought about growing your own taro? It might seem a bit exotic, but trust me, it’s totally doable, even if you’re a beginner like I once was. Taro, also known as “kalo” in Hawaiian, is a starchy root vegetable that’s not only delicious but also packed with nutrients. Plus, the lush, heart-shaped leaves add a tropical vibe to any garden or even a large pot indoors.
This guide will walk you through everything you need to know to successfully grow taro at home. Let’s get our hands dirty!
Choosing Your Taro Variety
Before we dive into the planting process, let’s talk about taro varieties. There are many different types, each with its own unique characteristics. Some are better suited for specific climates or growing conditions.
* Dryland Taro: These varieties thrive in well-drained soil and don’t require constant flooding. They’re a great option if you live in an area with moderate rainfall.
* Wetland Taro: As the name suggests, these taro varieties prefer consistently moist or even flooded conditions. If you have a pond or a naturally wet area in your yard, wetland taro might be perfect for you.
* Bun Long Taro: This is a popular variety known for its large corms (the edible root) and relatively easy cultivation. It’s a good choice for beginners.
* Dasheen Taro: Another widely grown variety, Dasheen taro produces smaller corms but is known for its excellent flavor.
I recommend starting with Bun Long or Dasheen taro if you’re new to growing taro. They’re relatively forgiving and readily available at most nurseries or online retailers.
Preparing Your Planting Site or Container
Okay, so you’ve chosen your taro variety. Now it’s time to get your planting site ready. Taro needs a specific environment to thrive, so let’s make sure we get it right.
* Sunlight: Taro loves sunlight, but it can also tolerate partial shade. Aim for at least 6 hours of direct sunlight per day. If you’re growing taro indoors, place it near a sunny window.
* Soil: The ideal soil for taro is rich, well-draining, and slightly acidic. A mixture of potting soil, compost, and peat moss works well. If you’re planting in the ground, amend the soil with plenty of organic matter.
* Water: Taro needs consistent moisture, especially during the growing season. Keep the soil consistently moist, but not waterlogged. Wetland taro varieties can even be grown in standing water.
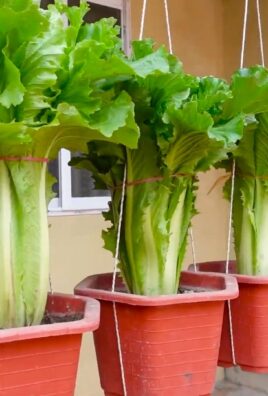
* Container Size: If you’re growing taro in a container, choose a large pot that’s at least 18 inches in diameter and 18 inches deep. This will give the roots plenty of room to grow.
Planting Your Taro
Alright, let’s get to the fun part – planting! Here’s a step-by-step guide to planting your taro:
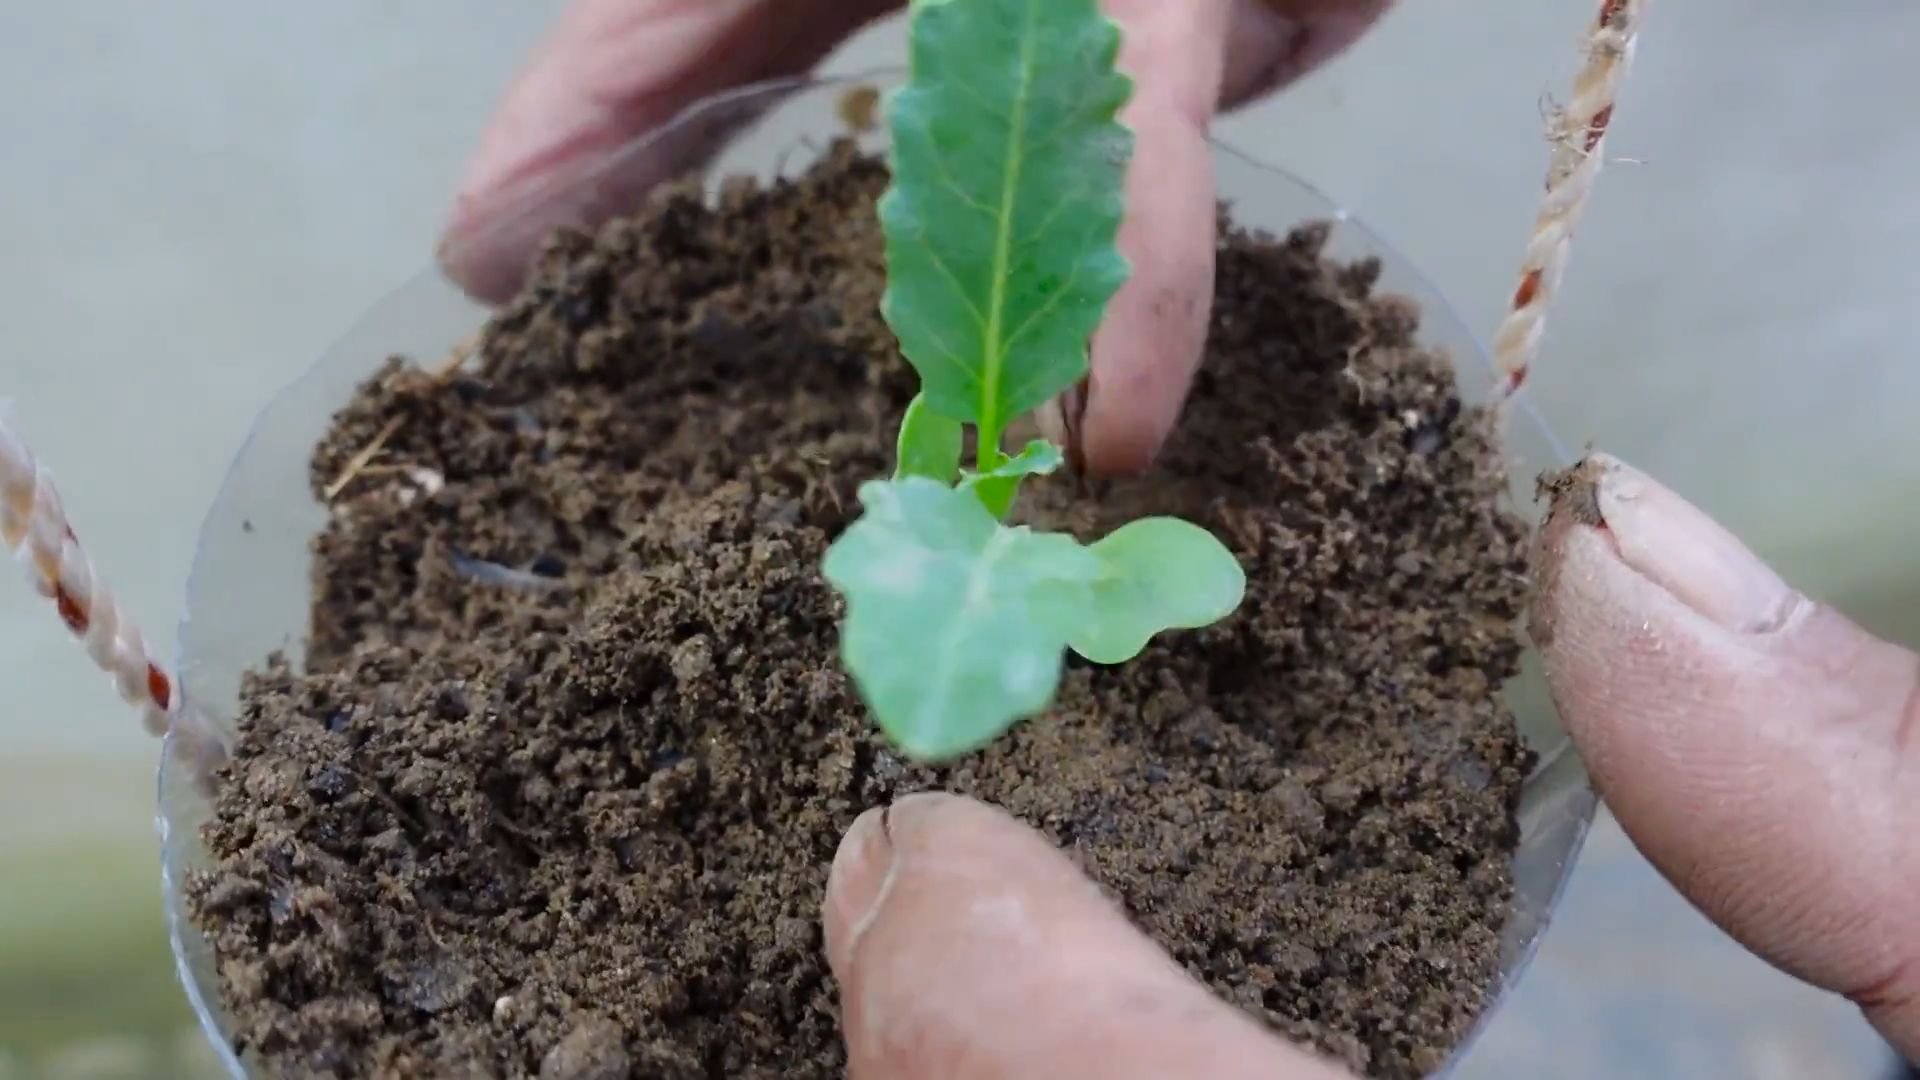
1. Prepare the Soil: Whether you’re planting in a container or in the ground, make sure the soil is loose and well-drained. Mix in plenty of compost or other organic matter to improve fertility.
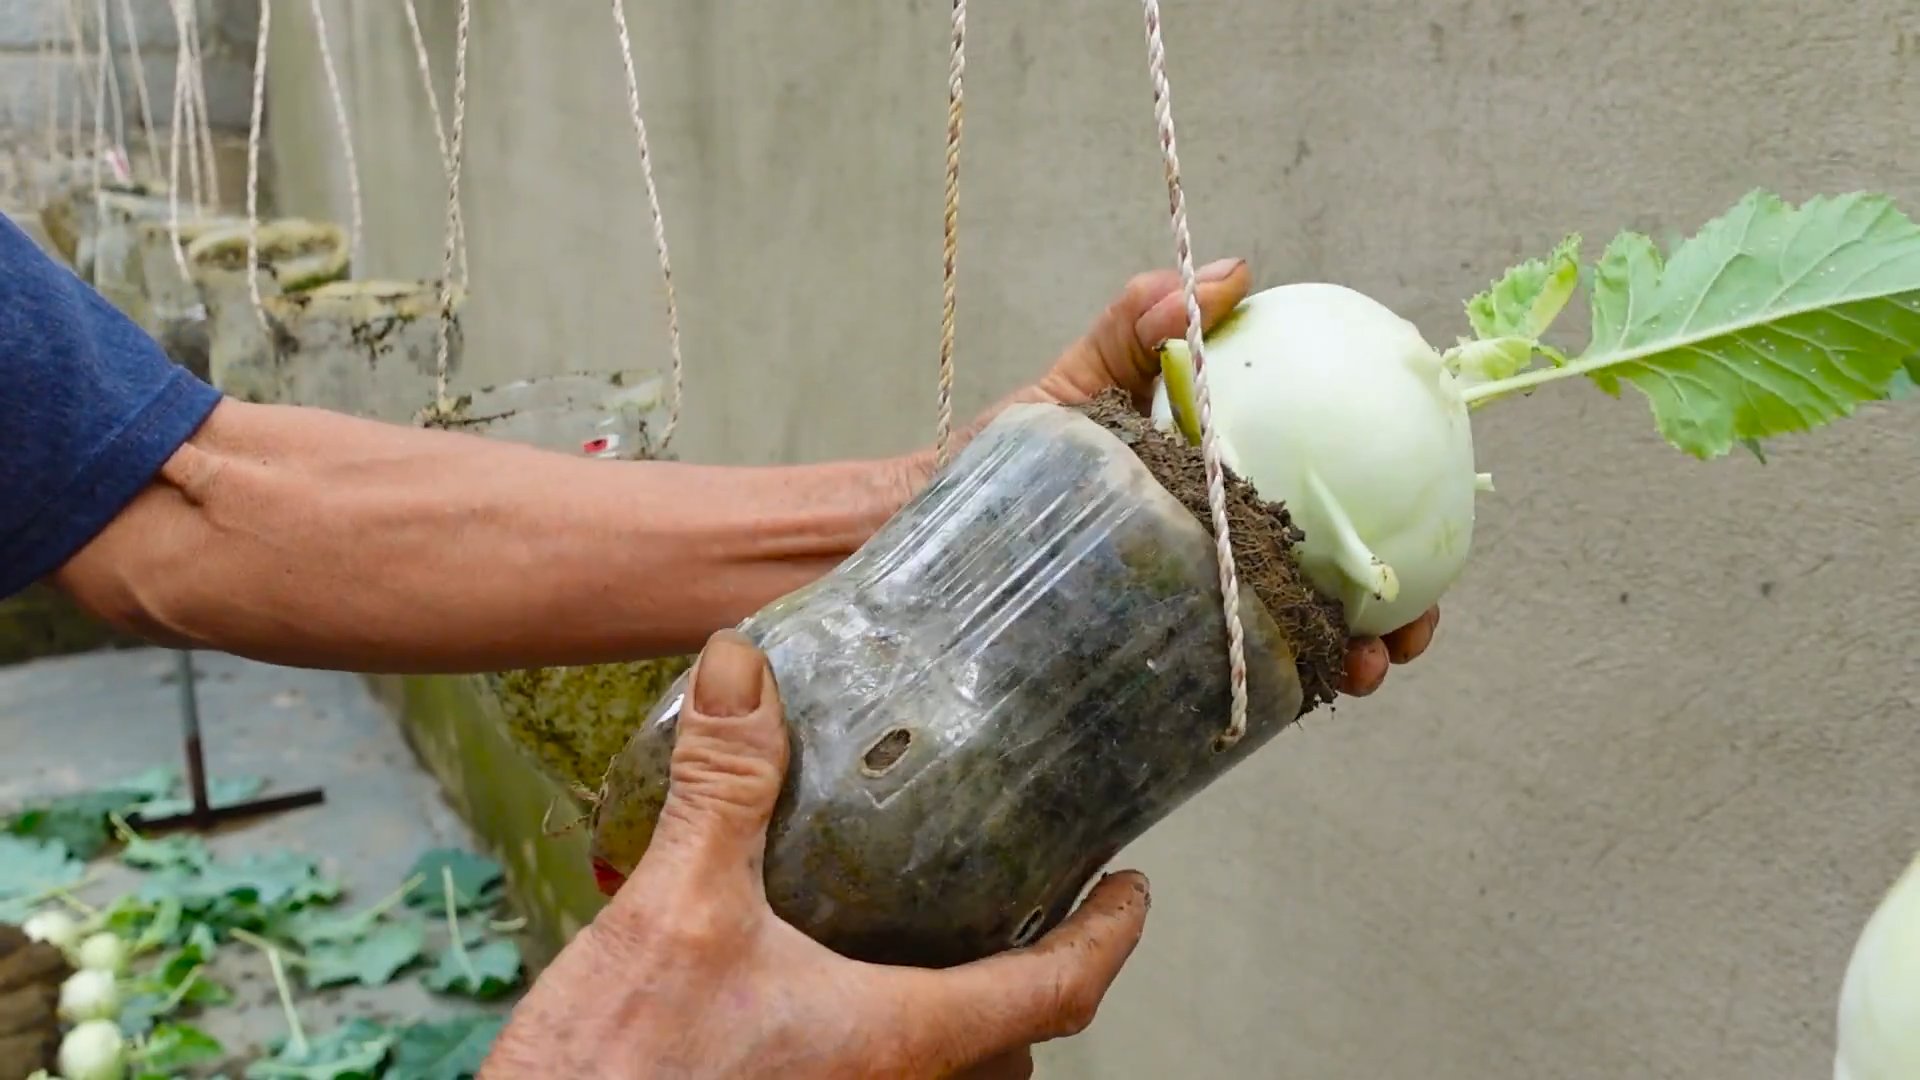
2. Dig a Hole: Dig a hole that’s about twice the size of the taro corm.
3. Place the Corm: Place the taro corm in the hole, with the pointed end facing up. This is where the shoots will emerge.
4. Cover with Soil: Cover the corm with soil, leaving the top inch or two exposed.
5. Water Thoroughly: Water the soil thoroughly after planting.
6. Mulch (Optional): Add a layer of mulch around the base of the plant to help retain moisture and suppress weeds.
Caring for Your Taro Plant
Once your taro is planted, it’s important to provide it with the right care to ensure healthy growth.
* Watering: Taro needs consistent moisture, so water it regularly, especially during hot, dry weather. Check the soil moisture regularly and water when the top inch feels dry. For wetland varieties, keep the soil consistently flooded.
* Fertilizing: Taro is a heavy feeder, so it benefits from regular fertilization. Use a balanced fertilizer every few weeks during the growing season. I like to use a liquid fertilizer diluted to half strength.
* Weeding: Keep the area around your taro plant free of weeds. Weeds can compete with the taro for nutrients and water.
* Pest Control: Taro is generally pest-resistant, but it can be susceptible to aphids, spider mites, and other common garden pests. Inspect your plants regularly and treat any infestations promptly. Insecticidal soap or neem oil can be effective for controlling most pests.
* Pruning: You can prune your taro plant to encourage bushier growth. Simply remove any yellowing or damaged leaves.
Growing Taro in Water (Hydroponically)
Did you know you can also grow taro in water? It’s a fun and unique way to showcase this beautiful plant. Here’s how:
1. Choose a Container: Select a container that’s large enough to hold the taro corm and some water. A glass vase or jar works well.
2. Add Water: Fill the container with water, leaving about an inch of space at the top.
3. Place the Corm: Place the taro corm in the water, with the pointed end facing up. Make sure the bottom of the corm is submerged in water.
4. Add Support (Optional): If the corm is unstable, you can add some pebbles or gravel to the bottom of the container to provide support.
5. Change the Water: Change the water every few days to prevent algae growth.
6. Fertilize: Add a diluted liquid fertilizer to the water every few weeks to provide the plant with nutrients.
Growing taro in water is a great way to enjoy its beautiful foliage indoors. Just be sure to provide it with plenty of sunlight.
Harvesting Your Taro
After several months of care, your taro plant will be ready to harvest. The exact time to harvest will depend on the variety and growing conditions, but generally, taro is ready to harvest when the leaves start to turn yellow and die back.
Here’s how to harvest your taro:
1. Loosen the Soil: Use a garden fork or shovel to loosen the soil around the base of the plant.
2. Gently Pull: Gently pull the taro corm out of the ground.
3. Clean the Corm: Wash the corm thoroughly to remove any dirt or debris.
4. Cure (Optional): You can cure the corms by placing them in a cool, dry place for a few days. This will help them to store longer.
Using Your Harvested Taro
Now that you’ve harvested your taro, it’s time to enjoy the fruits (or rather, roots) of your labor! Taro can be used in a variety of dishes.
* Poi: In Hawaii, taro is traditionally used to make poi, a staple food made by pounding cooked taro into a smooth paste.
* Taro Chips: Taro can be sliced thinly and fried or baked to make delicious and healthy chips.
* Taro Stew: Taro can be added to stews and soups for a hearty and nutritious meal.
* Taro Cake: Taro can be used to make sweet and savory cakes.
Important Note: Always cook taro thoroughly before eating it. Raw taro contains calcium oxalate crystals, which can cause irritation and discomfort. Cooking breaks down these crystals, making the taro safe to eat.
Troubleshooting Common Taro Problems
Even with the best care, you might encounter some problems while growing taro. Here are some common issues and how to address them:
* Yellowing Leaves: Yellowing leaves can be a sign of overwatering, underwatering, nutrient deficiency, or pest infestation. Check the soil moisture, fertilize the plant, and inspect for pests.
* Stunted Growth: Stunted growth can be caused by insufficient sunlight, poor soil, or root rot. Make sure your taro plant is getting enough sunlight, amend the soil with organic matter, and avoid overwatering.
* Root Rot: Root rot is a fungal disease that can occur in waterlogged soil. Improve drainage and avoid overwatering. You can also treat root rot with a fungicide.
* Pest Infestations: Aphids, spider mites, and other pests can damage taro plants. Inspect your plants regularly and treat any infestations promptly with insecticidal soap or neem oil.
Propagating Taro
Want to expand your taro patch? You can easily propagate taro from corms or cormels (small corms that grow around the main corm).
* From Corms: Simply plant
Conclusion
So, there you have it! Planting taro at home is not only achievable but also incredibly rewarding. From understanding the ideal conditions to mastering the propagation techniques, you’re now equipped with the knowledge to cultivate your own thriving taro patch. This DIY project offers a unique opportunity to connect with nature, learn about sustainable gardening practices, and enjoy the delicious and nutritious benefits of homegrown taro.
Why is this a must-try? Because beyond the satisfaction of growing your own food, planting taro at home allows you to control the quality of your produce, ensuring it’s free from harmful chemicals and pesticides. You’ll also be contributing to a more sustainable lifestyle by reducing your reliance on commercially grown crops. Plus, the vibrant green foliage of taro plants adds a touch of tropical beauty to any garden or indoor space.
But the adventure doesn’t stop here! Feel free to experiment with different taro varieties to discover your favorite flavors and textures. Consider companion planting with other vegetables and herbs to create a thriving ecosystem in your garden. And don’t be afraid to get creative with your taro recipes – from classic poi to savory stews and crispy chips, the possibilities are endless.
We encourage you to embark on this exciting journey of planting taro at home. Share your experiences, successes, and challenges with us in the comments below. Let’s build a community of taro enthusiasts and learn from each other’s gardening adventures. Happy planting!
Frequently Asked Questions (FAQs)
What is the best time of year to plant taro?
The ideal time to plant taro is during the warm, wet season. Taro thrives in temperatures between 70°F and 85°F (21°C and 29°C) and requires consistent moisture. In most regions, this typically falls during the late spring or early summer months. However, if you live in a tropical or subtropical climate with year-round warm temperatures and ample rainfall, you can plant taro at any time of the year. If you are planting indoors, you can start at any time, but ensure you can provide adequate warmth and humidity.
How much sunlight does taro need?
Taro prefers partial shade, especially in hotter climates. While it needs sunlight to grow, too much direct sunlight can scorch the leaves. Aim for about 4-6 hours of indirect sunlight per day. If you’re growing taro indoors, place it near a bright window but shield it from intense afternoon sun. If you notice the leaves turning yellow or brown, it could be a sign that the plant is getting too much sun.
What kind of soil is best for taro?
Taro thrives in rich, well-draining soil that is high in organic matter. The ideal soil pH is between 5.5 and 6.5. Before planting, amend your soil with compost, well-rotted manure, or other organic materials to improve its fertility and drainage. If you’re growing taro in containers, use a high-quality potting mix that is specifically formulated for vegetables or tropical plants. Heavy clay soils should be amended with sand and organic matter to improve drainage.
How often should I water taro?
Taro requires consistent moisture to thrive. Keep the soil consistently moist, but not waterlogged. Water deeply whenever the top inch of soil feels dry to the touch. During hot, dry weather, you may need to water more frequently. If you’re growing taro in containers, make sure the pot has drainage holes to prevent water from accumulating at the bottom. Mulching around the base of the plant can help retain moisture in the soil.
How long does it take for taro to mature?
Taro typically takes 7-12 months to mature, depending on the variety and growing conditions. You’ll know the taro is ready to harvest when the leaves start to turn yellow and die back. The corm (the underground stem that is the edible part of the plant) should be firm and well-developed.
Can I grow taro in a container?
Yes, you can successfully grow taro in a container, especially if you don’t have a garden or live in a colder climate. Choose a large container that is at least 12 inches deep and wide to accommodate the plant’s root system. Make sure the container has drainage holes to prevent waterlogging. Use a high-quality potting mix and water regularly to keep the soil consistently moist. You may also need to fertilize the plant more frequently when growing it in a container.
What are some common pests and diseases that affect taro?
Taro can be susceptible to pests such as aphids, spider mites, and taro leafhoppers. These pests can be controlled with insecticidal soap or neem oil. Taro can also be affected by diseases such as taro leaf blight and root rot. To prevent these diseases, ensure good air circulation around the plants and avoid overwatering. If you notice any signs of disease, remove the affected leaves or plants immediately.
Is taro poisonous if eaten raw?
Yes, taro contains calcium oxalate crystals, which can cause irritation and burning sensations in the mouth and throat if eaten raw. It’s essential to cook taro thoroughly before consuming it to break down these crystals. Boiling, steaming, baking, or frying taro will make it safe to eat.
How do I store harvested taro?
Store harvested taro in a cool, dry, and well-ventilated place. You can store unpeeled taro corms for several weeks in the refrigerator. Peeled taro corms should be stored in the refrigerator in a container of water to prevent them from drying out. You can also freeze cooked taro for longer storage.
Can I propagate taro from cuttings?
Yes, taro can be propagated from cuttings, specifically from the cormels (small side shoots that grow from the main corm). Separate the cormels from the main corm and plant them in individual pots filled with potting mix. Keep the soil moist and warm, and the cormels should start to sprout within a few weeks. You can also propagate taro from the top portion of the corm after harvesting.
What are some creative ways to use taro in cooking?
Taro is a versatile ingredient that can be used in a variety of dishes. You can boil, steam, bake, or fry taro and use it in soups, stews, curries, and stir-fries. Taro can also be mashed and used as a substitute for potatoes. Taro leaves can be cooked and eaten as a vegetable, similar to spinach. Taro flour can be used to make bread, cakes, and other baked goods. Don’t be afraid to experiment and discover your own favorite taro recipes!
Leave a Comment