
Planting green beans in a small space might seem like a challenge, but trust me, it’s totally achievable and incredibly rewarding! Imagine fresh, crisp green beans straight from your own little garden, adding a burst of flavor to your meals. For centuries, cultures around the world have cultivated beans in diverse ways, from the intricate terrace farming of the Incas to the simple backyard gardens of today. This humble legume has always been a staple, providing essential nutrients and connecting us to the earth.
But let’s be honest, not everyone has acres of land to dedicate to gardening. That’s where these clever DIY tricks come in! I’m going to show you how to maximize your yield, even if you only have a balcony, patio, or a tiny patch of soil. We’ll explore vertical gardening techniques, container gardening secrets, and companion planting strategies that will have you harvesting a bounty of green beans in no time.
Why do you need these DIY hacks? Because fresh, homegrown produce tastes amazing, it’s healthier for you, and it’s incredibly satisfying to nurture something from seed to table. Plus, planting green beans in a small space is a fantastic way to reduce your carbon footprint and connect with nature, even in the heart of the city. So, grab your gardening gloves, and let’s get started!
Growing Green Beans in Small Spaces: A DIY Guide
Hey there, fellow gardening enthusiasts! So, you’re itching to grow some delicious green beans but are short on space? Don’t worry, I’ve got you covered! I’m going to walk you through a super fun and rewarding DIY project that will have you harvesting fresh green beans even if you only have a balcony, patio, or tiny backyard. We’re going to focus on vertical gardening techniques, which are perfect for maximizing your yield in minimal space. Let’s get started!
Choosing the Right Green Bean Variety
First things first, not all green beans are created equal when it comes to small-space gardening. We need to pick varieties that are well-suited for growing vertically.
* Pole Beans: These are your best bet! Pole beans are natural climbers and will happily grow up a trellis, netting, or any other support structure you provide. They produce beans over a longer period compared to bush beans. Some popular pole bean varieties include Kentucky Wonder, Blue Lake Pole, and Scarlet Runner (which also has beautiful red flowers!).
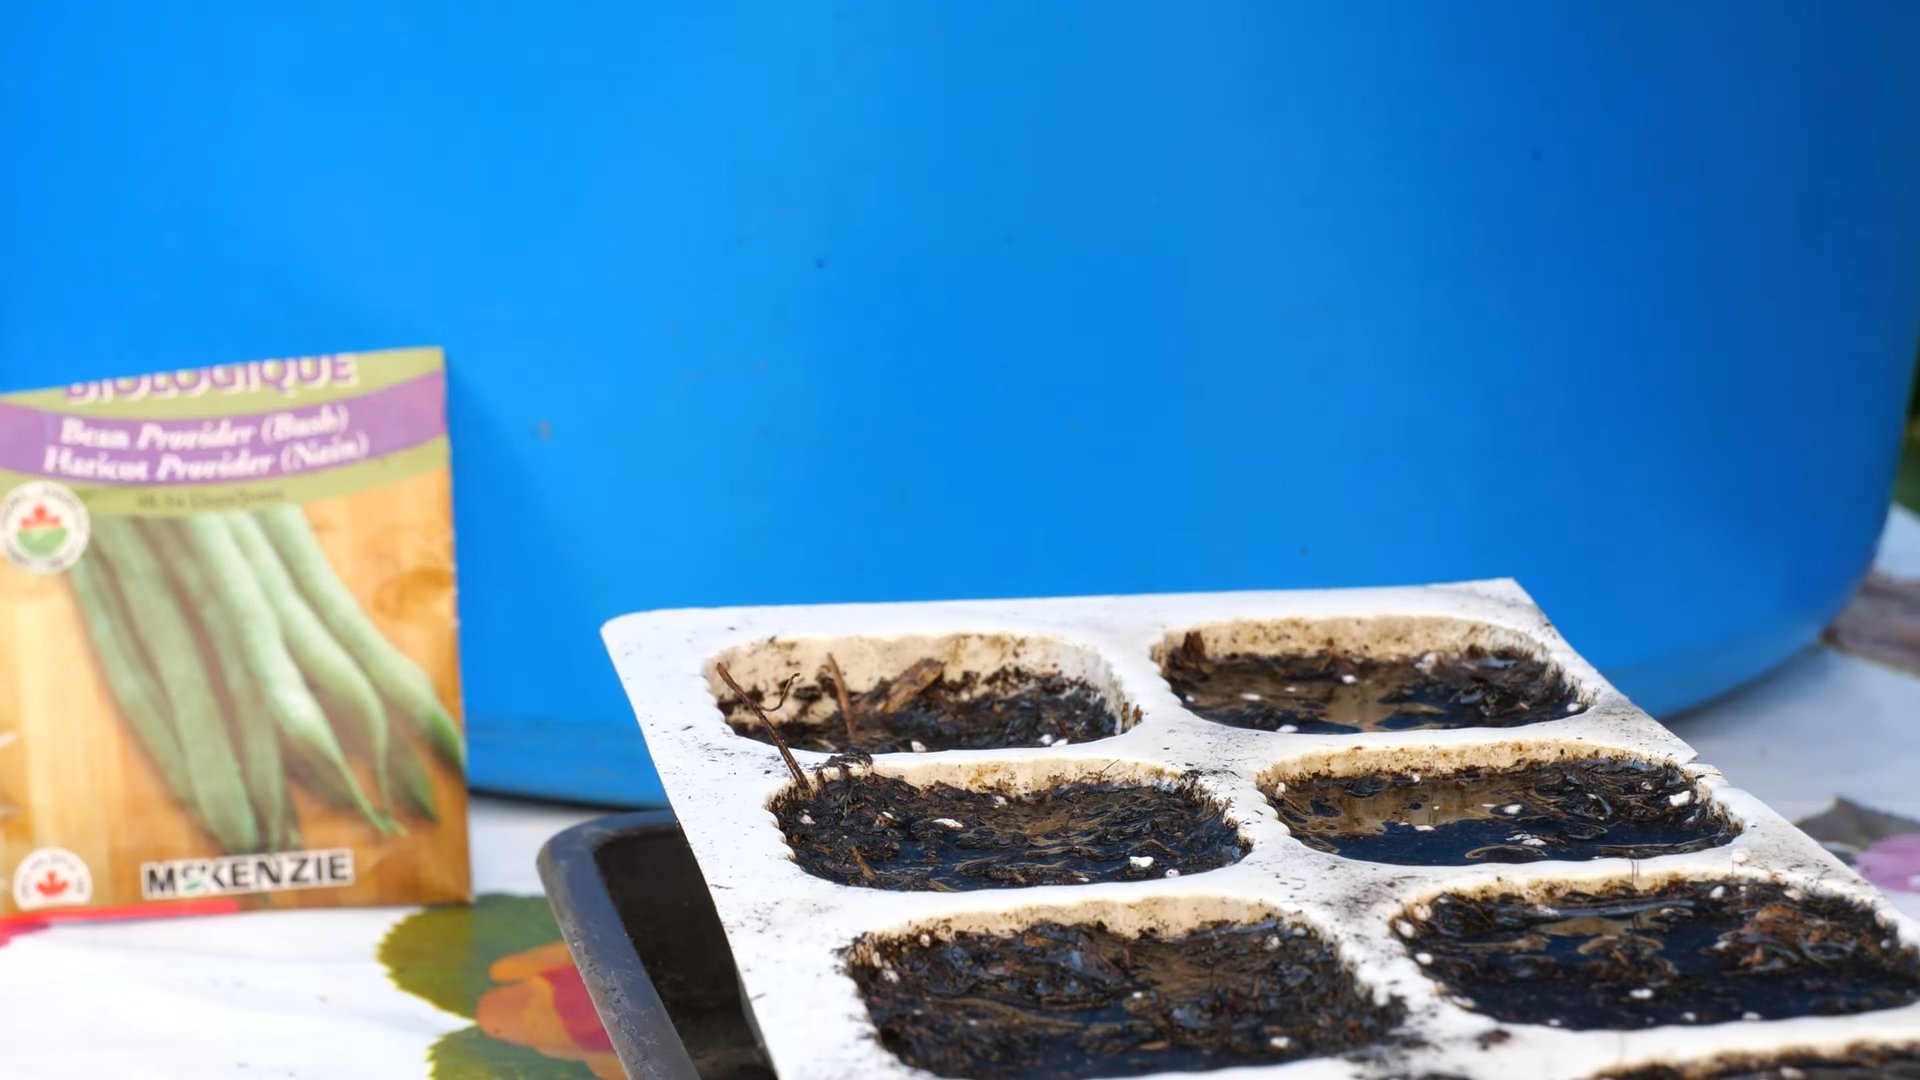
* Bush Beans (with caution): While pole beans are ideal, some compact bush bean varieties *can* work in containers, but they’ll need a bit more space and might not be as productive vertically. Look for varieties labeled as “compact” or “container-friendly.” Provider and Contender are two bush bean varieties that are known to be more compact.
Building Your Vertical Support System
This is where the DIY magic happens! You have a few options for creating a vertical support system for your green beans. I’ll share my favorite methods:
* Trellis: A trellis is a classic and effective option. You can buy a pre-made trellis from a garden center, or you can build your own using wood, bamboo, or even repurposed materials.
* Netting: Netting is a lightweight and inexpensive option. You can attach netting to a frame made of wood or metal, or you can simply hang it from a fence or wall.
* DIY Bamboo Teepee: This is a fun and rustic option! Gather several bamboo poles (or sturdy branches) and tie them together at the top to form a teepee shape. Plant your green beans around the base of the teepee.
* Repurposed Ladder: An old ladder can be transformed into a charming vertical garden. Lean the ladder against a wall or fence and plant your green beans in containers placed on the rungs.
Step-by-Step Instructions: Building a Simple Trellis
I’m going to walk you through building a simple and sturdy trellis that’s perfect for growing green beans in containers.
Materials You’ll Need:
* Four wooden posts (approximately 4-6 feet long, depending on the desired height of your trellis)
* Wooden slats or bamboo canes (for the horizontal supports)
* Screws or nails
* Drill (if using screws)
* Saw (if you need to cut the wooden posts or slats)
* Measuring tape
* Pencil
* Safety glasses
Step-by-Step Guide:
1. Prepare the Wooden Posts: Decide on the height of your trellis. I usually go for around 5 feet. If your wooden posts are too long, use a saw to cut them to the desired length. Make sure all the posts are the same length.
2. Create the Frame: Arrange the four wooden posts to form a rectangle. This will be the frame of your trellis. Use a measuring tape to ensure that the sides are equal and the corners are square.
3. Attach the Horizontal Supports: This is where the green beans will climb! Decide how far apart you want the horizontal supports to be. I usually space them about 6-8 inches apart. Mark the locations of the supports on the wooden posts with a pencil.
4. Secure the Supports: Using screws or nails, attach the wooden slats or bamboo canes to the wooden posts at the marked locations. Make sure the supports are securely fastened. If you’re using screws, pre-drill pilot holes to prevent the wood from splitting.
5. Reinforce the Trellis (Optional): For added stability, you can add diagonal supports to the corners of the trellis. This will help prevent the trellis from wobbling or collapsing under the weight of the green beans.
6. Sand and Paint (Optional): If you want to give your trellis a more polished look, you can sand it down and paint or stain it. This will also help protect the wood from the elements. Make sure to use a paint or stain that is safe for plants.
Preparing Your Containers and Soil
Now that you have your vertical support system ready, it’s time to prepare your containers and soil.
* Container Size: Choose containers that are at least 12 inches deep and 12 inches in diameter. Larger containers are always better, as they provide more room for the roots to grow.
* Drainage: Make sure your containers have drainage holes to prevent waterlogging.
* Potting Mix: Use a high-quality potting mix that is well-draining and rich in organic matter. Avoid using garden soil, as it can become compacted in containers. I like to mix compost into my potting mix for added nutrients.
Planting Your Green Beans
Alright, let’s get those beans in the ground!
1. Fill the Containers: Fill your containers with the prepared potting mix, leaving about an inch of space at the top.
2. Sow the Seeds: Sow the green bean seeds directly into the potting mix, about 1 inch deep and 2-3 inches apart. If you’re using bush beans, you can plant them closer together.
3. Water Gently: Water the soil gently after planting, making sure to moisten the entire surface.
4. Provide Support: If you’re using a trellis or netting, position it behind the containers so that the green bean seedlings can easily reach it.
5. Sunlight: Place the containers in a location that receives at least 6-8 hours of sunlight per day. Green beans need plenty of sunlight to thrive.
Caring for Your Green Bean Plants
Once your green beans are planted, it’s important to provide them with proper care to ensure a bountiful harvest.
* Watering: Water your green bean plants regularly, especially during hot and dry weather. The soil should be consistently moist, but not waterlogged. Check the soil moisture by sticking your finger into the soil. If the top inch of soil is dry, it’s time to water.
* Fertilizing: Green beans are heavy feeders, so it’s important to fertilize them regularly. Use a balanced fertilizer that is specifically formulated for vegetables. Follow the instructions on the fertilizer label. I like to use a liquid fertilizer diluted in water every few weeks.
* Training: As the green bean plants grow, gently train them to climb the trellis or netting. You can use plant ties or twine to secure the vines to the support structure.
* Pest Control: Keep an eye out for pests, such as aphids, bean beetles, and spider mites. If you notice any pests, take action immediately to prevent them from damaging your plants. You can use insecticidal soap, neem oil, or other organic pest control methods.
* Weeding: Remove any weeds that grow in the containers. Weeds can compete with the green bean plants for nutrients and water.
Harvesting Your Green Beans
The moment you’ve been waiting for! Harvesting your own homegrown green beans is incredibly satisfying.
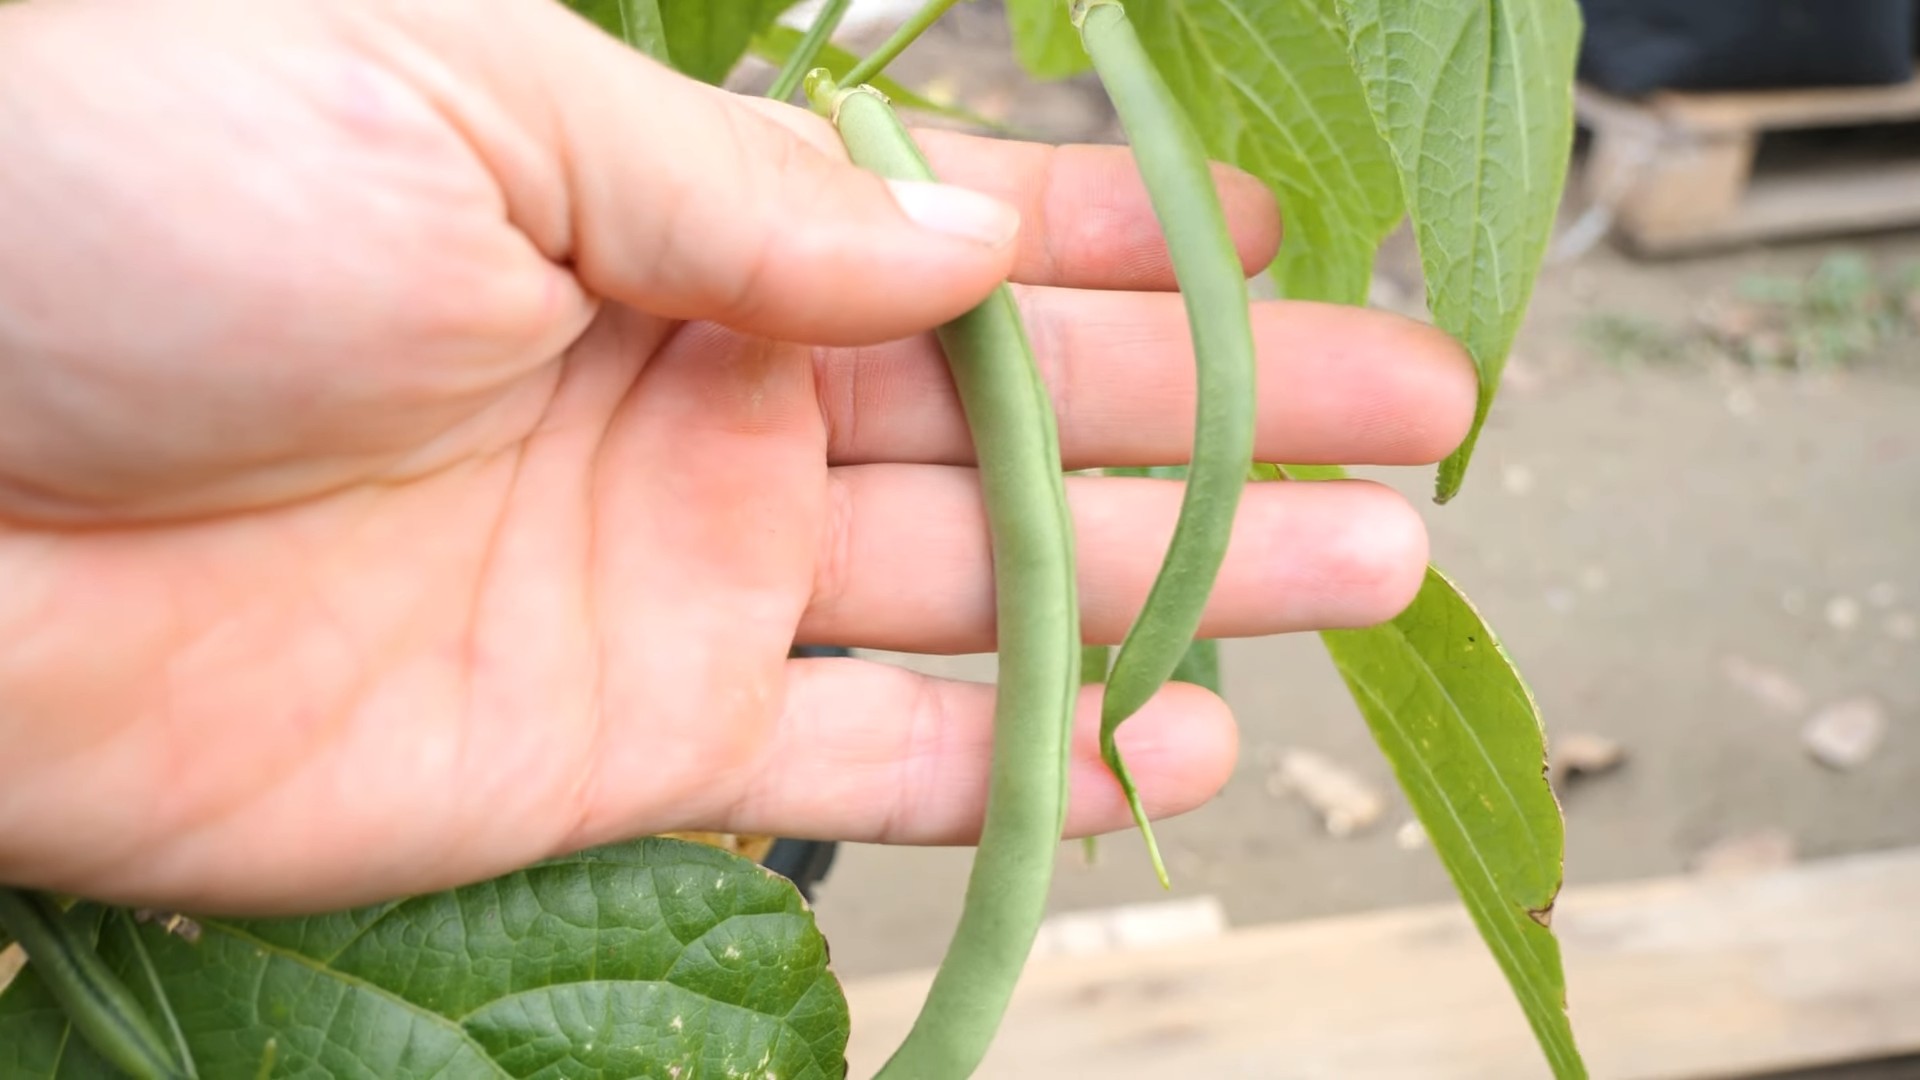
* Harvest Time: Green beans are typically ready to harvest about 50-60 days after planting. The beans should be firm and plump, but not too large or tough.
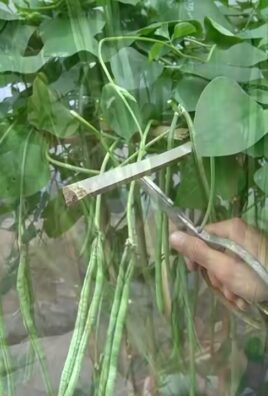
* How to Harvest: Gently snap the green beans off the vine. Be careful not to damage the plant.
* Regular Harvesting: Harvest your green beans regularly to encourage the plant to produce more beans. The more you harvest, the more you’ll get!
Troubleshooting Common Problems
Even with the best care, you might encounter some problems while growing green beans. Here are a few common issues and how to address them:
* Yellowing Leaves: This can be caused by a variety of factors, such as nutrient deficiencies, overwatering, or pests. Check the soil moisture and fertilize the plants if necessary. Inspect the leaves for pests.
* Lack of Flowers: This can be caused by insufficient sunlight, poor soil, or excessive nitrogen fertilizer. Make sure the plants are getting enough sunlight and use a balanced fertilizer.
* Bean Pods Not Filling Out: This can be caused by poor pollination or insufficient watering. Make sure the plants are getting enough water and consider hand-pollinating the flowers.
* Pest Infestations: As mentioned earlier, keep an eye out for pests and take action immediately to prevent them from damaging your plants.
Extra Tips for Success
* Succession Planting: To extend your harvest season, sow new green bean seeds every few weeks.
Conclusion
So, there you have it! Planting green beans in a small space doesn’t have to be a daunting task. With a little creativity and these simple DIY tricks, you can transform even the tiniest balcony, patio, or corner of your yard into a thriving green bean haven. We’ve shown you how to maximize vertical space, choose the right varieties, and create the perfect growing environment, all without breaking the bank or requiring extensive gardening knowledge.
Why is this a must-try? Because fresh, homegrown green beans are simply incomparable to anything you can buy in the store. The flavor is brighter, the texture is crisper, and the satisfaction of harvesting your own food is immeasurable. Plus, you know exactly what went into growing them – no harmful pesticides or mystery ingredients. It’s a healthy, rewarding, and surprisingly easy way to add fresh produce to your diet, even if you’re short on space.
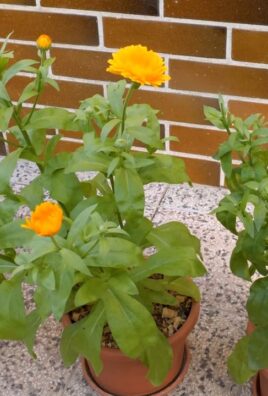
But the fun doesn’t stop there! Feel free to experiment with different varieties of green beans. Bush beans are naturally compact and well-suited for containers, but if you’re feeling adventurous, try a pole bean variety and train it up a trellis, archway, or even a sunny wall. Consider companion planting with herbs like basil or marigolds to deter pests and enhance the flavor of your beans. You can also adjust the soil mix to suit your specific climate and growing conditions. For example, if you live in a particularly hot and dry area, adding more moisture-retentive materials like coco coir or vermiculite to your potting mix can help keep your plants hydrated.
Don’t be afraid to get creative with your container choices, too. While plastic pots are perfectly functional, you can also use repurposed items like old buckets, laundry baskets, or even fabric grow bags. Just make sure whatever you choose has adequate drainage.
The key to success is observation. Pay attention to your plants and adjust your watering, fertilizing, and pest control strategies as needed. Green beans are relatively low-maintenance, but they do require some attention to thrive.
We’re confident that with these DIY tricks, you’ll be harvesting a bountiful crop of delicious green beans in no time. So, grab your seeds, gather your supplies, and get ready to experience the joy of homegrown goodness.
Now, we want to hear from you! Have you tried planting green beans in a small space? What challenges did you face, and what solutions did you discover? Share your tips, tricks, and photos in the comments below. We’re all in this together, and your experiences can help inspire and inform other aspiring urban gardeners. Let’s create a community of small-space green bean growers! We are especially interested in hearing about your experiences with different DIY methods for supporting your plants. Did you build a custom trellis? Did you find a creative way to repurpose an existing structure? Tell us all about it!
Remember, even if you only have a tiny patch of sunlight, you can still enjoy the taste of fresh, homegrown green beans. So, don’t let space limitations hold you back. Embrace the challenge, get creative, and start planting!
Frequently Asked Questions (FAQ)
What is the best time of year to plant green beans?
Green beans are warm-season crops, so they thrive in warm soil and sunny conditions. The best time to plant them is after the last frost in your area, when the soil temperature has reached at least 60°F (15°C). In most regions, this is typically in late spring or early summer. You can also start seeds indoors a few weeks before the last frost and transplant them outdoors once the weather warms up. For a continuous harvest, consider succession planting, sowing new seeds every two to three weeks throughout the growing season. This will ensure a steady supply of fresh green beans for your table.
What kind of soil is best for growing green beans in containers?
Green beans prefer well-draining soil that is rich in organic matter. A good potting mix for containers should consist of a blend of compost, peat moss (or coco coir), and perlite or vermiculite. This combination provides good drainage, aeration, and nutrient retention. Avoid using garden soil in containers, as it can become compacted and poorly drained. You can also amend your potting mix with a slow-release fertilizer to provide your plants with a steady supply of nutrients throughout the growing season. A slightly acidic to neutral pH (around 6.0 to 7.0) is ideal for green beans.
How much sunlight do green beans need?
Green beans need at least six hours of direct sunlight per day to thrive. Choose a location for your containers that receives plenty of sunlight throughout the day. If you live in a particularly hot climate, you may need to provide some afternoon shade to prevent the plants from overheating. Insufficient sunlight can result in leggy growth, reduced yields, and increased susceptibility to pests and diseases. If you don’t have a sunny spot outdoors, you can also grow green beans indoors under grow lights.
How often should I water my green beans?
Green beans need consistent moisture, especially during hot weather. Water your plants deeply whenever the top inch of soil feels dry to the touch. Avoid overwatering, as this can lead to root rot. Container-grown plants tend to dry out more quickly than those grown in the ground, so you may need to water them more frequently. A good rule of thumb is to water thoroughly until water drains out of the bottom of the container. Mulching around the base of the plants can help retain moisture and suppress weeds.
What are some common pests and diseases that affect green beans?
Common pests that can affect green beans include aphids, bean beetles, and spider mites. Diseases include powdery mildew, bean rust, and anthracnose. Regularly inspect your plants for signs of pests or diseases and take action promptly. You can often control pests with insecticidal soap or neem oil. For diseases, ensure good air circulation and avoid overhead watering. Remove any infected leaves or plants to prevent the spread of disease. Companion planting with herbs like basil or marigolds can also help deter pests.
Do I need to fertilize my green beans?
Green beans are relatively light feeders, but they do benefit from regular fertilization. Use a balanced fertilizer (e.g., 10-10-10) or a fertilizer specifically formulated for vegetables. Apply fertilizer according to the package directions, typically every two to three weeks. Avoid over-fertilizing, as this can lead to excessive foliage growth at the expense of bean production. You can also amend your soil with compost or other organic matter to provide a slow-release source of nutrients.
How do I know when my green beans are ready to harvest?
Green beans are typically ready to harvest about 50 to 60 days after planting. The beans should be firm, crisp, and brightly colored. Pick them when they are about the size of a pencil and before the seeds inside become too large and prominent. Regular harvesting encourages continued production. Use scissors or pruners to snip the beans from the plant, being careful not to damage the stems.
Can I grow green beans in hanging baskets?
Yes, you can grow bush bean varieties in hanging baskets. Choose a basket that is at least 12 inches in diameter and fill it with a well-draining potting mix. Be sure to water regularly, as hanging baskets tend to dry out quickly. Hanging baskets can be a great way to add vertical interest to your garden and maximize space.
What are some good companion plants for green beans?
Good companion plants for green beans include basil, marigolds, nasturtiums, rosemary, and thyme. These plants can help deter pests, attract beneficial insects, and improve the flavor of your beans. Avoid planting green beans near onions or garlic, as these can inhibit their growth.
How do I support pole beans in a small space?
Pole beans require support to climb. In a small space, you can use a trellis, teepee, or even a sturdy tomato cage. Make sure the support is tall enough to accommodate the full height of the bean vines. You can also train the vines to climb up a sunny wall or fence.
Leave a Comment