
Hydrogen Peroxide Clean Grout: Are you tired of staring at dingy, stained grout lines that make your beautiful tiles look, well, not so beautiful? I know I am! It’s amazing how quickly grout can go from pristine to practically prehistoric, collecting dirt, grime, and mildew like it’s going out of style. But don’t despair! You don’t need harsh chemicals or expensive professional cleaning services to restore your grout to its former glory.
For generations, people have sought simple, effective solutions for household cleaning. While the exact origins of using hydrogen peroxide for cleaning are difficult to pinpoint, its powerful oxidizing properties have long been recognized and utilized. Think of it as a gentle, yet effective, warrior against the everyday battles your grout faces.
That’s why I’m so excited to share this simple, yet incredibly effective, DIY trick: using hydrogen peroxide clean grout. This method is not only budget-friendly but also a safer alternative to many commercial grout cleaners. Plus, it’s something you can easily do yourself in an afternoon. Say goodbye to stubborn stains and hello to sparkling clean grout with this easy-to-follow guide. You’ll be amazed at the difference it makes!
DIY Grout Cleaning with Hydrogen Peroxide: A Sparkling Solution!
Hey there, fellow DIY enthusiasts! Are you tired of staring at dingy, discolored grout lines? I know I was! No matter how much I scrubbed, those stubborn stains just wouldn’t budge. That’s when I discovered the magic of hydrogen peroxide. It’s a safe, effective, and budget-friendly way to bring your grout back to life. Forget harsh chemicals and expensive cleaners – let’s get started with this simple DIY grout cleaning hack!
What You’ll Need
Before we dive in, let’s gather our supplies. This is a pretty straightforward project, so you probably already have most of these items on hand:
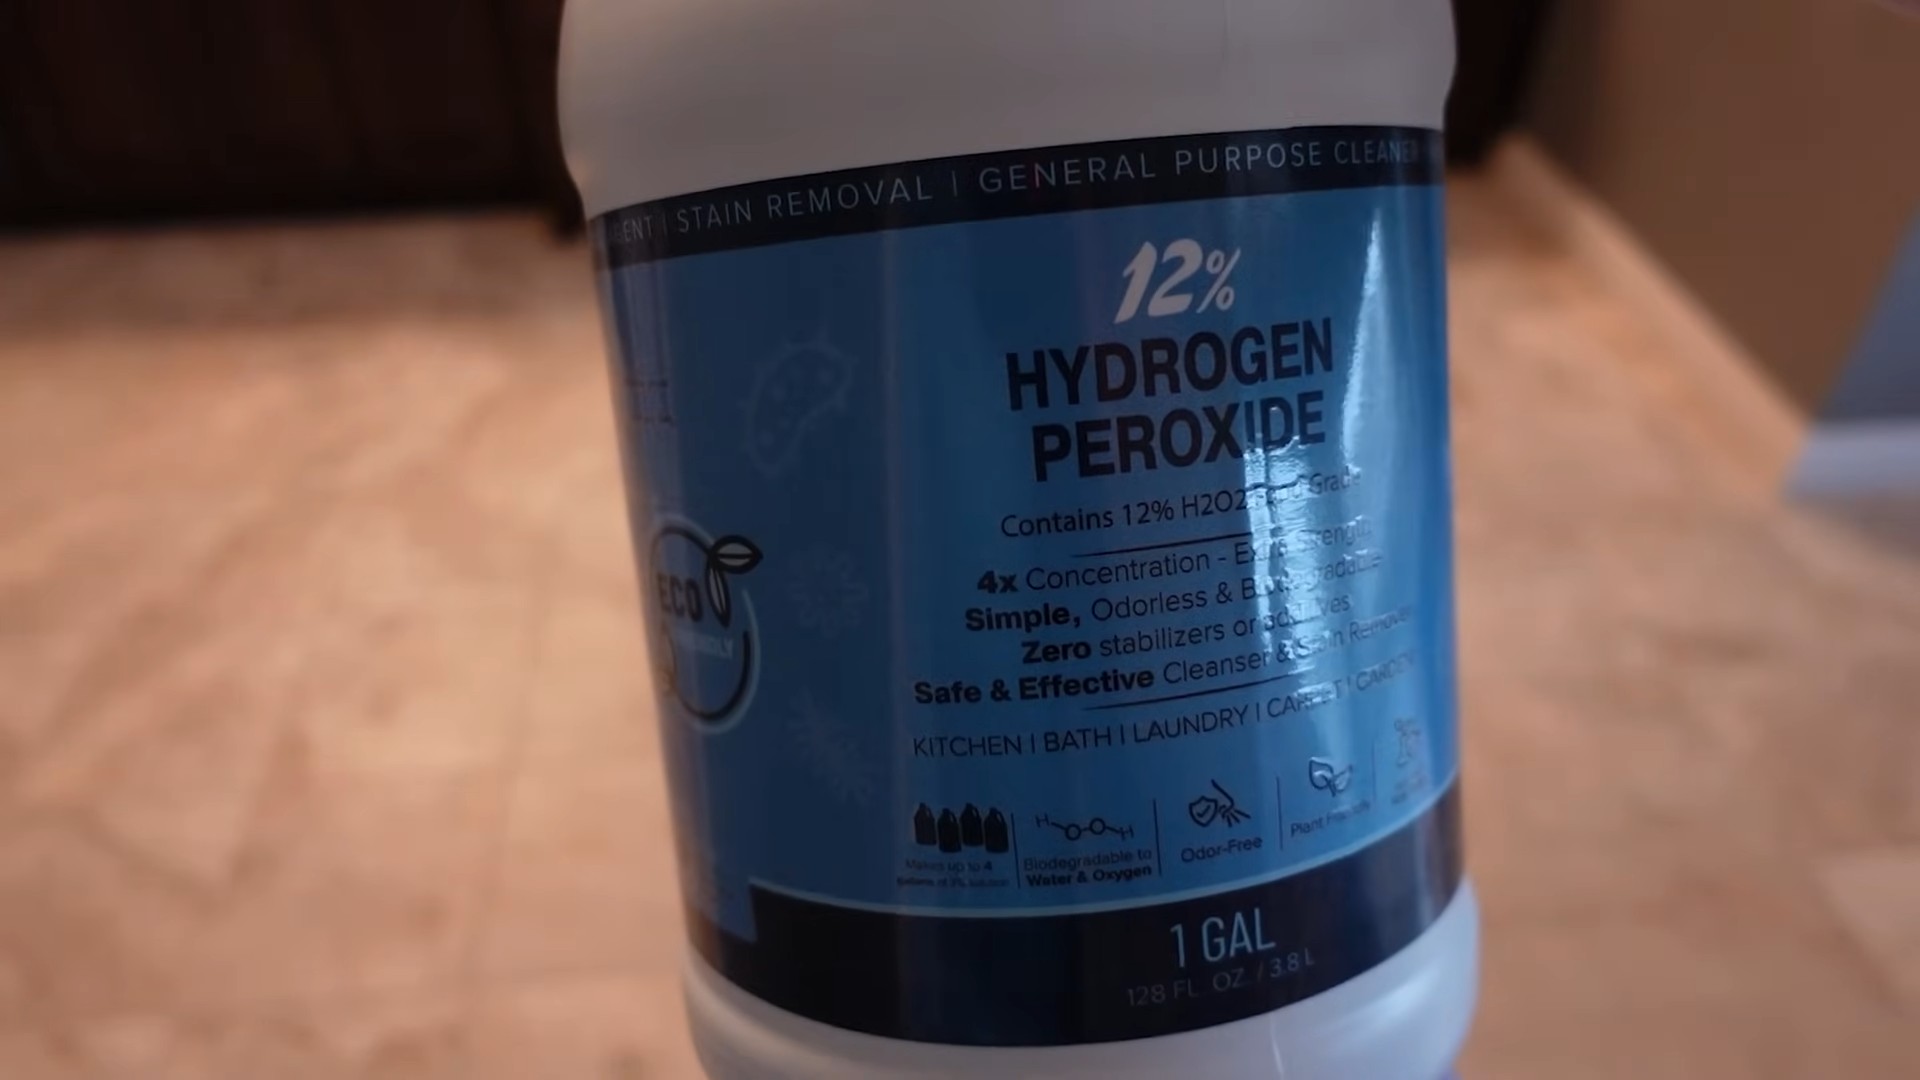
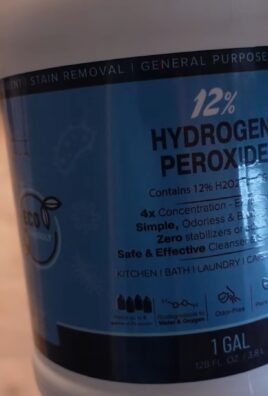
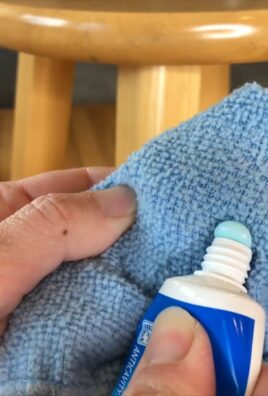
* Hydrogen Peroxide (3% solution): This is the standard concentration you’ll find at your local drugstore or supermarket. Don’t go for anything stronger unless you’re experienced with handling chemicals.
* Spray Bottle: A clean spray bottle is essential for even application.
* Old Toothbrush or Grout Brush: An old toothbrush works great for smaller areas, while a grout brush is ideal for larger surfaces.
* Baking Soda (Optional): For extra stubborn stains, baking soda can be a powerful addition.
* Dish Soap (Optional): A drop or two of dish soap can help break down grease and grime.
* Clean Cloth or Sponge: For wiping away the residue.
* Gloves: Protect your hands from prolonged exposure to hydrogen peroxide.
* Eye Protection (Optional): Although hydrogen peroxide is relatively safe, it’s always a good idea to protect your eyes.
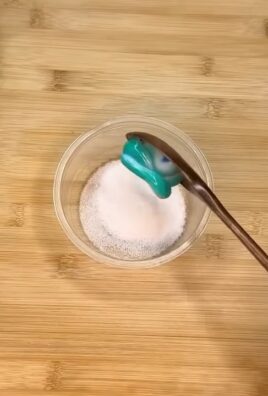
* Small Bowl (If using baking soda paste): For mixing the baking soda and hydrogen peroxide.
Step-by-Step Guide to Sparkling Grout
Okay, let’s get down to business! Here’s how I tackled my grout cleaning project using hydrogen peroxide:
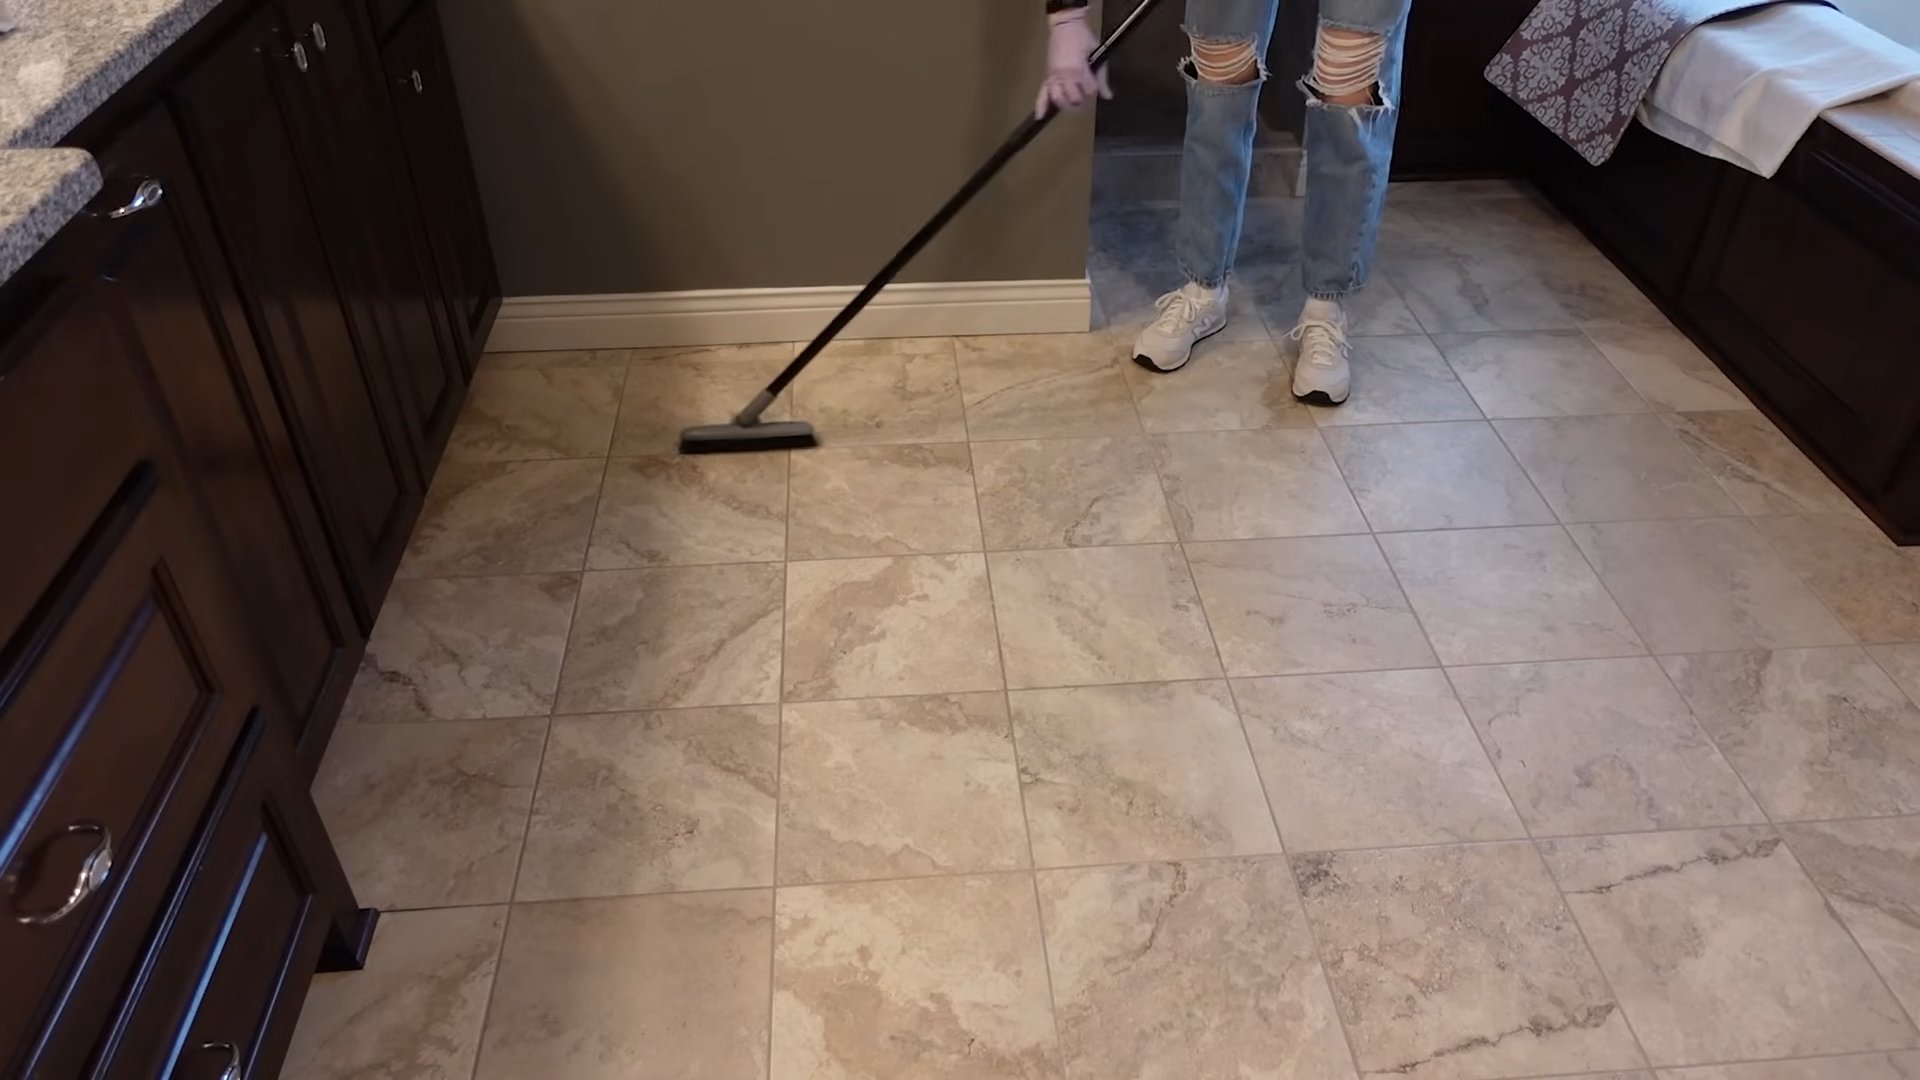
1. Prepare the Area: Before you start spraying, make sure the area is free of loose debris. Sweep or vacuum the floor or wipe down the walls to remove any dirt or dust. This will allow the hydrogen peroxide to work directly on the grout stains.
2. Test in an Inconspicuous Area: This is crucial! Even though hydrogen peroxide is generally safe for most surfaces, it’s always a good idea to test it in a hidden area first. Apply a small amount to the grout and let it sit for a few minutes. Check for any discoloration or damage before proceeding.
3. Apply Hydrogen Peroxide: Now for the fun part! Fill your spray bottle with hydrogen peroxide and generously spray the grout lines. Make sure the grout is thoroughly saturated. You want the hydrogen peroxide to penetrate deep into the pores of the grout to break down the stains.
4. Let it Sit: This is where patience comes in. Allow the hydrogen peroxide to sit on the grout for at least 10-15 minutes. For heavily stained grout, you can let it sit for up to 30 minutes. The longer it sits, the more time it has to work its magic.
5. Scrub the Grout: Grab your trusty toothbrush or grout brush and start scrubbing! Use firm, circular motions to loosen the dirt and grime. You’ll probably see the stains starting to lift as you scrub. Don’t be afraid to put some elbow grease into it, especially for those stubborn spots.
6. Wipe Away the Residue: Once you’ve scrubbed all the grout lines, use a clean cloth or sponge to wipe away the excess hydrogen peroxide and loosened dirt. Rinse the cloth or sponge frequently with clean water.
7. Inspect and Repeat (If Necessary): Take a good look at your grout lines. If you still see some stains, repeat steps 3-6. Sometimes, it takes a couple of applications to completely remove stubborn stains.
8. Rinse Thoroughly: After you’re satisfied with the results, rinse the area thoroughly with clean water to remove any remaining hydrogen peroxide residue.
9. Dry the Area: Finally, dry the area with a clean towel or let it air dry. And that’s it! You should now have sparkling clean grout lines.
Tackling Stubborn Stains: Baking Soda Power!
Sometimes, hydrogen peroxide alone isn’t enough to tackle those really tough stains. That’s where baking soda comes in! This dynamic duo can create a powerful cleaning paste that will knock out even the most stubborn grime.
1. Make a Baking Soda Paste: In a small bowl, mix baking soda with just enough hydrogen peroxide to form a thick paste. The consistency should be similar to toothpaste.
2. Apply the Paste: Using your finger or a small spatula, apply the baking soda paste directly to the stained grout lines. Make sure the grout is completely covered.
3. Let it Sit: Allow the paste to sit on the grout for at least 30 minutes, or even longer for really stubborn stains. I’ve even left it on overnight in some cases!
4. Scrub the Grout: After the paste has had time to work, scrub the grout lines with your toothbrush or grout brush. You should notice the stains lifting easily.
5. Rinse and Wipe: Rinse the area thoroughly with clean water and wipe away any remaining residue with a clean cloth or sponge.
6. Dry the Area: Dry the area with a clean towel or let it air dry.
Adding Dish Soap for Extra Cleaning Power
For grout that’s particularly greasy or grimy, adding a drop or two of dish soap to your hydrogen peroxide solution can make a big difference. The dish soap helps to break down the grease and grime, allowing the hydrogen peroxide to penetrate deeper into the grout.
1. Mix the Solution: In your spray bottle, mix hydrogen peroxide with a drop or two of dish soap. Don’t use too much dish soap, as it can leave a residue.
2. Apply and Scrub: Follow the same steps as above, spraying the grout lines with the solution, letting it sit, and then scrubbing with a brush.
3. Rinse Thoroughly: Make sure to rinse the area thoroughly with clean water to remove any soap residue.
Important Tips and Considerations
* Ventilation is Key: While hydrogen peroxide is relatively safe, it’s always a good idea to work in a well-ventilated area. Open windows or turn on a fan to ensure proper airflow.
* Avoid Mixing with Other Cleaners: Never mix hydrogen peroxide with other cleaning products, especially bleach. This can create dangerous fumes.
* Be Careful on Colored Grout: While hydrogen peroxide is generally safe for white or light-colored grout, it can potentially lighten or discolor colored grout. Always test in an inconspicuous area first.
* Prevention is Better Than Cure: To keep your grout looking its best, try to clean it regularly. Wipe up spills immediately and use a grout sealer to protect it from stains.
* Safety First: Always wear gloves and eye protection when working with cleaning products.
Maintaining Your Sparkling Grout
Now that you’ve put in the effort to clean your grout, you’ll want to keep it looking its best. Here are a few tips for maintaining your sparkling grout:
* Regular Cleaning: Wipe down your grout regularly with a mild cleaner to prevent dirt and grime from building up.
* Grout Sealer: Apply a grout sealer to protect your grout from stains and water damage. Reapply the sealer every year or two, or as needed.
* Ventilation: Ensure proper ventilation in your bathroom to prevent mold and mildew growth.
* Address Spills Immediately: Wipe up spills as soon as they happen to prevent them from staining the grout.
I hope this guide has helped you achieve sparkling clean grout! With a little elbow grease and the power of hydrogen peroxide, you can transform your dingy grout lines into a beautiful, clean surface. Happy cleaning!
Conclusion
So, there you have it! A simple, effective, and budget-friendly way to tackle that grimy grout using the power of hydrogen peroxide. We’ve walked you through the process, highlighting just how easy it is to achieve sparkling clean grout without resorting to harsh chemicals or expensive professional cleaning services.
Why is this DIY trick a must-try? Because it works! Stubborn stains, mildew, and everyday grime don’t stand a chance against the oxidizing power of hydrogen peroxide. It’s a safer alternative to bleach, especially if you have children or pets, and it’s readily available at most drugstores and supermarkets. Plus, the satisfaction of seeing your grout transform from dingy to dazzling is incredibly rewarding.
But the best part? This method is incredibly versatile. While we’ve focused on using a paste of baking soda and hydrogen peroxide, you can also experiment with other variations. For instance, for particularly stubborn stains, consider adding a few drops of dish soap to the paste to help break down grease and grime. Alternatively, you can create a spray solution of equal parts hydrogen peroxide and water for lighter cleaning or maintenance. If you’re dealing with colored grout, test the solution in an inconspicuous area first to ensure it doesn’t affect the color. Another variation is to use a grout brush with stiffer bristles for a more aggressive scrub, especially on heavily soiled areas. You can also use a steam cleaner after applying the hydrogen peroxide paste to further lift dirt and grime. Remember to always wear gloves to protect your hands and ensure proper ventilation while cleaning.
This hydrogen peroxide clean grout method is a game-changer for anyone looking to revitalize their tile surfaces. It’s a cost-effective, eco-friendly, and surprisingly simple solution that delivers impressive results.
We’re confident that once you try this DIY trick, you’ll be amazed at the difference it makes. Say goodbye to dull, dirty grout and hello to a sparkling clean home!
Now, it’s your turn! We encourage you to give this hydrogen peroxide grout cleaning method a try. Don’t be afraid to experiment with the variations we’ve suggested and find what works best for your specific needs. And most importantly, we want to hear about your experience! Share your before-and-after photos, tips, and tricks in the comments below. Let’s create a community of clean grout enthusiasts and help each other achieve sparkling homes! We are eager to see your results and learn from your experiences. Your feedback will help others discover the effectiveness of this simple yet powerful cleaning solution. So, grab your hydrogen peroxide, gather your supplies, and get ready to transform your grout! We can’t wait to see your sparkling results!
Frequently Asked Questions (FAQ)
1. Is hydrogen peroxide safe to use on all types of grout?
While hydrogen peroxide is generally safe for most types of grout, it’s always a good idea to test it in an inconspicuous area first, especially if you have colored grout. This will help you ensure that the hydrogen peroxide doesn’t affect the color or integrity of the grout. If you notice any discoloration or damage, discontinue use immediately. For epoxy grout, which is more resistant to staining, a diluted solution of hydrogen peroxide is usually sufficient. Always err on the side of caution and test before applying it to the entire area.
2. What concentration of hydrogen peroxide should I use?
The standard 3% hydrogen peroxide solution, readily available at most stores, is typically sufficient for cleaning grout. Higher concentrations are available, but they are generally not necessary for this purpose and can be more irritating to the skin and eyes. Stick with the 3% solution for optimal safety and effectiveness. If you are using a higher concentration, be sure to dilute it appropriately with water.
3. How long should I leave the hydrogen peroxide paste on the grout?
Allow the hydrogen peroxide paste to sit on the grout for at least 10-15 minutes to allow it to penetrate and break down the stains. For heavily soiled grout, you can leave it on for up to 30 minutes. However, avoid letting it dry completely, as this can make it more difficult to remove. If the paste starts to dry, lightly mist it with water to keep it moist.
4. What type of brush should I use to scrub the grout?
A grout brush with stiff bristles is ideal for scrubbing grout. These brushes are specifically designed to reach into the narrow grout lines and effectively remove dirt and grime. You can find grout brushes at most hardware stores or online retailers. Alternatively, you can use an old toothbrush for smaller areas or hard-to-reach spots. Avoid using abrasive scrub pads, as they can scratch the tile surface.
5. How do I prevent grout from getting dirty in the future?
Regular cleaning is key to preventing grout from getting dirty. Wipe up spills immediately and clean your tile surfaces regularly with a mild detergent and water. You can also apply a grout sealer to help protect the grout from stains and moisture. Reapply the sealer every 6-12 months, or as needed, to maintain its effectiveness. Good ventilation in bathrooms and kitchens can also help prevent mildew growth.
6. Can I use this method on other surfaces besides tile grout?
While this method is primarily designed for cleaning tile grout, you can also use hydrogen peroxide to clean other surfaces, such as porcelain, ceramic, and even some types of natural stone. However, it’s always best to test it in an inconspicuous area first to ensure it doesn’t damage the surface. Avoid using hydrogen peroxide on delicate surfaces, such as marble or granite, as it can etch or discolor them.
7. What if the hydrogen peroxide doesn’t remove all the stains?
For particularly stubborn stains, you may need to repeat the process or try a different cleaning solution. Consider using a commercial grout cleaner specifically designed for tough stains. You can also try creating a paste of baking soda and bleach (use with caution and proper ventilation) for extremely stubborn stains. Always follow the manufacturer’s instructions and wear appropriate safety gear when using commercial cleaning products.
8. Is it necessary to wear gloves when cleaning with hydrogen peroxide?
Yes, it’s always recommended to wear gloves when cleaning with hydrogen peroxide, as it can irritate the skin. Hydrogen peroxide can cause temporary whitening of the skin upon contact, and prolonged exposure can lead to dryness and irritation. Wearing gloves will protect your hands and prevent any discomfort.
9. How do I dispose of the used hydrogen peroxide paste?
The used hydrogen peroxide paste can be safely disposed of down the drain with plenty of water. Hydrogen peroxide is biodegradable and breaks down into water and oxygen, so it’s not harmful to the environment.
10. Can I use this method on vertical grout lines, like in a shower?
Yes, this method works well on vertical grout lines. The key is to make the baking soda and hydrogen peroxide paste thick enough so it adheres to the vertical surface without running down immediately. You might need to apply it in sections and let it sit before scrubbing. Using a small brush can also help with precision application on vertical surfaces.
Leave a Comment