
Growing garlic in pots might sound like a challenge reserved for seasoned gardeners, but trust me, it’s a surprisingly simple and rewarding DIY project that anyone can tackle! Have you ever imagined stepping onto your balcony or into your small backyard and harvesting your own fresh, pungent garlic? It’s an incredibly satisfying experience, and this guide will show you exactly how to make it happen.
Garlic has a rich history, dating back thousands of years. Ancient Egyptians revered it, feeding it to the pyramid builders for strength and stamina. From medicinal uses to culinary delights, garlic has been a staple in cultures worldwide. Now, you can bring this ancient tradition into your own home, regardless of how much space you have.
Why should you try growing garlic in pots? Well, for starters, it’s incredibly convenient. If you’re short on garden space, or if you live in an apartment, pots are the perfect solution. Plus, it allows you to control the soil quality and growing conditions, leading to healthier, more flavorful garlic. And let’s be honest, store-bought garlic just doesn’t compare to the taste of freshly harvested, homegrown garlic. I’m excited to share these easy DIY tricks and hacks that will have you growing garlic in pots like a pro in no time! Get ready to enjoy the delicious rewards of your own mini garlic farm!
Growing Garlic in Pots: A Beginner’s Guide
Hey there, fellow gardening enthusiasts! Want to enjoy the pungent flavor of homegrown garlic without dedicating a huge chunk of your garden? You’re in the right place! Growing garlic in pots is surprisingly easy and rewarding. I’ve been doing it for years, and I’m excited to share my secrets with you. Let’s get started!
Choosing the Right Garlic and Pot
Before we dive into the nitty-gritty, let’s talk about selecting the right garlic and pot. This is crucial for success!
* Garlic Variety: Not all garlic is created equal. Softneck varieties are generally better suited for warmer climates and tend to store longer. Hardneck varieties, on the other hand, are more cold-hardy and produce a delicious scape (a curly flower stalk) that you can harvest and use in cooking. For pot growing, I recommend trying both and seeing what thrives best in your area. Elephant garlic, while technically a type of leek, can also be grown in pots, but it needs a larger container.
* Choosing Your Bulbs: Look for plump, healthy bulbs at your local garden center or farmers market. Avoid bulbs that are soft, shriveled, or show signs of mold or disease. Organic garlic is always a good choice to avoid any unwanted chemicals.
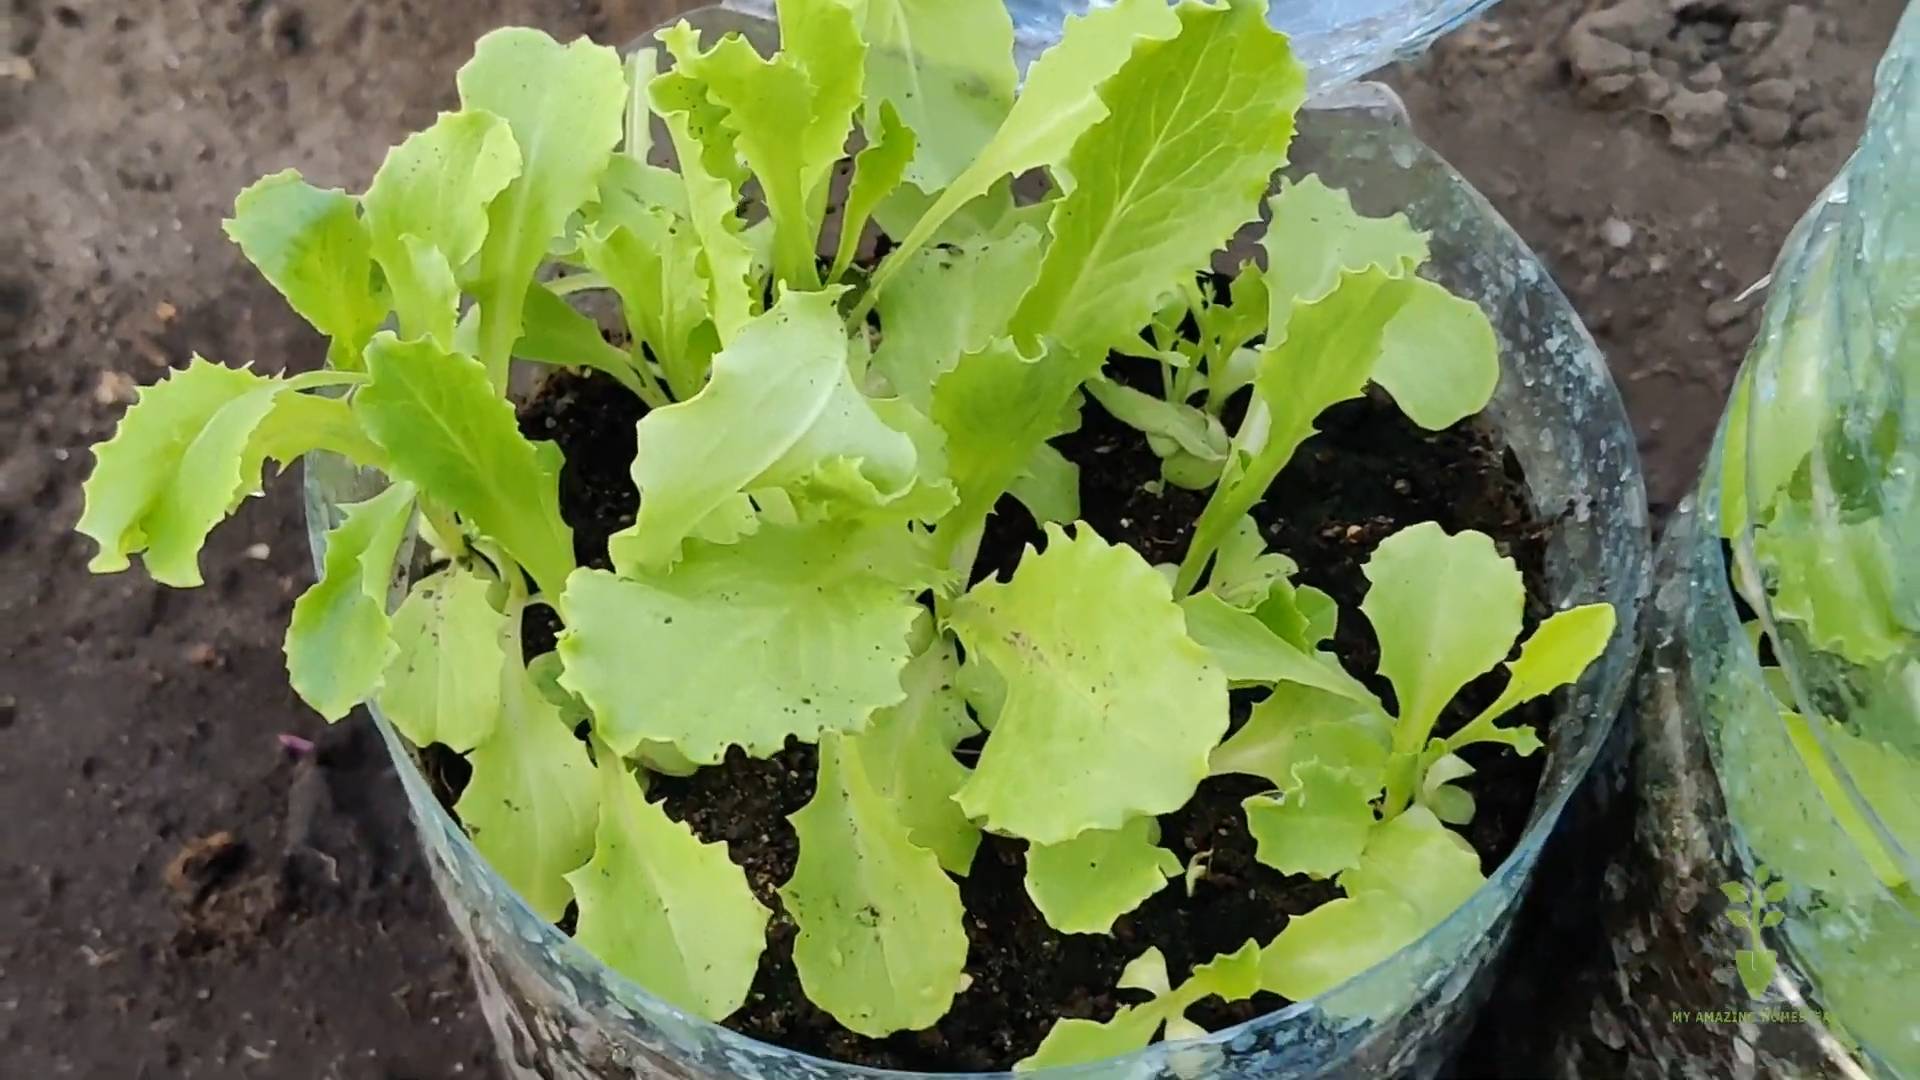
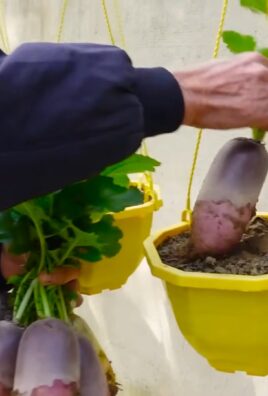
* Pot Size Matters: Garlic needs room to grow! A pot that’s at least 8 inches deep and 8 inches in diameter is a good starting point for a few cloves. For larger varieties like elephant garlic, you’ll need a much bigger pot – think 12 inches or more. Make sure your pot has drainage holes! Soggy soil is a garlic’s worst enemy.
* Soil Selection: Garlic loves well-draining soil that’s rich in organic matter. A good potting mix is essential. I like to amend mine with compost or well-rotted manure for extra nutrients. Avoid using garden soil directly in your pots, as it can compact and hinder drainage.
Planting Your Garlic
Okay, now for the fun part – planting!
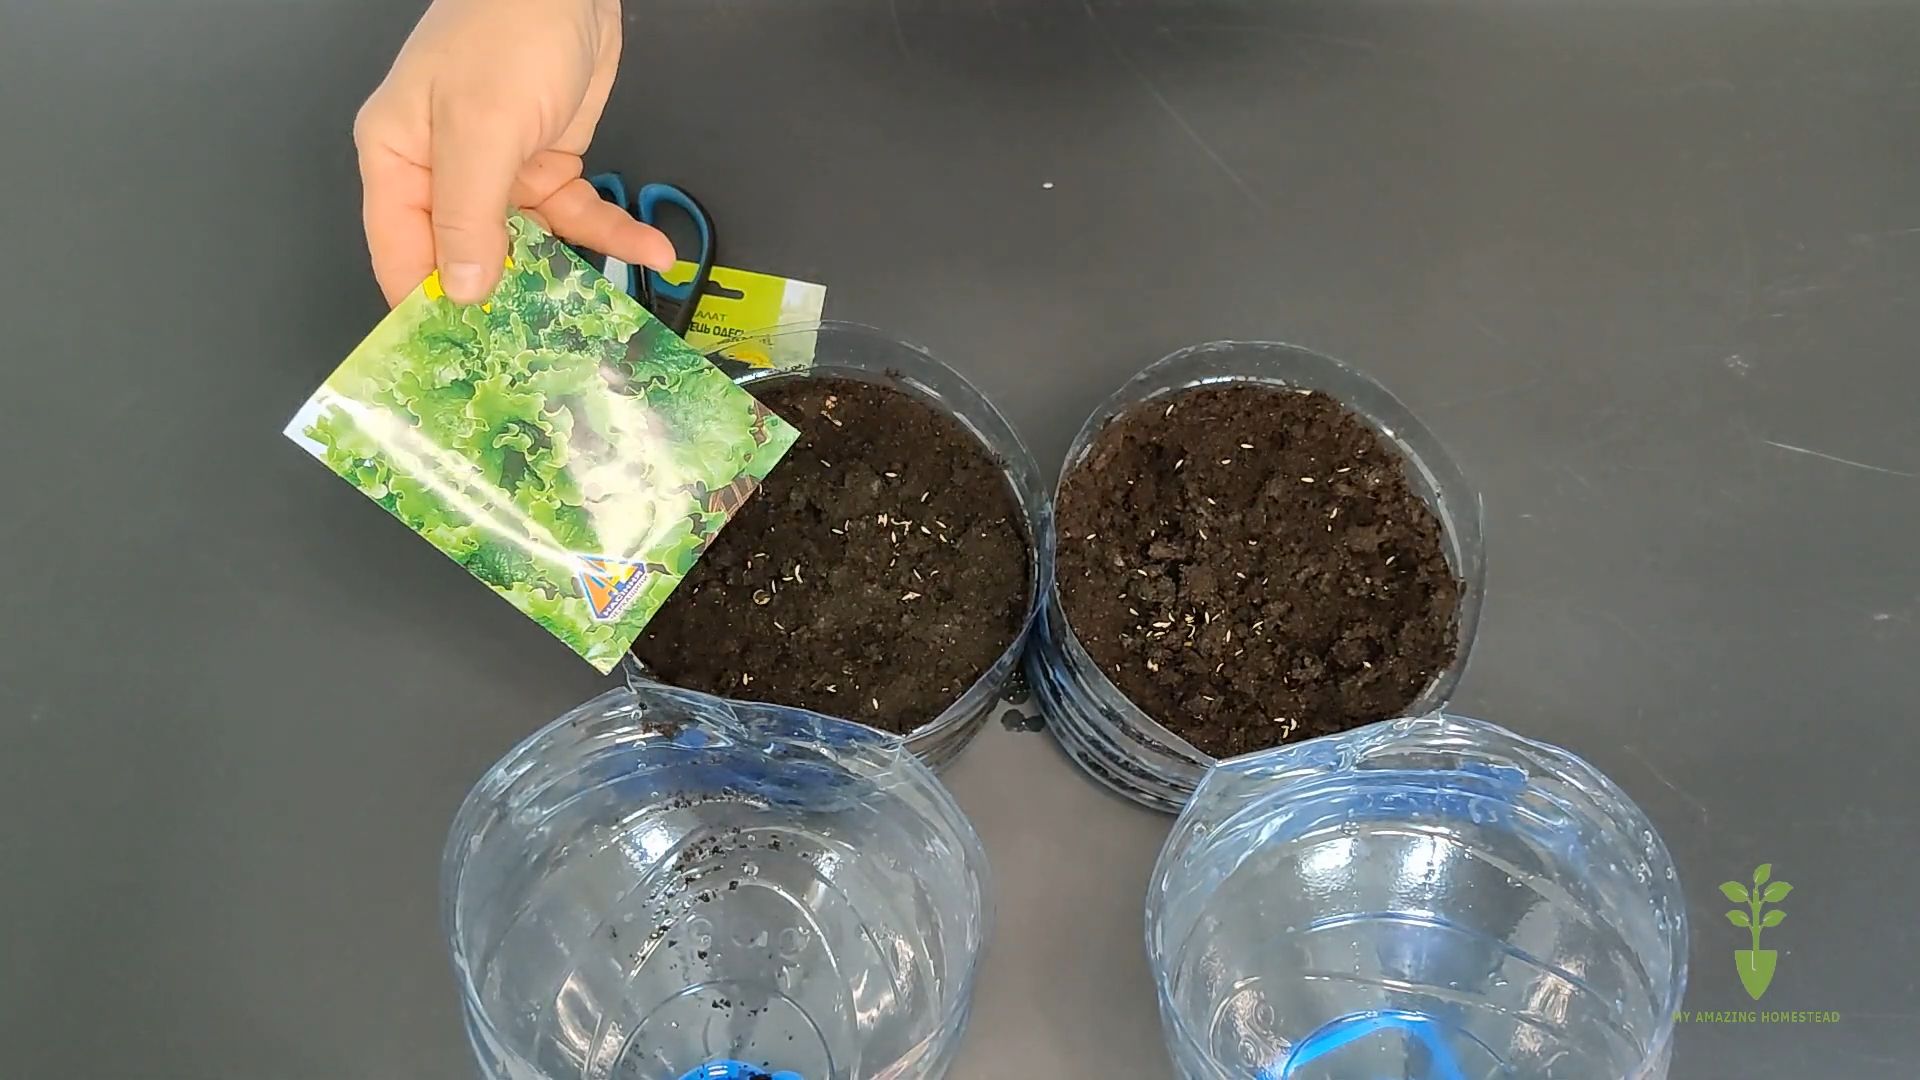
1. Prepare Your Pot: Fill your pot with your chosen potting mix, leaving about an inch or two of space at the top.
2. Separate the Cloves: Gently separate the cloves from the garlic bulb, being careful not to damage them. Leave the papery skin on each clove intact.
3. Planting Depth: Plant each clove pointy-side up, about 2 inches deep and 4-6 inches apart. This spacing allows for good air circulation and prevents overcrowding.
4. Water Thoroughly: After planting, water your garlic thoroughly until water drains out of the bottom of the pot. This helps settle the soil and encourages root growth.
5. Location, Location, Location: Place your pot in a sunny location that receives at least 6 hours of direct sunlight per day. Garlic thrives in full sun.
Caring for Your Potted Garlic
Now that your garlic is planted, it’s time to provide it with the care it needs to flourish.
1. Watering: Water your garlic regularly, especially during dry periods. The soil should be consistently moist, but not waterlogged. Check the soil moisture by sticking your finger about an inch into the soil. If it feels dry, it’s time to water.
2. Fertilizing: Garlic is a heavy feeder, so it benefits from regular fertilization. I like to use a balanced organic fertilizer every few weeks during the growing season. You can also use a liquid fertilizer diluted according to the package instructions.
3. Weeding: Keep your pot free of weeds, as they can compete with your garlic for nutrients and water. Hand-pull any weeds that appear.
4. Mulching: Applying a layer of mulch around your garlic plants can help retain moisture, suppress weeds, and regulate soil temperature. Straw, wood chips, or shredded leaves are all good options.
5. Scape Removal (for Hardneck Varieties): If you’re growing hardneck garlic, you’ll notice a curly flower stalk (scape) emerging in the spring. Removing the scape encourages the plant to put more energy into bulb development. You can harvest the scapes when they’re still tender and use them in cooking – they have a mild garlic flavor.
Dealing with Pests and Diseases
While garlic is generally pest-resistant, it can occasionally be affected by certain problems.
* Garlic Rust: This fungal disease appears as orange or yellow spots on the leaves. To prevent garlic rust, ensure good air circulation around your plants and avoid overhead watering. If you notice rust, remove the affected leaves and dispose of them properly.
* Onion Maggots: These pests can attack the roots of garlic plants. To prevent onion maggots, use a floating row cover to protect your plants from egg-laying flies.
* Aphids: These tiny insects can suck the sap from garlic leaves. You can control aphids by spraying them with a strong stream of water or using insecticidal soap.
Harvesting Your Garlic
The moment we’ve all been waiting for – harvest time!
1. When to Harvest: The timing of your garlic harvest depends on the variety and your climate. Generally, garlic is ready to harvest when the lower leaves start to turn yellow and brown. This usually happens in late spring or early summer.
2. Checking the Bulbs: To check if your garlic is ready, gently dig up a bulb and examine it. The bulb should be plump and well-formed, with tightly wrapped cloves.
3. Harvesting Technique: To harvest your garlic, carefully loosen the soil around the bulb with a trowel or garden fork. Gently lift the bulb out of the soil, being careful not to damage it.
4. Curing Your Garlic: Curing is essential for long-term storage. After harvesting, brush off any excess soil from the bulbs, but don’t wash them. Tie the garlic plants together in bundles of 4-6 bulbs and hang them in a cool, dry, well-ventilated place for 2-4 weeks.
5. Storing Your Garlic: Once the garlic is cured, you can trim the roots and stalks. Store the bulbs in a cool, dry, dark place, such as a pantry or basement. Properly cured garlic can last for several months.
Troubleshooting
Sometimes, things don’t go exactly as planned. Here are a few common problems and how to fix them:
* Small Bulbs: If your garlic bulbs are small, it could be due to several factors, such as insufficient sunlight, poor soil, or lack of fertilization. Make sure your plants are getting enough sun, amend your soil with compost, and fertilize regularly.
* Yellowing Leaves: Yellowing leaves can be a sign of overwatering, underwatering, or nutrient deficiency. Check the soil moisture and adjust your watering accordingly. Fertilize your plants with a balanced fertilizer.
* Rotting Bulbs: Rotting bulbs are usually caused by excessive moisture. Make sure your pot has good drainage and avoid overwatering.
Enjoying Your Homegrown Garlic
Congratulations! You’ve successfully grown garlic in pots. Now it’s time to enjoy the fruits (or rather, bulbs) of your labor. Use your homegrown garlic in all your favorite recipes, from garlic bread to stir-fries to roasted vegetables. The flavor of homegrown garlic is so much better than store-bought!
Growing garlic in pots is a rewarding experience that anyone can enjoy. With a little bit of care and attention, you can have a bountiful harvest of delicious garlic right on your patio or balcony. Happy gardening!
Conclusion
So, there you have it! Growing garlic in pots is not only achievable, but it’s also a remarkably rewarding experience, especially for those with limited garden space or those who simply want to enjoy the freshest possible garlic right outside their door. We’ve walked through the simple steps, from selecting the right variety and preparing your pots to planting, nurturing, and harvesting your own homegrown cloves.
Why is this DIY trick a must-try? Because it puts you in control. You know exactly where your garlic comes from, what it’s been exposed to, and how it’s been grown. This means you can avoid the pesticides and herbicides often used in commercial farming, ensuring you’re consuming a healthier, more flavorful product. Plus, there’s an undeniable satisfaction that comes from nurturing something from a single clove to a thriving plant. Imagine the pride you’ll feel when you harvest your own plump, pungent garlic bulbs!
Beyond the basic method, there’s plenty of room for experimentation. Consider trying different varieties of garlic to discover your personal favorite. Softneck varieties, like Artichoke garlic, are known for their braiding capabilities and milder flavor, while hardneck varieties, such as Rocambole, offer a more intense, spicy kick and produce beautiful scapes that can be used in pesto or stir-fries. You can also experiment with different potting mixes to see which one yields the best results in your specific climate. Adding compost tea to your watering routine can provide an extra boost of nutrients, leading to even larger and more flavorful bulbs.
Don’t be afraid to get creative with your container choices, too. While we’ve recommended larger pots, you can also use repurposed containers like old buckets or even grow bags. Just make sure they have adequate drainage. Companion planting is another avenue to explore. Basil, chamomile, and marigolds are all known to deter pests and attract beneficial insects, creating a healthier environment for your garlic.
Growing garlic in pots is a fantastic way to enjoy fresh, homegrown flavor, even without a traditional garden. It’s a simple, cost-effective, and incredibly satisfying project that anyone can undertake.
We wholeheartedly encourage you to give this DIY trick a try. Start small, learn as you go, and don’t be discouraged by initial setbacks. Gardening is a journey, and every mistake is an opportunity to learn and improve.
And most importantly, we want to hear about your experiences! Share your photos, tips, and challenges in the comments below. Let’s create a community of pot-grown garlic enthusiasts and learn from each other. What varieties did you try? What challenges did you face? What successes did you celebrate? Your insights could be invaluable to other aspiring garlic growers. So, grab your pots, your cloves, and get ready to experience the joy of growing your own garlic!
Frequently Asked Questions (FAQ)
1. What is the best type of garlic to grow in pots?
The best type of garlic to grow in pots depends on your climate and personal preference. Generally, softneck varieties like Artichoke garlic are well-suited for warmer climates and produce multiple cloves per bulb. Hardneck varieties, such as Rocambole or Porcelain garlic, are more cold-hardy and offer a stronger, spicier flavor. They also produce scapes, which are edible flower stalks that can be used in cooking. Consider your local climate and taste preferences when making your selection. Experimenting with different varieties is a great way to discover your favorite.
2. How deep should my pot be for growing garlic?
A pot that is at least 8-10 inches deep is recommended for growing garlic. This allows the roots to develop properly and provides enough space for the bulb to form. Deeper pots are generally better, as they provide more room for root growth and can help retain moisture. Ensure the pot has adequate drainage holes to prevent waterlogging, which can lead to rot.
3. What kind of soil should I use for growing garlic in pots?
Use a well-draining potting mix that is rich in organic matter. A mix of equal parts potting soil, compost, and perlite or vermiculite is ideal. Avoid using garden soil, as it can be too heavy and may not drain well in containers. The compost provides essential nutrients, while the perlite or vermiculite improves drainage and aeration. A slightly acidic to neutral pH (around 6.0 to 7.0) is optimal for garlic growth.
4. How often should I water my potted garlic?
Water your potted garlic regularly, especially during dry periods. The soil should be kept consistently moist but not waterlogged. Water deeply when the top inch of soil feels dry to the touch. Reduce watering frequency as the bulbs mature and the leaves begin to yellow. Overwatering can lead to rot, so ensure the pot has good drainage.
5. How much sunlight does potted garlic need?
Garlic needs at least 6-8 hours of direct sunlight per day to thrive. Choose a sunny location for your potted garlic, such as a south-facing balcony or patio. If you don’t have enough natural sunlight, you can supplement with grow lights. Insufficient sunlight can result in smaller bulbs and reduced flavor.
6. When is the best time to plant garlic in pots?
The best time to plant garlic in pots is in the fall, about 4-6 weeks before the first expected frost. This allows the cloves to establish roots before winter and promotes bulb development in the spring. In warmer climates, you can plant garlic in late fall or early winter.
7. How do I know when my garlic is ready to harvest?
Garlic is typically ready to harvest when the lower leaves begin to turn yellow and brown, usually in late spring or early summer. The scapes (if you’re growing a hardneck variety) should also be curling and starting to straighten out. Gently dig up a bulb to check its size and maturity. If the cloves are plump and well-formed, it’s time to harvest.
8. Can I grow garlic indoors?
While it’s possible to grow garlic indoors, it’s more challenging than growing it outdoors. Garlic requires a lot of sunlight, so you’ll need to provide supplemental lighting with grow lights. Ensure the pot is large enough and has good drainage. Indoor garlic may not produce as large bulbs as outdoor garlic, but you can still harvest the greens for a mild garlic flavor.
9. How do I store my harvested garlic?
After harvesting, cure your garlic by laying the bulbs out in a well-ventilated, dry place for 2-3 weeks. This allows the outer layers to dry and helps prevent rot. Once cured, you can store the garlic in a cool, dry, and dark place, such as a pantry or basement. Properly cured garlic can last for several months.
10. What are some common problems when growing garlic in pots and how do I fix them?
Some common problems include:
* **Rot:** Caused by overwatering or poor drainage. Ensure the pot has good drainage and avoid overwatering.
* **Pests:** Garlic can be susceptible to pests like aphids or onion maggots. Use insecticidal soap or neem oil to control pests.
* **Nutrient deficiencies:** Yellowing leaves can indicate a nutrient deficiency. Fertilize with a balanced fertilizer or compost tea.
* **Small bulbs:** Can be caused by insufficient sunlight, poor soil, or overcrowding. Ensure the garlic receives enough sunlight, use a well-draining potting mix, and space the cloves properly.
By addressing these issues promptly, you can ensure a successful garlic harvest.
Leave a Comment