
Growing Celery at Home might seem daunting, but trust me, it’s more achievable than you think! Have you ever tossed the celery base after using the stalks, thinking it’s destined for the compost bin? Well, I’m here to tell you that you’ve been throwing away a potential garden treasure! For centuries, celery has been a staple in cuisines worldwide, prized for its crisp texture and refreshing flavor. From ancient medicinal uses to its modern-day role in soups and salads, celery has a rich history.
But why should you bother with this DIY project? In today’s world, where fresh produce can be expensive and its origin uncertain, growing celery at home offers a fantastic way to enjoy organic, pesticide-free vegetables right from your backyard (or even your windowsill!). Plus, it’s incredibly rewarding to nurture a plant from scraps and watch it flourish. This simple trick not only saves you money but also reduces food waste, making it a win-win for your wallet and the environment. So, grab that celery base, and let’s embark on this exciting gardening adventure together! I’ll guide you through each step, ensuring you have a thriving celery patch in no time.
Growing Celery From Kitchen Scraps: A Beginner’s Guide
Hey there, fellow gardening enthusiasts! Ever wondered if you could regrow that celery stalk you’re about to toss in the compost? Well, I’m here to tell you, you absolutely can! It’s a super easy and rewarding way to reduce food waste and get a little bit of fresh produce right from your kitchen. Let’s dive into how to grow celery from kitchen scraps.
What You’ll Need
Before we get started, let’s gather our supplies. This is a pretty low-key project, so you probably have most of this stuff already:
* A celery stalk base (the part you usually cut off and discard).
* A shallow dish or bowl.
* Water (tap water is fine).
* A sunny windowsill or well-lit area.
* Potting soil.
* A pot or container (at least 6 inches in diameter).
* A spray bottle (optional, but helpful).
Phase 1: Rooting Your Celery Base
This is where the magic begins! We’re going to coax those roots out of that seemingly lifeless celery base.
1. Prepare the Celery Base: After you’ve used the celery stalks for cooking or snacking, don’t throw away the base! Cut off the bottom 2-3 inches of the stalk, making sure the base is intact. You want to keep the little nub where the roots used to be.
2. Place in Water: Put the celery base in your shallow dish or bowl. Add enough water so that the bottom inch or so of the base is submerged. Be careful not to completely submerge the entire base, as this can cause it to rot.
3. Find a Sunny Spot: Place the dish on a sunny windowsill or in a well-lit area. Celery needs plenty of light to thrive, even in this early stage.
4. Change the Water Regularly: This is crucial! Change the water every 1-2 days to prevent bacteria growth and keep the water fresh. This will encourage root development.
5. Observe and Wait: Now comes the patience part. Over the next few days to a week, you should start to see small roots emerging from the bottom of the celery base. You might also notice new green shoots sprouting from the top. This is a great sign!
Phase 2: Planting Your Celery
Once you have a decent amount of roots (about an inch or two long), it’s time to move your celery to a pot with soil.
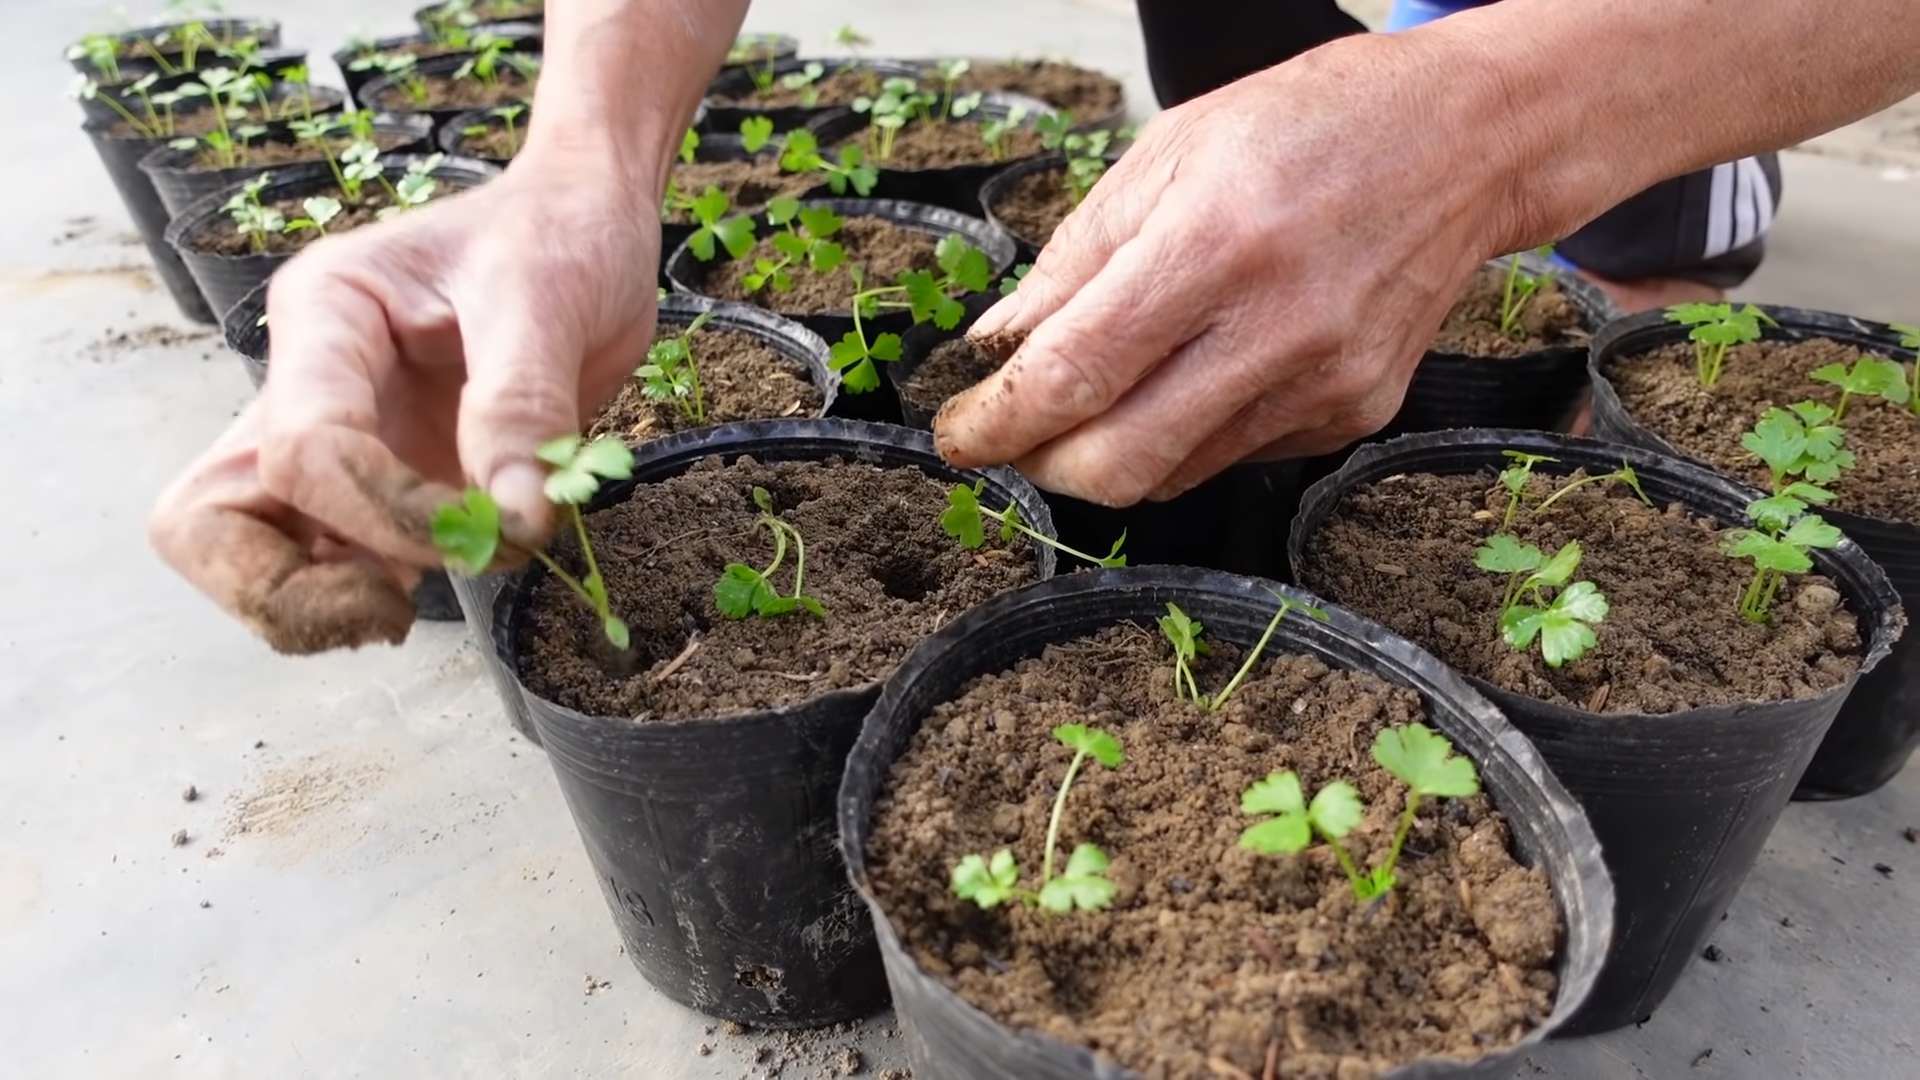
1. Prepare Your Pot: Fill your pot or container with good-quality potting soil. Make sure the pot has drainage holes to prevent waterlogging.
2. Create a Hole: Use your finger or a small trowel to create a hole in the center of the soil that’s large enough to accommodate the celery base and its roots.
3. Carefully Transplant: Gently remove the celery base from the water and carefully place it in the hole. Make sure the top of the base is level with the soil surface.
4. Fill and Pat: Fill in the hole with more potting soil, gently patting it down around the celery base.
5. Water Thoroughly: Water the soil thoroughly until water drains out of the drainage holes. This will help settle the soil and ensure the roots are well-hydrated.
Phase 3: Caring for Your Growing Celery
Now that your celery is planted, it’s time to provide it with the care it needs to grow into a healthy plant.
1. Sunlight: Celery loves sunlight! Place your pot in a sunny location where it will receive at least 6 hours of direct sunlight per day. If you don’t have a sunny spot, you can use a grow light.
2. Watering: Keep the soil consistently moist, but not soggy. Water when the top inch of soil feels dry to the touch. Avoid overwatering, as this can lead to root rot. I like to use a spray bottle to mist the leaves occasionally, which helps keep them hydrated.
3. Fertilizing: Celery is a heavy feeder, so it benefits from regular fertilization. You can use a balanced liquid fertilizer diluted to half strength every 2-3 weeks. Follow the instructions on the fertilizer package.
4. Pest Control: Keep an eye out for pests like aphids and slugs. If you spot any, you can try spraying them with insecticidal soap or hand-picking them off the plant.
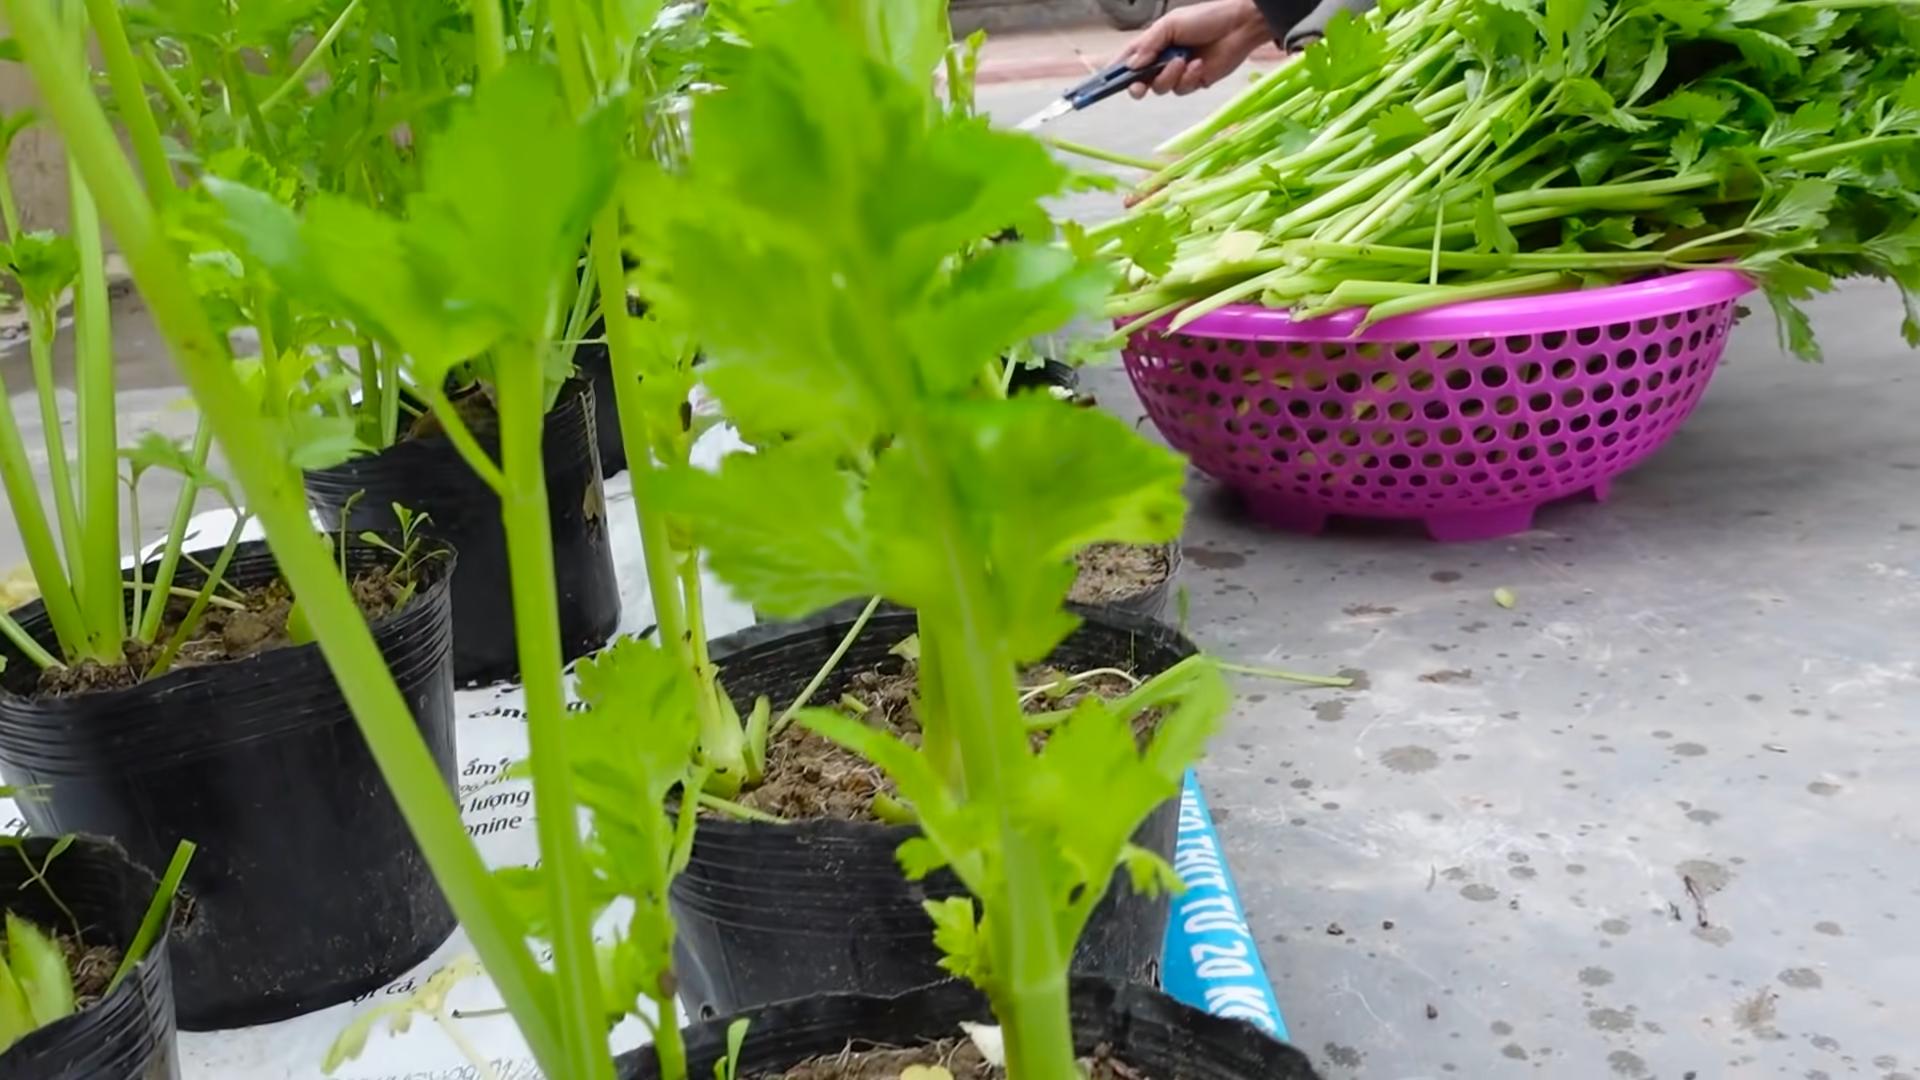
5. Harvesting: While you won’t get a full-sized celery stalk like you buy in the store, you can harvest the outer stalks as they grow. Simply cut them off near the base of the plant. This will encourage the plant to produce more stalks. You can start harvesting when the stalks are about 6-8 inches tall.
Troubleshooting Tips
Even with the best care, you might encounter a few challenges along the way. Here are some common problems and how to fix them:
* Yellowing Leaves: This could be a sign of overwatering, underwatering, or nutrient deficiency. Check the soil moisture and adjust your watering accordingly. If the soil is consistently moist, let it dry out a bit before watering again. If the leaves are pale green or yellow, try fertilizing with a balanced fertilizer.
* Slow Growth: Celery needs plenty of sunlight and nutrients to grow. Make sure your plant is getting enough light and fertilize it regularly.
* Root Rot: This is usually caused by overwatering. Make sure your pot has drainage holes and avoid letting the soil stay soggy. If you suspect root rot, you can try transplanting the celery to a new pot with fresh soil.
* Pests: Aphids, slugs, and other pests can damage your celery plant. Inspect your plant regularly and take action if you see any pests. Insecticidal soap, diatomaceous earth, and hand-picking are all effective methods for controlling pests.
Extra Tips for Success
Here are a few extra tips to help you grow the best celery possible:
* Choose the Right Celery: When you’re buying celery to eat, choose a stalk that looks healthy and fresh. The base should be firm and not mushy.
* Use Good-Quality Potting Soil: Don’t skimp on the soil! Use a good-quality potting soil that drains well and provides plenty of nutrients.
* Be Patient: Growing celery from scraps takes time and patience. Don’t get discouraged if you don’t see results right away. Just keep providing your plant with the care it needs, and you’ll eventually be rewarded with fresh, homegrown celery.
* Experiment: Don’t be afraid to experiment with different techniques and methods. Gardening is all about learning and trying new things.
* Enjoy the Process: Growing celery from scraps is a fun and rewarding experience. Take the time to enjoy the process and appreciate the miracle of nature.
Why Regrow Celery?
Besides being a fun and easy project, regrowing celery from scraps has several benefits:
* Reduces Food Waste: Instead of throwing away the celery base, you can give it a new life and grow more celery.
* Saves Money: You can save money on groceries by growing your own celery.
* Provides Fresh Produce: You’ll have access to fresh, homegrown celery right from your kitchen.
* Environmentally Friendly: Regrowing celery is a sustainable practice that helps reduce your carbon footprint.
* Educational: It’s a great way to learn about plant propagation and gardening.
So, there you have it! Growing celery from kitchen scraps is a simple and rewarding project that anyone can do. Give it a try, and you’ll be amazed at how easy it is to turn food waste into fresh produce. Happy gardening!
Conclusion
So, there you have it! Growing celery at home, while it might seem a little daunting at first, is surprisingly achievable and incredibly rewarding. Forget those limp, flavorless stalks from the grocery store – imagine crisp, vibrant celery, bursting with freshness, right from your own garden or even a sunny windowsill. This DIY trick isn’t just about saving money; it’s about experiencing the satisfaction of nurturing your own food and enjoying a superior product.
Why is this a must-try? Because it puts you in control. You control the growing conditions, ensuring your celery is free from unwanted pesticides and herbicides. You control the harvest, picking only what you need when you need it, maximizing flavor and minimizing waste. And, perhaps most importantly, you control the variety, experimenting with different types of celery to find your absolute favorite.
Beyond the basic method outlined, there are plenty of ways to personalize your celery-growing journey. Consider these variations:
* Container Gardening: If you’re short on space, celery thrives in large containers. Choose a pot at least 12 inches deep and wide to allow for adequate root growth.
* Hydroponics: For the tech-savvy gardener, hydroponic celery cultivation offers a fast and efficient way to grow.
* Succession Planting: Plant new celery starts every few weeks to ensure a continuous harvest throughout the growing season.
* Flavor Infusions: Experiment with different soil amendments or fertilizers to subtly alter the flavor profile of your celery. For example, adding a small amount of Epsom salts can enhance its sweetness.
But the real magic happens when you take the plunge and try it yourself. Don’t be afraid to experiment, to learn from your mistakes, and to adapt the process to your specific environment and preferences. The joy of watching those tiny celery seeds sprout and grow into mature plants is an experience that every gardener should have.
We are confident that with a little patience and care, you’ll be enjoying homegrown celery in no time. So, grab some celery seeds or a leftover celery base, get your hands dirty, and embark on this exciting gardening adventure.
And most importantly, we want to hear about your experiences! Share your tips, your triumphs, and even your challenges in the comments below. Let’s build a community of home celery growers and learn from each other. What variety did you try? What growing method worked best for you? What delicious recipes did you create with your homegrown celery? Your insights could inspire others to take the leap and discover the joys of growing their own food. This **growing celery at home** guide is just the beginning – the real story unfolds in your gardens.
Frequently Asked Questions (FAQ)
How long does it take to grow celery from seed?
Growing celery from seed requires patience. It typically takes around 120-150 days from seed to harvest. The germination process itself can take 2-3 weeks, and the seedlings need about 8-10 weeks indoors before they are ready to be transplanted outside. Remember to provide consistent moisture and warmth during the germination phase. After transplanting, it will take another 90-120 days for the celery to mature fully. This longer growing period is why many gardeners prefer to start with celery transplants or regrow celery from the base.
What are the best conditions for growing celery?
Celery thrives in cool weather and requires consistent moisture and nutrient-rich soil. The ideal temperature range for growing celery is between 60°F and 70°F (15°C and 21°C). It needs at least 6 hours of sunlight per day, but in hotter climates, providing some afternoon shade can prevent bolting (premature flowering). The soil should be well-draining but able to retain moisture. Amend the soil with plenty of compost or well-rotted manure before planting to provide the necessary nutrients. Regular watering is crucial, especially during dry spells. Avoid letting the soil dry out completely, as this can lead to stunted growth and bitter-tasting stalks.
What kind of soil is best for celery?
Celery prefers rich, well-draining soil with a high organic matter content. The ideal soil pH is between 6.0 and 6.8. Before planting, amend the soil with plenty of compost, well-rotted manure, or other organic materials to improve its fertility and water-holding capacity. Celery is a heavy feeder, so it benefits from regular fertilization. Use a balanced fertilizer or a fertilizer specifically formulated for vegetables. Avoid soils that are heavy clay or sandy, as these can hinder root development and water retention. If you have clay soil, amend it with compost and other organic matter to improve drainage. If you have sandy soil, amend it with compost and peat moss to improve water retention.
How often should I water celery?
Celery needs consistent moisture to thrive. Water deeply and regularly, aiming to keep the soil consistently moist but not waterlogged. The frequency of watering will depend on the weather conditions and the type of soil. In hot, dry weather, you may need to water daily. In cooler, wetter weather, you may only need to water every few days. Check the soil moisture regularly by sticking your finger into the soil about an inch deep. If the soil feels dry, it’s time to water. Mulching around the plants can help to retain moisture and suppress weeds.
What are common pests and diseases that affect celery?
Celery can be susceptible to several pests and diseases, including celery leaf tier, aphids, carrot weevils, early and late blight, and pink rot. Regularly inspect your plants for signs of infestation or disease. Use organic pest control methods, such as insecticidal soap or neem oil, to control pests. Ensure good air circulation around the plants to prevent fungal diseases. Remove any infected leaves or plants promptly to prevent the spread of disease. Crop rotation can also help to reduce the risk of soilborne diseases.
Can I grow celery indoors?
Yes, you can grow celery indoors, especially if you have a sunny windowsill or grow lights. Choose a large pot (at least 12 inches deep and wide) and fill it with a well-draining potting mix. Provide at least 6 hours of light per day, either from a sunny window or from grow lights. Water regularly, keeping the soil consistently moist. Fertilize every few weeks with a balanced fertilizer. Indoor-grown celery may not grow as large as outdoor-grown celery, but you can still harvest the stalks and leaves for use in cooking.
How do I harvest celery?
You can harvest celery when the stalks are at least 6-8 inches long and have reached the desired thickness. To harvest, use a sharp knife to cut the stalks at the base of the plant. You can harvest individual stalks as needed, or you can harvest the entire plant at once. After harvesting, store the celery in the refrigerator in a plastic bag or container. Celery will keep for several weeks in the refrigerator.
Why is my celery bitter?
Bitter celery can be caused by several factors, including insufficient watering, high temperatures, and nutrient deficiencies. Ensure that your celery receives consistent moisture and is grown in cool weather. Amend the soil with plenty of compost or well-rotted manure to provide the necessary nutrients. Blanching the celery stalks by covering them with soil or paper for a few weeks before harvest can also help to reduce bitterness. Choose celery varieties that are known for their sweeter flavor.
Can I regrow celery from the base?
Yes, regrowing celery from the base is a simple and effective way to get a head start on your celery crop. Cut off the celery stalks about 2 inches from the base and place the base in a shallow dish of water. Place the dish in a sunny location and change the water every day or two. After a few days, you should see new roots and leaves starting to grow. Once the roots are well-developed, you can transplant the celery base into a pot or directly into the garden.
What are some creative ways to use homegrown celery?
Homegrown celery is incredibly versatile and can be used in a variety of dishes. Enjoy it raw in salads, dips, or as a crunchy snack. Add it to soups, stews, and stir-fries for flavor and texture. Use the leaves to make celery salt or add them to salads and soups for extra flavor. Celery juice is a popular and healthy beverage. You can also use celery to make homemade vegetable broth. Don’t forget to experiment with different celery varieties to discover new and exciting flavor profiles.


Leave a Comment