
Grow Sweet Melons right in your backyard? Absolutely! Imagine biting into a juicy, sun-ripened melon you nurtured from seed to fruit. Forget those bland, store-bought melons – we’re talking about intensely flavorful, homegrown goodness. For centuries, cultivating melons has been a cherished tradition, dating back to ancient Egypt and beyond, where they were prized for their sweetness and refreshing qualities.
But let’s be honest, the thought of growing melons can be a little intimidating. They seem to require so much space and attention! That’s where these DIY tricks and hacks come in. I’m here to show you that with a little know-how, you can successfully grow sweet melons, even if you have limited space or gardening experience.
This article is packed with simple, effective techniques to help you overcome common challenges like pest control, pollination, and maximizing fruit production. Why spend a fortune at the grocery store when you can enjoy the satisfaction of harvesting your own delicious melons? Let’s dive in and unlock the secrets to a bountiful melon harvest!
Growing Sweet Melons: A DIY Guide to Juicy Success
Okay, melon lovers, let’s talk about growing your own sweet, juicy melons! I know it can seem intimidating, but trust me, with a little planning and effort, you can be enjoying homegrown goodness in no time. This guide will walk you through everything you need to know, from choosing the right variety to harvesting your prize-winning fruit.
Choosing Your Melon Variety
First things first, you need to decide what kind of melon you want to grow. There are so many delicious options! Here’s a quick rundown of some popular choices:
* Cantaloupe: A classic choice, known for its orange flesh and netted rind. They’re relatively easy to grow and offer a sweet, musky flavor.
* Honeydew: With its smooth, pale green rind and light green flesh, honeydew melons are refreshingly sweet and mild.
* Watermelon: The king of summer! Watermelons come in various sizes and colors, from the classic red to yellow and even orange. They require a bit more space and a longer growing season.
* Galia Melon: A hybrid melon with a yellow rind and green flesh. It has a sweet, aromatic flavor and a long shelf life.
* Casaba Melon: Characterized by its wrinkled yellow rind and white flesh. It has a mild, slightly tangy flavor.
Consider your climate, space, and personal preferences when making your selection. Some varieties are better suited to certain regions than others. Check your local garden center or online resources for recommendations specific to your area.
Preparing Your Melon Patch
Melons are sun-loving, heavy feeders, so proper soil preparation is crucial. Here’s what you need to do:
* Sunlight: Choose a location that receives at least 6-8 hours of direct sunlight per day. More is always better!
* Soil: Melons thrive in well-drained, fertile soil with a pH between 6.0 and 6.8.
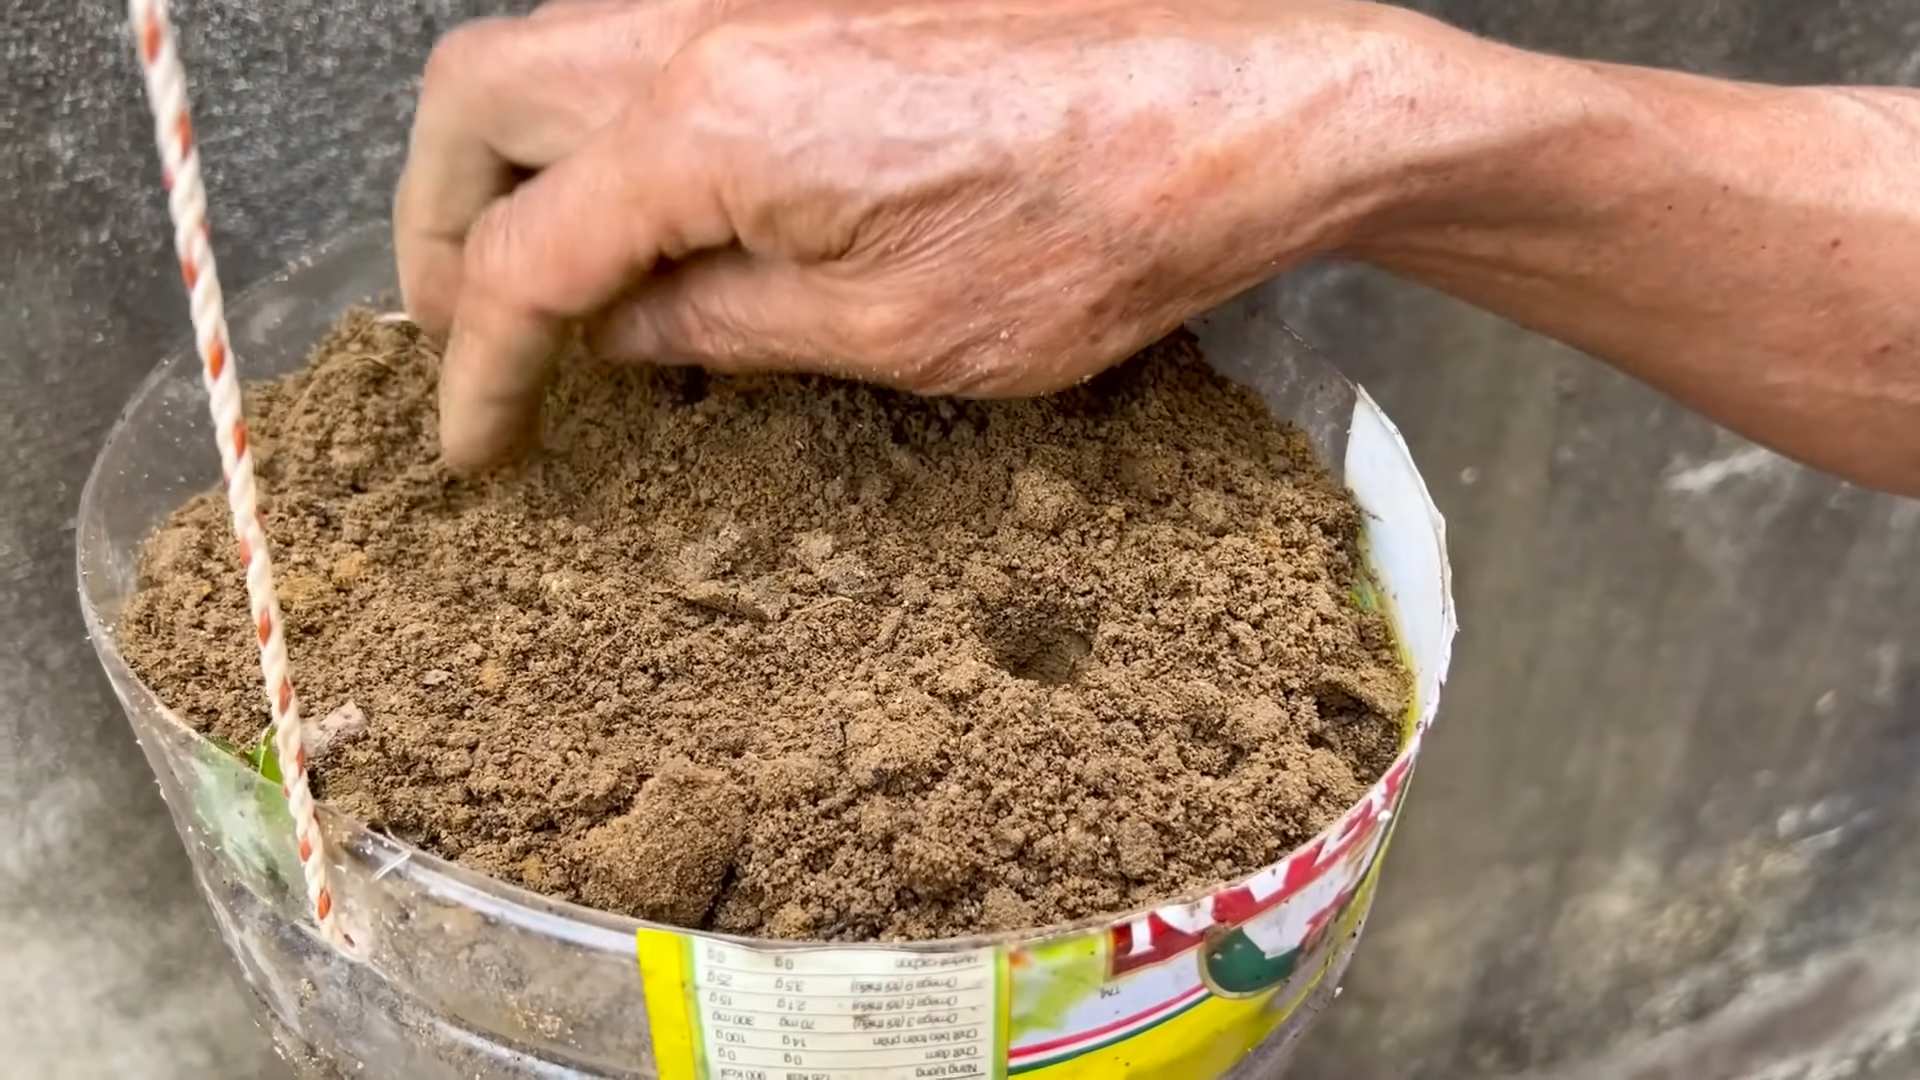
* Soil Testing: I highly recommend getting your soil tested. You can usually do this through your local agricultural extension office. This will tell you exactly what nutrients your soil is lacking.
* Amendments: Based on your soil test results, amend your soil with compost, aged manure, or other organic matter to improve drainage, fertility, and water retention. I usually add a generous amount of compost to my melon patch.
* Raised Beds (Optional): If you have heavy clay soil or poor drainage, consider growing your melons in raised beds. This will help improve drainage and warm the soil more quickly in the spring.
Starting Your Melon Seeds
You can either start your melon seeds indoors or direct sow them in your garden. Starting indoors gives you a head start, especially in cooler climates.
Starting Seeds Indoors:
1. Timing: Start your seeds about 4-6 weeks before the last expected frost in your area.
2. Containers: Use peat pots or biodegradable containers to avoid disturbing the roots when transplanting. Melons don’t like having their roots messed with!
3. Soil: Fill the containers with a seed-starting mix.
4. Sowing: Plant 2-3 seeds per container, about ½ inch deep.
5. Watering: Water gently to moisten the soil.
6. Warmth: Keep the containers in a warm location (70-80°F) until the seeds germinate. A heat mat can be helpful.
7. Light: Once the seedlings emerge, provide them with plenty of light. A grow light is ideal, but a sunny windowsill can also work.
8. Thinning: Once the seedlings have a few true leaves, thin them to one plant per container. Choose the strongest, healthiest seedling.
9. Hardening Off: Before transplanting your seedlings outdoors, you need to harden them off. This means gradually exposing them to outdoor conditions over a period of 7-10 days. Start by placing them in a sheltered location for a few hours each day, gradually increasing the amount of time they spend outdoors.
Direct Sowing Seeds:
1. Timing: Direct sow your seeds after the last expected frost, when the soil has warmed to at least 65°F.
2. Planting: Plant the seeds about 1 inch deep and space them according to the variety’s recommendations (usually 2-3 feet apart).
3. Watering: Water gently to moisten the soil.
4. Thinning: Once the seedlings emerge, thin them to one plant per hill.
Transplanting Your Melon Seedlings
Once your seedlings are hardened off and the weather is warm and settled, it’s time to transplant them into your garden.
1. Timing: Choose a cloudy day or transplant in the late afternoon to minimize stress on the plants.
2. Holes: Dig holes that are slightly larger than the root balls of your seedlings.
3. Planting: Gently remove the seedlings from their containers and place them in the holes. Be careful not to damage the roots.
4. Spacing: Space the plants according to the variety’s recommendations.
5. Watering: Water thoroughly after transplanting.
6. Mulching: Apply a layer of mulch around the plants to help retain moisture, suppress weeds, and regulate soil temperature. I like to use straw or shredded leaves.
Caring for Your Melon Plants
Now that your melon plants are in the ground, it’s time to provide them with the care they need to thrive.
* Watering: Melons need consistent moisture, especially during fruit development. Water deeply and regularly, especially during dry spells. Avoid overhead watering, as this can promote fungal diseases. Drip irrigation is ideal.
* Fertilizing: Feed your melon plants regularly with a balanced fertilizer. I like to use a fertilizer that is higher in phosphorus and potassium, which are important for fruit development. Follow the instructions on the fertilizer label.
* Weeding: Keep your melon patch free of weeds, which can compete with your plants for nutrients and water.
* Pest Control: Keep an eye out for common melon pests, such as squash bugs, cucumber beetles, and aphids. Handpick pests when possible. You can also use insecticidal soap or neem oil to control infestations.
* Disease Control: Melons are susceptible to fungal diseases, such as powdery mildew and downy mildew. To prevent these diseases, provide good air circulation, avoid overhead watering, and apply a fungicide if necessary.
* Pruning (Optional): Some gardeners prune their melon plants to encourage fruit production. You can remove some of the side shoots and leaves to improve air circulation and direct the plant’s energy towards fruit development. I usually don’t prune unless the plants are getting overcrowded.
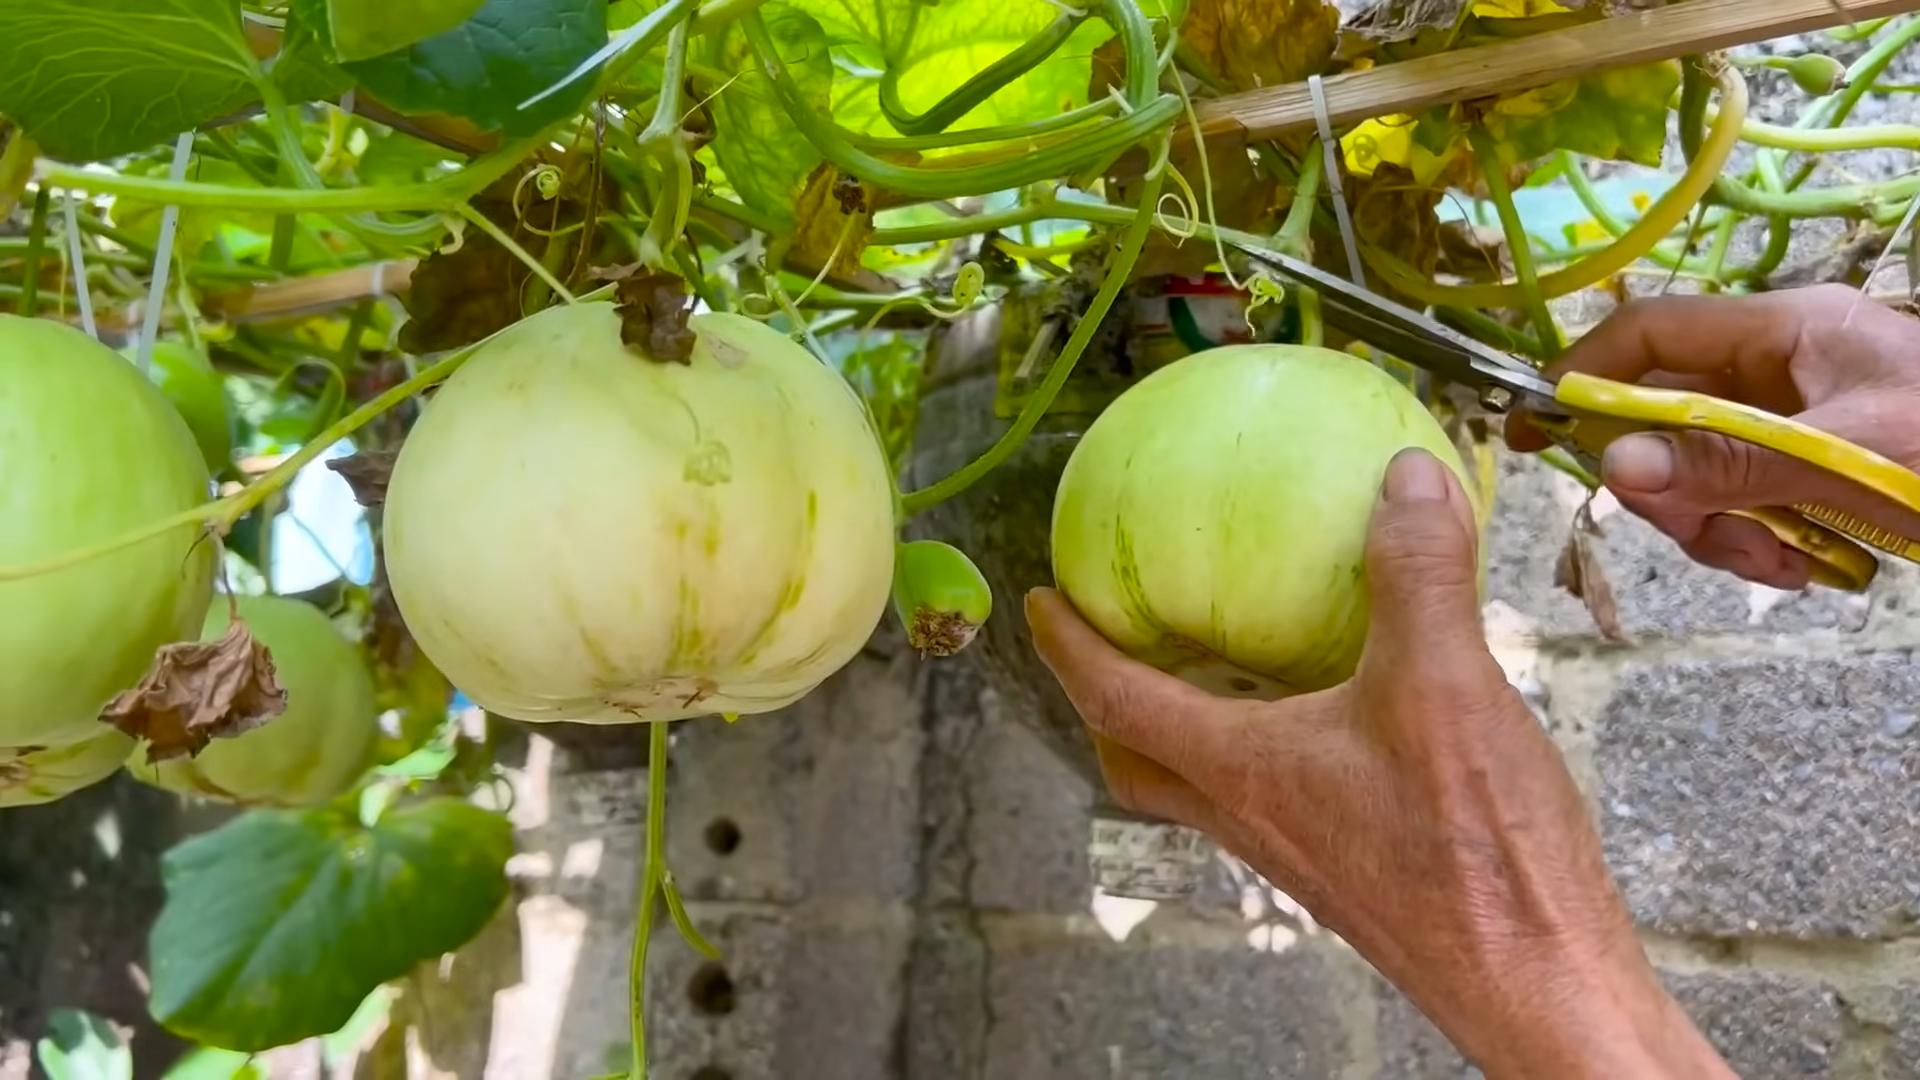
* Supporting the Fruit: For larger melon varieties, you may need to support the fruit to prevent it from rotting on the ground. You can use slings made from old pantyhose or netting to support the melons.
Pollination
Melons require pollination to produce fruit. Bees are the primary pollinators, so it’s important to attract them to your garden. You can do this by planting flowers that attract bees, such as sunflowers, zinnias, and lavender. If you’re not seeing many bees in your garden, you may need to hand-pollinate your melon flowers.
Hand-Pollinating Melons:
1. Identify Male and Female Flowers: Male flowers have a long, thin stem, while female flowers have a small, immature fruit at the base of the flower.
2. Timing: Hand-pollinate in the morning, when the flowers are open.
3. Transfer Pollen: Use a small paintbrush or cotton swab to collect pollen from the male flower.
4. Apply Pollen: Gently brush the pollen onto the stigma of the female flower.
5. Repeat: Repeat this process for several female flowers.
Harvesting Your Melons
The moment you’ve been waiting for! Knowing when to harvest your melons is key to enjoying their full flavor and sweetness. Here are some general guidelines:
* Cantaloupe: The rind will turn from green to tan or yellow, and the netting will become more pronounced. The stem will also begin to crack or slip easily from the fruit. The melon should also have a sweet, musky aroma.
* Honeydew: The rind will turn from green to creamy yellow, and the blossom end will become slightly soft. The melon should also have a sweet, slightly floral aroma.
* Watermelon: The tendril closest to the fruit will turn brown and dry, and the spot where the melon rests on the ground will turn from white to yellow. The melon should also sound hollow when you thump it.
* Galia Melon: The rind will turn from green to yellow, and the melon will have a strong, sweet aroma.
* Cas
Conclusion
So, there you have it! Growing sweet melons at home, bursting with flavor and sunshine, is absolutely within your reach. This DIY trick, focusing on [Specific aspect of the trick, e.g., soil amendment, watering technique, companion planting], is a game-changer for anyone who’s ever dreamed of biting into a perfectly ripe, homegrown melon. Forget those bland, store-bought disappointments! This method empowers you to cultivate melons that are sweeter, juicier, and simply more satisfying than anything you can find on a supermarket shelf.
Why is this a must-try? Because it addresses the core needs of melon plants in a simple, effective, and often inexpensive way. Whether it’s improving drainage, boosting nutrient availability, or attracting beneficial pollinators, this DIY approach tackles the challenges that often prevent home gardeners from achieving melon success. It’s about working *with* nature, not against it, to create the optimal environment for your melon vines to thrive.
But don’t stop there! Experimentation is key to unlocking the full potential of your melon patch. Consider these variations:
* **For Watermelon Lovers:** Adapt the technique to larger watermelon varieties by increasing the scale of your [Specific aspect of the trick, e.g., raised bed, watering system]. Ensure adequate spacing to accommodate their sprawling vines.
* **For Cantaloupe Connoisseurs:** Focus on maximizing sunlight exposure. Cantaloupes crave warmth and sunshine, so choose a location that receives at least 8 hours of direct sunlight per day.
* **For Honeydew Devotees:** Pay close attention to soil pH. Honeydews prefer slightly acidic soil, so consider testing your soil and amending it accordingly.
* **Vertical Growing:** If space is limited, explore vertical growing options. Train your melon vines to climb a trellis or fence to save space and improve air circulation.
Ultimately, the best way to discover what works best for you is to get your hands dirty and try it out! We’re confident that this DIY trick will significantly improve your chances of harvesting a bountiful crop of delicious, homegrown melons.
Don’t just take our word for it. We encourage you to give this method a try and share your experiences with us! Let us know what worked, what didn’t, and any variations you discovered along the way. Your insights will help other gardeners achieve melon-growing success. Share your photos and stories on our social media channels using [Relevant Hashtag, e.g., #HomegrownMelons, #DIYGardening]. We can’t wait to see your amazing melon harvests! This DIY trick is the key to unlocking your melon-growing potential.
Frequently Asked Questions (FAQ)
Q: What type of melons does this DIY trick work best for?
A: This DIY trick is versatile and can be adapted for various melon types, including watermelon, cantaloupe, honeydew, and even smaller varieties like sugar kiss melons. The core principles of the trick – focusing on soil health, proper watering, and adequate sunlight – are beneficial for all melons. However, as mentioned earlier, you may need to make slight adjustments based on the specific needs of each variety. For example, watermelons require more space and water than cantaloupes.
Q: How long does it take to see results from this DIY trick?
A: The time it takes to see results will vary depending on several factors, including the specific melon variety, the climate, and the overall health of your plants. Generally, you should start to see improvements in plant growth and vigor within a few weeks of implementing the trick. Expect to harvest your first melons approximately 70-90 days after planting, depending on the variety. Consistent application of the DIY trick throughout the growing season is crucial for optimal results.
Q: What if I don’t have a lot of space for a traditional garden?
A: No problem! This DIY trick can be adapted for container gardening or vertical gardening. Choose a large container (at least 20 gallons) with good drainage and use a high-quality potting mix. For vertical gardening, train your melon vines to climb a trellis or fence. This is a great way to save space and improve air circulation, which can help prevent fungal diseases. Remember to provide adequate support for the heavy melons as they develop.
Q: What are some common problems I might encounter when growing melons, and how can this DIY trick help?
A: Common problems include poor pollination, fungal diseases, and pest infestations. This DIY trick can help address these issues by improving plant health and vigor, making them more resistant to diseases and pests. For example, healthy soil promotes strong root development, which allows plants to better absorb nutrients and water. Proper watering techniques can help prevent fungal diseases by avoiding overwatering and ensuring good air circulation. Attracting pollinators through companion planting can also improve fruit set.
Q: Can I use this DIY trick in conjunction with other gardening techniques?
A: Absolutely! This DIY trick is designed to complement other gardening techniques. For example, you can use it in conjunction with organic fertilizers, companion planting, and crop rotation. The key is to create a holistic gardening system that addresses all the needs of your melon plants.
Q: What if I live in a cooler climate? Can I still grow melons using this DIY trick?
A: Yes, you can still grow melons in cooler climates, but you may need to take some extra precautions. Start your melon seeds indoors several weeks before the last expected frost. Choose a sunny location that is sheltered from wind. Consider using row covers or a cold frame to protect your plants from cold temperatures. Dark-colored mulch can also help warm the soil. Choose early-maturing melon varieties that are better suited to shorter growing seasons.
Q: How do I know when my melons are ripe and ready to harvest?
A: The signs of ripeness vary depending on the melon variety. For watermelons, look for a dull sound when you thump the melon, a dry tendril near the stem, and a yellow spot on the underside where the melon rested on the ground. For cantaloupes, look for a strong, sweet aroma and a slight give when you press on the blossom end. For honeydews, look for a creamy yellow color and a slight give when you press on the blossom end.
Q: What are some good companion plants for melons?
A: Good companion plants for melons include marigolds, nasturtiums, basil, and oregano. Marigolds and nasturtiums help repel pests, while basil and oregano attract beneficial insects. Planting these companions near your melon plants can help protect them from pests and diseases.
Q: Where can I find more information about growing melons?
A: There are many resources available online and in libraries. Check out your local university extension office for region-specific advice. Look for reputable gardening websites and books that provide detailed information on melon cultivation. Don’t be afraid to experiment and learn from your own experiences!

Leave a Comment