
Growing Carrots in Bags: Imagine harvesting a vibrant, crunchy crop of carrots right from your patio, balcony, or even your kitchen windowsill! No sprawling garden needed. For centuries, carrots have been a staple in diets worldwide, dating back to ancient Persia where they were originally purple and white. Today, we mostly see the familiar orange variety, thanks to Dutch horticulturalists in the 17th century. But regardless of color, the joy of pulling a fresh carrot from the earth (or, in this case, a bag!) is universal.
Are you short on space but long on dreams of fresh, homegrown veggies? Or perhaps you’re dealing with poor soil quality that makes traditional gardening a challenge? That’s where this DIY guide comes in! I’m going to show you how growing carrots in bags can be a game-changer. It’s an incredibly simple, cost-effective, and rewarding way to enjoy the taste of homegrown goodness, regardless of your gardening experience. Forget back-breaking digging and weeding; with this method, you’ll be enjoying sweet, delicious carrots in no time. Let’s get started!
Growing Carrots in Bags: A Beginner’s Guide
Hey there, fellow gardening enthusiasts! Are you short on space but dreaming of harvesting your own sweet, crunchy carrots? Well, I’ve got fantastic news: you can absolutely grow carrots in bags! It’s a surprisingly easy and rewarding project, perfect for balconies, patios, or even just a sunny corner indoors. I’ve been doing it for a few years now, and I’m excited to share my secrets with you. Let’s get started!
Why Grow Carrots in Bags?
Before we dive into the how-to, let’s quickly cover why growing carrots in bags is such a great idea:
* Space-Saving: This is the biggest advantage! Bags take up far less room than traditional garden beds.
* Portability: Need to move your carrots to chase the sun? No problem! Bags are easy to relocate.
* Better Soil Control: You get to choose the perfect soil mix for your carrots, ensuring optimal drainage and nutrient levels.
* Fewer Weeds: Bags are less prone to weed infestations compared to open ground.
* Earlier Harvest: The soil in bags tends to warm up faster in the spring, giving you a head start on the growing season.
What You’ll Need
Alright, let’s gather our supplies. Here’s what you’ll need to grow carrots successfully in bags:
* Bags: Choose sturdy bags that are at least 12 inches deep and wide. I personally love using grow bags made of breathable fabric, as they allow for excellent drainage and aeration. You can also repurpose large plastic nursery pots or even heavy-duty trash bags (just make sure to poke drainage holes!).
* Potting Mix: This is crucial! Carrots need loose, well-draining soil to develop properly. Avoid using garden soil, as it tends to be too heavy and compacted. I recommend a mix of:
* 1 part compost (for nutrients)
* 1 part peat moss or coco coir (for moisture retention)
* 1 part perlite or vermiculite (for drainage)
* Carrot Seeds: Choose a variety that’s suitable for container growing. Shorter, rounder varieties like ‘Thumbelina’ or ‘Parisian’ are ideal, but you can also grow longer varieties like ‘Nantes’ if you have a deep enough bag.
* Slow-Release Fertilizer: A balanced slow-release fertilizer will provide your carrots with a steady supply of nutrients throughout the growing season. Look for one with an NPK ratio of around 5-10-10.
* Watering Can or Hose: You’ll need a way to water your carrots regularly.
* Optional:
* Seed Starting Tray: If you prefer to start your seeds indoors.
* Heat Mat: To speed up germination if starting seeds indoors.
* Grow Lights: If growing indoors and natural light is limited.
Step-by-Step Instructions: Planting Your Carrots
Now for the fun part! Let’s get those carrot seeds in the ground (or, in this case, in the bag).
1. Prepare Your Bags: If you’re using plastic bags, make sure to poke plenty of drainage holes in the bottom. This is essential to prevent waterlogging, which can lead to root rot.
2. Fill the Bags with Potting Mix: Fill your bags with the potting mix you prepared earlier, leaving about 2-3 inches of space at the top. Gently pat down the soil to remove any air pockets.
3. Sow the Seeds: Carrot seeds are tiny, so it’s easy to sow them too thickly. To avoid overcrowding, I like to mix the seeds with a bit of sand before sowing. This helps to distribute them more evenly. Sprinkle the seeds thinly over the surface of the soil, spacing them about 1 inch apart.
4. Cover the Seeds: Lightly cover the seeds with a thin layer of potting mix (about ¼ inch). Gently pat down the soil again.
5. Water Thoroughly: Water the bags gently but thoroughly, using a watering can or hose with a gentle spray nozzle. You want to moisten the soil without disturbing the seeds.
6. Label Your Bags: Don’t forget to label your bags with the variety of carrot you planted and the date. This will help you keep track of your progress.
7. Choose a Sunny Location: Carrots need at least 6-8 hours of sunlight per day to thrive. Place your bags in a sunny spot where they will receive plenty of light. If you’re growing indoors, you may need to supplement with grow lights.
Germination and Early Care
This is a crucial phase. Here’s how to ensure your carrot seedlings get off to a good start:
1. Keep the Soil Moist: The soil needs to stay consistently moist during germination. Check the soil daily and water as needed to keep it from drying out. I find that misting the surface of the soil with a spray bottle is a good way to keep it moist without overwatering.
2. Maintain Warm Temperatures: Carrot seeds germinate best at temperatures between 65-75°F (18-24°C). If you’re starting your seeds indoors, you can use a heat mat to speed up germination.
3. Thin the Seedlings: Once the seedlings emerge (usually in 7-14 days), it’s important to thin them out to prevent overcrowding. Use a pair of scissors to snip off the weaker seedlings, leaving the strongest ones spaced about 2-3 inches apart. This will give the remaining carrots enough room to develop properly.
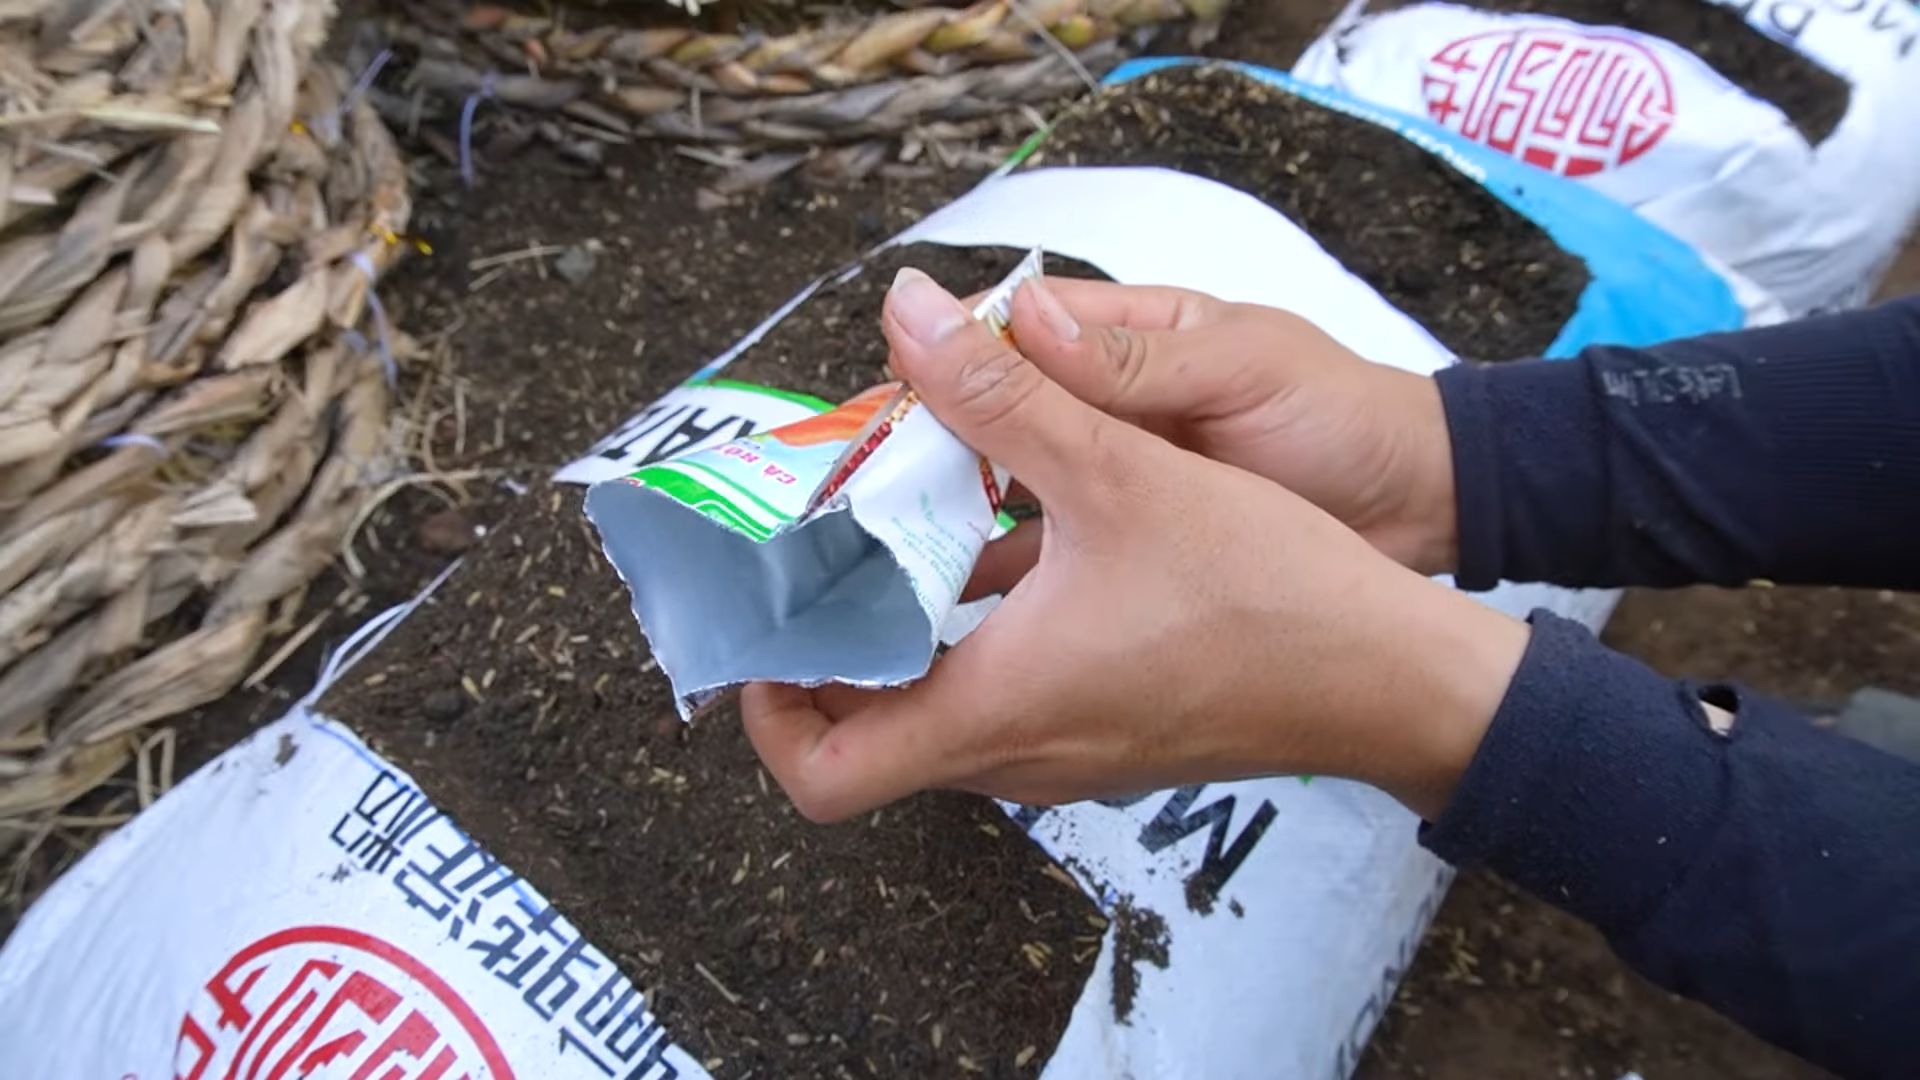
4. Fertilize: About 2-3 weeks after germination, start feeding your carrots with a diluted solution of liquid fertilizer. Follow the instructions on the fertilizer package. You can also sprinkle a small amount of slow-release fertilizer around the base of the plants.
Ongoing Care: Keeping Your Carrots Happy
Now that your carrots are growing, here’s how to keep them healthy and productive:
1. Watering: Carrots need consistent moisture to develop properly. Water deeply whenever the top inch of soil feels dry to the touch. Avoid overwatering, as this can lead to root rot.
2. Fertilizing: Continue to fertilize your carrots every 2-3 weeks with a diluted solution of liquid fertilizer.
3. Weeding: Keep your bags free of weeds, as they can compete with your carrots for nutrients and water. Gently pull out any weeds that appear.
4. Sunlight: Make sure your carrots are getting enough sunlight. If you’re growing indoors, you may need to adjust the position of your grow lights as the plants grow.
5. Pest Control: Carrots are generally pest-resistant, but they can sometimes be attacked by aphids or carrot rust flies. Check your plants regularly for signs of pests and take action if necessary. You can usually control aphids with a strong spray of water or by introducing beneficial insects like ladybugs. Carrot rust flies can be more difficult to control, but you can try using row covers to protect your plants.
Harvesting Your Carrots
The moment you’ve been waiting for! Here’s how to know when your carrots are ready to harvest:
1. Check the Maturity Date: The seed packet will tell you how many days it takes for your carrots to mature. This is a good guideline, but it’s also important to check the size and shape of the carrots.
2. Check the Size: Gently brush away some of the soil around the base of the carrots to get a better look at their size. They should be at least ½ inch in diameter, depending on the variety.
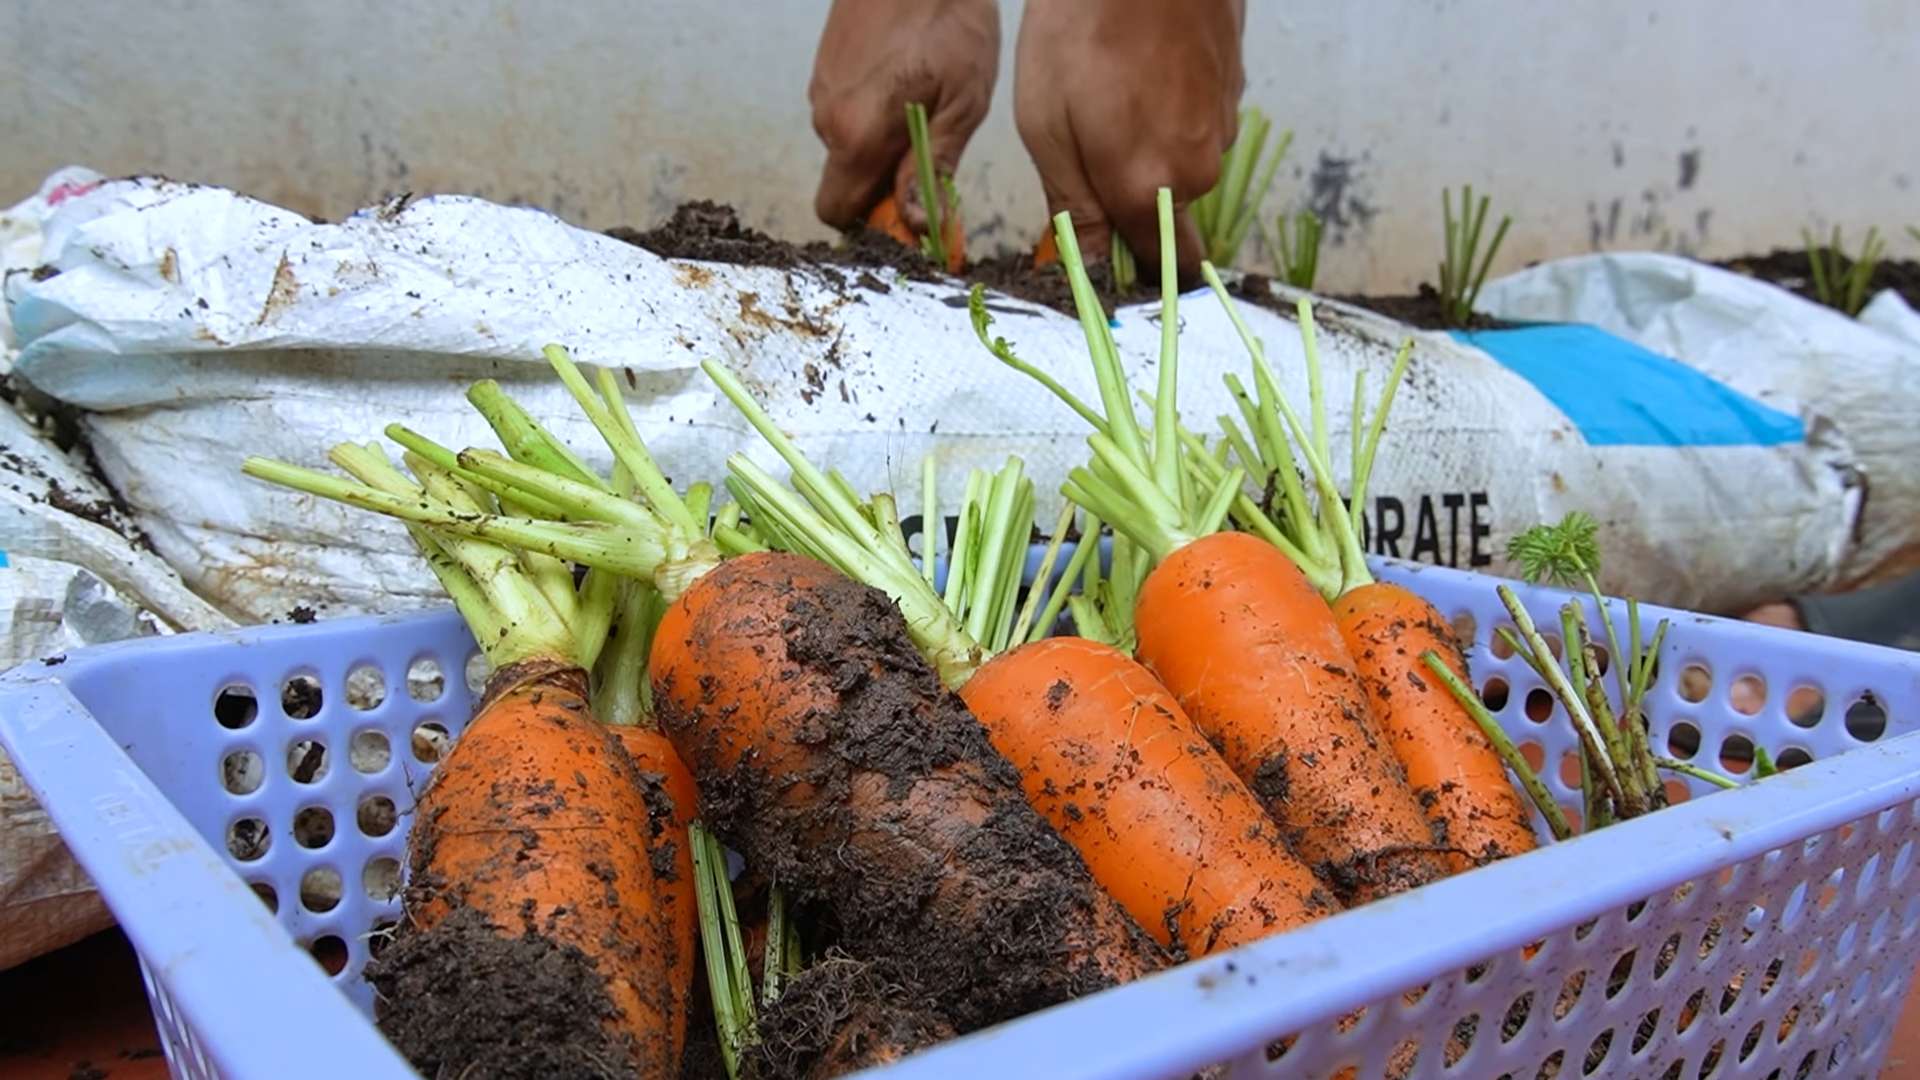
3. Harvest Carefully: To harvest your carrots, gently loosen the soil around them with a trowel or garden fork. Then, grasp the tops of the carrots firmly and pull them straight up out of the soil. If the carrots are difficult to pull, you may need to loosen the soil a bit more.
4. Enjoy Your Harvest! Wash your carrots thoroughly and enjoy them fresh from the garden. You can also store them in the refrigerator for several weeks.
Troubleshooting
Even with the best care, you might encounter some problems along the way. Here are a few common issues and how to address them:
* Forked or Stunted Roots: This is usually caused by compacted soil or rocks in the soil. Make sure to use a loose, well-draining potting mix and remove any rocks or debris.
* Bitter Taste: This can be caused by inconsistent watering or high temperatures. Keep the soil consistently moist and provide shade during the hottest part of the day.
* Root Rot: This is caused by overwatering or poor drainage. Make sure your bags have plenty of drainage holes and avoid overwatering.
* Pests: As mentioned earlier, aphids and carrot rust flies can sometimes be a problem. Take action as soon as you notice any signs of
Conclusion
So, there you have it! Growing carrots in bags isn’t just a gardening trend; it’s a genuinely effective and rewarding method, especially if you’re short on space or dealing with challenging soil conditions. We’ve walked you through the simple steps, highlighting the benefits of this container gardening approach. From selecting the right bag and soil mix to understanding the importance of drainage and consistent watering, you’re now equipped with the knowledge to cultivate your own vibrant, delicious carrots right at home.
But why is this DIY trick a must-try? Because it democratizes gardening! It removes the barriers of large plots, poor soil, and even limited mobility. Imagine the satisfaction of harvesting your own sweet, crisp carrots, knowing you nurtured them from tiny seeds to fully grown vegetables, all within the confines of a simple bag. This method allows you to control the growing environment, minimizing the risk of pests and diseases that often plague in-ground gardens. Plus, the portability of bags means you can chase the sun, ensuring your carrots get the optimal light they need to thrive.
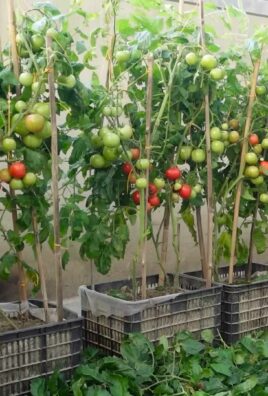
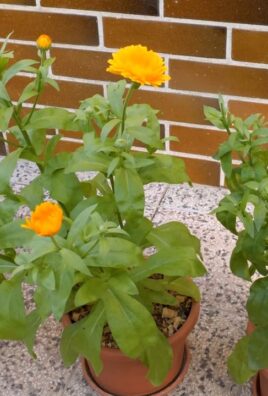
Don’t be afraid to experiment! While we’ve provided a solid foundation, there’s plenty of room for personalization. Consider trying different carrot varieties. Nantes carrots, with their cylindrical shape, are particularly well-suited for bag growing. You could also explore companion planting, adding herbs like rosemary or sage to your bags to deter pests and enhance the flavor of your carrots. Another variation to consider is vertical gardening. By stacking or hanging your bags, you can maximize your growing space even further, creating a stunning and productive green wall.
The key to successful growing carrots in bags lies in consistent care and attention. Regularly check the moisture levels of the soil, ensuring it remains consistently damp but not waterlogged. Monitor for any signs of pests or diseases and address them promptly. And most importantly, be patient! Carrots take time to mature, but the reward of fresh, homegrown produce is well worth the wait.
We wholeheartedly encourage you to give this DIY trick a try. It’s an accessible, affordable, and incredibly satisfying way to connect with nature and enjoy the fruits (or rather, vegetables) of your labor. Once you’ve harvested your first batch of homegrown carrots, we’d love to hear about your experience! Share your tips, tricks, and photos in the comments below. Let’s build a community of bag-growing enthusiasts and inspire others to embrace this innovative gardening method. Happy growing!
Frequently Asked Questions (FAQ)
What type of bag is best for growing carrots?
The ideal bag for growing carrots is a durable, breathable fabric bag, such as a grow bag made from felt or a similar material. These bags allow for good drainage and aeration, which are crucial for healthy root development. Avoid using plastic bags, as they can trap moisture and lead to root rot. The bag should be at least 12 inches deep to accommodate the length of most carrot varieties. A wider bag (around 12 inches in diameter) will also provide ample space for multiple plants.
What kind of soil should I use?
Carrots need loose, well-draining soil to grow properly. A good mix would be equal parts of potting soil, compost, and perlite or vermiculite. The compost provides nutrients, while the perlite or vermiculite improves drainage and aeration. Avoid using heavy clay soil, as it can compact and hinder root growth. You can also purchase a pre-made potting mix specifically formulated for vegetables. Ensure the soil is free of rocks and debris, as these can cause the carrots to fork or become misshapen.
How often should I water my carrots in bags?
Water your carrots regularly, keeping the soil consistently moist but not waterlogged. The frequency of watering will depend on the weather conditions and the type of bag you’re using. In hot, dry weather, you may need to water daily, while in cooler, wetter weather, you can water less frequently. Check the soil moisture by sticking your finger about an inch into the soil. If it feels dry, it’s time to water. When watering, water deeply, ensuring the entire root zone is moistened. Avoid overhead watering, as this can lead to fungal diseases.
How much sunlight do carrots need?
Carrots need at least 6 hours of sunlight per day to thrive. Choose a location for your bags that receives plenty of direct sunlight. If you live in a hot climate, you may need to provide some afternoon shade to prevent the soil from drying out too quickly. If you don’t have access to a sunny spot, you can supplement with grow lights.
When is the best time to plant carrots in bags?
The best time to plant carrots depends on your climate. In general, carrots are a cool-season crop and can be planted in early spring or late summer for a fall harvest. Check your local planting calendar for specific dates. If you live in a warmer climate, you can plant carrots throughout the winter.
How do I prevent my carrots from forking or splitting?
Forking or splitting carrots are often caused by rocky soil, inconsistent watering, or overcrowding. To prevent this, ensure your soil is free of rocks and debris, water regularly and evenly, and thin your seedlings to provide adequate spacing.
What are some common pests and diseases that affect carrots?
Common pests that affect carrots include carrot rust flies, aphids, and nematodes. Diseases include leaf blight and root rot. To prevent pests and diseases, practice good garden hygiene, such as removing weeds and debris, and use organic pest control methods, such as insecticidal soap or neem oil. Ensure good drainage to prevent root rot.
How do I know when my carrots are ready to harvest?
Carrots are typically ready to harvest when they reach the desired size, which varies depending on the variety. Check the seed packet for specific information. You can also gently pull back the soil around the top of the carrot to check its size. Carrots are generally ready to harvest 60-80 days after planting.
Can I reuse the soil in my bags?
Yes, you can reuse the soil in your bags, but it’s important to amend it with fresh compost and fertilizer before replanting. Over time, the soil will become depleted of nutrients. Adding compost will replenish the nutrients and improve the soil structure. You may also want to consider rotating your crops to prevent the buildup of pests and diseases.
Can I grow other vegetables in bags besides carrots?
Absolutely! Many vegetables thrive in bags, including lettuce, spinach, radishes, herbs, and even tomatoes and peppers (in larger bags). The key is to choose the right size bag and soil mix for the specific vegetable you’re growing.
Leave a Comment