
Grow Kohlrabi at Home? Absolutely! And I’m here to tell you it’s easier than you might think. Forget those bland, store-bought veggies – imagine biting into a crisp, slightly sweet kohlrabi you nurtured from seed to table, right in your own backyard. Sounds amazing, right?
Kohlrabi, sometimes called a German turnip, has a fascinating history. While its exact origins are a bit murky, it’s believed to have originated in Northern Europe. For centuries, it’s been a staple in European and Asian cuisines, valued for its unique flavor and versatility. It’s not just a delicious vegetable; it’s a connection to generations of gardeners who have cultivated this unusual crop.
But why should you grow kohlrabi at home? Well, for starters, homegrown kohlrabi tastes infinitely better than anything you can buy. Plus, you control exactly what goes into growing it – no harmful pesticides or herbicides! In this article, I’m going to share some simple DIY tricks and hacks that will help you successfully cultivate this unique vegetable, even if you’re a complete beginner. From seed starting to harvesting, I’ll guide you through every step of the process. Get ready to impress your friends and family with your homegrown kohlrabi – let’s get started!
Grow Your Own Delicious Kohlrabi: A Beginner’s Guide
Hey there, fellow gardening enthusiasts! Ever wanted to try growing something a little different, something that looks like it came straight out of a sci-fi movie but tastes surprisingly delicious? Then kohlrabi is your answer! This quirky vegetable, often called a “German turnip” (though it’s not a turnip at all!), is incredibly easy to grow, even for beginners. I’m going to walk you through everything you need to know to cultivate your own kohlrabi crop, from seed to table.
What is Kohlrabi, Anyway?
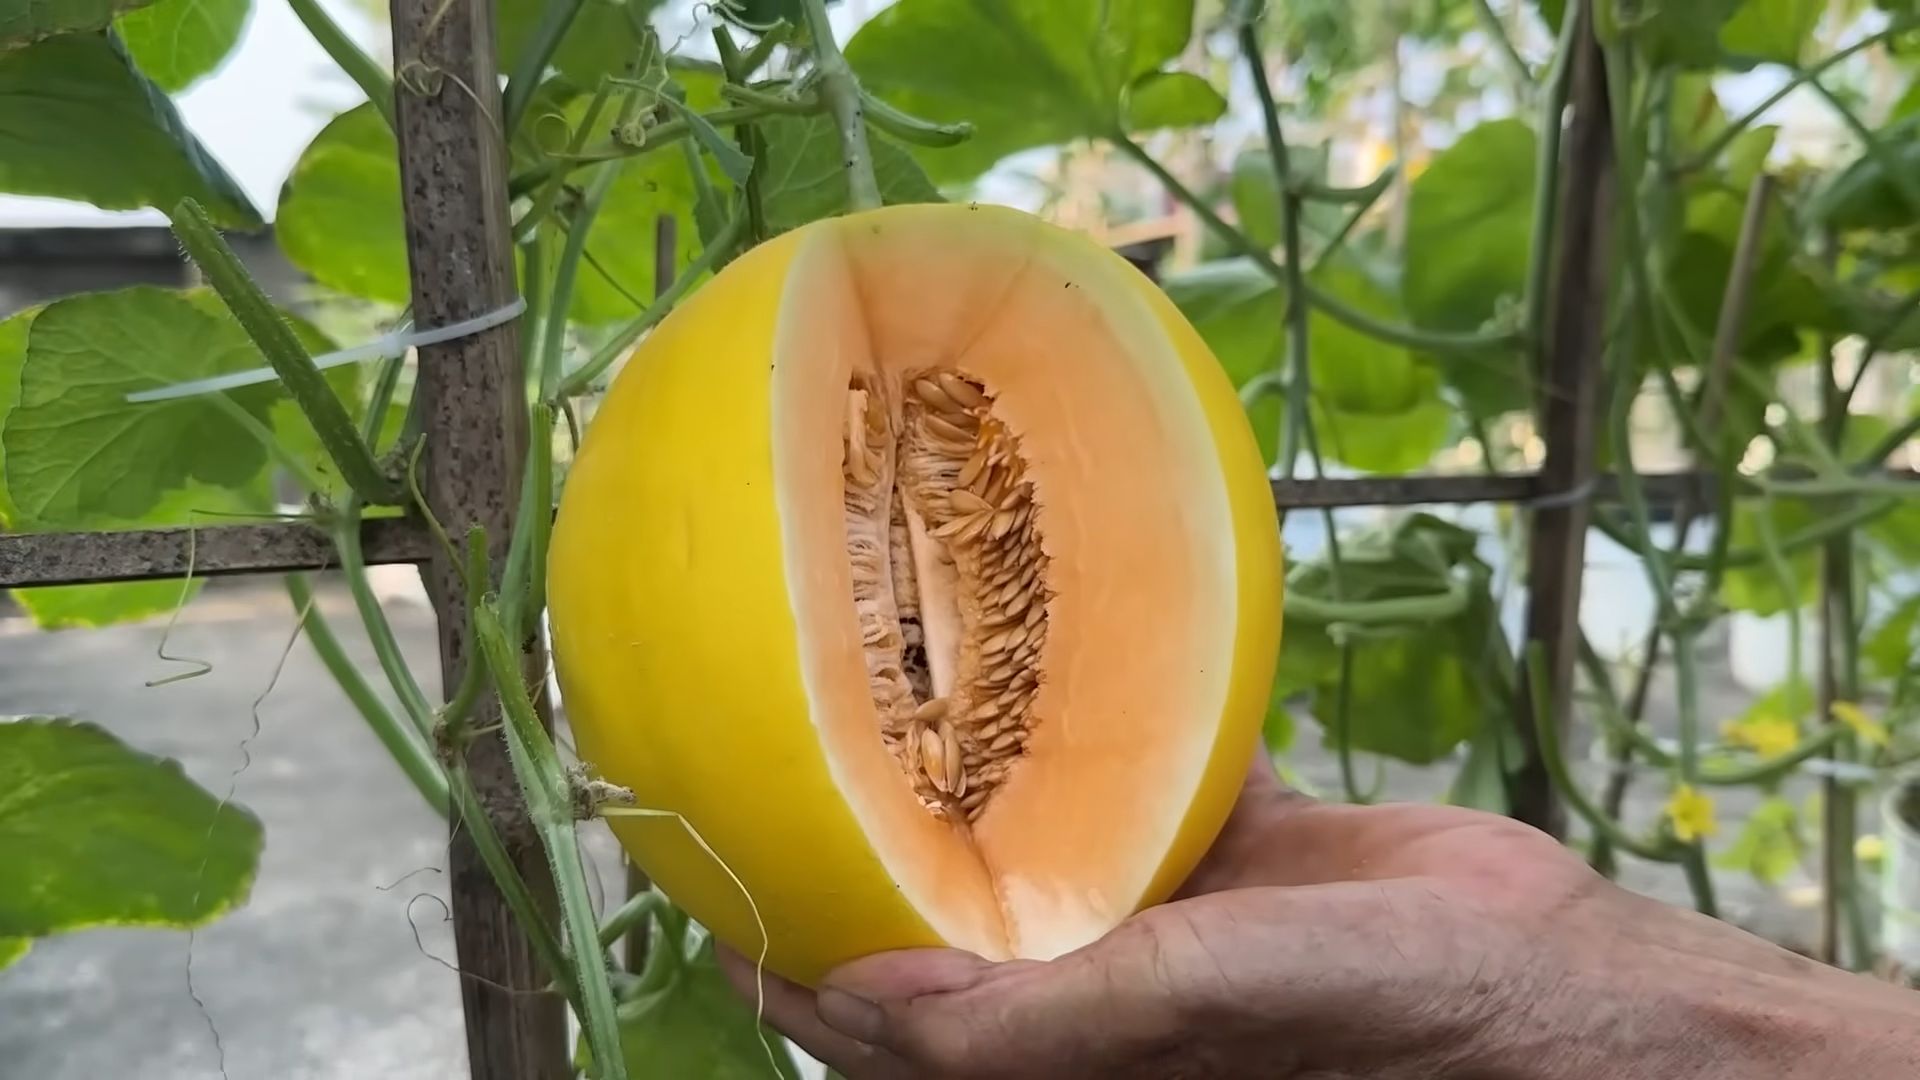
Before we dive in, let’s talk about what kohlrabi actually *is*. It’s a member of the brassica family, which also includes cabbage, broccoli, and kale. The part we eat is the swollen stem, which grows above ground. It has a mild, slightly sweet flavor, similar to a turnip or radish, but much milder. You can eat it raw, cooked, or even pickled!
Choosing Your Kohlrabi Variety
There are several kohlrabi varieties to choose from, each with its own unique characteristics. Here are a few popular options:
* Early White Vienna: A classic, early-maturing variety with pale green bulbs. It’s known for its mild flavor and crisp texture.
* Early Purple Vienna: Similar to the white variety, but with a beautiful purple skin. The flesh is still white.
* Grand Duke: A hybrid variety that’s known for its disease resistance and uniform bulb size.
* Kossak: A giant variety that can grow to be quite large without becoming woody or tough.
* Superschmelz: Another giant variety, known for its excellent flavor and texture even when large.
I personally love growing both the Early White Vienna and Early Purple Vienna for their vibrant colors and reliable yields.
Getting Started: Planting Kohlrabi
Kohlrabi is a cool-season crop, which means it thrives in cooler temperatures. Here’s how to get your kohlrabi journey started:
When to Plant
* For a spring harvest: Start seeds indoors 4-6 weeks before the last expected frost. You can also direct sow seeds outdoors 2-4 weeks before the last frost.
* For a fall harvest: Direct sow seeds outdoors 6-8 weeks before the first expected frost.
I usually start my seeds indoors to get a head start, especially for the spring crop.
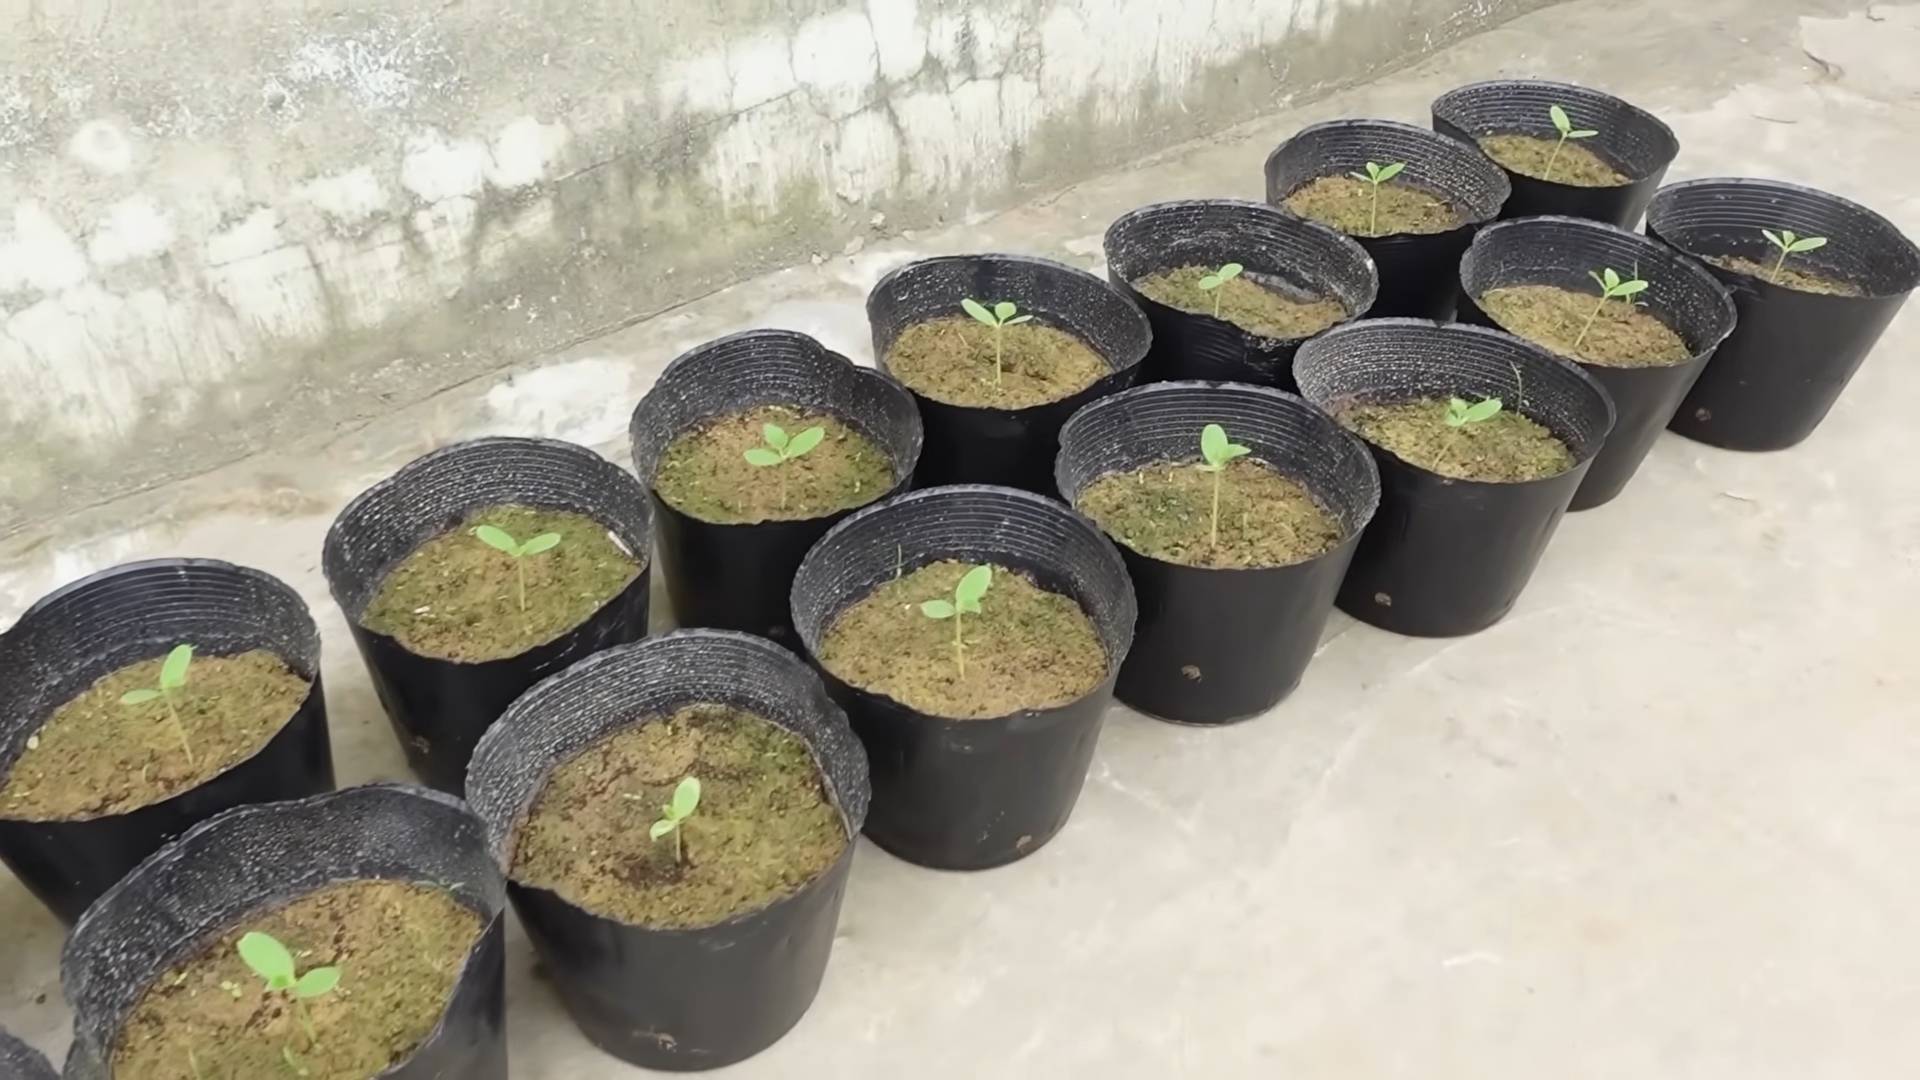
Starting Seeds Indoors
1. Gather your supplies: You’ll need seed starting trays or small pots, seed starting mix, kohlrabi seeds, and a spray bottle.
2. Fill the trays or pots with seed starting mix: Gently moisten the mix with the spray bottle. You want it damp, but not soggy.
3. Sow the seeds: Plant 2-3 seeds per cell or pot, about 1/4 inch deep.
4. Cover the seeds: Lightly cover the seeds with more seed starting mix.
5. Water gently: Use the spray bottle to gently water the seeds.
6. Provide warmth and light: Place the trays or pots in a warm location (around 70-75°F) and provide plenty of light. A sunny windowsill or a grow light will work well.
7. Keep the soil moist: Check the soil daily and water as needed to keep it moist.
8. Thin the seedlings: Once the seedlings have emerged and have a few true leaves, thin them to one plant per cell or pot. Choose the strongest seedling and snip off the others at the soil line.
Direct Sowing Seeds Outdoors
1. Prepare the soil: Choose a sunny location with well-drained soil. Amend the soil with compost or other organic matter to improve its fertility and drainage.
2. Sow the seeds: Sow the seeds directly into the soil, about 1/4 inch deep and 1-2 inches apart.
3. Water gently: Water the seeds gently to moisten the soil.
4. Keep the soil moist: Keep the soil moist until the seeds germinate.
5. Thin the seedlings: Once the seedlings have emerged and have a few true leaves, thin them to 4-6 inches apart.
Transplanting Kohlrabi Seedlings
Once your seedlings have developed a few true leaves and the weather has warmed up, it’s time to transplant them into the garden.
1. Harden off the seedlings: Before transplanting, you’ll need to harden off the seedlings. This means gradually exposing them to outdoor conditions over a period of 7-10 days. Start by placing them outdoors in a sheltered location for a few hours each day, gradually increasing the amount of time they spend outdoors.
2. Prepare the planting bed: Choose a sunny location with well-drained soil. Amend the soil with compost or other organic matter to improve its fertility and drainage.
3. Dig holes: Dig holes that are slightly larger than the root balls of the seedlings. Space the holes 4-6 inches apart.
4. Remove the seedlings from their containers: Gently remove the seedlings from their containers, being careful not to damage the roots.
5. Plant the seedlings: Place the seedlings in the holes and backfill with soil. Gently firm the soil around the base of the plants.
6. Water thoroughly: Water the seedlings thoroughly after planting.
Caring for Your Kohlrabi Plants
Kohlrabi is relatively low-maintenance, but there are a few things you can do to ensure a successful harvest.
* Watering: Kohlrabi needs consistent moisture to thrive. Water regularly, especially during dry periods. Aim for about 1 inch of water per week.
* Fertilizing: Fertilize your kohlrabi plants every 2-3 weeks with a balanced fertilizer. I like to use a liquid fertilizer diluted to half strength.
* Weeding: Keep the area around your kohlrabi plants free of weeds. Weeds can compete with the kohlrabi for nutrients and water.
* Mulching: Apply a layer of mulch around your kohlrabi plants to help retain moisture, suppress weeds, and regulate soil temperature.
* Pest control: Kohlrabi can be susceptible to pests such as cabbage worms and aphids. Inspect your plants regularly and take action if you see any signs of infestation. You can use insecticidal soap or neem oil to control these pests.
* Row Covers: Using row covers can help protect your young plants from pests and frost, especially early in the season.
Harvesting Your Kohlrabi
The best part! Kohlrabi is typically ready to harvest 50-60 days after planting.
* Harvest when the bulbs are 2-3 inches in diameter: This is when they’re at their most tender and flavorful. Larger bulbs can become tough and woody.
* Harvest by cutting the bulb at the soil line: Use a sharp knife to cut the bulb from the roots.
* Remove the leaves: Remove the leaves from the bulb. You can eat the leaves, too! They can be cooked like kale or spinach.
* Store the bulbs in the refrigerator: Kohlrabi bulbs can be stored in the refrigerator for several weeks.
Enjoying Your Kohlrabi
Now that you’ve harvested your kohlrabi, it’s time to enjoy it! Here are a few ideas:
* Raw: Peel the bulb and slice it thinly. Eat it as a snack or add it to salads.
* Cooked: Steam, boil, roast, or stir-fry the bulb.
* Pickled: Pickle the bulb for a tangy and refreshing treat.
* Grated: Grate the bulb and add it to coleslaw or other salads.
I personally love to roast kohlrabi with a little olive oil, salt, and pepper. It’s a simple and delicious way to enjoy this unique vegetable. I also enjoy grating it into salads for a bit of crunch and flavor.
Troubleshooting Common Kohlrabi Problems
Even with the best care, you might encounter a few problems while growing kohlrabi. Here are some common issues and how to address them:
* Bulbs are small or don’t develop: This could be due to insufficient watering, poor soil fertility, or overcrowding. Make sure to water regularly, fertilize as needed, and thin your plants to the proper spacing.
* Bulbs are tough or woody: This is usually caused by harvesting the bulbs too late. Harvest when they’re 2-3 inches in diameter.
* Plants are bolting (going to seed): This can happen if the plants are exposed to prolonged periods of hot weather. Try to plant your kohlrabi early in the spring or late in the summer to avoid the hottest temperatures.
Conclusion
So, there you have it! Growing kohlrabi at home is not only achievable, but it’s also incredibly rewarding. Forget those bland, store-bought vegetables that have traveled miles and lost their freshness. Imagine stepping into your garden and harvesting crisp, juicy kohlrabi, bursting with flavor and packed with nutrients. This DIY trick is a must-try for anyone who values fresh, healthy food and enjoys the satisfaction of nurturing their own produce.
Why is this a must-try? Because you gain complete control over the growing process. You decide what goes into your soil, ensuring your kohlrabi is free from harmful pesticides and chemicals. You harvest at peak ripeness, guaranteeing the best possible taste and texture. And let’s not forget the cost savings! Over time, growing your own kohlrabi can significantly reduce your grocery bill.
But the benefits extend beyond just the practical. Gardening is a therapeutic activity that connects you with nature, reduces stress, and provides a sense of accomplishment. Watching your kohlrabi plants thrive from tiny seedlings to mature vegetables is an incredibly fulfilling experience.
Ready to experiment? Consider these variations to personalize your kohlrabi growing journey:
* Succession Planting: Plant seeds every few weeks to ensure a continuous harvest throughout the growing season.
* Container Gardening: If you have limited space, kohlrabi grows beautifully in containers. Choose a pot that is at least 12 inches in diameter and filled with well-draining potting mix.
* Companion Planting: Plant kohlrabi alongside beneficial companions like chamomile, dill, or onions to deter pests and improve growth.
* Different Varieties: Explore different kohlrabi varieties like ‘Early White Vienna,’ ‘Purple Vienna,’ or ‘Gigante’ to discover your favorite flavor and texture. The ‘Gigante’ variety is particularly impressive, growing to enormous sizes while maintaining its delicate flavor.
* Leaf Usage: Don’t discard the leaves! Kohlrabi leaves are edible and can be used in salads, stir-fries, or soups. They have a similar taste to collard greens.
We’ve armed you with the knowledge; now it’s time to put it into practice. Don’t be intimidated if you’re a beginner gardener. Kohlrabi is a relatively easy vegetable to grow, and the rewards are well worth the effort. Embrace the challenge, learn from your mistakes, and enjoy the process.
We are confident that you’ll be amazed by the results. So, grab your seeds, prepare your soil, and get ready to experience the joy of growing your own kohlrabi. We encourage you to try this DIY trick and share your experiences with us! Post photos of your kohlrabi harvest on social media using #HomegrownKohlrabi and tell us about your favorite ways to prepare it. We can’t wait to see what you create! Let’s cultivate a community of kohlrabi enthusiasts and inspire others to embrace the joys of home gardening. Growing kohlrabi at home is a journey, and we’re excited to be a part of yours.
Frequently Asked Questions (FAQs)
What is kohlrabi, and what does it taste like?
Kohlrabi, sometimes called a German turnip, is a cruciferous vegetable related to cabbage, broccoli, and cauliflower. It features a bulbous stem that grows above ground and edible leaves. The taste of kohlrabi is often described as a mild and slightly sweet version of cabbage or broccoli stem. The texture is crisp and juicy, similar to an apple or radish. Younger, smaller kohlrabi bulbs tend to be more tender and flavorful.
When is the best time to plant kohlrabi?
The best time to plant kohlrabi depends on your climate. Kohlrabi is a cool-season crop, so it thrives in temperatures between 60°F and 75°F (15°C and 24°C).
* Spring Planting: In most regions, you can start seeds indoors 4-6 weeks before the last expected frost. Transplant seedlings outdoors 2-3 weeks after the last frost.
* Fall Planting: In areas with mild winters, you can plant kohlrabi in late summer or early fall for a fall harvest.
Check your local frost dates and adjust your planting schedule accordingly.
How much sunlight does kohlrabi need?
Kohlrabi requires at least 6 hours of direct sunlight per day to thrive. Choose a sunny location in your garden for optimal growth. If you’re growing kohlrabi in containers, make sure to place them in a spot that receives plenty of sunlight.
What kind of soil is best for growing kohlrabi?
Kohlrabi prefers well-draining, fertile soil with a pH between 6.0 and 7.5. Amend your soil with compost or other organic matter to improve drainage and fertility. Avoid heavy clay soils, as they can retain too much moisture and lead to root rot.
How often should I water kohlrabi?
Kohlrabi needs consistent moisture to grow properly. Water deeply whenever the top inch of soil feels dry to the touch. Avoid overwatering, as this can also lead to root rot. Mulching around your kohlrabi plants can help retain moisture and suppress weeds.
How do I fertilize kohlrabi?
Feed your kohlrabi plants with a balanced fertilizer every 2-3 weeks. Look for a fertilizer with an NPK ratio of 10-10-10 or similar. You can also use organic fertilizers like compost tea or fish emulsion. Avoid over-fertilizing, as this can lead to excessive foliage growth at the expense of bulb development.
What are some common pests and diseases that affect kohlrabi?
Kohlrabi can be susceptible to pests like cabbage worms, aphids, and flea beetles. Protect your plants by using row covers, hand-picking pests, or applying organic insecticides like neem oil or insecticidal soap. Common diseases that affect kohlrabi include clubroot and downy mildew. Prevent these diseases by practicing crop rotation, ensuring good drainage, and avoiding overhead watering.
When is kohlrabi ready to harvest?
Kohlrabi is typically ready to harvest 50-60 days after planting. Harvest when the bulbs are 2-3 inches in diameter. Larger bulbs can become tough and woody. To harvest, simply cut the bulb from the stem just above the soil line. You can also harvest the leaves, which are edible and can be used like collard greens.
How do I store kohlrabi?
Store kohlrabi bulbs in the refrigerator for up to several weeks. Remove the leaves before storing, as they can draw moisture from the bulb. You can also freeze kohlrabi after blanching it for a few minutes.
Can I grow kohlrabi in containers?
Yes, kohlrabi grows well in containers. Choose a pot that is at least 12 inches in diameter and filled with well-draining potting mix. Make sure the container has drainage holes to prevent waterlogging. Water and fertilize container-grown kohlrabi more frequently than plants grown in the ground.
What can I do if my kohlrabi bulb is cracking?
Cracking in kohlrabi bulbs is often caused by inconsistent watering. Ensure consistent moisture levels, especially during periods of rapid growth. Mulching can also help retain moisture and prevent cracking.
Are kohlrabi leaves edible?
Yes, kohlrabi leaves are edible and nutritious. They have a similar taste to collard greens and can be used in salads, stir-fries, or soups. Harvest young, tender leaves for the best flavor.
How can I encourage larger kohlrabi bulbs?
To encourage larger kohlrabi bulbs, ensure consistent watering, fertilize regularly, and thin out your plants to provide adequate spacing. Choose a variety known for producing larger bulbs, such as ‘Gigante.’

Leave a Comment