
Grow Garlic Indoors From Cloves – sounds like a magical spell, doesn’t it? But trust me, it’s a lot easier (and tastier!) than brewing potions. For centuries, garlic has been revered not just for its pungent flavor, but also for its medicinal properties. From ancient Egyptians using it to fuel pyramid builders to cultures worldwide employing it as a natural remedy, garlic has a rich and fascinating history.
But let’s face it, waiting for that perfect fall planting season can feel like an eternity when you’re craving that fresh, garlicky goodness. That’s where this DIY trick comes in! I’m going to show you how to grow garlic indoors from cloves, bypassing the traditional outdoor planting schedule and bringing the garden right into your home.
Imagine having a constant supply of fresh garlic greens to snip and add to your favorite dishes. No more last-minute grocery store runs or settling for dried-out bulbs! Plus, growing your own garlic indoors is incredibly rewarding. It’s a fantastic way to connect with nature, even in the smallest of spaces, and a fun project for gardeners of all skill levels. So, grab a few cloves, and let’s get started on this simple and satisfying journey to homegrown garlic!
Growing Garlic Indoors: A Beginner’s Guide
Hey there, fellow plant enthusiasts! Ever thought about growing your own garlic indoors? It’s easier than you might think, and the satisfaction of using homegrown garlic in your cooking is just amazing. Plus, you get those delicious garlic greens! I’m going to walk you through the whole process, step-by-step, so you can have your own little garlic farm right in your kitchen.
What You’ll Need
Before we dive in, let’s gather our supplies. Here’s what you’ll need to get started:
* Garlic Cloves: Choose organic garlic from a local farmer’s market or grocery store. Avoid garlic that’s been treated to prevent sprouting. Look for plump, healthy cloves. Softneck varieties tend to do better indoors.
* Pots: You’ll need pots that are at least 6 inches deep and wide. The bigger, the better, as it gives the roots more room to grow. I usually use 8-inch pots.
* Potting Mix: Use a well-draining potting mix. Avoid using garden soil, as it can compact and not drain well in containers.
* Water: Regular tap water is fine, but let it sit out for a day to allow the chlorine to dissipate.
* Sunlight: Garlic needs at least 6 hours of sunlight per day. A south-facing window is ideal. If you don’t have enough natural light, you can use a grow light.
* Optional: Fertilizer (organic liquid fertilizer is best), rooting hormone.
Preparing the Garlic Cloves
Okay, let’s get those cloves ready for planting!
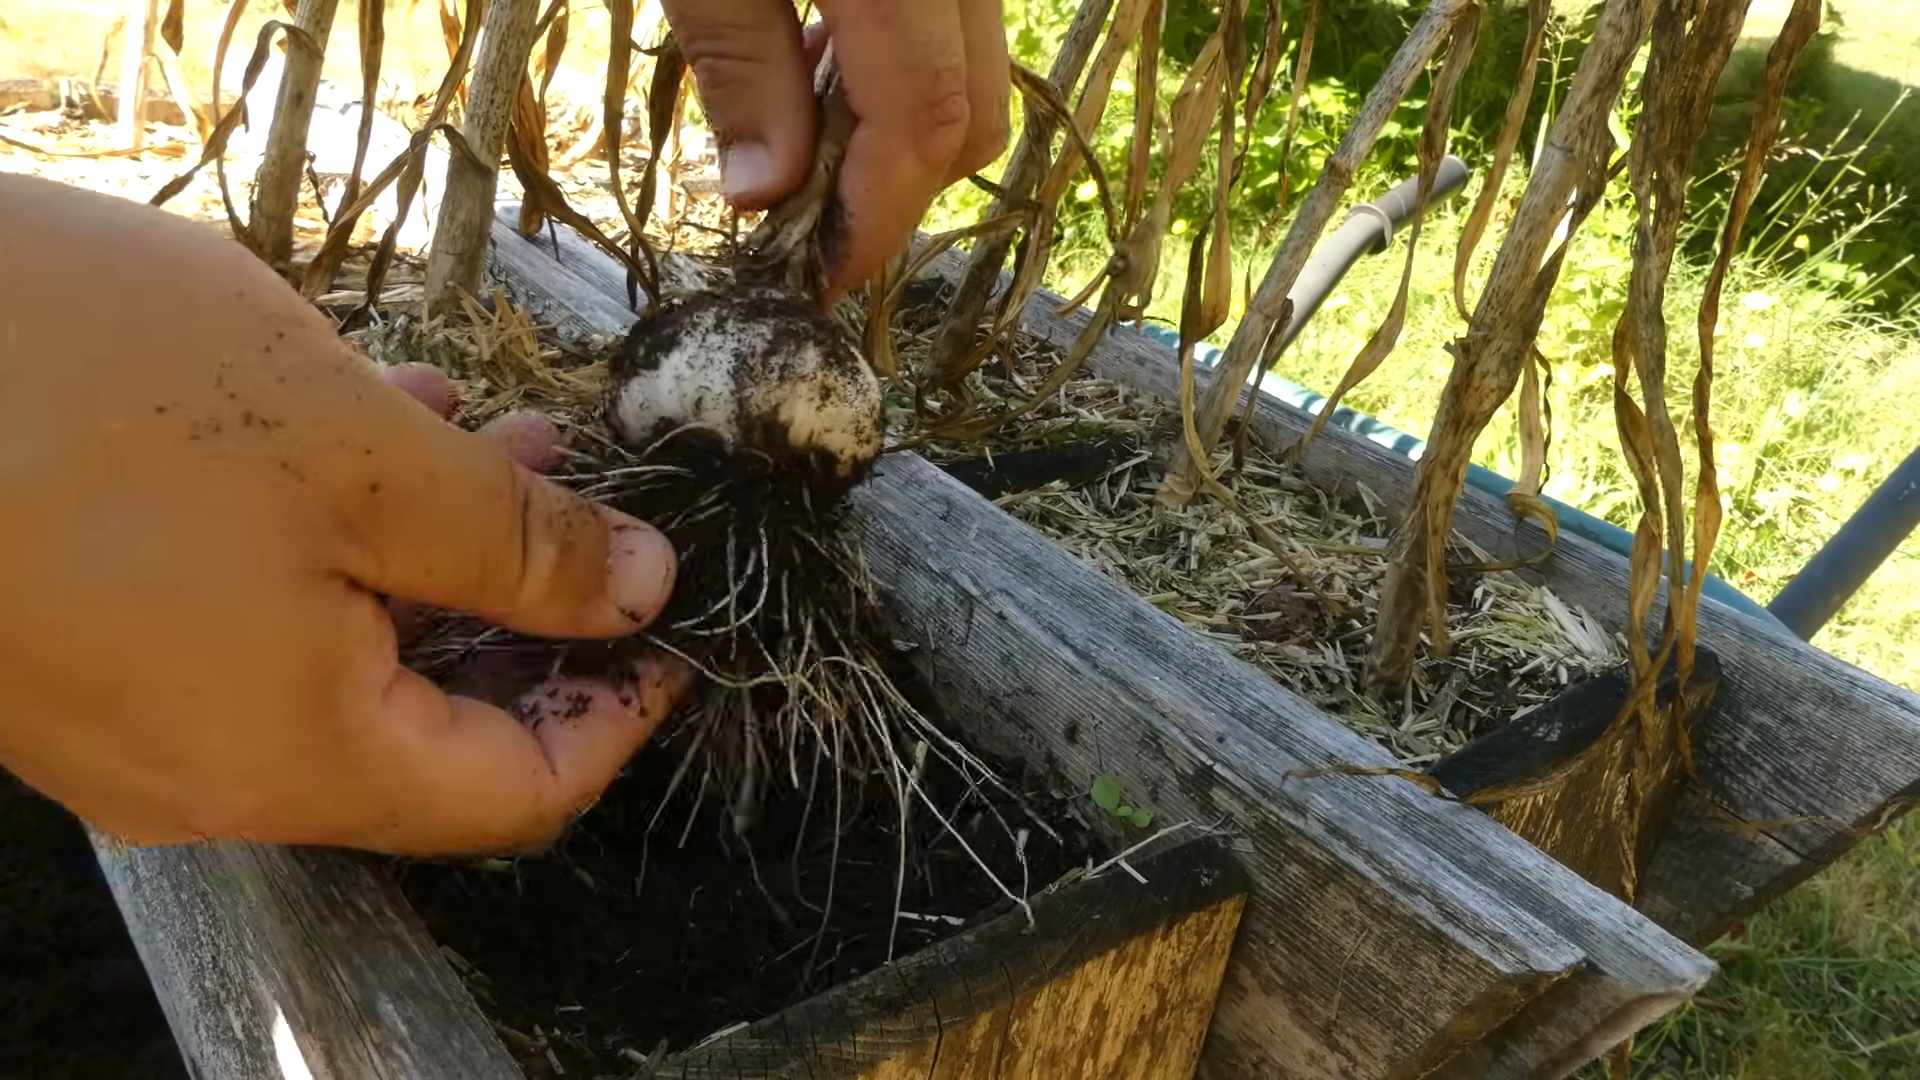
1. Separate the Cloves: Gently separate the cloves from the garlic bulb. Be careful not to damage the cloves. Leave the papery skin on each clove intact.
2. Inspect the Cloves: Check each clove for any signs of mold or damage. Discard any cloves that look unhealthy. We want only the best for our indoor garlic garden!
3. Optional: Rooting Hormone: This step is optional, but I find it helps speed up the rooting process. Dip the base of each clove (the end that was attached to the bulb) in rooting hormone powder. Just a light dusting is all you need.
Planting the Garlic Cloves
Now for the fun part – planting!
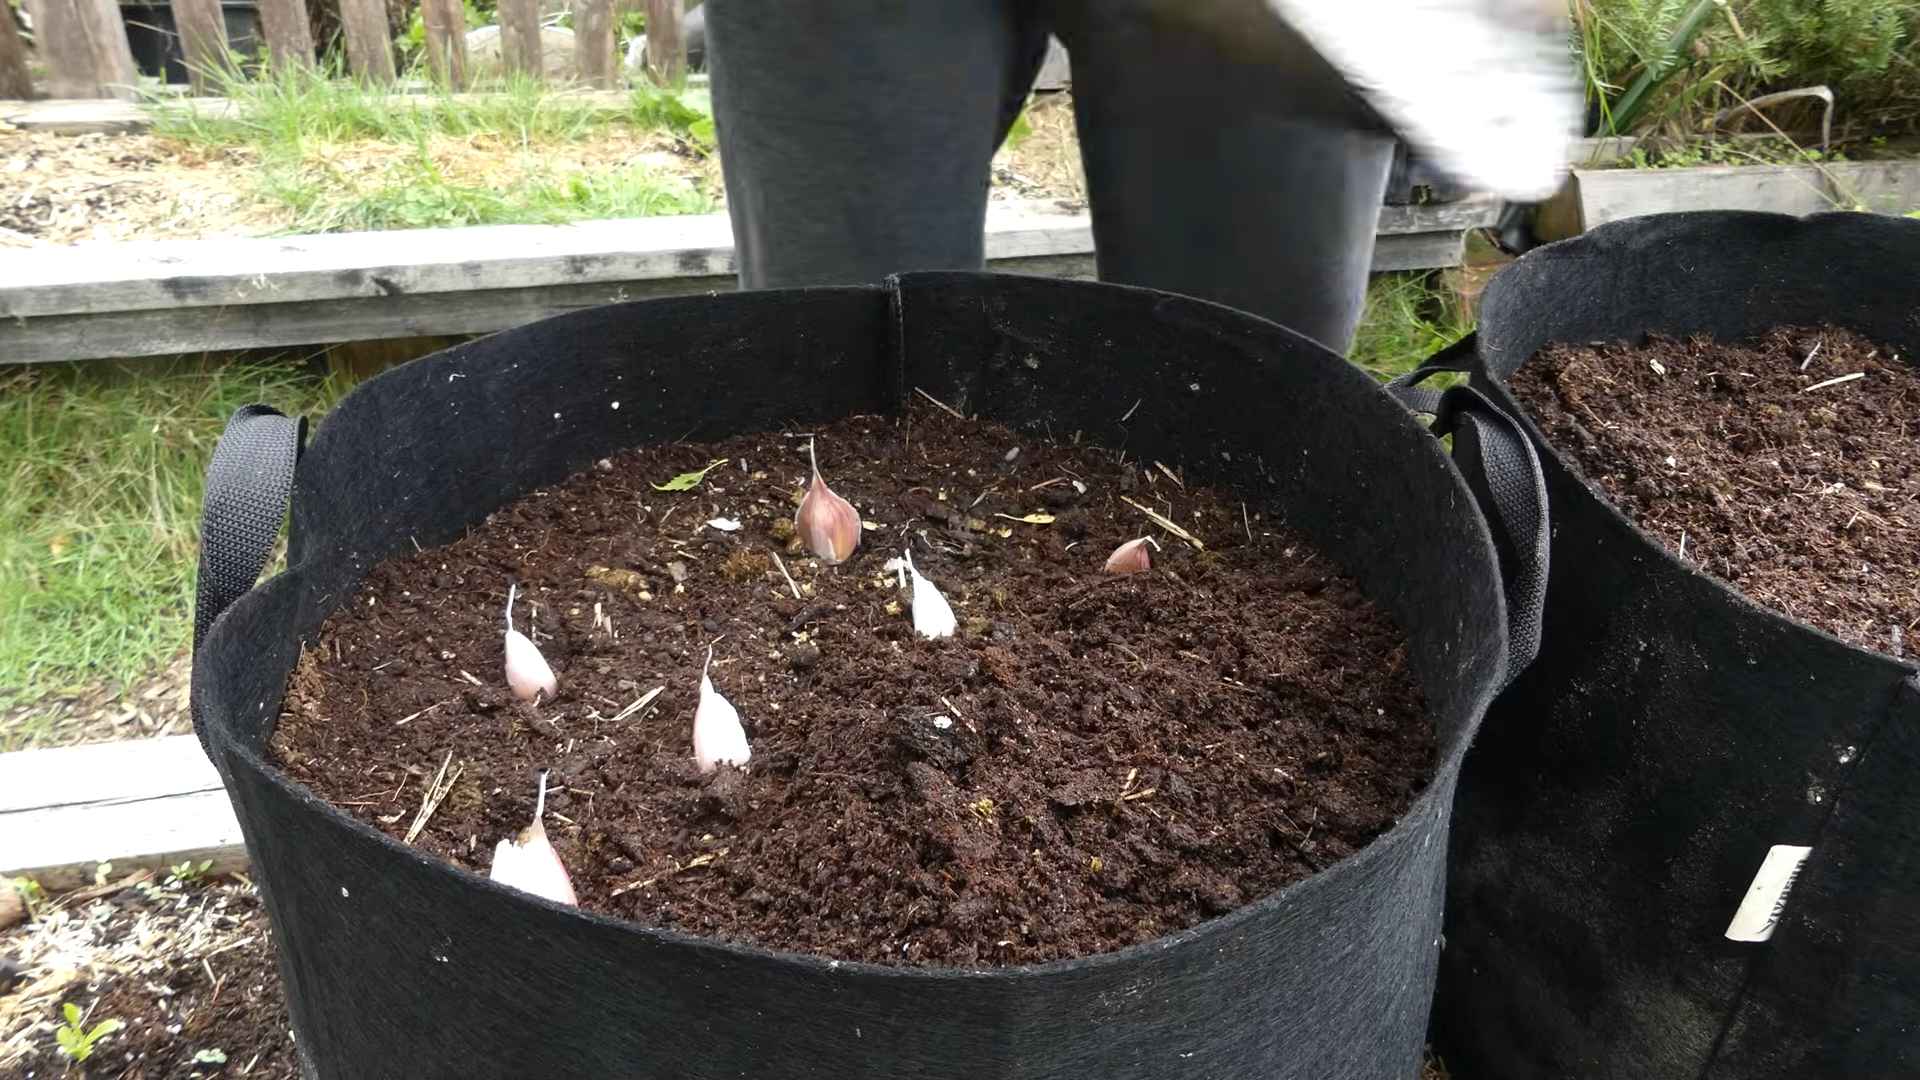
1. Fill the Pots: Fill your pots with potting mix, leaving about an inch of space at the top.
2. Plant the Cloves: Make a hole in the soil about 2 inches deep for each clove. Plant the cloves with the pointed end facing up. Space the cloves about 3-4 inches apart.
3. Cover the Cloves: Gently cover the cloves with potting mix and lightly pat down the soil.
4. Water Thoroughly: Water the pots thoroughly until water drains out of the bottom. This helps settle the soil and get the cloves off to a good start.
Caring for Your Indoor Garlic
Now that your garlic is planted, it’s time to provide the right care to help it thrive.
1. Sunlight: Place the pots in a sunny location where they’ll receive at least 6 hours of sunlight per day. If you’re using a grow light, position it about 6-12 inches above the plants.
2. Watering: Keep the soil consistently moist, but not soggy. Water when the top inch of soil feels dry to the touch. Overwatering can lead to rot, so be careful!
3. Fertilizing: After a few weeks, you can start fertilizing your garlic plants with an organic liquid fertilizer. Follow the instructions on the fertilizer label. I usually fertilize every 2-3 weeks.
4. Temperature: Garlic prefers cooler temperatures, around 60-70°F (15-21°C). Avoid placing the pots near heat sources, such as radiators.
5. Garlic Greens: You can start harvesting the garlic greens (the shoots that grow out of the cloves) when they’re about 6-8 inches tall. Just snip them off with scissors. This won’t harm the bulb development, and it encourages more growth. Plus, they’re delicious in salads, soups, and stir-fries!
Harvesting Your Garlic
Harvesting garlic grown indoors is a bit different than harvesting garlic grown outdoors. Since we’re growing in pots, the bulbs may not get as large as they would in the ground. However, you can still harvest them for their flavor.
1. When to Harvest: You can harvest your garlic when the greens start to turn yellow and brown, usually after about 6-8 months.
2. Harvesting the Bulbs: Gently loosen the soil around the bulbs with a trowel. Carefully pull the bulbs out of the soil.
3. Curing the Garlic: To cure your garlic, hang the bulbs in a cool, dry, well-ventilated place for about 2-3 weeks. This allows the outer layers to dry and helps preserve the garlic.
4. Storing the Garlic: Once the garlic is cured, you can store it in a cool, dry place for several months.
Troubleshooting
Even with the best care, you might encounter a few problems along the way. Here are some common issues and how to deal with them:
* Yellowing Leaves: This could be a sign of overwatering, underwatering, or nutrient deficiency. Check the soil moisture and adjust your watering accordingly. If the soil is dry, water more often. If the soil is soggy, water less often. You can also try fertilizing with a balanced fertilizer.
* Pests: Aphids and spider mites can sometimes infest indoor garlic plants. Inspect your plants regularly for signs of pests. If you find any, you can try spraying them with insecticidal soap or neem oil.
* Rot: Rot is usually caused by overwatering. Make sure your pots have good drainage and avoid letting the soil stay soggy. If you see signs of rot, remove the affected cloves or plants immediately.
Enjoying Your Homegrown Garlic
Now that you’ve grown your own garlic indoors, it’s time to enjoy the fruits (or rather, bulbs) of your labor! Use your homegrown garlic in all your favorite recipes. It’s so much more flavorful than store-bought garlic. And don’t forget to use those delicious garlic greens!
Tips for Success
Here are a few extra tips to help you succeed with growing garlic indoors:
* Choose the Right Variety: Softneck garlic varieties tend to do better indoors than hardneck varieties.
* Use Good Quality Potting Mix: A well-draining potting mix is essential for healthy garlic growth.
* Provide Enough Sunlight: Garlic needs at least 6 hours of sunlight per day.
* Don’t Overwater: Overwatering is a common mistake that can lead to rot.
* Fertilize Regularly: Fertilizing helps provide the nutrients your garlic needs to grow.
* Harvest the Greens: Harvesting the garlic greens encourages more growth and provides you with a delicious ingredient for your cooking.
Experiment and Have Fun!
Growing garlic indoors is a fun and rewarding experience. Don’t be afraid to experiment and try different things. With a little patience and care, you can have your own little garlic farm right in your home. Happy gardening!
Conclusion
So, there you have it! Growing garlic indoors from cloves is not just a fun project; it’s a rewarding way to bring a touch of the garden indoors, even if you lack outdoor space. The process is surprisingly simple, requires minimal investment, and yields both delicious garlic greens for culinary use and, potentially, a bulb of garlic to harvest later. Forget relying solely on store-bought garlic; with this easy DIY trick, you can have a continuous supply of fresh, flavorful garlic right at your fingertips.
Why is this a must-try? Because it empowers you to control the quality and freshness of your garlic. You know exactly where it came from and how it was grown, free from pesticides and other unwanted chemicals. Plus, the vibrant green shoots add a delightful aesthetic to your kitchen windowsill, bringing a bit of nature into your home. It’s a sustainable and satisfying way to enhance your cooking.
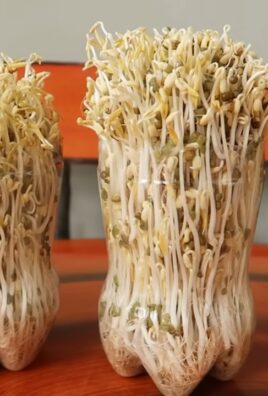
Looking for variations? Absolutely! Experiment with different varieties of garlic to discover your favorite flavor profile. Softneck garlic varieties, known for their flexibility and longer storage, are generally better suited for indoor growing. Try planting multiple cloves in a single pot for a fuller, more abundant harvest of garlic greens. You can also use different types of containers, from repurposed jars to decorative pots, to match your personal style. Consider adding a small amount of organic fertilizer to the soil every few weeks to boost growth and flavor. Another fun variation is to try growing garlic in water alone, using a glass jar and pebbles to support the clove. This method is particularly effective for growing garlic greens.
Don’t be intimidated! This is a forgiving process, and even if you don’t have a green thumb, you’re likely to see success. The most important thing is to provide your garlic with adequate sunlight and water.
We wholeheartedly encourage you to try this DIY trick and experience the joy of growing your own garlic indoors. It’s a simple yet profound way to connect with nature and enhance your culinary creations. Once you’ve given it a try, we’d love to hear about your experience! Share your photos, tips, and stories in the comments below. Let’s build a community of indoor garlic growers and inspire others to embrace the magic of homegrown goodness. What are you waiting for? Grab some garlic cloves and get planting! This method of growing garlic indoors is sure to be a hit.
Frequently Asked Questions (FAQ)
What kind of garlic should I use for indoor growing?
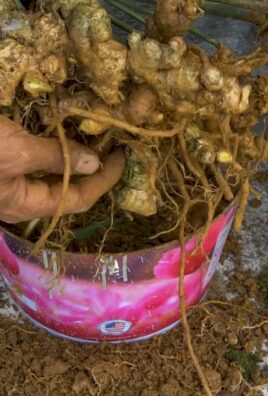
While you can technically use any type of garlic, softneck varieties are generally recommended for indoor growing. Softneck garlic tends to be more adaptable to indoor conditions and produces more abundant greens. Hardneck varieties can also be grown, but they may require a longer period of cold stratification (exposure to cold temperatures) before planting. Experimenting with different varieties is a great way to discover your personal preference. Elephant garlic, while technically a type of leek, can also be grown indoors in a similar manner, producing large, mild-flavored cloves.
How much sunlight does indoor garlic need?
Garlic thrives in bright sunlight, so aim to provide your indoor garlic with at least 6-8 hours of direct sunlight per day. A south-facing window is ideal. If you don’t have access to sufficient natural light, you can supplement with a grow light. Position the grow light a few inches above the plants and keep it on for 12-14 hours per day. Insufficient sunlight can result in weak, leggy growth and reduced flavor.
How often should I water my indoor garlic?
Water your garlic regularly, keeping the soil consistently moist but not waterlogged. Overwatering can lead to root rot, so ensure that your container has adequate drainage. A good rule of thumb is to water when the top inch of soil feels dry to the touch. During the active growing season (spring and summer), you may need to water more frequently than during the dormant season (fall and winter). Adjust your watering schedule based on the specific needs of your garlic and the environmental conditions in your home.
Can I harvest the garlic bulb if I grow it indoors?
While it’s possible to harvest a garlic bulb from indoor-grown garlic, it’s not always guaranteed, especially if you’re primarily growing it for the greens. Indoor conditions may not be ideal for bulb development. However, if you provide your garlic with optimal sunlight, water, and nutrients, you may be able to harvest a small bulb. The best time to harvest is when the leaves start to turn yellow and brown, typically around 8-9 months after planting. Even if you don’t get a large bulb, the garlic greens are a delicious and versatile addition to your cooking.
How do I harvest garlic greens?
Harvesting garlic greens is easy! Simply snip off the green shoots with scissors or kitchen shears, leaving about an inch or two of growth above the soil. This will encourage the plant to produce more greens. You can harvest garlic greens multiple times throughout the growing season. Use the greens fresh in salads, soups, stir-fries, and other dishes. They have a mild garlic flavor that is less intense than the bulb.
What kind of soil should I use?
Use a well-draining potting mix that is rich in organic matter. A mixture of potting soil, compost, and perlite is ideal. Avoid using garden soil, as it can be too heavy and may contain pests or diseases. The soil should be able to retain moisture but also drain well to prevent root rot.
Do I need to fertilize my indoor garlic?
Yes, fertilizing your indoor garlic can help to promote healthy growth and flavorful greens. Use a balanced organic fertilizer, such as compost tea or fish emulsion, every few weeks during the active growing season. Follow the instructions on the fertilizer packaging. Avoid over-fertilizing, as this can burn the roots.
What if my garlic starts to turn yellow or brown?
Yellowing or browning leaves can be a sign of several problems, including overwatering, underwatering, nutrient deficiency, or pest infestation. Check the soil moisture and adjust your watering schedule accordingly. If the soil is consistently wet, allow it to dry out slightly before watering again. If the leaves are pale green or yellow, it may indicate a nutrient deficiency. Fertilize with a balanced organic fertilizer. Inspect the plants for pests, such as aphids or spider mites, and treat accordingly.
Can I grow garlic indoors year-round?
Yes, you can grow garlic indoors year-round, but it may require some adjustments to your care routine. During the winter months, when sunlight is limited, you may need to supplement with a grow light. Reduce watering frequency and avoid fertilizing during the dormant season. With proper care, you can enjoy fresh garlic greens throughout the year.
Is it safe to eat garlic grown indoors?
Yes, garlic grown indoors is perfectly safe to eat, as long as you use organic soil and avoid using pesticides or other harmful chemicals. In fact, growing your own garlic indoors allows you to control the quality and freshness of your garlic, ensuring that it is free from unwanted additives. Enjoy the delicious and healthy benefits of homegrown garlic!
Leave a Comment