
Grow Cooking Veggies at Home – imagine stepping into your kitchen, not to a grocery store haul, but to your own backyard oasis, ready to pluck the freshest ingredients for tonight’s dinner! Sounds like a dream, right? Well, it doesn’t have to be! For centuries, humans have cultivated small gardens, from the hanging gardens of Babylon to the humble kitchen gardens of medieval Europe. This connection to the earth, this ability to nurture and harvest, is deeply ingrained in our history.
But in today’s fast-paced world, many of us feel disconnected from our food source. We rely on supermarkets, often unaware of where our produce comes from or how it’s grown. That’s where the magic of DIY home gardening comes in! I’m here to show you some simple, effective tricks and hacks that will empower you to grow cooking veggies at home, even if you have limited space or zero experience.
Think about it: fresher, tastier vegetables, free from harmful pesticides, and the immense satisfaction of nurturing life from seed to table. Plus, it’s a fantastic way to reduce your carbon footprint and save money! This article is packed with easy-to-follow DIY projects and clever tips that will transform your space into a thriving edible garden. So, grab your gardening gloves, and let’s get started on this exciting journey together!
Propagating Fast-Growing Plants in June: A DIY Guide
Hey there, fellow plant enthusiasts! June is prime time for propagating many of our favorite fast-growing plants. The warmer weather and longer days give cuttings the perfect boost to root quickly and establish themselves. I’m going to walk you through a few different methods, focusing on plants that are generally easy to propagate and thrive when started in June. Let’s get our hands dirty!
Choosing Your Propagation Method
Before we dive into specific plants, let’s talk about the main propagation methods we’ll be using. Each has its pros and cons, and some plants respond better to certain techniques than others.
* Stem Cuttings: This is probably the most common and versatile method. You simply take a cutting from a healthy stem, remove the lower leaves, and root it in water or directly in soil.
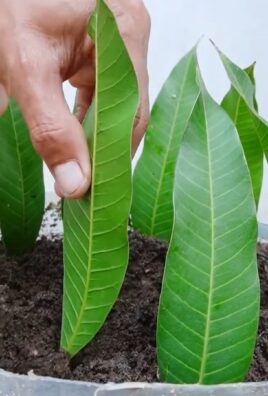
* Leaf Cuttings: Some plants, like succulents and snake plants, can be propagated from just a single leaf! It’s a slower process than stem cuttings, but still super rewarding.
* Division: This method is perfect for plants that grow in clumps or have multiple stems emerging from the soil. You essentially divide the plant into smaller sections, each with its own roots.
* Layering: This involves rooting a stem while it’s still attached to the parent plant. It’s a great option for plants with long, flexible stems.
Propagating Specific Plants
Now, let’s get into the fun part: propagating specific fast-growing plants! I’ll cover a few of my favorites and provide detailed instructions for each.
Propagating Pothos (Devil’s Ivy)
Pothos are incredibly easy to propagate, making them perfect for beginners. They root readily in water, and you can have a whole new plant in just a few weeks.
1. Gather Your Supplies: You’ll need a healthy pothos plant, clean scissors or pruning shears, a glass or jar of water, and optionally, rooting hormone (though it’s not usually necessary for pothos).
2. Take a Cutting: Look for a healthy stem with several leaves. Cut the stem just below a node (the point where a leaf emerges). Aim for cuttings that are 4-6 inches long.
3. Prepare the Cutting: Remove the leaves from the bottom 1-2 inches of the cutting. This is where the roots will emerge, and you don’t want those leaves rotting in the water.
4. Root in Water: Place the cutting in a glass or jar of water, ensuring that the nodes are submerged but the leaves are above the water line.
5. Wait for Roots: Place the jar in a bright, indirect light location. Change the water every few days to keep it fresh. You should start to see roots forming within a week or two.
6. Plant the Cutting: Once the roots are about an inch long, you can plant the cutting in a pot with well-draining potting mix. Water thoroughly after planting.
7. Care for Your New Plant: Keep the soil consistently moist but not soggy for the first few weeks. Gradually reduce watering as the plant establishes itself.
Propagating Spider Plants
Spider plants are known for producing “spiderettes” or “pups” on long stems. These little plantlets are essentially ready-made cuttings!
1. Identify Spiderettes: Look for healthy spiderettes that have already developed small roots.
2. Cut the Spiderette: Using clean scissors or pruning shears, cut the stem connecting the spiderette to the mother plant.
3. Root in Water (Optional): You can root the spiderette in water for a few days to encourage further root growth, but it’s not always necessary.
4. Plant the Spiderette: Plant the spiderette directly into a pot with well-draining potting mix. Make sure the roots are covered with soil.
5. Water Thoroughly: Water the newly planted spiderette thoroughly after planting.
6. Care for Your New Plant: Keep the soil consistently moist but not soggy for the first few weeks. Gradually reduce watering as the plant establishes itself.
Propagating Snake Plants (Sansevieria)
Snake plants are incredibly low-maintenance and can be propagated from leaf cuttings. It’s a slower process, but it’s a great way to multiply your collection.
1. Choose a Healthy Leaf: Select a healthy, mature leaf from your snake plant.
2. Cut the Leaf: Using a clean knife or scissors, cut the leaf into 2-3 inch sections. Make sure to remember which end was the bottom of the leaf, as this is the end that needs to be planted.
3. Callus the Cuttings: Allow the cut ends of the leaf sections to callus over for a few days. This helps prevent rot.
4. Root in Water (Optional): You can root the leaf cuttings in water by placing the bottom end (the end that was closest to the base of the plant) in a glass of water. Change the water every few days.
5. Plant the Cuttings: Once roots have formed (this can take several weeks), plant the cuttings in a pot with well-draining potting mix. Alternatively, you can plant the calloused cuttings directly into the soil.
6. Water Sparingly: Snake plants are susceptible to root rot, so water sparingly. Allow the soil to dry out completely between waterings.
7. Be Patient: It can take several months for new plants to emerge from the leaf cuttings.
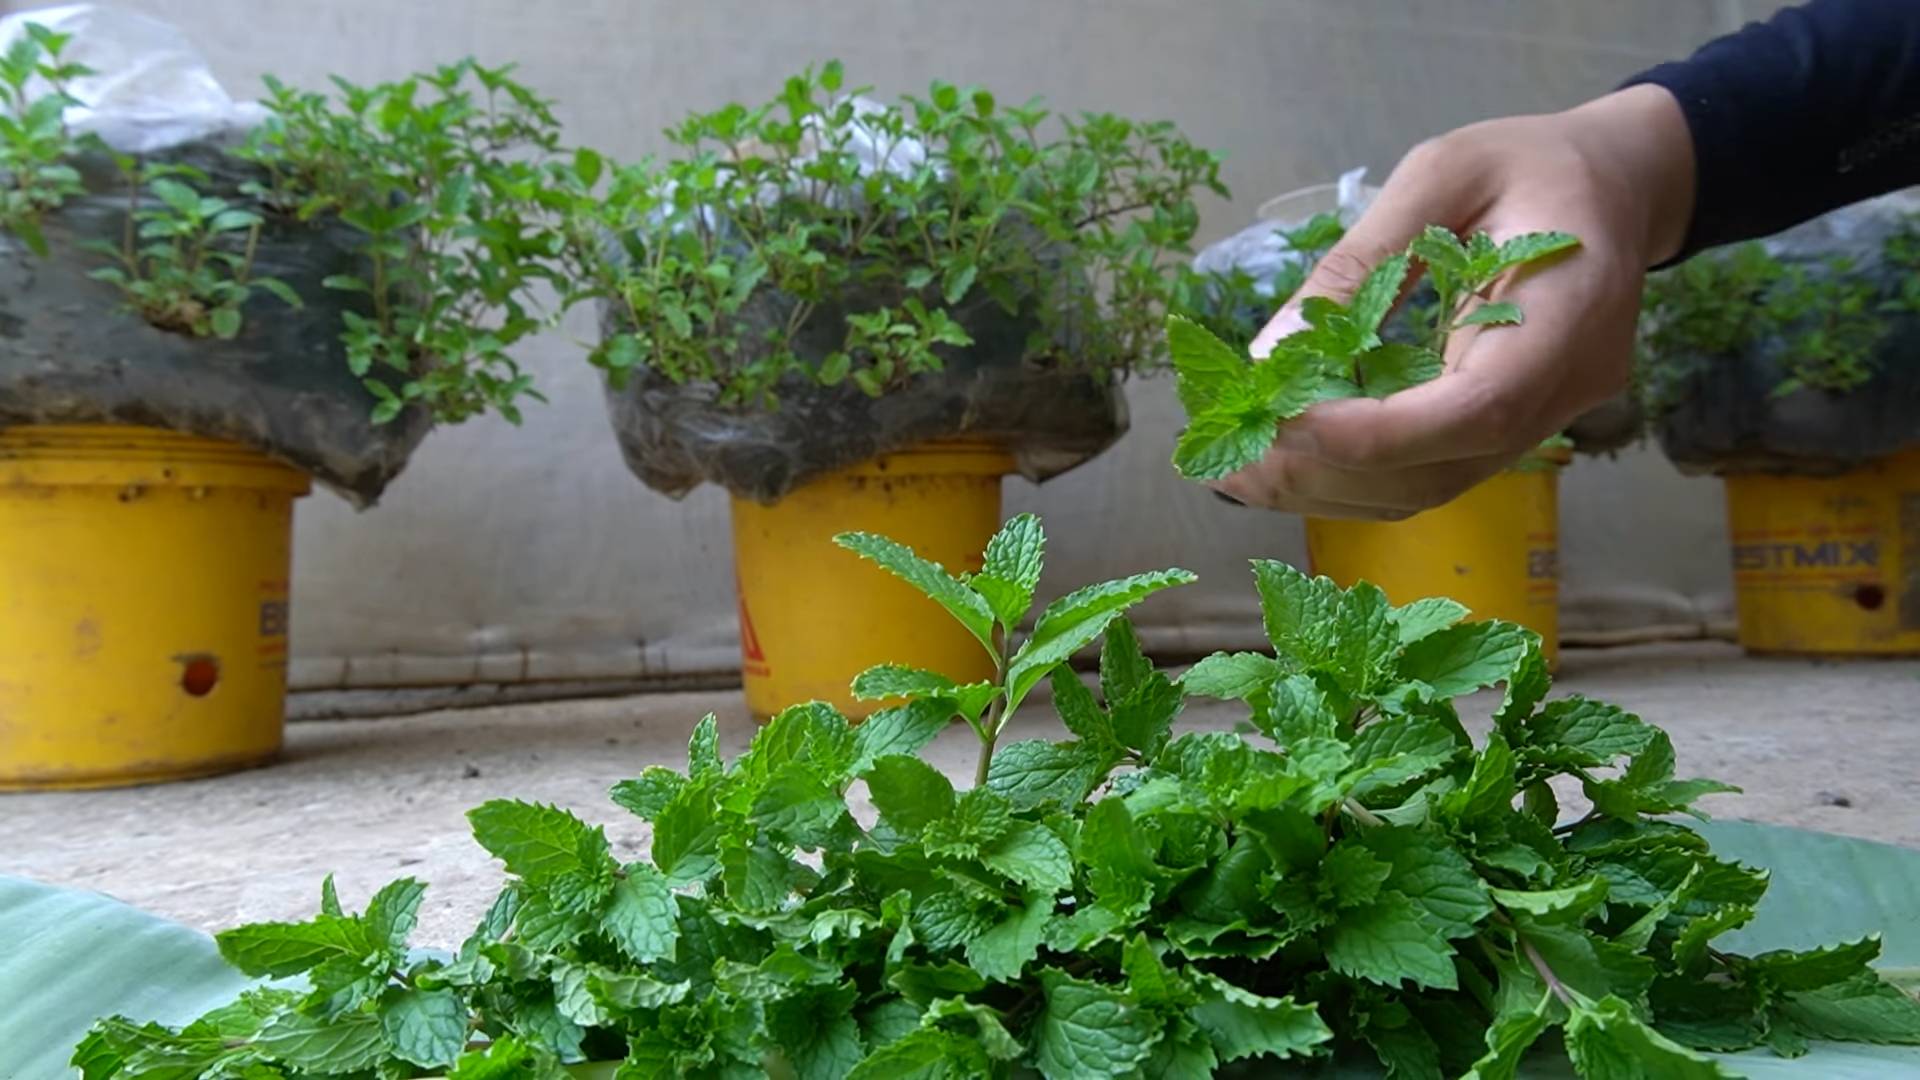
Propagating Mint
Mint is a vigorous grower and incredibly easy to propagate from stem cuttings. You’ll have a whole herb garden in no time!
1. Gather Your Supplies: You’ll need a healthy mint plant, clean scissors or pruning shears, a glass or jar of water, and optionally, rooting hormone.
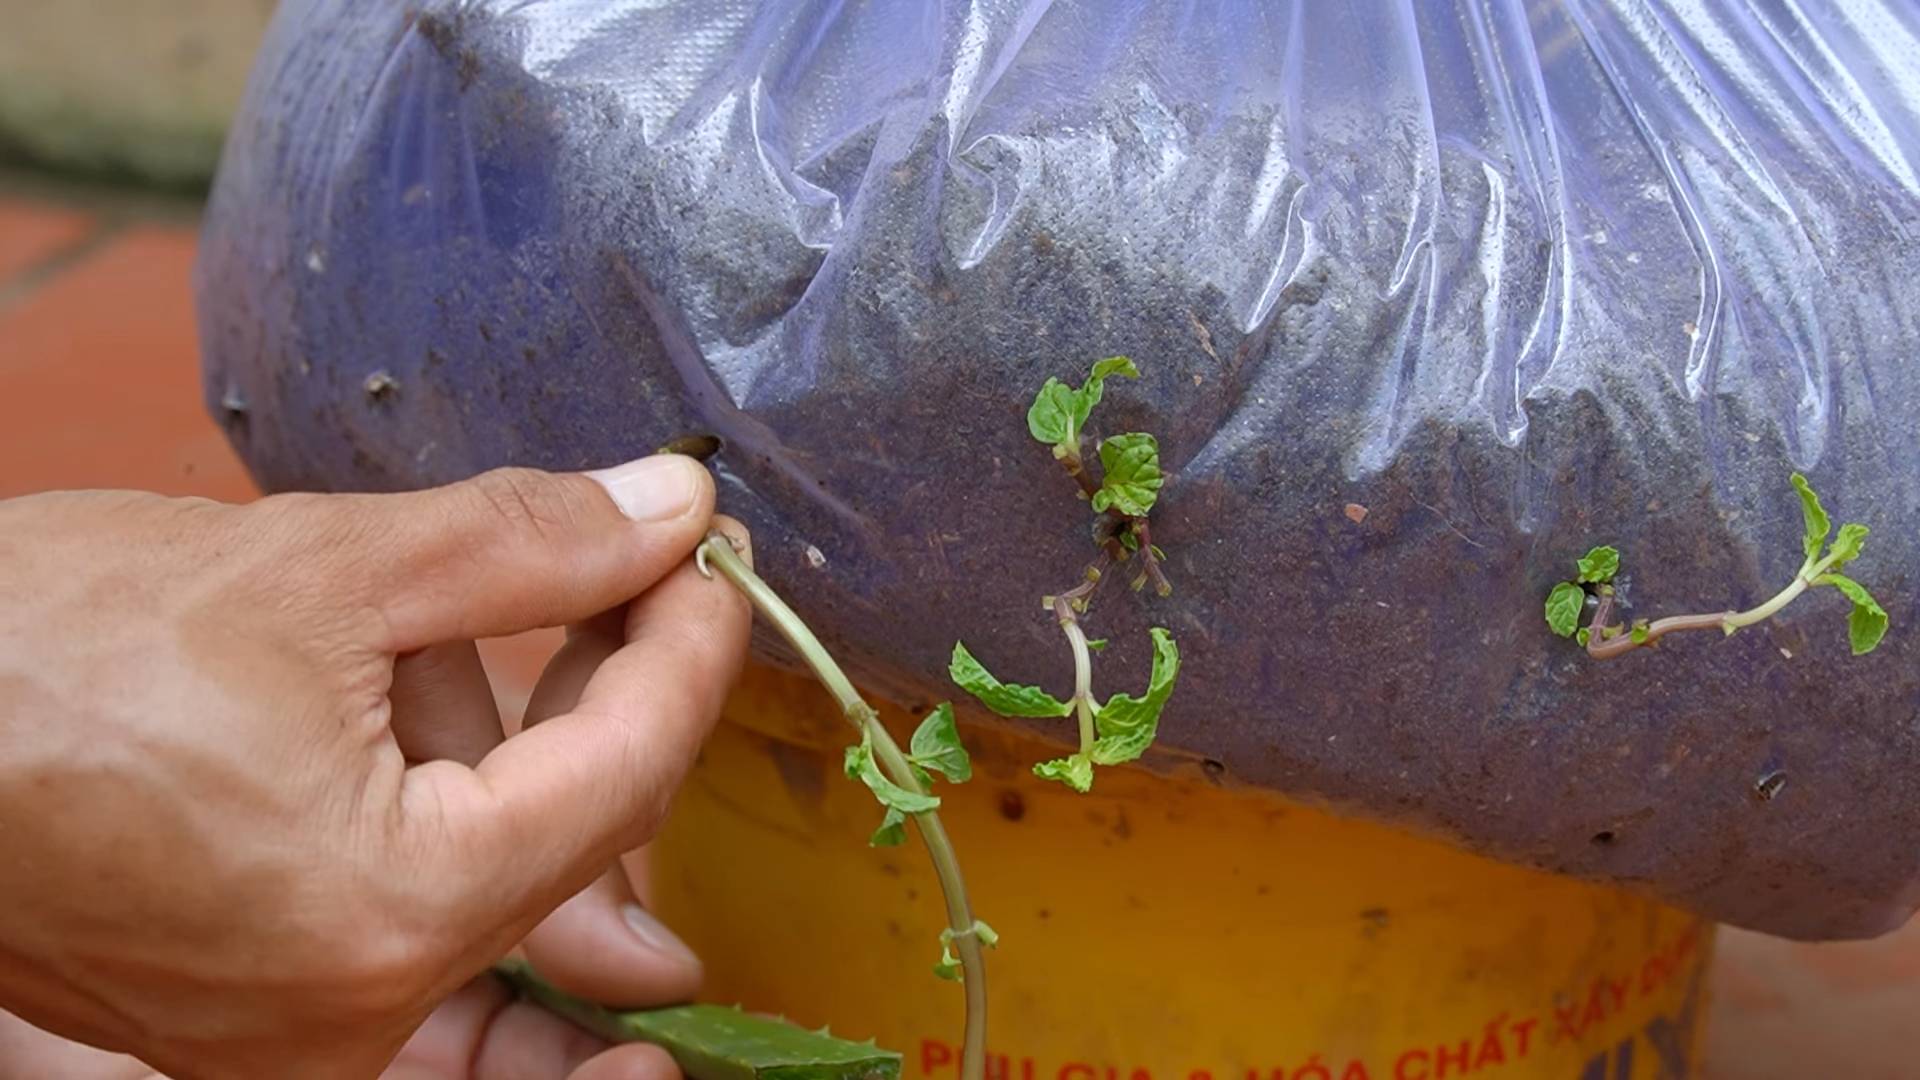
2. Take a Cutting: Cut a 4-6 inch stem from a healthy mint plant, just below a node.
3. Prepare the Cutting: Remove the leaves from the bottom 1-2 inches of the cutting.
4. Root in Water: Place the cutting in a glass or jar of water, ensuring that the nodes are submerged but the leaves are above the water line.
5. Wait for Roots: Place the jar in a bright, indirect light location. Change the water every few days. Roots should form within a week.
6. Plant the Cutting: Once the roots are about an inch long, plant the cutting in a pot or directly in the garden with well-draining soil.
7. Care for Your New Plant: Mint prefers moist soil and partial shade. Water regularly and harvest frequently to encourage bushier growth.
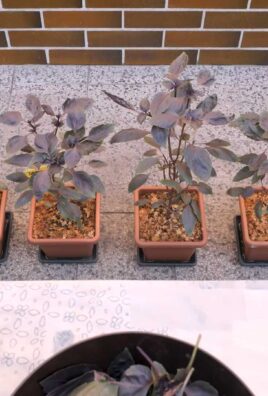
Propagating Swedish Ivy (Plectranthus verticillatus)
Swedish Ivy, despite its name, isn’t actually an ivy, but it’s a beautiful trailing plant that’s incredibly easy to propagate.
1. Gather Your Supplies: You’ll need a healthy Swedish Ivy plant, clean scissors or pruning shears, a glass or jar of water, and optionally, rooting hormone.
2. Take a Cutting: Cut a 4-6 inch stem from a healthy Swedish Ivy plant, just below a node.
3. Prepare the Cutting: Remove the leaves from the bottom 1-2 inches of the cutting.
4. Root in Water: Place the cutting in a glass or jar of water, ensuring that the nodes are submerged but the leaves are above the water line.
5. Wait for Roots: Place the jar in a bright, indirect light location. Change the water every few days. Roots should form within a week. Swedish Ivy roots very quickly!
6. Plant the Cutting: Once the roots are about an inch long, plant the cutting in a pot with well-draining potting mix.
7. Care for Your New Plant: Swedish Ivy prefers bright, indirect light and well-draining soil. Water when the top inch of soil feels dry.
Tips for Success
Here are a few extra tips to help you succeed with your propagation efforts:
* Use Clean Tools: Always use clean scissors or pruning shears to prevent the spread of disease.
* Provide Adequate Light: Cuttings need bright, indirect light to root properly. Avoid direct sunlight, which can scorch the leaves.
* Maintain Humidity: High humidity can help cuttings root faster. You can increase humidity by placing a plastic bag over the cutting (make sure to vent it regularly to prevent mold growth) or using a humidity dome.
* Be Patient: Propagation can take time, so don’t get discouraged if your cuttings don’t root immediately. Keep providing them with the right conditions, and they’ll eventually take root.
* Use Rooting Hormone (Optional): While not always necessary, rooting hormone can help speed up the rooting process and increase your success rate.
* Choose the Right Potting Mix:
Conclusion
So, there you have it! Growing your own cooking veggies at home isn’t just a trendy hobby; it’s a genuinely rewarding experience that connects you to your food in a profound way. From the vibrant colors of freshly picked tomatoes to the satisfying crunch of homegrown lettuce, the difference in taste and quality is undeniable. Beyond the culinary benefits, you’re also contributing to a more sustainable lifestyle, reducing your carbon footprint, and knowing exactly what goes into your meals – no hidden pesticides or questionable additives.
This DIY approach to sourcing your cooking veggies is a must-try for anyone looking to elevate their culinary creations and embrace a healthier, more conscious way of living. Imagine the pride you’ll feel serving a salad made entirely from ingredients you nurtured from seed to harvest!
But the beauty of this project lies in its adaptability. Don’t feel limited to the veggies we’ve discussed. Experiment with different varieties! Try growing exotic peppers for a fiery kick, or cultivate your own herbs like basil, mint, and rosemary to infuse your dishes with fresh, aromatic flavors. Consider vertical gardening if space is limited, or explore companion planting to maximize your yields and deter pests naturally. You can even tailor your garden to your specific dietary needs and preferences, ensuring a constant supply of your favorite ingredients.
And the best part? It’s a continuous learning process. You’ll discover new techniques, encounter unexpected challenges, and celebrate small victories along the way. Each season brings new opportunities to refine your gardening skills and expand your repertoire of homegrown delights.
We wholeheartedly encourage you to embark on this journey of growing your own cooking veggies at home. It’s an investment in your health, your well-being, and your culinary creativity. Don’t be afraid to get your hands dirty, embrace the learning curve, and most importantly, have fun!
Once you’ve experienced the joy of harvesting your own fresh produce, we’d love to hear about your experiences. Share your successes, your challenges, and your favorite recipes in the comments below. Let’s create a community of home gardeners who are passionate about growing their own food and sharing their knowledge with others. Together, we can cultivate a more sustainable and flavorful future, one homegrown veggie at a time. So, grab your gardening gloves, plant those seeds, and get ready to taste the difference!
Frequently Asked Questions (FAQ)
What are the easiest cooking veggies to grow for beginners?
Starting with easy-to-grow veggies is a great way to build confidence and experience. Some excellent choices for beginners include:
* **Lettuce:** Lettuce is incredibly easy to grow from seed and can be harvested multiple times. Choose loose-leaf varieties for continuous harvests.
* **Radishes:** Radishes are fast-growing and require minimal care. They’re ready to harvest in just a few weeks.
* **Spinach:** Similar to lettuce, spinach is relatively easy to grow and can be harvested as needed.
* **Green Beans:** Green beans are prolific producers and require minimal maintenance. Bush bean varieties are particularly well-suited for small gardens.
* **Zucchini:** Zucchini is known for its rapid growth and abundant yields. Be prepared for a lot of zucchini!
* **Cherry Tomatoes:** Cherry tomatoes are relatively easy to grow and produce a steady supply of sweet, bite-sized tomatoes.
How much space do I need to grow my own cooking veggies?
The amount of space you need depends on the types and quantities of veggies you want to grow. Even a small balcony or patio can accommodate a container garden with herbs, lettuce, and tomatoes. For a more substantial garden, consider a raised bed or a plot in your backyard. Remember to factor in sunlight requirements when choosing a location. Most vegetables need at least 6-8 hours of sunlight per day.
What kind of soil is best for growing cooking veggies?
Well-draining soil that is rich in organic matter is ideal for growing most cooking veggies. You can improve your soil by adding compost, aged manure, or other organic amendments. A soil test can help you determine the pH level and nutrient content of your soil and identify any deficiencies that need to be addressed. Aim for a slightly acidic to neutral pH (around 6.0 to 7.0).
How often should I water my cooking veggies?
Watering frequency depends on the type of vegetable, the weather conditions, and the soil type. Generally, you should water deeply and less frequently, rather than shallowly and more often. Check the soil moisture by sticking your finger about an inch into the soil. If it feels dry, it’s time to water. Avoid overwatering, as this can lead to root rot.
What are some common pests and diseases that affect cooking veggies, and how can I prevent them?
Common pests include aphids, slugs, snails, and cabbage worms. Common diseases include powdery mildew, blight, and root rot. To prevent pests and diseases:
* **Choose disease-resistant varieties:** When selecting seeds or seedlings, look for varieties that are resistant to common diseases in your area.
* **Practice crop rotation:** Avoid planting the same type of vegetable in the same location year after year.
* **Maintain good air circulation:** Space plants properly to allow for good air circulation, which helps prevent fungal diseases.
* **Remove weeds:** Weeds can harbor pests and diseases, so keep your garden weed-free.
* **Use organic pest control methods:** Consider using organic pest control methods such as insecticidal soap, neem oil, or diatomaceous earth.
* **Water at the base of the plants:** Avoid wetting the foliage, as this can promote fungal diseases.
Can I grow cooking veggies indoors?
Yes, you can grow some cooking veggies indoors, especially herbs, lettuce, and spinach. You’ll need a sunny windowsill or grow lights to provide adequate light. Choose compact varieties that are well-suited for container gardening.
What are the benefits of using organic gardening methods?
Organic gardening methods avoid the use of synthetic pesticides, herbicides, and fertilizers, which can be harmful to the environment and human health. Organic methods promote soil health, biodiversity, and sustainable gardening practices.
How do I know when my cooking veggies are ready to harvest?
Harvesting times vary depending on the type of vegetable. Generally, you should harvest when the vegetable is at its peak ripeness and flavor. Refer to seed packets or online resources for specific harvesting guidelines for each vegetable.
What if I don’t have a green thumb?
Don’t worry! Gardening is a learning process. Start small, be patient, and don’t be afraid to experiment. There are plenty of resources available online and in libraries to help you along the way. The most important thing is to have fun and enjoy the process of growing your own food. Remember, even experienced gardeners encounter challenges, so don’t get discouraged if things don’t always go as planned. The satisfaction of harvesting your own fresh, homegrown cooking veggies is well worth the effort.

Leave a Comment