
Grow Carrots at Home? Absolutely! Imagine plucking vibrant, sweet carrots straight from your own backyard, bursting with flavor and freshness that no store-bought carrot can match. Forget those bland, pre-packaged veggies – we’re talking about a garden-to-table experience that’s both rewarding and delicious.
For centuries, cultivating carrots has been a staple in gardens worldwide. From their humble beginnings as wild, spindly roots to the vibrant orange delights we know today, carrots have nourished communities and cultures. Did you know that the orange carrot, the one we’re most familiar with, is actually a relatively recent development, popularized in the Netherlands in the 17th century? Before that, they came in a rainbow of colors!
But why should you learn to grow carrots at home? Well, beyond the unparalleled taste and freshness, it’s incredibly satisfying to nurture something from seed to harvest. Plus, it’s a fantastic way to connect with nature, reduce your carbon footprint, and save money on groceries. Many people struggle with getting the right soil conditions or knowing when to harvest, but don’t worry, I’m here to guide you through every step of the process with easy-to-follow DIY tricks and hacks. Get ready to transform your garden (or even a small container!) into a carrot-growing haven. Let’s get started!
Growing Carrots at Home: A Beginner’s Guide
Hey there, fellow gardening enthusiasts! I’m so excited to share my experience growing carrots at home. It’s surprisingly easy and rewarding, and nothing beats the taste of a freshly harvested, homegrown carrot. This guide will walk you through every step, from choosing the right variety to dealing with common problems. Let’s get digging!
Choosing the Right Carrot Variety
Before you even think about planting, you need to pick the right carrot variety. This depends on your climate, soil type, and personal preference. Here’s a breakdown:
* Nantes: These are classic, cylindrical carrots with a sweet flavor. They’re relatively short (5-7 inches) and do well in a variety of soils. I’ve had great success with Nantes varieties, especially in my slightly compacted garden beds.
* Danvers: These are longer, tapered carrots (6-8 inches) known for their robust flavor and good storage capabilities. They’re a good choice if you have deeper soil.
* Chantenay: These are shorter, thicker carrots (4-5 inches) that are very tolerant of heavy or rocky soil. If your soil isn’t ideal, Chantenay is a great option.
* Baby Carrots: These are quick-maturing and perfect for containers or small gardens. They’re usually ready to harvest in about 50-60 days.
* Heirloom Varieties: Don’t be afraid to experiment with heirloom varieties like ‘Purple Haze’ or ‘Yellowstone’. They offer unique colors and flavors. I grew ‘Purple Haze’ last year, and they were a huge hit!
Preparing Your Garden Bed
Carrots need loose, well-drained soil to grow properly. Rocky or compacted soil will result in stunted or forked carrots. Here’s how I prepare my garden bed:
* Timing is Key: I usually start preparing my beds a few weeks before I plan to sow the seeds. This gives the soil time to settle.
* Clear the Area: Remove any rocks, weeds, or debris from the planting area. Carrots hate competition!
* Loosen the Soil: Use a garden fork or tiller to loosen the soil to a depth of at least 12 inches. This is crucial for long, straight carrots.
* Amend the Soil: Add plenty of compost or well-rotted manure to improve soil fertility and drainage. I usually add a 2-3 inch layer of compost and work it into the soil.
* Remove Clumps: Break up any large clumps of soil and rake the surface smooth. A fine, even seedbed is essential for good germination.
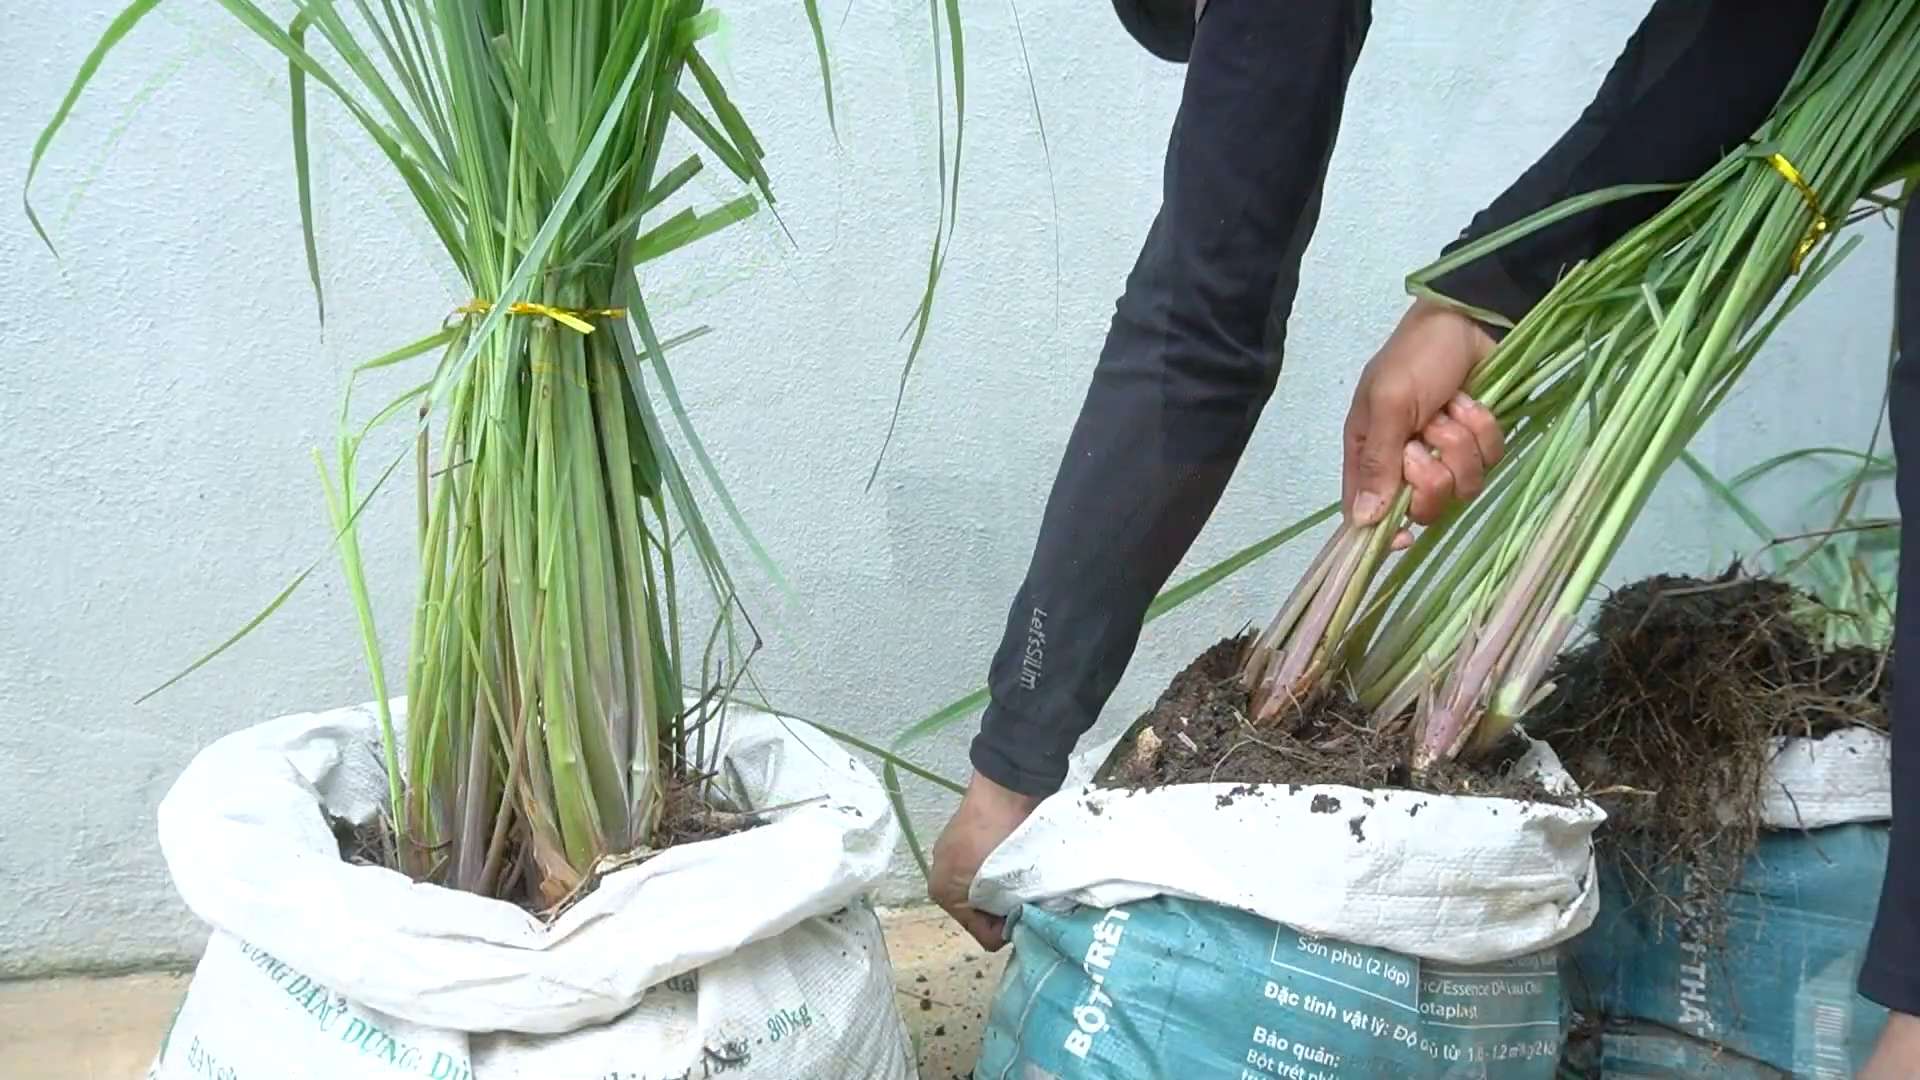
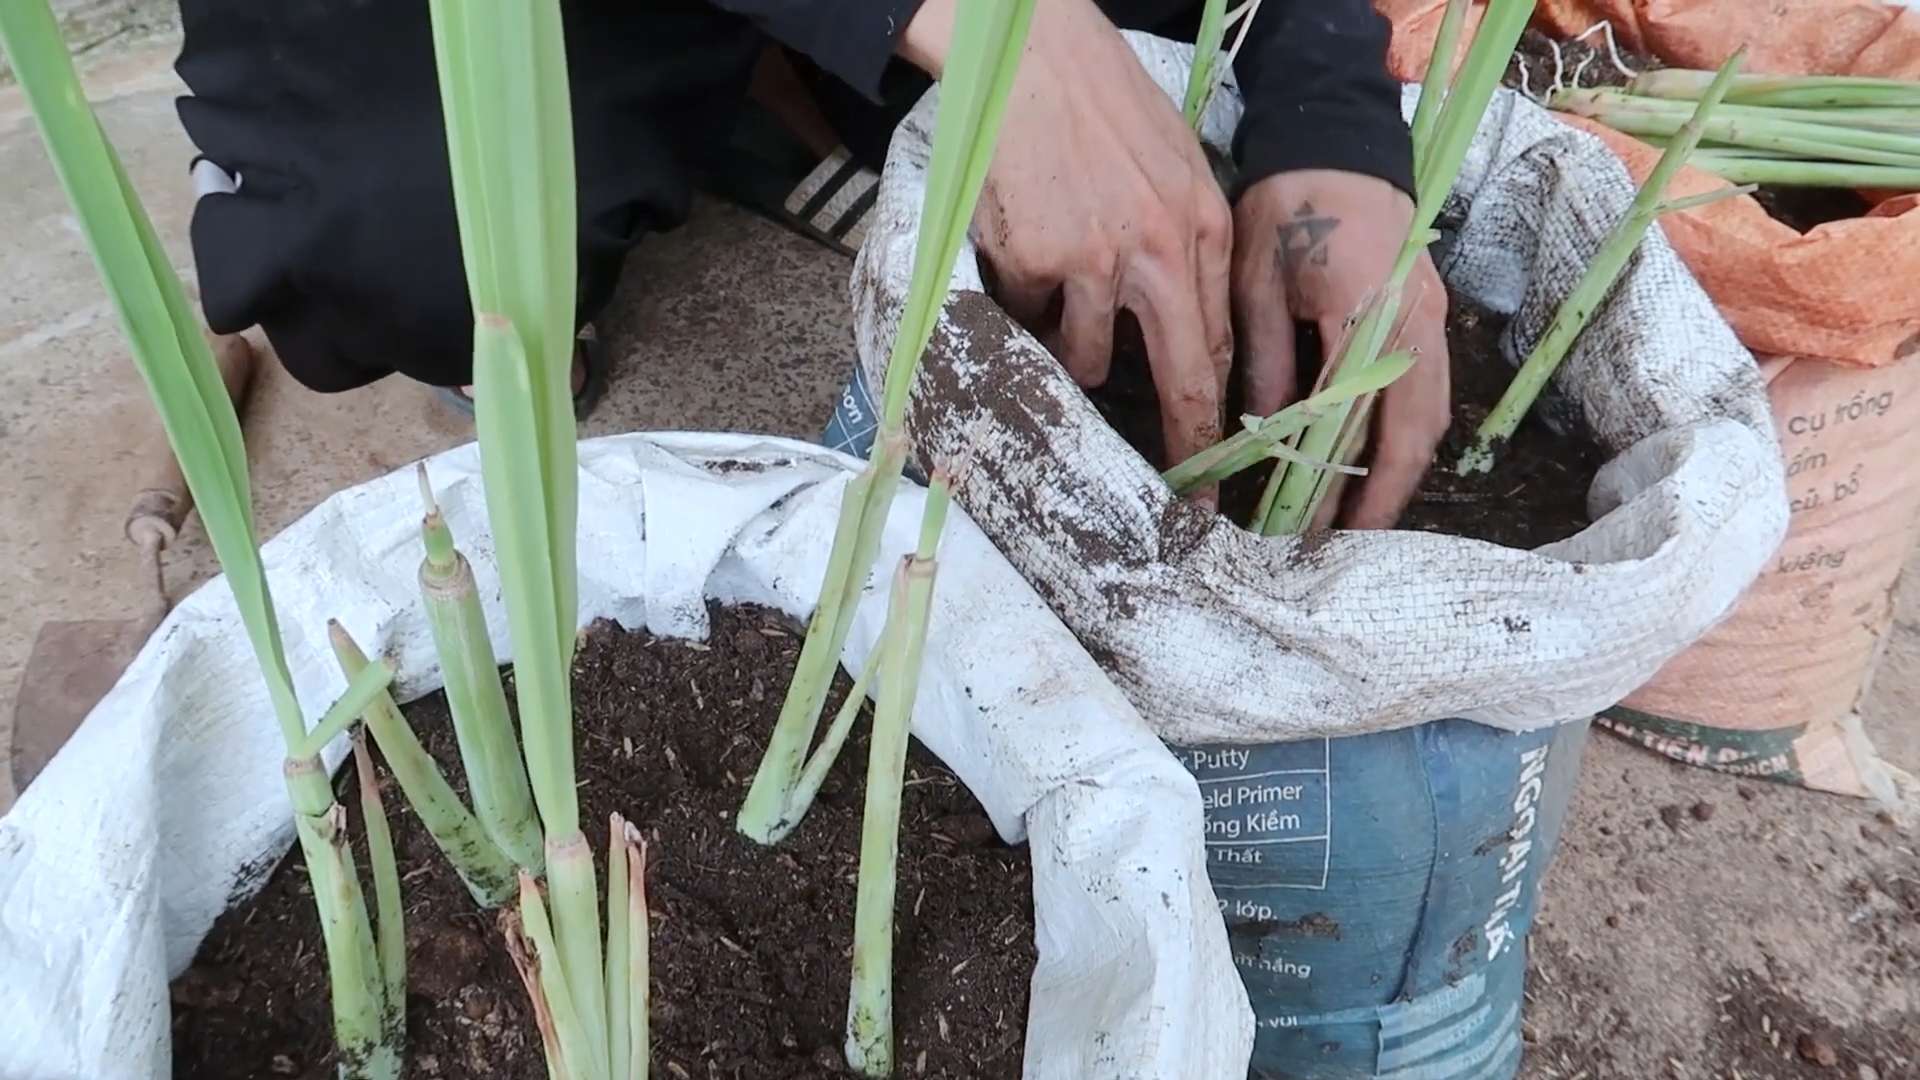
* Consider Raised Beds: If your soil is particularly poor, consider growing carrots in raised beds or containers filled with a good quality potting mix. I’ve found that raised beds warm up faster in the spring, giving my carrots a head start.
Sowing Carrot Seeds
Carrot seeds are tiny, so sowing them evenly can be a challenge. Here’s my method for successful sowing:
* Timing: Carrots are a cool-season crop, so I usually sow them in early spring or late summer. Check your local frost dates to determine the best time to plant.
* Make Furrows: Use a hoe or trowel to create shallow furrows about 1/4 to 1/2 inch deep and 1-2 inches apart.
* Sow Seeds Sparsely: Sprinkle the seeds thinly along the furrows. Overcrowding will lead to small, misshapen carrots. I find it helpful to mix the seeds with sand to make them easier to handle.
* Cover the Seeds: Gently cover the seeds with a thin layer of soil or compost.
* Water Gently: Water the area gently with a watering can or hose with a fine spray nozzle. Avoid washing away the seeds.
* Keep Moist: Keep the soil consistently moist until the seeds germinate. This may require watering daily, especially in dry weather. I sometimes cover the area with burlap or a piece of cardboard to help retain moisture.
Thinning Carrot Seedlings
Thinning is essential for giving your carrots enough space to develop. It’s a bit tedious, but trust me, it’s worth it!
* When to Thin: Thin the seedlings when they are about 1-2 inches tall.
* How to Thin: Carefully pull out the weaker seedlings, leaving about 1-2 inches between the remaining plants. I know it’s hard to pull out those tiny plants, but it’s necessary!
* Second Thinning: When the carrots are about 4-5 inches tall, thin them again, leaving about 3-4 inches between plants.
* Water After Thinning: Water the area after thinning to help settle the soil around the remaining plants.
Caring for Your Carrot Plants
Once your carrots are established, they need regular care to thrive.
* Watering: Water deeply and regularly, especially during dry periods. Carrots need consistent moisture to develop properly. Aim for about 1 inch of water per week.
* Weeding: Keep the area free of weeds, which can compete with the carrots for nutrients and water. Hand-weeding is best to avoid damaging the carrot roots.
* Fertilizing: Carrots don’t need a lot of fertilizer, but a side dressing of compost or a balanced organic fertilizer can be beneficial. I usually fertilize my carrots about halfway through the growing season.
* Mulching: Apply a layer of mulch around the plants to help retain moisture, suppress weeds, and regulate soil temperature. Straw, hay, or shredded leaves work well.
* Pest Control: Keep an eye out for pests like carrot rust flies and aphids. I’ll cover pest control in more detail below.
Dealing with Common Carrot Problems
Even with the best care, you may encounter some problems when growing carrots. Here’s how to deal with them:
* Forked Roots: This is usually caused by rocky or compacted soil. Make sure to prepare your soil properly before planting.
* Stunted Growth: This can be caused by poor soil fertility, lack of water, or overcrowding. Make sure to amend your soil with compost, water regularly, and thin your seedlings properly.
* Carrot Rust Flies: These pests lay their eggs near the base of the plants, and the larvae burrow into the roots, causing damage. Cover your plants with row covers to prevent the flies from laying eggs. You can also use yellow sticky traps to catch the flies.
* Aphids: These small, sap-sucking insects can weaken your plants. Spray them with a strong stream of water or use insecticidal soap.
* Bolting: This is when the plants flower prematurely, usually due to stress from heat or drought. Choose heat-tolerant varieties and water regularly to prevent bolting.
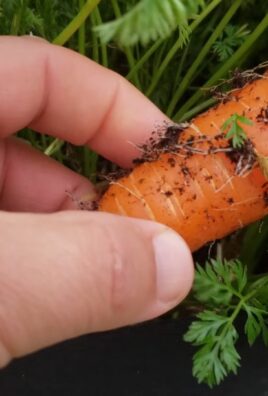
Harvesting Your Carrots
The moment you’ve been waiting for! Harvesting your homegrown carrots is incredibly satisfying.
* When to Harvest: Carrots are usually ready to harvest 60-80 days after sowing, depending on the variety. Check the seed packet for specific maturity dates.
* How to Harvest: Gently loosen the soil around the carrots with a garden fork or trowel. Then, grasp the carrot by the base of the greens and pull it straight up. If the soil is dry, water the area before harvesting to make it easier to pull the carrots.
* Storing Carrots: Remove the greens from the carrots and store them in the refrigerator in a plastic bag or container. They should last for several weeks. You can also store carrots in a cool, dark place like a root cellar.
Growing Carrots in Containers
If you don’t have a garden, you can still grow carrots in containers! Here’s what you need to know:
* Choose the Right Container: Select a container that is at least 12 inches deep and wide.
* Use a Good Quality Potting Mix: Avoid using garden soil, which can be too heavy and compacted for container gardening.
* Choose the Right Variety: Shorter varieties like ‘Baby Nantes’ or ‘Thumbelina’ are best for containers.
* Water Regularly: Containers tend to dry out faster than garden beds, so water your carrots regularly.
* Fertilize Regularly: Container-grown carrots need regular fertilization to thrive. Use a balanced liquid fertilizer every few weeks.
Enjoying Your Homegrown Carrots
Now that you’ve harvested your delicious homegrown carrots, it’s time to enjoy them! Here are some of my favorite ways to eat them:
* Raw: Simply wash and peel the carrots and enjoy them as a snack or in a salad.
* Roasted: Toss the carrots with olive oil, salt, and pepper and roast them in the oven until tender.
* Steamed: Steam the carrots until tender and serve them with butter or herbs.
* Juiced:
Conclusion
So, there you have it! Growing carrots at home, especially using our simple DIY trick, is not just a gardening project; it’s an investment in fresh, flavorful, and nutritious food right at your fingertips. Forget those bland, store-bought carrots that have traveled miles and lost their vibrancy. Imagine pulling up your own vibrant orange (or purple, or yellow!) carrots, still warm from the sun, and bursting with sweetness. This DIY method simplifies the process, making it accessible even for beginners with limited space or gardening experience.
Why is this a must-try? Because it empowers you to control the entire process, from seed to table. You know exactly what goes into your carrots – no harmful pesticides or herbicides, just good old-fashioned soil, sunshine, and water. Plus, there’s an undeniable satisfaction in nurturing something from a tiny seed into a delicious, edible treat. It’s a rewarding experience that connects you to nature and provides a healthy, sustainable food source.
But the fun doesn’t stop there! Feel free to experiment with different carrot varieties. Nantes carrots are known for their cylindrical shape and sweet flavor, while Chantenay carrots are shorter and sturdier, perfect for heavier soils. Danvers carrots are a classic choice, offering a good balance of sweetness and size. And don’t forget the colorful options! Purple carrots are packed with antioxidants, while yellow carrots offer a milder flavor.
Consider also varying your soil mix. Adding compost or well-rotted manure will enrich the soil and provide essential nutrients for healthy carrot growth. You can also try companion planting. Marigolds, for example, can help deter nematodes, while onions and garlic can repel carrot root flies. These simple additions can significantly improve your harvest.
Furthermore, think about succession planting. Sow a new batch of carrot seeds every few weeks to ensure a continuous supply throughout the growing season. This way, you’ll always have fresh carrots on hand for salads, snacks, and cooking.
We’ve provided a solid foundation for successful home-grown carrots, but the real magic happens when you personalize the process. Adapt our DIY trick to your specific environment, experiment with different techniques, and discover what works best for you.
Don’t be afraid to get your hands dirty and embrace the joy of gardening. We are confident that you will be amazed by the results. So, grab your seeds, prepare your soil, and get ready to experience the unparalleled taste of homegrown carrots.
We wholeheartedly encourage you to try this DIY trick for growing carrots at home. Once you’ve harvested your first batch, we’d love to hear about your experience! Share your photos, tips, and stories in the comments below. Let’s build a community of home gardeners and inspire others to grow their own food. Happy gardening!
Frequently Asked Questions (FAQs)
What kind of soil is best for growing carrots?
Carrots thrive in loose, well-drained soil that is free of rocks and debris. Rocky soil can cause the carrots to fork or become stunted. A sandy loam soil is ideal. Amend heavy clay soil with compost, sand, and other organic matter to improve drainage and aeration. The ideal soil pH for carrots is between 6.0 and 6.8.
How much sunlight do carrots need?
Carrots need at least six hours of sunlight per day. Choose a location in your garden that receives full sun for optimal growth. If you live in a hot climate, some afternoon shade can be beneficial to prevent the soil from drying out too quickly.
How often should I water my carrots?
Carrots need consistent moisture to grow properly. Water deeply and regularly, especially during dry periods. Aim to keep the soil consistently moist but not waterlogged. Overwatering can lead to root rot. A good rule of thumb is to water when the top inch of soil feels dry to the touch. Mulching around the carrots can help retain moisture and suppress weeds.
When is the best time to plant carrots?
The best time to plant carrots depends on your climate. In cooler climates, plant carrots in early spring, as soon as the soil can be worked. In warmer climates, you can plant carrots in the fall for a winter harvest. Carrots can tolerate light frost, but prolonged freezing temperatures can damage the roots. Check your local planting calendar for specific dates.
How deep should I plant carrot seeds?
Plant carrot seeds about ¼ to ½ inch deep. Space the seeds about 1 inch apart in rows that are 12-18 inches apart. Once the seedlings emerge, thin them to about 2-3 inches apart to allow the carrots to develop properly.
What are some common pests and diseases that affect carrots?
Common pests that affect carrots include carrot root flies, aphids, and nematodes. Carrot root flies lay their eggs near the base of the plants, and the larvae burrow into the roots, causing damage. Aphids suck the sap from the leaves, weakening the plants. Nematodes are microscopic worms that live in the soil and can damage the roots.
Common diseases that affect carrots include leaf blight and root rot. Leaf blight causes brown spots on the leaves, while root rot causes the roots to decay.
To prevent pests and diseases, practice good garden hygiene, such as removing weeds and debris. You can also use organic pest control methods, such as insecticidal soap or neem oil. Ensure proper soil drainage to prevent root rot.
How do I know when my carrots are ready to harvest?
Carrots are typically ready to harvest 60-80 days after planting, depending on the variety. Check the seed packet for specific maturity dates. You can harvest carrots when they reach the desired size. Gently loosen the soil around the carrots and pull them up by the greens.
Can I grow carrots in containers?
Yes, you can grow carrots in containers, but you’ll need to choose a container that is deep enough to accommodate the roots. A container that is at least 12 inches deep is recommended. Use a well-draining potting mix and provide adequate sunlight and water. Dwarf or baby carrot varieties are particularly well-suited for container gardening.
What are some good companion plants for carrots?
Good companion plants for carrots include onions, garlic, rosemary, sage, and marigolds. Onions and garlic repel carrot root flies, while rosemary and sage deter other pests. Marigolds attract beneficial insects that prey on pests. Avoid planting carrots near dill or fennel, as these plants can inhibit carrot growth.
How do I store harvested carrots?
To store harvested carrots, remove the greens and wash the carrots thoroughly. Allow them to dry completely before storing them in the refrigerator. You can store carrots in a plastic bag or container in the crisper drawer for several weeks. You can also freeze carrots for longer storage. Blanch the carrots in boiling water for a few minutes, then cool them in ice water before freezing.


Leave a Comment