
Grow Cabbage at Home? Absolutely! Imagine stepping into your backyard and harvesting crisp, vibrant cabbage heads, ready to be transformed into delicious coleslaw, hearty soups, or tangy sauerkraut. Forget those bland, overpriced cabbages from the grocery store – with a few simple tricks, you can cultivate your own thriving cabbage patch, bursting with flavor and freshness.
Cabbage cultivation boasts a rich history, dating back thousands of years. From its humble beginnings as a wild leafy green, it has evolved into a staple crop across cultures, prized for its nutritional value and versatility. Ancient Romans revered cabbage for its medicinal properties, while medieval Europeans relied on it as a vital source of sustenance during the winter months. Today, the tradition of growing cabbage continues, connecting us to a legacy of self-sufficiency and culinary creativity.
But why should you learn to grow cabbage at home? In today’s world, where concerns about food security and the environmental impact of industrial agriculture are growing, cultivating your own food is more important than ever. Plus, let’s be honest, who doesn’t love the satisfaction of nurturing a plant from seed to harvest? This DIY guide will equip you with the knowledge and skills you need to successfully grow cabbage, even if you’re a complete beginner. I’m here to share my favorite tips and tricks, ensuring you enjoy a bountiful harvest of this versatile vegetable. Let’s get started!
Growing Cabbage at Home: A Beginner’s Guide
Okay, so you want to grow your own cabbage? Awesome! It’s totally doable, even if you’re a newbie gardener like I was. Cabbage is a surprisingly rewarding vegetable to grow, and nothing beats the taste of fresh, homegrown cabbage. This guide will walk you through everything you need to know, from choosing the right variety to harvesting your beautiful, crunchy heads.
Choosing Your Cabbage Variety
First things first, let’s talk about cabbage varieties. There are tons of them, and the best one for you will depend on your climate and when you want to harvest. Here’s a quick rundown of some popular choices:
* Early Varieties: These mature quickly (around 60-70 days) and are great for spring or fall planting. Examples include ‘Golden Acre’ and ‘Early Jersey Wakefield’. I personally love ‘Golden Acre’ because it’s so reliable.
* Mid-Season Varieties: These take a bit longer (70-90 days) and are good for a summer harvest. ‘Copenhagen Market’ and ‘Savoy Ace’ are popular options. ‘Savoy Ace’ has a beautiful, crinkled texture.
* Late Varieties: These are the slow growers (90-120 days) and are perfect for fall harvests and winter storage. ‘Danish Ballhead’ and ‘January King’ are excellent choices. ‘January King’ is particularly cold-hardy.
* Red Cabbage: If you want some color in your garden, go for red cabbage! ‘Red Acre’ and ‘Ruby Perfection’ are both great choices. They add a lovely visual element to salads and slaws.
* Savoy Cabbage: These have crinkled leaves and a milder flavor than other types. ‘Savoy Ace’ and ‘Melissa’ are good options.
Consider your local climate and growing season when making your choice. Check with your local garden center for recommendations specific to your area.
Getting Started: Planting Your Cabbage
Now for the fun part: planting! You can start cabbage from seeds indoors or buy transplants from a nursery. I usually start my seeds indoors to get a head start (pun intended!).
Starting Seeds Indoors (Optional)
1. Gather Your Supplies: You’ll need seed starting trays or small pots, seed starting mix (not regular potting soil!), cabbage seeds, and a spray bottle.
2. Sow the Seeds: Fill your trays or pots with seed starting mix. Moisten the mix with the spray bottle. Plant 2-3 seeds per cell or pot, about ¼ inch deep.
3. Provide Light and Warmth: Cabbage seeds need light to germinate. Place the trays under grow lights or in a sunny window. Keep the soil consistently moist but not soggy. A heat mat can help speed up germination.
4. Thin the Seedlings: Once the seedlings have their first true leaves (the second set of leaves), thin them to one seedling per cell or pot. Snip off the weaker seedlings at the soil line.
5. Harden Off the Seedlings: Before transplanting your seedlings outdoors, you need to “harden them off.” This means gradually exposing them to outdoor conditions. Start by placing them outside for an hour or two each day, gradually increasing the time over a week or two. Protect them from strong winds and direct sunlight at first.
Transplanting Cabbage Seedlings or Buying Transplants
1. Prepare the Soil: Cabbage needs well-drained, fertile soil with a pH of 6.0-7.5. Amend your soil with compost or well-rotted manure before planting. This will provide essential nutrients and improve drainage. I always add a generous amount of compost to my cabbage bed.
2. Choose a Sunny Location: Cabbage needs at least 6 hours of sunlight per day.
3. Space the Plants: Space your cabbage plants 12-24 inches apart, depending on the variety. Smaller varieties can be closer together, while larger varieties need more room. Rows should be 24-36 inches apart.
4. Plant the Seedlings: Dig a hole slightly larger than the root ball of the seedling. Gently remove the seedling from its container and place it in the hole. Make sure the top of the root ball is level with the soil surface. Backfill the hole with soil and gently firm it around the plant.
5. Water Thoroughly: Water the newly planted seedlings thoroughly. This will help settle the soil and encourage root growth.
Caring for Your Cabbage Plants
Once your cabbage plants are in the ground, it’s important to provide them with the care they need to thrive.
1. Watering: Cabbage needs consistent moisture, especially during head formation. Water deeply and regularly, especially during dry spells. Aim for about 1 inch of water per week. I like to use a soaker hose to water my cabbage plants, as it delivers water directly to the roots.
2. Fertilizing: Cabbage is a heavy feeder, so it needs regular fertilization. Apply a balanced fertilizer (like 10-10-10) every 3-4 weeks. You can also side-dress with compost or well-rotted manure.
3. Weeding: Keep the area around your cabbage plants free of weeds. Weeds compete with cabbage for water and nutrients. Mulching can help suppress weeds and retain moisture.
4. Pest Control: Cabbage can be susceptible to several pests, including cabbage worms, cabbage loopers, and aphids.
* Cabbage Worms and Cabbage Loopers: These are caterpillars that can devour cabbage leaves. Handpicking them off the plants is an effective method, especially for small infestations. You can also use Bacillus thuringiensis (Bt), a natural insecticide that is safe for humans and pets. I’ve had great success with Bt.
* Aphids: These tiny insects suck sap from cabbage leaves. You can spray them off with a strong stream of water or use insecticidal soap.
* Cabbage Root Maggots: These pests attack the roots of cabbage plants. You can prevent them by using row covers or by applying diatomaceous earth around the base of the plants.
5. Disease Control: Cabbage can also be affected by diseases such as black rot and clubroot.
* Black Rot: This bacterial disease causes yellowing and browning of the leaves. Prevent it by using disease-free seeds and by practicing crop rotation.
* Clubroot: This fungal disease causes swollen and distorted roots. Prevent it by raising the soil pH to 7.0-7.5 and by practicing crop rotation.
Harvesting Your Cabbage
The moment you’ve been waiting for! Harvesting your cabbage is the culmination of all your hard work.
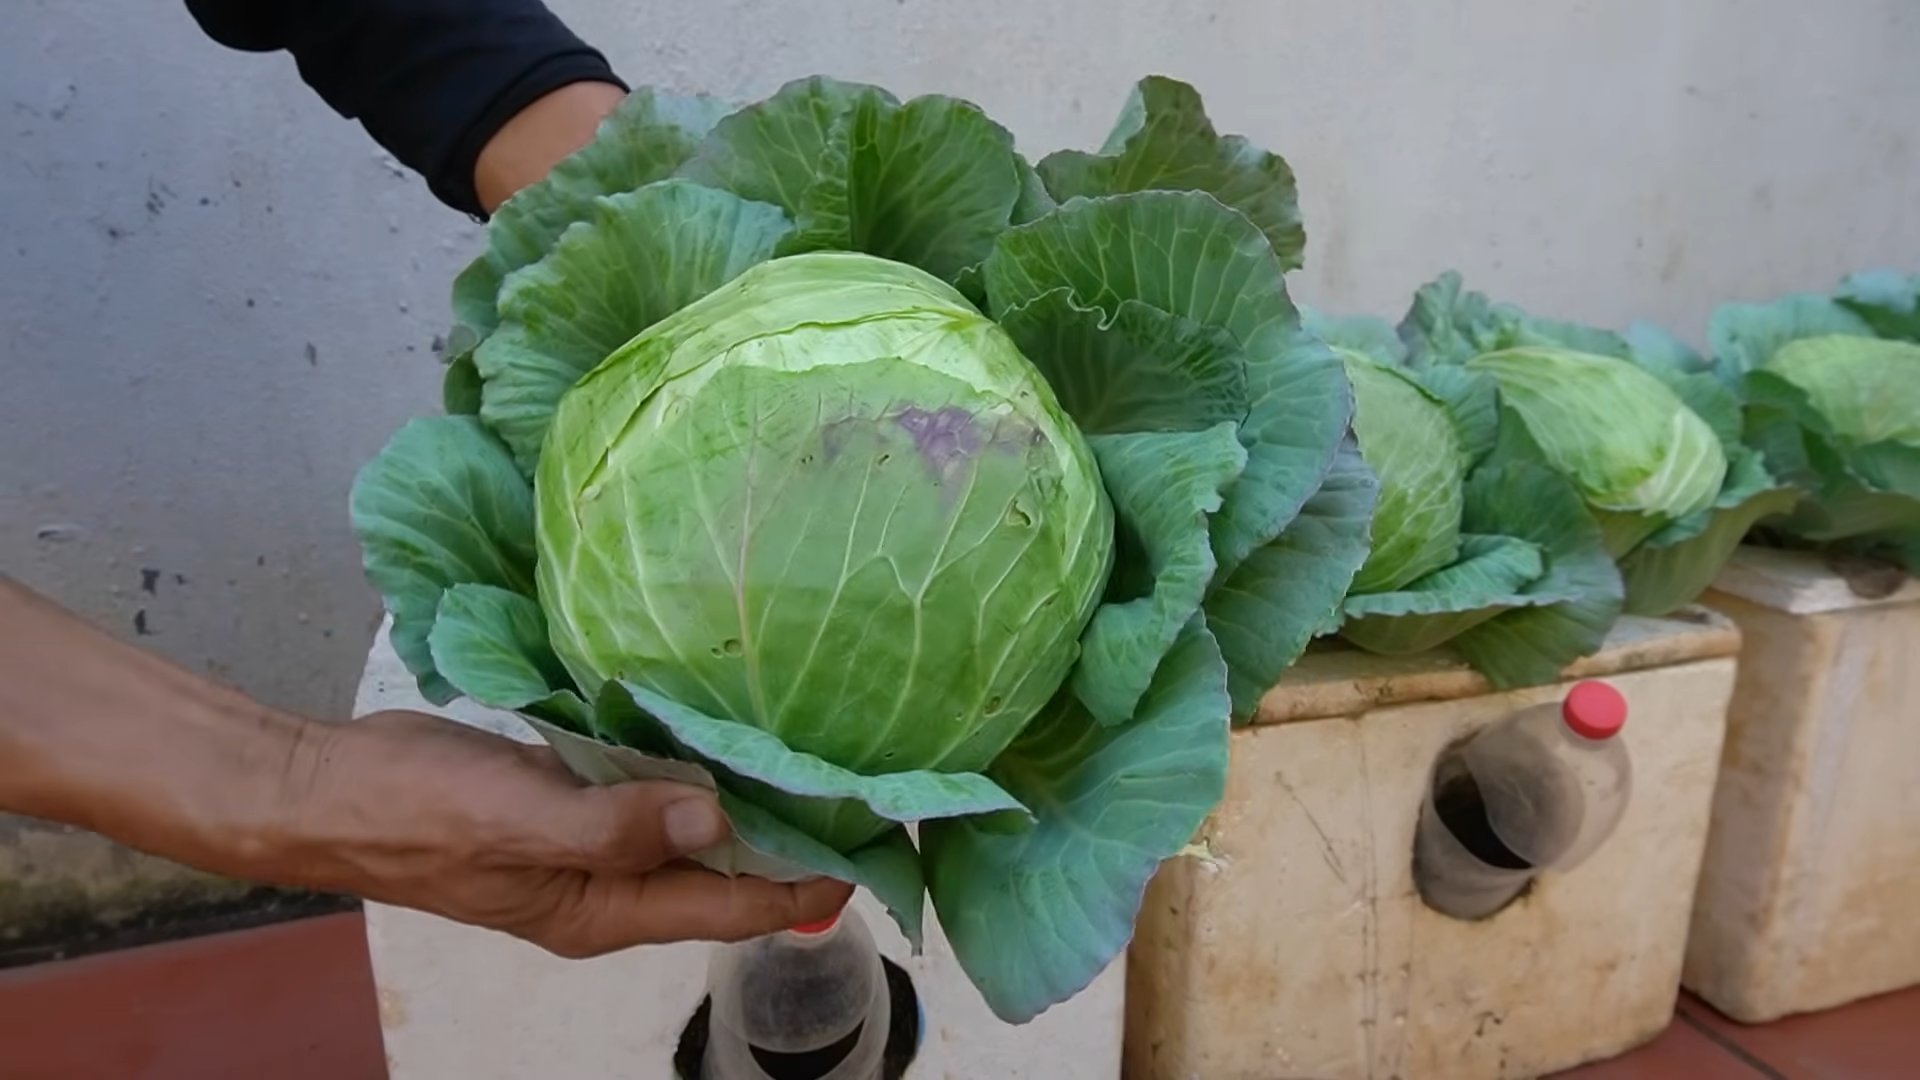
1. Check for Maturity: Cabbage is ready to harvest when the head is firm and solid. The size of the head will vary depending on the variety.
2. Cut the Head: Use a sharp knife to cut the head from the stem. Leave a few outer leaves attached to protect the head.
3. Store Your Cabbage: Cabbage can be stored in a cool, dry place for several weeks. Wrap the head in plastic wrap or store it in a perforated plastic bag in the refrigerator. Late-season varieties can be stored for even longer in a root cellar.
Troubleshooting Common Cabbage Problems
Even with the best care, you might encounter some problems while growing cabbage. Here are a few common issues and how to address them:
* Heads Not Forming: This can be caused by several factors, including insufficient sunlight, poor soil, or lack of water. Make sure your cabbage plants are getting enough sunlight, water, and nutrients.
* Splitting Heads: This can happen when cabbage heads mature during periods of heavy rain. To prevent splitting, cut a few roots on one side of the plant to slow down water uptake.
* Yellowing Leaves: This can be a sign of nutrient deficiency or disease. Check the soil pH and nutrient levels. If necessary, amend the soil with compost or fertilizer.
Enjoying Your Homegrown Cabbage
Now that you’ve harvested your cabbage, it’s time to enjoy it! Cabbage is a versatile vegetable that can be used in a variety of dishes. Here are a few ideas:
* Coleslaw: A classic cabbage dish that’s perfect for picnics and barbecues.
* Sauerkraut: Fermented cabbage that’s packed with probiotics.
* Cabbage Rolls: Cabbage leaves stuffed with meat and rice.
* Stir-fries: Cabbage adds a crunchy texture to stir-fries.
* Soups and Stews: Cabbage is a hearty addition to soups and stews.
Growing your own cabbage is a rewarding experience. With a little bit of planning and care, you can enjoy fresh, homegrown cabbage all season long. Happy gardening!
Conclusion
So, there you have it! Growing cabbage at home is not only achievable but also incredibly rewarding. From the satisfaction of nurturing a tiny seedling to the joy of harvesting a crisp, flavorful head, the entire process is a testament to the magic of gardening. We’ve walked you through the essential steps, from seed selection and soil preparation to pest control and harvesting, equipping you with the knowledge to cultivate your own thriving cabbage patch.
But why is this DIY trick a must-try? Beyond the obvious benefits of fresh, organic produce, growing your own cabbage offers a unique connection to your food. You control every aspect of its growth, ensuring it’s free from harmful pesticides and packed with nutrients. Plus, the flavor of homegrown cabbage is simply unmatched – sweeter, more tender, and bursting with freshness compared to store-bought varieties. Imagine the delicious slaws, hearty soups, and flavorful stir-fries you can create with your own homegrown bounty!
Don’t be afraid to experiment! There are countless variations you can explore to tailor your cabbage growing experience to your preferences and climate. Consider trying different cabbage varieties, such as the red cabbage for its vibrant color and slightly peppery flavor, or the Savoy cabbage for its crinkled leaves and mild taste. You can also experiment with companion planting, pairing your cabbage with herbs like rosemary or thyme to deter pests and enhance flavor. For those with limited space, consider growing cabbage in containers on your patio or balcony. Just be sure to choose a large enough container and provide adequate drainage.
Growing cabbage at home is a journey of discovery, and we encourage you to embark on it! Don’t be discouraged by initial setbacks – gardening is a learning process, and every mistake is an opportunity to grow (pun intended!). Embrace the challenges, celebrate the successes, and most importantly, have fun.
We’re confident that with a little patience and dedication, you’ll be enjoying the fruits (or rather, vegetables!) of your labor in no time. So, grab your seeds, get your hands dirty, and experience the joy of growing your own cabbage.
We’d love to hear about your experiences! Share your tips, tricks, and photos of your homegrown cabbage on our social media channels using #HomegrownCabbage. Let’s create a community of cabbage enthusiasts and inspire others to embrace the joys of gardening. Happy growing!
Frequently Asked Questions (FAQ)
What is the best time of year to plant cabbage?
The timing for planting cabbage depends largely on your climate. Cabbage is a cool-season crop, meaning it thrives in temperatures between 60°F and 70°F (15°C and 21°C). In regions with mild winters, you can plant cabbage in the fall for a winter or early spring harvest. In colder climates, start seeds indoors 6-8 weeks before the last expected frost and transplant them outdoors in the spring after the danger of frost has passed. For a fall harvest in colder climates, start seeds indoors in late spring or early summer and transplant them outdoors in mid-summer. Always check your local frost dates to determine the best planting time for your area.
How much sunlight does cabbage need?
Cabbage needs at least 6 hours of direct sunlight per day to thrive. Choose a planting location that receives full sun for optimal growth and head development. If you live in a particularly hot climate, some afternoon shade can be beneficial to prevent the leaves from scorching.
What kind of soil is best for growing cabbage?
Cabbage prefers well-drained, fertile soil that is rich in organic matter. The ideal soil pH is between 6.0 and 7.0. Before planting, amend your soil with compost, aged manure, or other organic matter to improve drainage, fertility, and water retention. A soil test can help you determine the pH and nutrient levels of your soil and guide you in making necessary amendments.
How often should I water my cabbage plants?
Cabbage needs consistent moisture to grow properly. Water deeply and regularly, especially during dry periods. Aim to keep the soil consistently moist but not waterlogged. A good rule of thumb is to water when the top inch of soil feels dry to the touch. Mulching around your cabbage plants can help retain moisture and suppress weeds.
What are some common pests and diseases that affect cabbage?
Cabbage can be susceptible to several pests and diseases, including cabbage worms, cabbage loopers, aphids, flea beetles, and clubroot. Regularly inspect your plants for signs of infestation or disease. Handpicking pests, using insecticidal soap, or applying Bacillus thuringiensis (Bt) can help control cabbage worms and loopers. Floating row covers can also be used to protect your plants from pests. To prevent clubroot, ensure good soil drainage, maintain a proper soil pH, and practice crop rotation.
How do I know when my cabbage is ready to harvest?
Cabbage is ready to harvest when the head is firm and solid to the touch. The size of the head will vary depending on the variety, but generally, a mature head will be about 6-12 inches in diameter. To harvest, use a sharp knife to cut the head from the stem, leaving a few outer leaves intact.
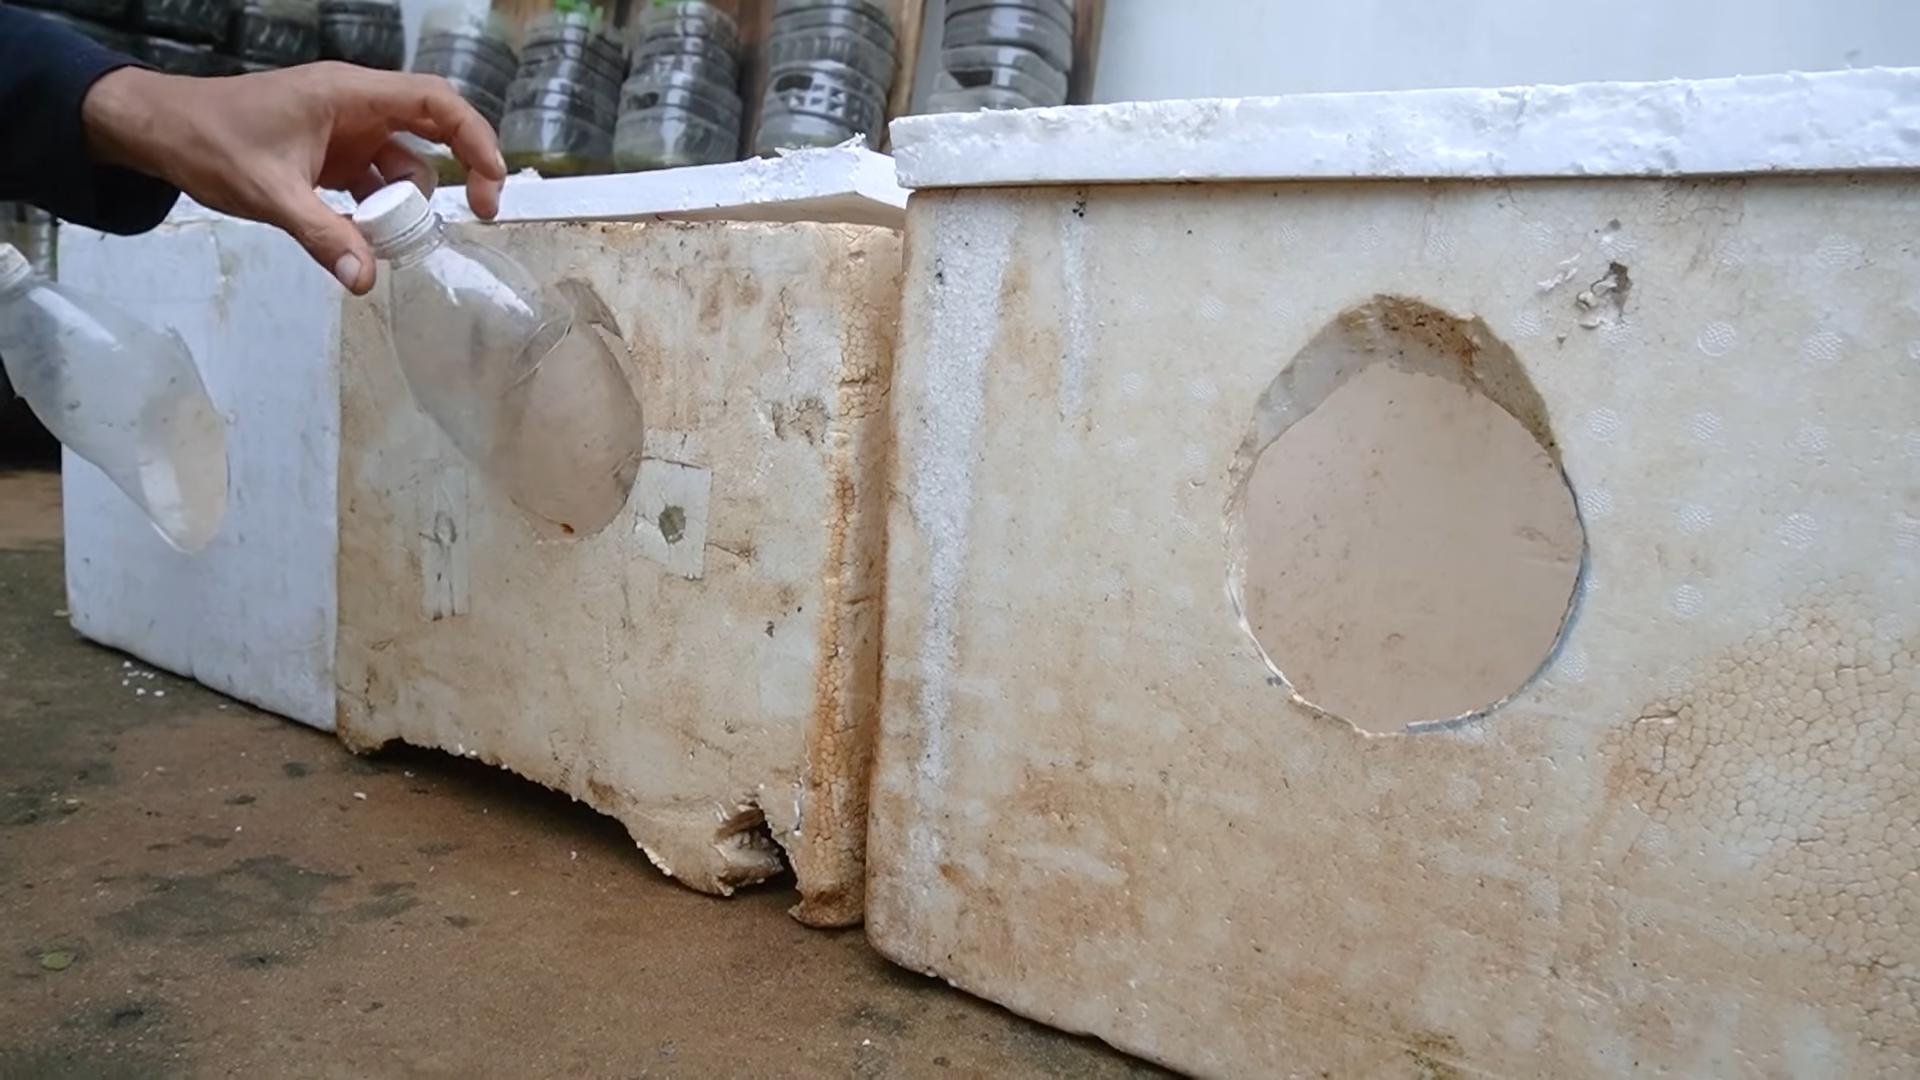
Can I grow cabbage in containers?
Yes, you can grow cabbage in containers, but you’ll need to choose a large enough container to accommodate the plant’s root system. A container that is at least 12 inches in diameter and 12 inches deep is recommended. Use a well-draining potting mix and provide regular watering and fertilization. Container-grown cabbage may require more frequent watering than cabbage grown in the ground.
What are some good companion plants for cabbage?
Companion planting can help deter pests, attract beneficial insects, and improve the overall health of your cabbage plants. Some good companion plants for cabbage include:
* **Herbs:** Rosemary, thyme, sage, dill, and mint can help repel cabbage moths and other pests.
* **Flowers:** Marigolds and nasturtiums can attract beneficial insects and deter pests.
* **Vegetables:** Onions, garlic, and leeks can help repel cabbage root flies.
How can I prevent my cabbage from splitting?
Cabbage heads can split if they receive too much water after a period of drought. To prevent splitting, water your cabbage plants consistently, especially during dry periods. You can also harvest the cabbage as soon as it is mature to prevent it from becoming overripe and splitting.
Can I save seeds from my homegrown cabbage?
Saving seeds from cabbage can be a bit challenging because cabbage is a biennial plant, meaning it takes two years to produce seeds. If you want to save seeds, you’ll need to overwinter your cabbage plants and allow them to flower and produce seeds in the second year. However, keep in mind that cabbage can cross-pollinate with other members of the Brassica family, such as broccoli and kale, so the seeds may not produce true-to-type plants.


Leave a Comment