
Grow Arugula Indoors: Your Guide to Year-Round Peppery Greens
I love the peppery bite of arugula, but fresh, vibrant arugula can be surprisingly expensive at the grocery store, and the quality isn’t always the best. That’s why I’ve become a huge fan of growing arugula indoors! It’s a surprisingly easy and rewarding project, even for beginner gardeners. This guide will walk you through simple, effective techniques to grow arugula indoors, ensuring you have a constant supply of this delicious leafy green throughout the year, regardless of the weather outside.
While arugula’s origins trace back to the Mediterranean, its popularity has exploded globally. Historically, it was a staple in ancient Roman cuisine, and its peppery flavor has captivated cooks for centuries. Today, it’s a beloved ingredient in salads, pizzas, and countless other dishes. But who wants to rely on the supermarket for something so easy to cultivate yourself?
Growing your own arugula offers several key advantages. First, you control the quality – no pesticides or questionable handling practices. Second, you can harvest fresh leaves whenever you need them, ensuring peak flavor and freshness. Third, and perhaps most importantly, it’s incredibly satisfying to nurture a plant from seed to harvest, and the taste of homegrown arugula is simply unmatched. This DIY guide will equip you with the knowledge and confidence to successfully grow arugula indoors, transforming your kitchen into a thriving little garden.
Ready to get started? Let’s dive in!
Growing Fennel in Pots: A Step-by-Step Guide
Fennel, with its anise-like flavor and feathery foliage, is a delightful addition to any garden – even a small one! Growing it in pots offers flexibility and control, perfect for those with limited space or challenging soil conditions. Here’s how I successfully grow my fennel, and how you can too.
Choosing Your Pot and Soil
- Pot Size: Fennel has a fairly deep root system, so aim for a pot at least 12 inches in diameter and 12 inches deep. Larger is always better! A bigger pot means less frequent watering and happier plants.
- Pot Material: Terracotta pots are excellent because they allow for good drainage and aeration. However, they dry out faster than plastic pots, so keep that in mind. Plastic pots retain moisture longer, which can be beneficial, but ensure you have adequate drainage holes.
- Drainage: Absolutely essential! Fennel doesn’t like soggy roots. Make sure your pot has several large drainage holes at the bottom. If not, drill some yourself. You can also add a layer of gravel or broken pottery shards at the bottom of the pot to improve drainage.
- Soil Choice: Use a well-draining potting mix. Avoid heavy clay soils. A good quality potting mix specifically formulated for vegetables or herbs is ideal. You can also amend your potting mix with some compost to improve its fertility and water retention.
Sowing Fennel Seeds
- Timing: Start fennel seeds indoors 6-8 weeks before the last expected frost in your area, or sow directly outdoors after the last frost when the soil has warmed up. I prefer starting indoors for a head start.
- Seed Starting Mix: Use a seed starting mix, which is finer than regular potting mix and provides better germination. Fill your pot about ¾ full.
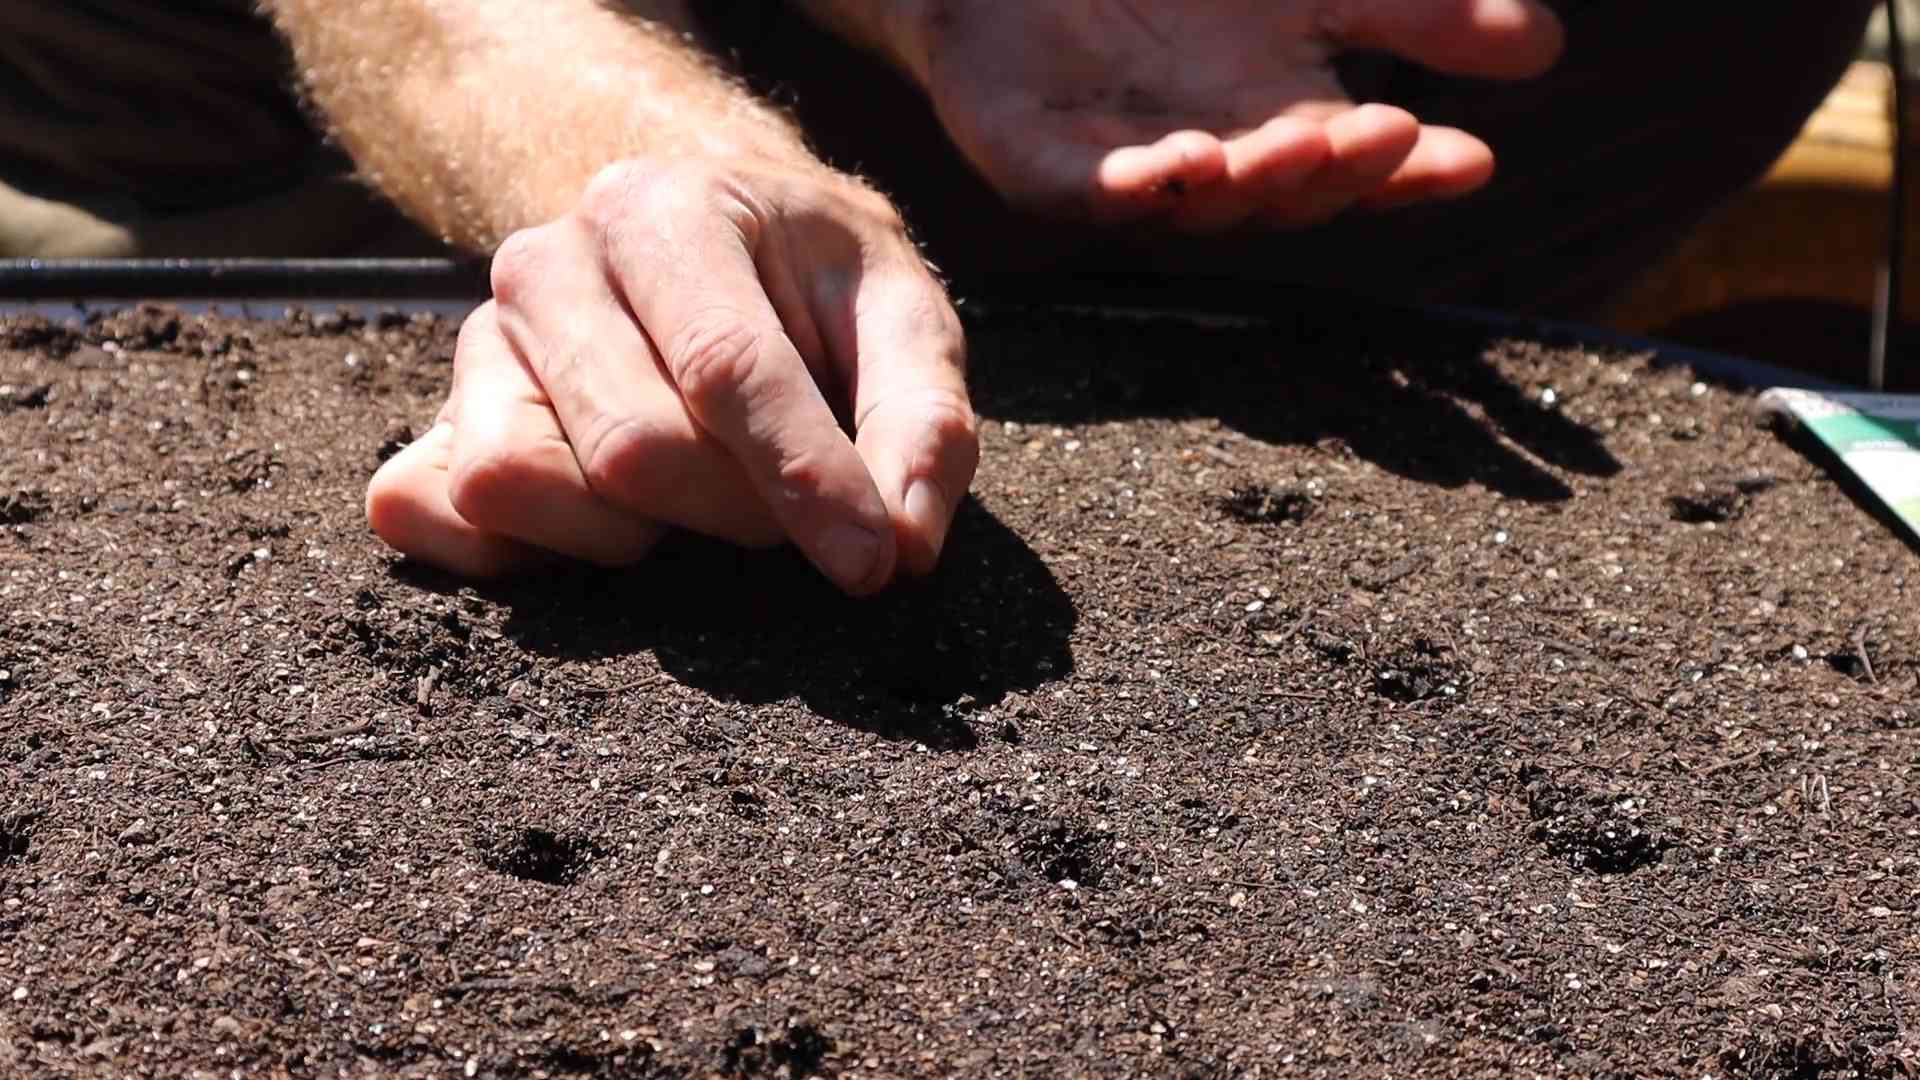
- Sowing Depth: Sow fennel seeds about ¼ inch deep and about 1 inch apart. Don’t overcrowd them.
- Watering: Gently water the seeds after sowing, keeping the soil consistently moist but not soggy. Use a spray bottle to avoid dislodging the tiny seeds.
- Germination: Fennel seeds can take a while to germinate, anywhere from 1-3 weeks. Keep the soil moist and warm (around 70°F). Once germinated, provide plenty of sunlight.
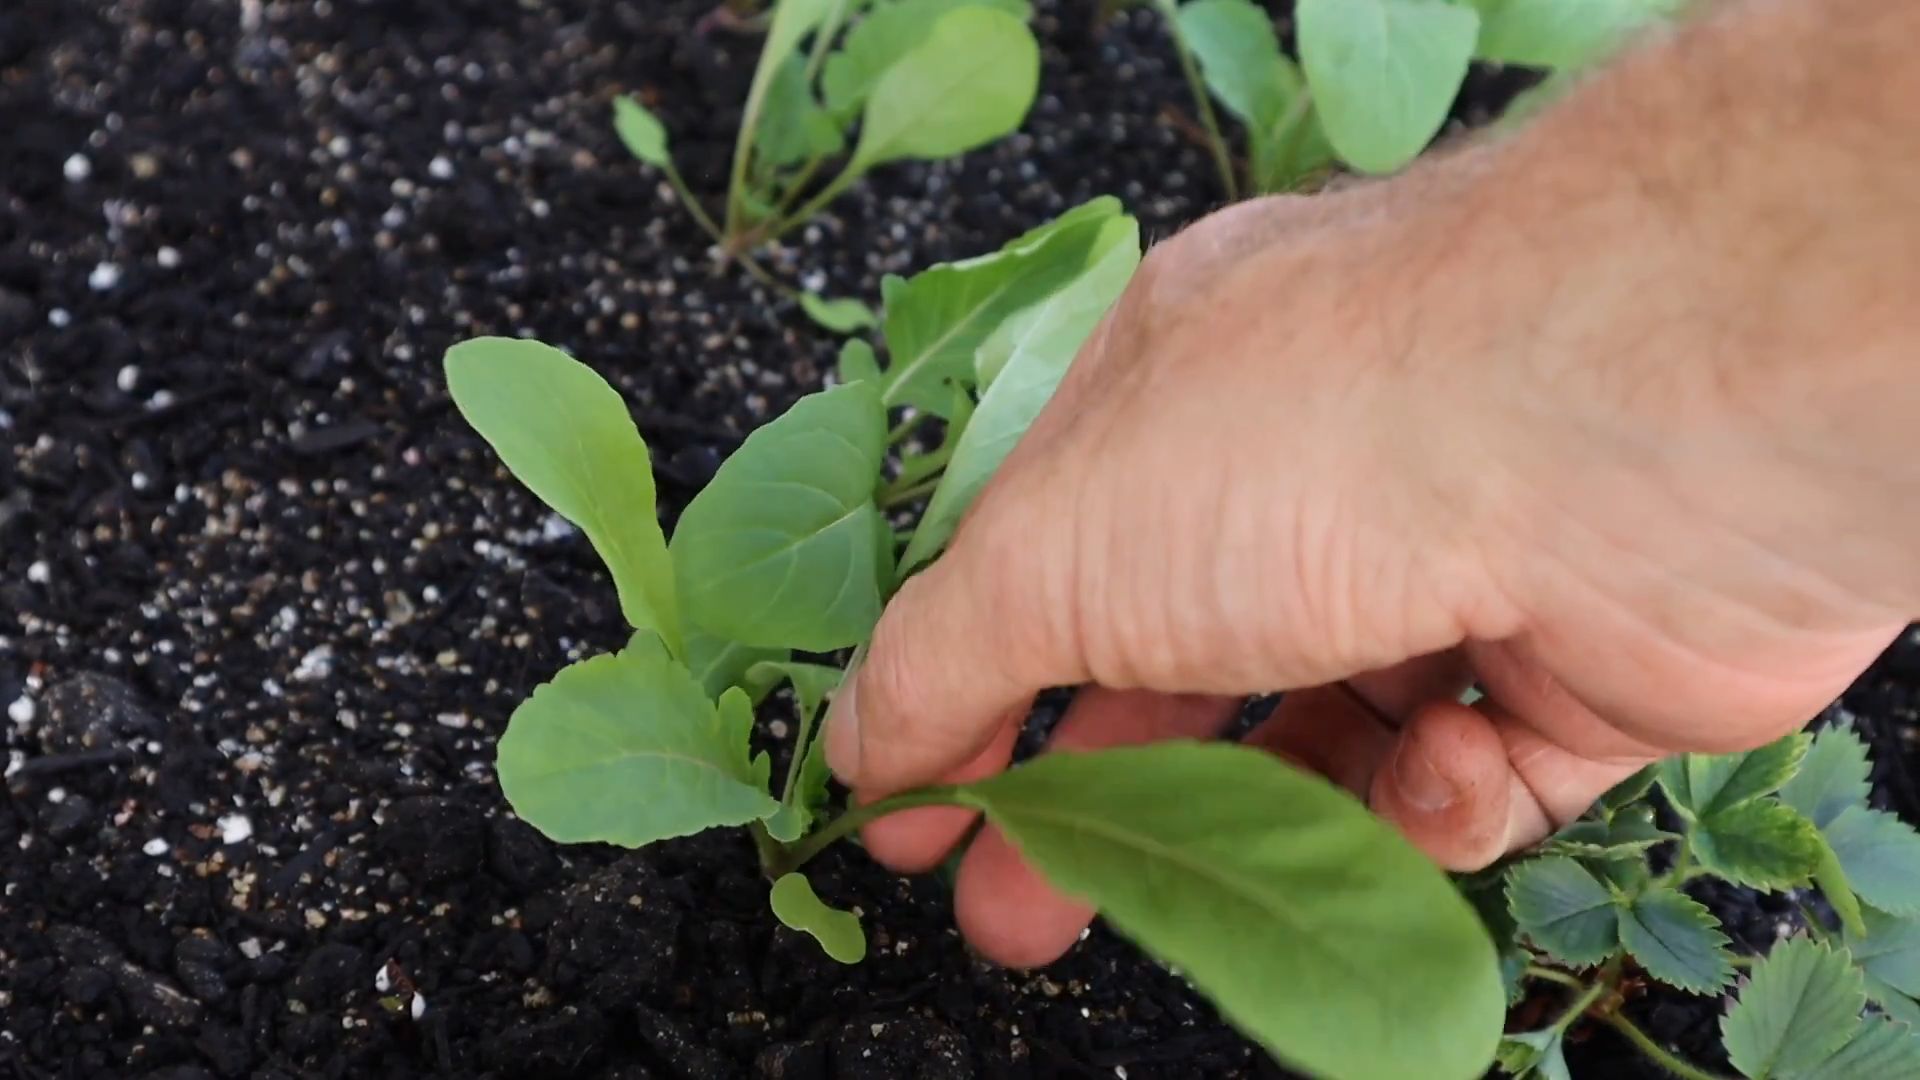
- Thinning: Once the seedlings have a few true leaves, thin them out to one or two of the strongest plants per pot. This gives them enough room to grow.
Transplanting (If Starting Indoors)
- Hardening Off: Before transplanting your seedlings outdoors, gradually acclimate them to the outdoor conditions. This process, called hardening off, reduces transplant shock. Start by placing them outdoors for a few hours each day, gradually increasing the time over a week.
- Transplanting Time: Transplant your seedlings outdoors after the last frost when the soil is warm and the weather is consistently mild. Choose a sunny location.
- Planting Depth: Plant the seedlings at the same depth they were growing in their seed starting pots. Gently handle the seedlings to avoid damaging their roots.
- Watering: Water thoroughly after transplanting to settle the soil around the roots.
Ongoing Care
- Sunlight: Fennel needs at least 6-8 hours of direct sunlight per day. Choose a sunny spot for your pot.
- Watering: Water regularly, keeping the soil consistently moist but not waterlogged. Check the soil moisture regularly by sticking your finger a couple of inches into the soil. Water when the top inch feels dry.
- Fertilizing: Feed your fennel plants every 2-3 weeks with a balanced liquid fertilizer diluted to half strength. Over-fertilizing can lead to bitter-tasting fennel.
- Pest and Disease Control: Fennel is relatively pest-resistant, but watch out for aphids and spider mites. Use insecticidal soap or neem oil to control infestations. Good air circulation can help prevent fungal diseases.
- Support (Optional): For larger fennel varieties, you may need to provide support to prevent the plants from flopping over. Use stakes or cages to support the plants.
Harvesting Your Fennel
- Harvesting Bulbs: For Florence fennel (bulb fennel), harvest the bulb when it’s firm and about 3-4 inches in diameter. Cut the bulb at the base of the plant.
- Harvesting Fronds: You can harvest the feathery fronds throughout the growing season. Cut the fronds from the outside of the plant, leaving the inner fronds to continue growing. Harvesting fronds regularly encourages bushier growth.
- Seeds: If you want to save seeds, allow some of the flower stalks to mature completely. The seeds will turn brown and dry. Collect the seeds when they are dry and store them in a cool, dry place.
Troubleshooting
Yellowing Leaves:
This could indicate overwatering, underwatering, nutrient deficiency, or pest infestation. Check your watering habits, soil moisture, and inspect the plant for pests.
Slow Growth:
This could be due to insufficient sunlight, poor soil drainage, or nutrient deficiency. Ensure your plant receives adequate sunlight, check the drainage, and fertilize as needed.
Bolting (Premature Flowering):
This can happen if the plant experiences stress, such as extreme heat or drought. Consistent watering and providing shade during the hottest part of the day can help prevent bolting.
With a little care and attention, you’ll be enjoying delicious homegrown fennel in no time! Remember to adapt these instructions to your specific climate and growing conditions.
Conclusion
Growing your own arugula indoors is a surprisingly rewarding experience, offering a fresh, peppery punch to your meals year-round, regardless of the weather outside. This DIY trick isn’t just about convenience; it’s about connecting with your food on a deeper level, understanding where it comes from, and enjoying the satisfaction of nurturing something from seed to plate. The incredible flavor of homegrown arugula far surpasses anything you can buy in the store, and the process itself is surprisingly simple and accessible, even for beginner gardeners. You’ll be amazed at how quickly your seeds sprout and how rapidly your arugula plants mature, providing you with a continuous harvest. Beyond the taste and satisfaction, growing your own arugula contributes to a more sustainable lifestyle, reducing your carbon footprint associated with transportation and packaging. This simple method allows you to enjoy the vibrant, peppery taste of fresh arugula without the hassle of unpredictable weather or the limitations of seasonal availability. So, ditch the grocery store and embrace the freshness and flavor of homegrown arugula! It’s a culinary adventure waiting to happen.
We encourage you to try this simple and effective method of growing arugula indoors. Share your experiences, photos, and any variations you discover with us and other readers. Let’s build a community of indoor arugula growers, sharing tips and tricks to ensure everyone can enjoy the delicious rewards of this simple DIY project. Don’t hesitate to experiment – try different types of arugula, explore various growing mediums, and discover what works best for you and your space. The possibilities are endless! Remember to tag us in your social media posts, so we can celebrate your success in growing your own delicious, homegrown arugula.
Variations and Suggestions
While the basic method outlined is straightforward, there are several ways to customize your indoor arugula garden to suit your preferences and available resources:
Different Arugula Varieties:
Experiment with different arugula varieties! Some varieties are known for their spicier kick, while others offer a milder flavor. Explore the options available at your local garden center or online to find the perfect arugula for your palate.
Hydroponics or Aquaponics:
For a more advanced approach, consider hydroponics or aquaponics. These methods allow you to grow arugula without soil, using nutrient-rich water solutions. This can lead to faster growth and higher yields.
Vertical Gardening:
Maximize your space by using vertical gardening techniques. Hang your containers or use a vertical tower system to grow arugula upwards, saving valuable floor space.
Different Growing Mediums:
While we recommend a seed-starting mix, you can experiment with other growing mediums, such as coco coir or perlite. Just ensure the medium is well-draining and provides adequate aeration for healthy root development.
Frequently Asked Questions (FAQs)
What type of light do I need to grow arugula indoors?
Arugula needs at least 6-8 hours of sunlight per day. If you don’t have sufficient natural light, invest in a grow light specifically designed for indoor gardening. LED grow lights are energy-efficient and effective. Ensure the light is positioned appropriately to provide adequate illumination to your plants. Monitor your plants closely and adjust the light as needed to ensure optimal growth.
How often should I water my arugula?
Keep the soil consistently moist but not soggy. Water when the top inch of soil feels dry to the touch. Overwatering can lead to root rot, so it’s crucial to find the right balance. The frequency of watering will depend on factors such as temperature, humidity, and the type of container you are using.
How long does it take for arugula to grow indoors?
From seed to harvest, arugula typically takes around 3-4 weeks to mature. However, this can vary depending on the variety, growing conditions, and the amount of light your plants receive. You can start harvesting baby arugula leaves earlier, even after a few weeks of growth.
Can I grow arugula indoors year-round?
Yes! One of the great advantages of growing arugula indoors is that you can enjoy fresh arugula year-round, regardless of the season or outdoor weather conditions. This provides a continuous supply of this flavorful green.
What are the common problems when growing arugula indoors?
Common problems include overwatering (leading to root rot), insufficient light, and pest infestations. Ensure proper drainage, provide adequate light, and monitor your plants regularly for any signs of pests. Early detection and intervention are key to preventing significant problems. Consider using organic pest control methods if necessary.
What should I do with my harvested arugula?
Use your freshly harvested arugula immediately for the best flavor and texture. Add it to salads, sandwiches, pizzas, or pesto. You can also lightly sauté it or add it to pasta dishes. Arugula’s peppery flavor pairs well with many different cuisines. If you have more arugula than you can use immediately, you can store it in the refrigerator in a sealed container for a few days.
Remember, growing your own arugula indoors is a rewarding experience. Don’t be afraid to experiment and find what works best for you. Happy growing!


Leave a Comment