
Grow Rosemary Kitchen
I’ve always loved the fragrant, slightly piney aroma of rosemary, and nothing beats fresh rosemary in a dish. That’s why I’m so excited to share my Grow Rosemary Kitchen tips and tricks with you! This isn’t just about adding a beautiful herb to your windowsill; it’s about bringing a piece of the Mediterranean to your home, connecting with nature in a simple yet rewarding way, and enjoying the freshest, most flavorful rosemary you’ve ever tasted.
The history of rosemary is rich and fascinating, stretching back to ancient times. It was used in ceremonies, for medicinal purposes, and, of course, as a culinary herb. Today, its popularity continues to flourish, and for good reason. But why bother growing your own when you can buy it at the store? The answer is simple: the flavor and aroma of fresh, homegrown rosemary are unparalleled. Store-bought rosemary often lacks the vibrant intensity of a plant nurtured with your own hands.
Why You Need This Grow Rosemary Kitchen Guide
This Grow Rosemary Kitchen guide will walk you through everything you need to know, from selecting the right plant to harvesting and preserving your bounty. We’ll cover simple techniques, helpful DIY solutions, and troubleshooting common problems. Whether you’re a seasoned gardener or a complete beginner, you’ll find practical advice and inspiration to help you successfully cultivate this versatile herb. Imagine the satisfaction of snipping fresh rosemary sprigs for your Sunday roast, knowing you grew them yourself! Let’s get started on your journey to a thriving, fragrant Grow Rosemary Kitchen.
Growing Your Own Delicious Bok Choy: A Step-by-Step Guide
Bok choy, with its tender leaves and mild flavor, is a fantastic addition to any garden. And the best part? It’s surprisingly easy to grow yourself! This guide will walk you through the entire process, from seed to harvest.
Phase 1: Planning and Preparation
- Choose your location: Bok choy thrives in full sun to partial shade. At least six hours of sunlight per day is ideal, but in hotter climates, some afternoon shade can be beneficial to prevent bolting (premature flowering).
- Prepare your soil: Bok choy prefers loose, well-drained soil rich in organic matter. Amend heavy clay soils with compost or other organic materials to improve drainage and aeration. A soil pH between 6.0 and 6.8 is optimal.
- Decide on your method: You can start bok choy from seed directly in the garden or start seedlings indoors for a head start. Starting indoors is recommended in colder climates or if you want an earlier harvest.
- Gather your supplies: You’ll need seeds (or seedlings), seed starting mix (if starting indoors), gardening gloves, a trowel or small shovel, a watering can, and possibly some fertilizer.
Phase 2: Starting from Seed (Direct Sowing)
- Timing is key: Direct sow bok choy seeds outdoors after the last frost. The soil temperature should be at least 40°F (4°C). In warmer climates, you can sow seeds in the fall for a winter harvest.
- Prepare the seedbed: Loosen the soil to a depth of about 6-8 inches. Remove any rocks or debris. If you’re working with heavy clay soil, consider adding compost or other organic matter to improve drainage.
- Sow the seeds: Sow seeds about ½ inch deep and 1-2 inches apart. Space rows 12-18 inches apart. Gently firm the soil around the seeds.
- Water gently: Water the seeds thoroughly after sowing, but avoid overwatering, which can lead to seed rot. Use a gentle spray or watering can to avoid disturbing the seeds.
- Thinning: Once the seedlings have developed two or three true leaves (not the cotyledons, or seed leaves), thin them to 6-8 inches apart. This gives each plant enough space to grow. You can transplant the thinned seedlings to another area of your garden.
- Weed regularly: Keep the area around your bok choy plants free of weeds, which compete for water and nutrients.
Phase 3: Starting from Seed (Indoors)
- Start seeds indoors: 6-8 weeks before the last expected frost, sow seeds in seed starting trays filled with a seed starting mix. Sow seeds about ¼ inch deep.
- Provide warmth and light: Keep the seed trays warm (around 70-75°F or 21-24°C) and provide plenty of light. A grow light is recommended, especially during winter months.
- Water regularly: Keep the seed starting mix moist but not soggy. Allow the top inch of soil to dry slightly between waterings.
- Hardening off: Before transplanting outdoors, gradually acclimate the seedlings to outdoor conditions over a period of 7-10 days. This process, called hardening off, helps them adjust to the changes in temperature, light, and humidity.
- Transplant outdoors: Once the danger of frost has passed, transplant the seedlings outdoors, spacing them 6-8 inches apart in rows 12-18 inches apart. Water thoroughly after transplanting.
Phase 4: Ongoing Care
- Watering: Water regularly, especially during dry periods. Bok choy needs consistent moisture to grow well. Aim for about 1 inch of water per week, either from rainfall or supplemental watering.
- Fertilizing: Bok choy is a relatively light feeder. A balanced fertilizer applied at planting time is usually sufficient. If your soil is poor, you may need to apply a side dressing of compost or fertilizer a few weeks after transplanting.
- Pest and disease control: Monitor your plants regularly for pests and diseases. Common pests include aphids, slugs, and snails. Common diseases include downy mildew and bacterial leaf spot. Use appropriate organic pest and disease control methods if necessary.
- Mulching: Applying a layer of mulch around your bok choy plants helps retain moisture, suppress weeds, and regulate soil temperature.
Phase 5: Harvesting
- Harvesting time: Bok choy is ready for harvest when the leaves are fully developed and firm. This usually takes 4-6 weeks from transplanting, depending on the variety and growing conditions.
- Harvesting methods: You can harvest the entire plant by pulling it up from the roots, or you can harvest individual leaves by cutting them off at the base. Harvesting individual leaves allows for a longer harvest period.
- Storage: Store harvested bok choy in the refrigerator in a plastic bag for up to a week. For longer storage, consider blanching and freezing the bok choy.
Tips for Success:
- Choose the right variety: Different varieties of bok choy have different growth habits and maturity times. Select a variety that is suited to your climate and growing season.
- Succession planting: Plant bok choy seeds or seedlings every few weeks to ensure a continuous harvest throughout the growing season.
- Protect from pests: Use row covers or other methods to protect your bok choy plants from pests, especially slugs and snails.
Conclusion
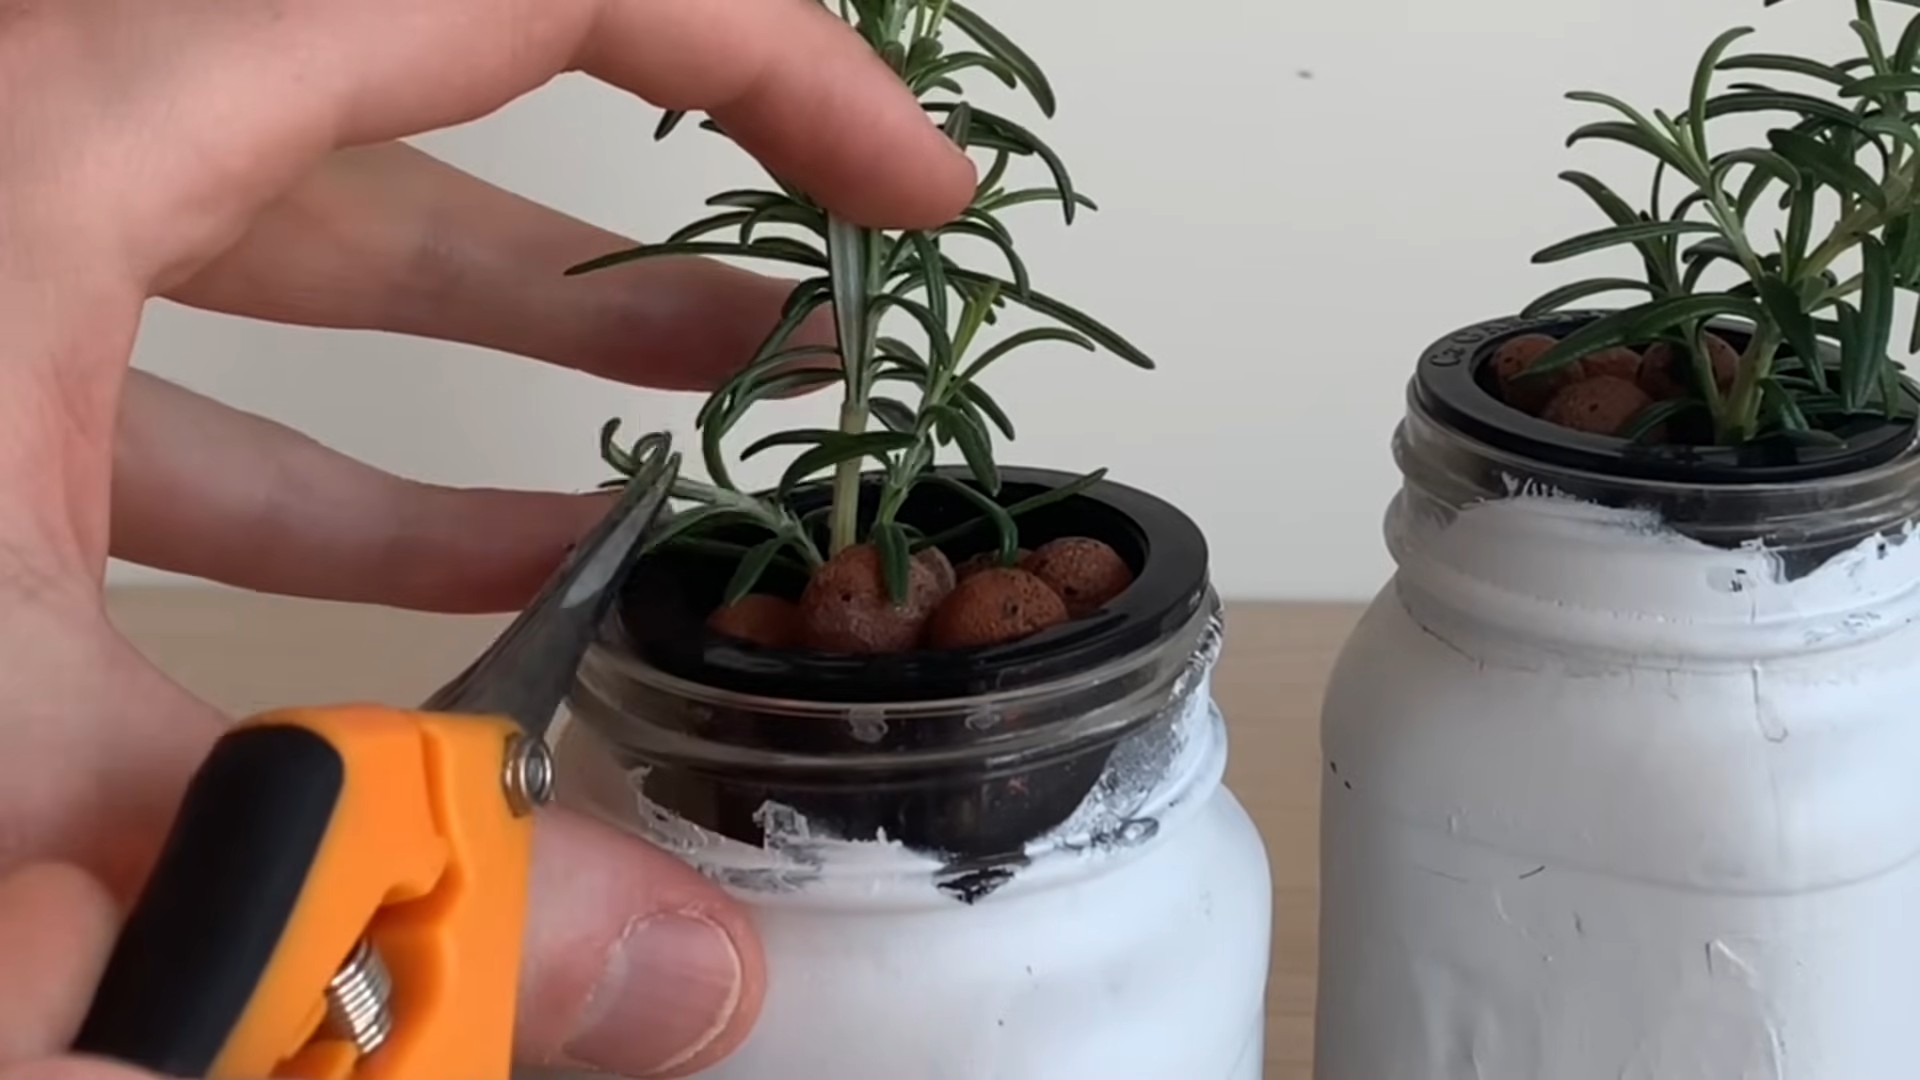
So there you have it – your very own thriving rosemary kitchen garden, a testament to the power of simple DIY solutions! This Grow Rosemary Kitchen method isn’t just about adding a beautiful, fragrant plant to your home; it’s about connecting with nature, enjoying fresh herbs year-round, and experiencing the immense satisfaction of nurturing something from a tiny cutting to a flourishing herb plant. The ease of propagation, the minimal resources required, and the incredible culinary and aesthetic rewards make this a must-try project for anyone, regardless of their gardening experience. Imagine the aroma of fresh rosemary infusing your dishes, the vibrant green adding a touch of elegance to your kitchen, and the pride you’ll feel knowing you cultivated it yourself. This isn’t just a recipe; it’s a journey of growth, both for the plant and for you.
Beyond the basic method outlined, the possibilities for variation are endless. Experiment with different types of rosemary – there are upright varieties, prostrate varieties, and even those with variegated leaves. Consider planting your rosemary cuttings in different containers – terracotta pots offer excellent drainage, while decorative ceramic pots add a touch of style. You could even try a vertical garden system to maximize space if you’re short on counter or windowsill real estate. For those with a truly green thumb, explore the art of bonsai and shape your rosemary into a miniature tree. The key is to have fun and let your creativity guide you. Don’t be afraid to experiment with different soil mixes, watering techniques, and even the placement of your rosemary plant to find what works best in your unique environment.
We strongly encourage you to try this Grow Rosemary Kitchen method and share your experience with us! Post pictures of your thriving rosemary plants on social media using #GrowRosemaryKitchen and tag us. We’d love to see your progress and celebrate your successes. Whether you’re a seasoned gardener or a complete beginner, this project is designed to be accessible and rewarding. It’s a chance to connect with the natural world, enhance your culinary skills, and add a touch of rustic charm to your home. So grab those rosemary cuttings, get your hands dirty, and embark on this fulfilling gardening adventure. You won’t regret it!
Frequently Asked Questions
What type of rosemary is best for indoor growing?
Many rosemary varieties thrive indoors. However, those with a more compact or prostrate growth habit tend to do better in containers. Look for varieties specifically labeled as suitable for indoor cultivation or pots. Avoid very large or sprawling varieties, as they may outgrow their containers quickly.
How often should I water my rosemary cutting?
Water your rosemary cutting when the top inch of soil feels dry to the touch. Avoid overwatering, as this can lead to root rot. It’s better to underwater slightly than to overwater. The frequency of watering will depend on factors such as the size of the pot, the type of soil, and the ambient temperature and humidity.
What kind of soil is best for growing rosemary indoors?
Well-draining soil is crucial for rosemary. A standard potting mix amended with perlite or coarse sand will provide excellent drainage and aeration. Avoid heavy clay soils, which can retain too much moisture and lead to root problems. You can also purchase a specialized cactus and succulent potting mix, as rosemary appreciates similar growing conditions.
How much sunlight does my rosemary need?
Rosemary thrives in bright, indirect sunlight. A south-facing window is ideal, but you may need to provide some shade during the hottest part of the day to prevent scorching. At least 6 hours of sunlight per day is recommended for optimal growth. If you notice your rosemary becoming leggy or pale, it may need more light.
What should I do if my rosemary cutting isn’t rooting?
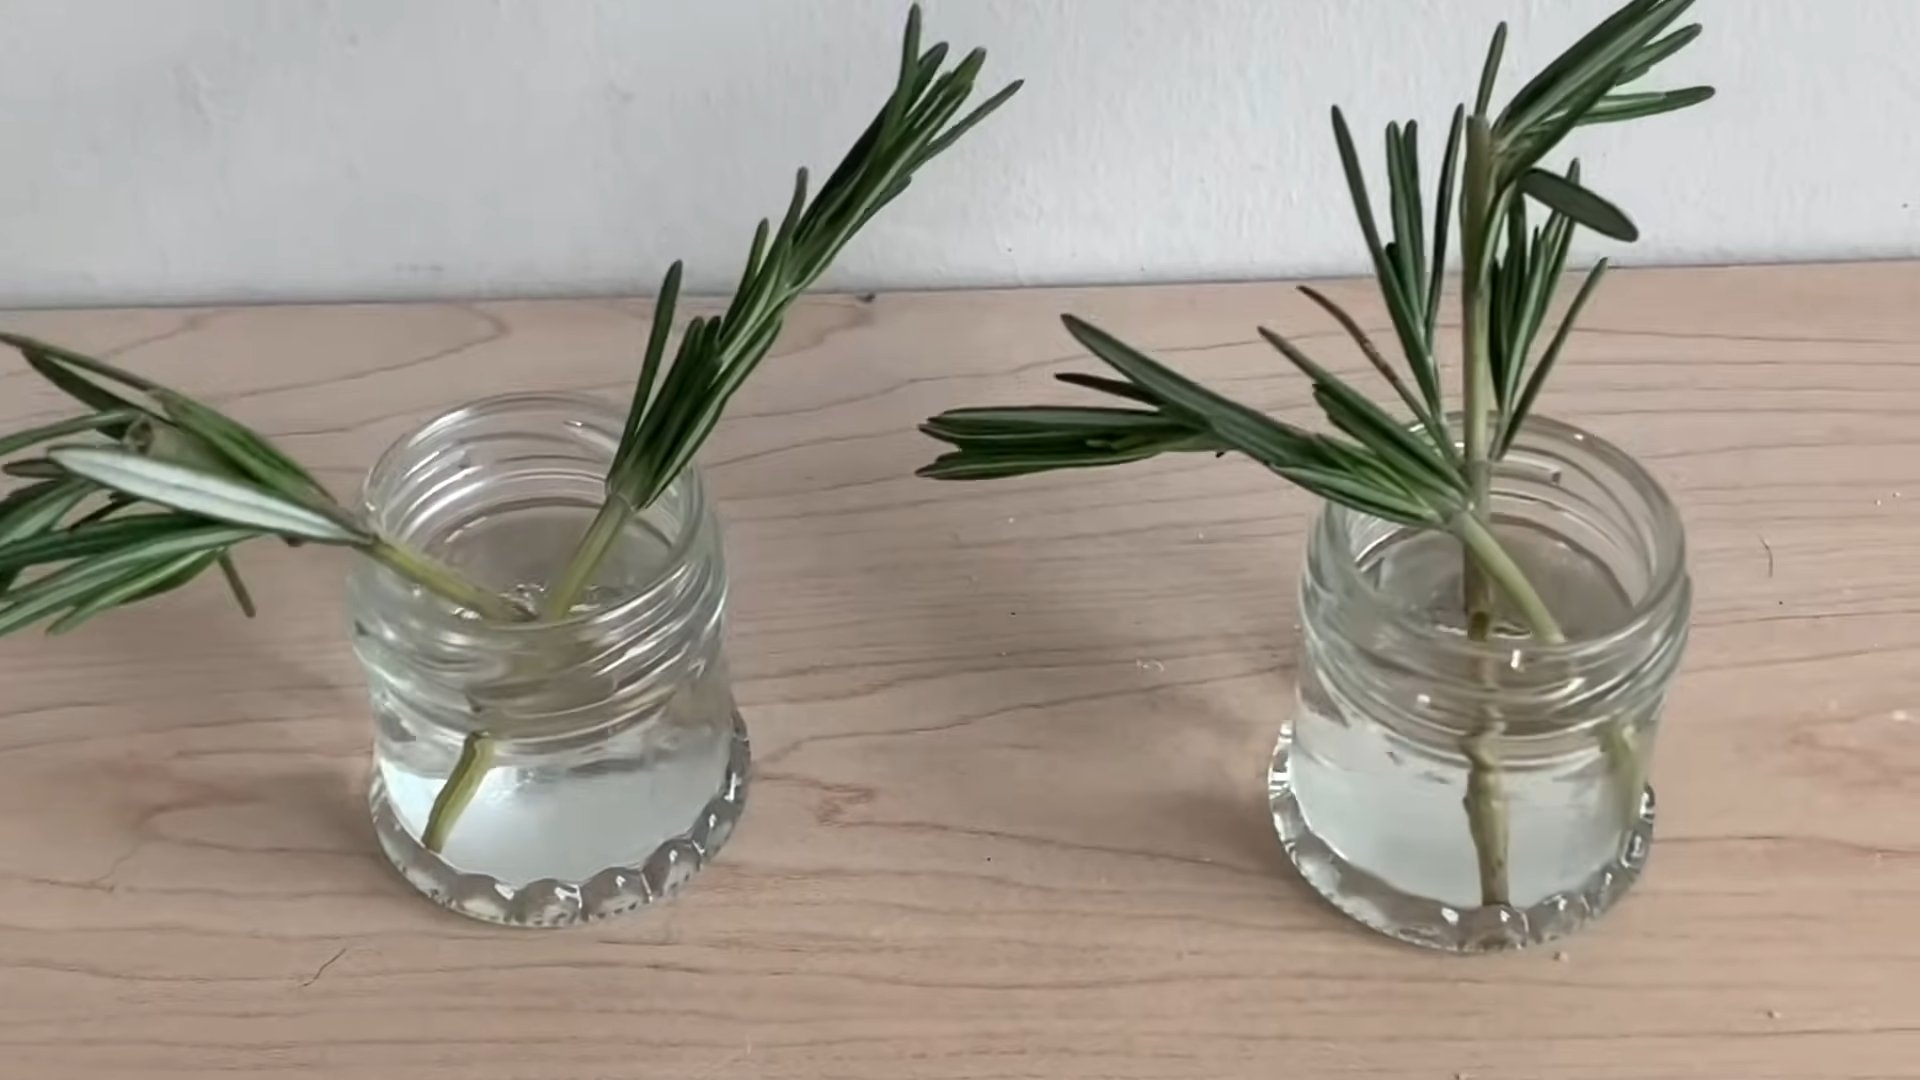
Patience is key! Rooting can take several weeks, sometimes even a couple of months. Ensure the soil remains consistently moist but not soggy. If after several weeks you see no signs of new growth, you might consider using a rooting hormone to encourage root development. Make sure the cutting is placed in a warm, bright location.
Can I propagate rosemary from seed?
While possible, propagating rosemary from seed is generally more challenging than taking cuttings. Seeds can be slow to germinate, and the resulting plants may not be identical to the parent plant. Cuttings offer a much more reliable and faster method of propagation for home gardeners.
What are some common problems when growing rosemary indoors?
Overwatering is a common problem, leading to root rot. Pests such as spider mites can also be an issue. Ensure good air circulation to prevent fungal diseases. Regularly inspect your plant for signs of pests or diseases and take appropriate action if necessary. Providing adequate light and well-draining soil will also help prevent many common problems.
Can I use this method with other herbs?
Yes! This propagation method works well for many other herbs, including lavender, thyme, and sage. Experiment with different herbs to create your own diverse indoor herb garden. However, remember that each herb has its own specific needs regarding sunlight, watering, and soil conditions. Research the specific requirements of the herb you choose before attempting propagation.


Leave a Comment