
Everyday Cleaning Hacks DIY: Let’s face it, nobody *loves* cleaning, but a sparkling home is a happy home, right? I’m always on the lookout for ways to make chores quicker, easier, and maybe even a little bit fun! That’s why I’m so excited to share some of my favorite DIY cleaning hacks that will transform your cleaning routine.
From ancient civilizations using natural ingredients like vinegar and baking soda to modern-day innovations, the quest for effective cleaning solutions has been a constant throughout history. Think about it – our grandmothers had their own secret recipes for tackling tough stains, passed down through generations. Now, we’re taking that spirit of resourcefulness and adding a modern twist!
In today’s busy world, who has time to spend hours scrubbing? These everyday cleaning hacks DIY projects are designed to save you time, money, and effort. Whether you’re battling stubborn grime in the bathroom, tackling a messy kitchen, or just looking for ways to keep your home fresh and tidy, I’ve got you covered. Get ready to discover simple, effective, and budget-friendly solutions that will leave your home sparkling and give you more time to enjoy the things you love!
DIY Everyday Cleaning Hacks: Making Life Easier!
Okay, friends, let’s be honest: cleaning isn’t exactly anyone’s favorite pastime. But a clean home is a happy home, right? So, I’ve compiled some of my absolute favorite DIY cleaning hacks that are not only super effective but also save you money and time. Get ready to ditch those harsh chemicals and embrace some natural, clever solutions!
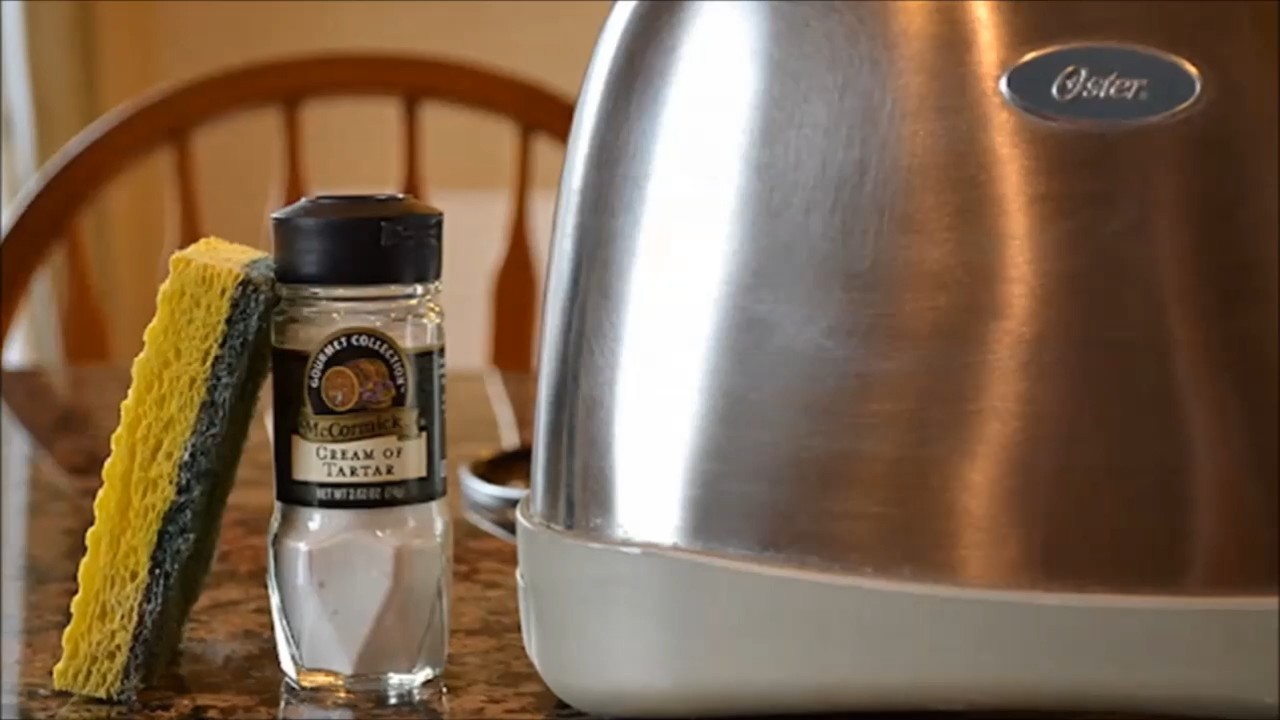
Cleaning Your Microwave Like a Pro (Without Scrubbing!)
This is a game-changer. I used to dread cleaning the microwave, but not anymore! This method uses the power of steam and citrus to loosen all that baked-on gunk.
What You’ll Need:
* 1 cup water
* 1/2 cup white vinegar (or lemon/lime juice)
* Microwave-safe bowl
* Sponge or cloth
Step-by-Step Instructions:
1. Mix the Solution: In your microwave-safe bowl, combine the water and vinegar (or lemon/lime juice). I personally love using lemon juice because it leaves a fresh, clean scent.
2. Microwave Magic: Place the bowl in the microwave and heat on high for 5-7 minutes. You want the solution to boil and create a lot of steam.
3. Let it Sit: Don’t open the microwave immediately! Let the steam work its magic for another 5-10 minutes. This is crucial for loosening the grime.
4. Wipe Away the Mess: Carefully remove the bowl (it will be hot!). Use a sponge or cloth to easily wipe away all the loosened food particles. You’ll be amazed at how easily everything comes off!
5. Final Touches: For any stubborn spots, you can dip your sponge in the remaining solution and give them a little extra attention.
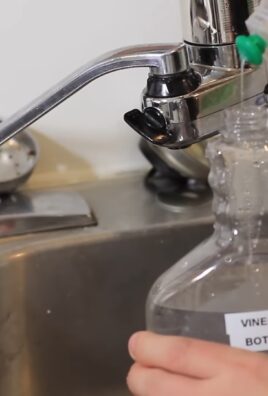
Unclogging Drains Naturally (Say Goodbye to Harsh Chemicals!)
Clogged drains are a common household problem, and those chemical drain cleaners can be harsh and expensive. This natural method is just as effective and much safer.
What You’ll Need:
* 1 cup baking soda
* 2 cups white vinegar
* Boiling water
Step-by-Step Instructions:
1. Pour in the Baking Soda: Carefully pour one cup of baking soda down the clogged drain. Try to get it as far down as possible.
2. Add the Vinegar: Next, pour two cups of white vinegar down the drain. You’ll hear a fizzing sound – that’s the chemical reaction working to break down the clog.
3. Let it Fizz: Let the baking soda and vinegar mixture sit for at least 30 minutes, or even better, overnight. This gives it plenty of time to dissolve the clog.
4. Flush with Boiling Water: After the waiting period, carefully pour a pot of boiling water down the drain. This will help flush away the remaining debris.
5. Repeat if Necessary: If the drain is still clogged, repeat the process. For particularly stubborn clogs, you might need to do this a few times.
Cleaning Your Shower Head for Better Water Pressure
Over time, shower heads can get clogged with mineral deposits, reducing water pressure. This simple cleaning hack will restore your shower to its former glory.
What You’ll Need:
* Plastic bag (gallon-sized works well)
* White vinegar
* Rubber band or twist tie
Step-by-Step Instructions:
1. Fill the Bag with Vinegar: Pour enough white vinegar into the plastic bag to completely submerge the shower head.
2. Secure the Bag: Carefully attach the bag to the shower head, making sure the shower head is fully immersed in the vinegar. Use a rubber band or twist tie to secure the bag tightly.
3. Soak Overnight: Let the shower head soak in the vinegar overnight. This allows the vinegar to dissolve the mineral deposits.
4. Remove and Rinse: In the morning, remove the bag and discard the vinegar. Rinse the shower head thoroughly with water.
5. Wipe Clean: Use a cloth to wipe away any remaining residue. Your shower head should now be sparkling clean and your water pressure restored!
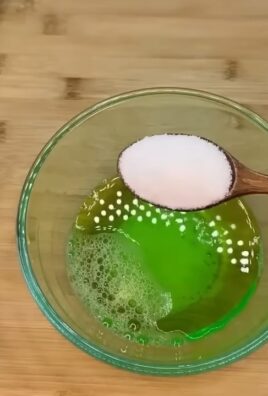
Making Your Own All-Purpose Cleaner (Goodbye Store-Bought Sprays!)
This DIY all-purpose cleaner is incredibly versatile and can be used on a variety of surfaces. Plus, you can customize the scent with your favorite essential oils.
What You’ll Need:
* Spray bottle
* 1/4 cup white vinegar
* 1 tablespoon baking soda
* Water
* 10-20 drops essential oil (optional, but I love using lemon, lavender, or tea tree oil)
Step-by-Step Instructions:
1. Combine Ingredients: In your spray bottle, combine the white vinegar and baking soda. Be prepared for a little fizzing!
2. Add Water: Slowly add water to fill the rest of the spray bottle.
3. Add Essential Oils (Optional): If you’re using essential oils, add 10-20 drops to the mixture.
4. Shake Well: Secure the spray nozzle and shake the bottle well to combine all the ingredients.
5. Use and Enjoy: Your all-purpose cleaner is now ready to use! Spray it on surfaces and wipe clean with a cloth.
Cleaning Your Cutting Boards (Wood and Plastic)
Cutting boards can harbor bacteria, so it’s important to clean them thoroughly after each use. Here are two methods, one for wood and one for plastic.
Cleaning Wooden Cutting Boards
What You’ll Need:
* Lemon
* Coarse salt
* Clean cloth
* Mineral oil (for conditioning)
Step-by-Step Instructions:
1. Sprinkle with Salt: Sprinkle a generous amount of coarse salt over the surface of the wooden cutting board.
2. Scrub with Lemon: Cut a lemon in half and use it to scrub the salt into the cutting board. The lemon juice acts as a natural disinfectant, and the salt helps to scrub away any food particles.
3. Rinse and Dry: Rinse the cutting board thoroughly with warm water and dry it with a clean cloth.
4. Condition with Mineral Oil: To prevent the wood from drying out and cracking, apply a thin layer of mineral oil to the cutting board. Let it soak in for a few hours, then wipe off any excess.
Cleaning Plastic Cutting Boards
What You’ll Need:
* Baking soda
* Water
* Sponge or scrub brush
Step-by-Step Instructions:
1. Make a Paste: Mix baking soda with a small amount of water to create a thick paste.
2. Apply the Paste: Apply the baking soda paste to the surface of the plastic cutting board.
3. Scrub Thoroughly: Use a sponge or scrub brush to scrub the cutting board, paying attention to any stained or discolored areas.
4. Rinse and Dry: Rinse the cutting board thoroughly with warm water and dry it with a clean cloth.
Freshening Up Your Mattress (For a Better Night’s Sleep!)
We often forget about cleaning our mattresses, but they can accumulate dust mites and odors over time. This simple method will leave your mattress feeling fresh and clean.
What You’ll Need:
* Baking soda
* Essential oil (optional, lavender is great for relaxation)
* Vacuum cleaner with upholstery attachment
Step-by-Step Instructions:
1. Sprinkle with Baking Soda: Sprinkle a generous layer of baking soda over the entire surface of your mattress.
2. Add Essential Oil (Optional): If you’re using essential oil, add a few drops to the baking soda before sprinkling it on the mattress.
3. Let it Sit: Let the baking soda sit on the mattress for at least 30 minutes, or even better, a few hours. This allows the baking soda to absorb odors and moisture.
4. Vacuum Thoroughly: Use the upholstery attachment of your vacuum cleaner to thoroughly vacuum the entire surface of the mattress, removing all the baking soda.
Cleaning Your Blinds (Dust-Free in Minutes!)
Cleaning blinds can be tedious, but this hack makes it much easier.
What You’ll Need:
* Old sock
* White vinegar
* Water
* Spray bottle
Step-by-Step Instructions:
1. Mix Cleaning Solution: In a spray bottle, mix equal parts white vinegar and water.
2. Prepare the Sock: Turn an old sock inside out and slip it onto your hand like a glove.
3. Spray the Sock: Lightly spray the sock with the vinegar and water solution.
4. Wipe the Blinds: Use the sock-covered hand to wipe each slat of the blinds, starting from the top

Conclusion
So, there you have it! These everyday cleaning hacks are more than just simple tricks; they’re a gateway to a cleaner, healthier, and more enjoyable living space. We’ve explored how to transform readily available household items into powerful cleaning agents, saving you money and reducing your reliance on harsh chemicals. From banishing stubborn stains to revitalizing tired surfaces, these DIY solutions offer a practical and effective approach to maintaining a sparkling home.
The beauty of these hacks lies in their simplicity and adaptability. You’re not locked into rigid formulas; feel free to experiment and adjust the recipes to suit your specific needs and preferences. For instance, if you’re sensitive to vinegar, try substituting lemon juice in some of the solutions. Or, if you prefer a stronger scent, add a few drops of your favorite essential oil to your homemade cleaning spray. The possibilities are truly endless!
Why is this a must-try? Because it empowers you to take control of your cleaning routine. You’ll know exactly what’s going into your cleaning products, avoiding potentially harmful ingredients and creating a safer environment for your family and pets. Plus, the satisfaction of creating something yourself, and seeing it work wonders, is incredibly rewarding.
Consider these variations to further personalize your cleaning experience:
* **Citrus Infusion:** Infuse your vinegar with citrus peels (lemon, orange, grapefruit) for a more pleasant scent and added cleaning power. Simply place the peels in a jar of vinegar and let it steep for a few weeks before using.
* **Herbal Boost:** Add fresh herbs like rosemary, thyme, or lavender to your cleaning solutions for a natural fragrance and potential antibacterial properties.
* **Essential Oil Blends:** Experiment with different essential oil combinations to create custom scents and enhance the cleaning power of your DIY products. Lavender and tea tree oil are great for their antibacterial and calming properties, while lemon and eucalyptus offer a refreshing and invigorating aroma.
We believe that incorporating these everyday cleaning hacks into your routine will not only simplify your life but also contribute to a more sustainable and eco-friendly lifestyle. By reducing your consumption of commercially produced cleaning products, you’re minimizing your environmental impact and creating a healthier planet for future generations.
Now, it’s your turn! We encourage you to try these DIY cleaning hacks and discover the magic for yourself. Don’t be afraid to get creative and experiment with different variations. And most importantly, share your experiences with us! We’d love to hear your success stories, tips, and tricks in the comments below. Let’s build a community of DIY cleaning enthusiasts and inspire each other to create cleaner, healthier, and happier homes. So go ahead, give it a try – you might be surprised at how easy and effective these everyday cleaning hacks can be!
Frequently Asked Questions (FAQ)
Q: Are these DIY cleaning hacks safe for all surfaces?
A: While most of these DIY cleaning solutions are generally safe for a wide range of surfaces, it’s always best to test them in an inconspicuous area first, especially on delicate materials like wood, marble, or granite. Vinegar, for example, can be too acidic for certain natural stone surfaces and may etch or dull the finish. Similarly, abrasive cleaners like baking soda should be used with caution on easily scratched surfaces. Always read the labels of your surfaces and appliances to check for specific cleaning recommendations from the manufacturer. When in doubt, dilute the cleaning solution further or opt for a gentler alternative. Remember, prevention is key! Regularly wiping down surfaces can prevent the buildup of grime and make cleaning easier in the long run.
Q: How long do these DIY cleaning solutions last?
A: The shelf life of DIY cleaning solutions can vary depending on the ingredients used. Solutions containing water are more prone to bacterial growth and should ideally be used within a week or two. Solutions made with vinegar or alcohol, which have natural preservative properties, can last longer, typically up to a month or two. To maximize the shelf life of your DIY cleaning solutions, store them in airtight containers in a cool, dark place. Label each container with the date it was made to keep track of its freshness. If you notice any changes in color, odor, or consistency, it’s best to discard the solution and make a fresh batch.
Q: Can I use essential oils in all of these cleaning hacks?
A: Essential oils can be a wonderful addition to DIY cleaning solutions, adding fragrance and potentially enhancing their cleaning power. However, it’s important to use them safely and responsibly. Not all essential oils are created equal, so choose high-quality, pure essential oils from reputable sources. Some essential oils can be irritating to the skin or respiratory system, so always dilute them properly and avoid direct contact. When using essential oils around children or pets, be sure to research their safety and potential sensitivities. Some essential oils, such as tea tree oil, can be toxic to pets if ingested. As a general rule, start with a small amount of essential oil (a few drops per cup of cleaning solution) and adjust to your preference.
Q: What are some alternatives to vinegar for cleaning?
A: While vinegar is a popular and effective cleaning agent, it’s not suitable for all surfaces or preferences. If you’re looking for alternatives to vinegar, consider using lemon juice, baking soda, or hydrogen peroxide. Lemon juice is a natural disinfectant and degreaser that can be used to clean countertops, sinks, and appliances. Baking soda is a mild abrasive that can be used to scrub away stubborn stains and odors. Hydrogen peroxide is a powerful disinfectant that can be used to clean bathrooms, kitchens, and laundry. Another option is castile soap, a gentle and versatile soap made from vegetable oils. Castile soap can be used to clean a variety of surfaces and is a great alternative for those with sensitive skin.
Q: How can I make my DIY cleaning solutions more eco-friendly?
A: There are several ways to make your DIY cleaning solutions even more eco-friendly. Start by using sustainable and biodegradable ingredients whenever possible. Choose organic vinegar, fair-trade essential oils, and plant-based soaps. Reduce your reliance on plastic bottles by reusing glass jars or purchasing refillable containers. Consider making larger batches of cleaning solutions to minimize waste. Compost your citrus peels and herb remnants after infusing them in your cleaning solutions. When disposing of cleaning solutions, dilute them with water and pour them down the drain or toilet to avoid contaminating the environment. By making small changes to your cleaning routine, you can significantly reduce your environmental impact and create a more sustainable home.
Q: What are some tips for cleaning with baking soda?
A: Baking soda is a versatile and effective cleaning agent that can be used for a variety of tasks. To clean surfaces, make a paste of baking soda and water and apply it to the area. Let it sit for a few minutes, then scrub gently and rinse with water. Baking soda can also be used to deodorize carpets and upholstery. Sprinkle baking soda over the area, let it sit for at least 15 minutes (or even overnight), then vacuum it up. To unclog drains, pour a cup of baking soda down the drain, followed by a cup of vinegar. Let it fizz for 30 minutes, then flush with hot water. Baking soda can also be used to remove stains from clothing. Make a paste of baking soda and water and apply it to the stain. Let it sit for a few minutes, then rub gently and rinse with water. Remember to always test baking soda in an inconspicuous area first to ensure it doesn’t damage the surface.
Leave a Comment