
Year Round Radish Harvest: Imagine biting into a crisp, peppery radish, freshly plucked from your garden, no matter the season! Sounds like a dream, right? Well, it doesn’t have to be! For centuries, gardeners have sought ways to extend their growing seasons, and the humble radish, with its quick growth and adaptability, is the perfect candidate for year-round cultivation.
Radishes have a rich history, dating back to ancient Egypt, where they were a staple food. From there, they spread across the globe, becoming a beloved vegetable in countless cuisines. But let’s face it, relying solely on spring and fall for your radish fix just isn’t enough. We all crave that fresh, crunchy goodness more often!
That’s where this DIY guide comes in. I’m going to share my favorite tricks and hacks to achieve a year round radish harvest, even if you live in a climate with harsh winters or scorching summers. Forget those bland, store-bought radishes – with a little planning and these simple techniques, you can enjoy the vibrant flavor and satisfying crunch of homegrown radishes all year long. Get ready to become a radish-growing pro!
Growing Sweet Potatoes in Containers: A Step-by-Step Guide
Hey there, fellow gardening enthusiasts! I’m so excited to share my experience with growing sweet potatoes in containers. It’s a surprisingly easy and rewarding project, even if you don’t have a huge garden. I’ve learned a lot along the way, and I’m confident you can successfully grow your own delicious sweet potatoes too!
Choosing the Right Container and Soil
Before we dive into the planting process, let’s talk about the essentials: the container and the soil. These are crucial for healthy sweet potato growth.
* Container Size: Sweet potatoes need room to spread their roots and develop those lovely tubers. I recommend using a container that’s at least 20 gallons in size. A half-barrel planter or a large, sturdy plastic tub works perfectly. The bigger, the better, really!
* Drainage: Excellent drainage is a must! Sweet potatoes don’t like sitting in soggy soil. Make sure your container has plenty of drainage holes at the bottom. If it doesn’t, you can easily drill some yourself.
* Soil Mix: Forget heavy garden soil. Sweet potatoes thrive in a well-draining, nutrient-rich potting mix. I like to use a mix of equal parts:
* Compost: This provides essential nutrients and improves soil structure.
* Peat Moss (or Coco Coir): This helps retain moisture while still allowing for good drainage.
* Perlite (or Vermiculite): This improves aeration and drainage, preventing the soil from becoming compacted.
Sprouting Sweet Potato Slips (The Fun Part!)
Sweet potato slips are the little sprouts that grow from the sweet potato itself. You can buy them online or at your local garden center, but I find it much more satisfying (and cheaper!) to sprout them myself. Here’s how I do it:
1. Choose Your Sweet Potato: Select a healthy, organic sweet potato from the grocery store or farmer’s market. Organic is important because non-organic potatoes are often treated to prevent sprouting.
2. Prepare the Potato: There are two main methods for sprouting:
* Water Method: Insert toothpicks around the middle of the sweet potato. Suspend the potato in a jar or glass of water, with the bottom half submerged.
* Soil Method: Bury the sweet potato halfway in a container filled with moist potting mix.
3. Find a Warm, Sunny Spot: Place the jar or container in a warm, sunny location. A windowsill is ideal.
4. Be Patient: It can take several weeks for the slips to start sprouting. Keep the water level consistent (for the water method) and the soil moist (for the soil method).
5. Harvest the Slips: Once the slips are 6-8 inches long, they’re ready to be harvested. Gently twist or cut them off the sweet potato.
6. Rooting the Slips: Place the slips in a glass of water, making sure the bottom inch or two is submerged. Within a few days, roots will start to develop.
Planting Your Sweet Potato Slips
Now that you have your rooted slips, it’s time to plant them in your container!
1. Prepare the Container: Fill your chosen container with the well-draining potting mix we discussed earlier. Leave a few inches of space at the top.
2. Water the Soil: Thoroughly water the soil until it’s evenly moist but not soggy.
3. Plant the Slips: Dig small holes in the soil, about 4-6 inches apart. Gently place the rooted slips in the holes, making sure the roots are covered with soil.
4. Water Again: Water the newly planted slips gently to help them settle in.
5. Mulch (Optional): Add a layer of mulch around the base of the plants to help retain moisture and suppress weeds. Straw or shredded bark works well.
Caring for Your Sweet Potato Plants
Sweet potatoes are relatively low-maintenance, but they do need some attention to thrive.
1. Watering: Water regularly, especially during hot, dry weather. The soil should be consistently moist, but not waterlogged. Check the soil moisture by sticking your finger into the soil. If the top inch feels dry, it’s time to water.
2. Sunlight: Sweet potatoes need at least 6-8 hours of sunlight per day. Place your container in a sunny location.
3. Fertilizing: Feed your sweet potato plants every few weeks with a balanced fertilizer. I like to use a liquid fertilizer diluted to half strength. Look for a fertilizer with a ratio of 10-10-10 or something similar.
4. Weeding: Keep the container free of weeds. Weeds compete with the sweet potato plants for nutrients and water.
5. Pest Control: Sweet potatoes are generally pest-resistant, but keep an eye out for common garden pests like aphids and spider mites. If you spot any pests, treat them with an appropriate insecticide or organic pest control method. I prefer using insecticidal soap for a more natural approach.
6. Vine Management: Sweet potato vines can get quite long and sprawling. You can let them trail over the sides of the container, or you can provide them with a trellis or support system to climb. I’ve found that a small tomato cage works well for keeping the vines contained.
Harvesting Your Sweet Potatoes
This is the moment you’ve been waiting for! Harvesting your own homegrown sweet potatoes is incredibly satisfying.
1. Timing: Sweet potatoes typically take 90-120 days to mature. The best time to harvest is usually in the fall, before the first frost. The leaves will start to turn yellow and die back, indicating that the potatoes are ready.
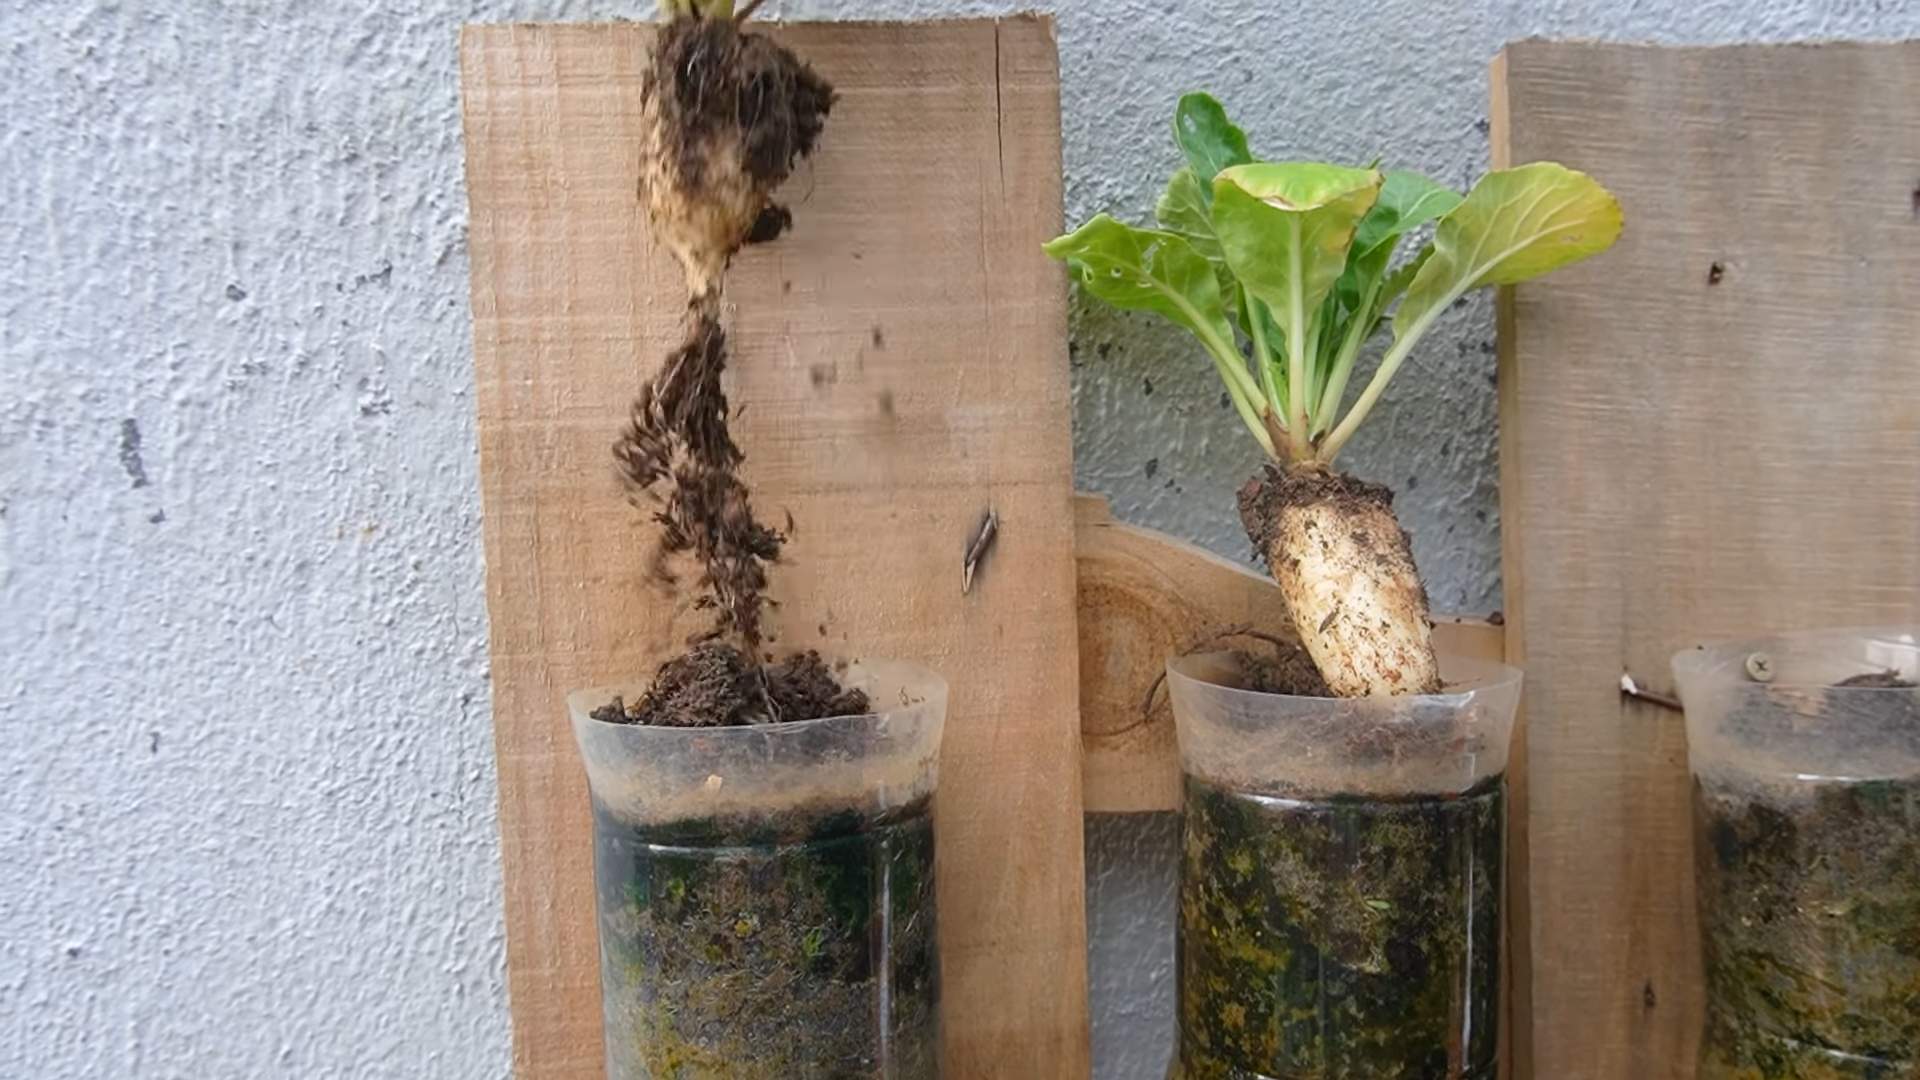
2. Harvesting: Gently dig around the base of the plant, being careful not to damage the sweet potatoes. Use a garden fork or trowel to loosen the soil.
3. Lifting the Potatoes: Carefully lift the sweet potatoes from the soil. Brush off any excess dirt.
4. Curing: Curing is an important step that improves the flavor and storage life of sweet potatoes. Place the harvested sweet potatoes in a warm, humid place (80-85°F and 85-90% humidity) for 7-10 days. A garage or shed can work well.
5. Storing: After curing, store the sweet potatoes in a cool, dry place (55-60°F). They should last for several months.
Troubleshooting Tips
Even with the best care, you might encounter some challenges along the way. Here are a few common problems and how to address them:
* Yellowing Leaves: This could be a sign of nutrient deficiency. Try fertilizing with a balanced fertilizer.
* Slow Growth: Make sure your plants are getting enough sunlight and water. Also, check the soil pH. Sweet potatoes prefer a slightly acidic soil (pH 6.0-6.5).
* Small Potatoes: This could be due to insufficient space or nutrients. Next time, use a larger container and fertilize more frequently.
* Pest Infestation: Identify the pest and treat it with an appropriate insecticide or organic pest control method.
Monthly Checklist for Sweet Potato Success
To keep your sweet potato plants thriving, here’s a monthly checklist I follow:
Month 1 (After Planting):
* Watering: Check soil moisture every other day and water when the top inch feels dry.
* Sunlight: Ensure the container receives at least 6-8 hours of direct sunlight.
* Weeding: Remove any weeds that appear in the container.
* Observation: Monitor plants for signs of pests or diseases.
Month 2:
* Watering: Continue regular watering, adjusting frequency based on weather conditions.
* Fertilizing: Apply a balanced liquid fertilizer diluted to half strength.
* Vine Management: Begin training vines if using a trellis or support system.
* Pest Control: Inspect plants for pests and treat as needed.
Month 3:
* Watering: Maintain consistent watering, especially during hot weather.
* Fertilizing: Repeat fertilizer application.
* Vine Management: Continue training vines and prune any excessive growth.
* Soil Check: Check soil pH and adjust if necessary.
Month 4 (and beyond until harvest):
* Watering: Reduce watering frequency slightly as harvest approaches.
* Fertilizing: Discontinue fertilizing about a month before harvest.
* Observation: Monitor leaves for signs of yellowing and dieback, indicating maturity.
* Prepare for Harvest: Gather tools for harvesting and curing.
Enjoying Your Homegrown Sweet Potatoes
Once you’ve harvested and cured your sweet potatoes
Conclusion
So, there you have it! Achieving a year-round radish harvest isn’t just a gardener’s dream; it’s an achievable reality with a little planning and this simple DIY trick. We’ve walked you through the steps, highlighting the importance of succession planting, climate control, and variety selection. But why is this method a must-try?
Firstly, imagine the satisfaction of plucking crisp, peppery radishes from your garden even when the snow is falling outside. No more relying on supermarket produce that may have traveled hundreds of miles and lost its freshness. You’ll have access to the most flavorful radishes imaginable, bursting with nutrients and ready to add a zesty kick to your salads, sandwiches, and snacks.
Secondly, this DIY approach is incredibly cost-effective. Once you’ve invested in the initial supplies – seeds, containers (if you choose to grow indoors), and perhaps a grow light – the ongoing costs are minimal. You’ll be saving money on groceries while enjoying a superior product.
Thirdly, and perhaps most importantly, growing your own radishes is incredibly rewarding. It connects you to the natural world, provides a sense of accomplishment, and offers a healthy and sustainable way to supplement your diet.
But don’t stop there! This method is incredibly versatile. Experiment with different radish varieties to discover your favorites. Try growing them in raised beds, containers, or even directly in the ground, depending on your space and climate. Consider companion planting with other vegetables like carrots or lettuce to maximize your garden’s productivity. You can also explore different methods of climate control, such as using cold frames or greenhouses for winter growing.
For example, if you live in a particularly cold climate, you might want to invest in a small, unheated greenhouse to extend your growing season even further. Or, if you’re short on space, you could try growing radishes in stacked planters on your balcony. The possibilities are endless!
We’re confident that with a little effort, you can successfully achieve a year-round radish harvest. So, grab your seeds, get your hands dirty, and prepare to enjoy the delicious rewards of your labor.
We encourage you to try this DIY trick and share your experience with us! Let us know what varieties you’ve grown, what challenges you’ve faced, and what successes you’ve celebrated. Share your photos and tips in the comments below. We can all learn from each other and create a thriving community of radish enthusiasts. Happy gardening!
Frequently Asked Questions (FAQ)
What are the best radish varieties for year-round growing?
The best radish varieties for year-round growing are those that are quick to mature and tolerant of varying temperatures. Some excellent choices include:
* **Cherry Belle:** A classic, fast-growing variety that’s perfect for beginners. It matures in about 22 days and produces bright red, round radishes with a mild flavor.
* **French Breakfast:** An elongated radish with a mild, slightly sweet flavor. It matures in about 25 days and is known for its crisp texture.
* **Easter Egg:** A colorful mix of red, pink, purple, and white radishes. It matures in about 25 days and adds visual appeal to your garden and salads.
* **Sparkler:** A round, red radish with a white tip. It matures in about 22 days and has a slightly spicy flavor.
* **Black Spanish Round:** A winter radish with a black skin and white flesh. It matures in about 55 days and has a strong, pungent flavor. This is a great option for extending your harvest into the colder months.
Remember to choose varieties that are well-suited to your local climate and growing conditions.
How do I ensure proper soil drainage for my radishes?
Proper soil drainage is crucial for radish growth, as waterlogged soil can lead to root rot and other problems. Here are some tips for ensuring good drainage:
* **Choose well-draining soil:** Amend heavy clay soil with compost, sand, or other organic matter to improve drainage.
* **Use raised beds or containers:** Raised beds and containers provide excellent drainage and allow you to control the soil composition.
* **Avoid overwatering:** Water radishes deeply but infrequently, allowing the soil to dry out slightly between waterings.
* **Add drainage holes:** If you’re growing radishes in containers, make sure they have adequate drainage holes.
* **Consider adding perlite or vermiculite:** These materials can improve soil drainage and aeration.
How often should I water my radishes?
Radishes need consistent moisture to grow quickly and develop a crisp texture. However, overwatering can lead to root rot. A good rule of thumb is to water deeply when the top inch of soil feels dry to the touch. The frequency of watering will depend on your climate, soil type, and the size of your plants. In general, you may need to water more frequently during hot, dry weather.
What are some common pests and diseases that affect radishes, and how can I prevent them?
Radishes are relatively pest-resistant, but they can be susceptible to certain pests and diseases, including:
* **Flea beetles:** These tiny beetles can chew small holes in radish leaves. Prevent them by using row covers, applying diatomaceous earth, or planting radishes near repellent plants like marigolds.
* **Root maggots:** These larvae feed on radish roots, causing them to become tunneled and damaged. Prevent them by using row covers, rotating crops, and avoiding planting radishes in areas where root maggots have been a problem in the past.
* **Clubroot:** This fungal disease causes swollen and distorted roots. Prevent it by maintaining a soil pH of 6.5-7.0, rotating crops, and avoiding planting radishes in areas where clubroot has been a problem in the past.
* **Downy mildew:** This fungal disease causes yellow spots on radish leaves. Prevent it by providing good air circulation, avoiding overhead watering, and applying a fungicide if necessary.
Regularly inspect your plants for signs of pests and diseases, and take action promptly to prevent them from spreading.
How do I know when my radishes are ready to harvest?
Radishes are typically ready to harvest about 20-30 days after planting, depending on the variety. The best way to determine if they’re ready is to check their size. Most radish varieties are ready to harvest when they are about 1 inch in diameter. You can also gently pull up a radish to check its size and maturity. If the radish is firm and well-formed, it’s ready to harvest. Don’t let radishes get too large, as they can become woody and bitter.
Can I grow radishes indoors?
Yes, radishes are well-suited to indoor growing, especially during the colder months. To grow radishes indoors, you’ll need:
* **A sunny location:** Radishes need at least 6 hours of sunlight per day. If you don’t have a sunny window, you can use a grow light.
* **Well-draining soil:** Use a potting mix that is specifically designed for vegetables.
* **Containers:** Choose containers that are at least 6 inches deep.
* **Water:** Water radishes regularly, keeping the soil moist but not waterlogged.
* **Fertilizer:** Fertilize radishes every few weeks with a balanced fertilizer.
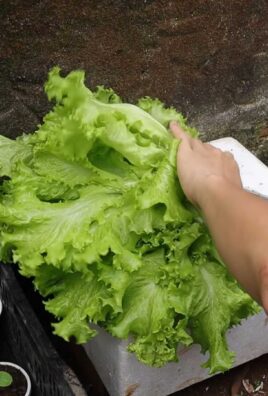
How do I store radishes after harvesting?
To store radishes after harvesting, remove the greens and wash the radishes thoroughly. Place them in a plastic bag or container with a damp paper towel and store them in the refrigerator. Radishes can be stored in the refrigerator for up to two weeks.
What are some creative ways to use my year-round radish harvest?
Beyond salads, radishes are incredibly versatile! Here are some ideas:
* **Radish greens pesto:** Don’t throw away the greens! They make a delicious and peppery pesto.
* **Roasted radishes:** Roasting mellows the radish’s sharpness and brings out its sweetness.
* **Radish and butter sandwiches:** A classic French snack.
* **Pickled radishes:** A tangy and crunchy addition to tacos, salads, and sandwiches.
* **Radish salsa:** A spicy and refreshing alternative to tomato salsa.
* **Radish soup:** A creamy and flavorful soup perfect for a cold day.
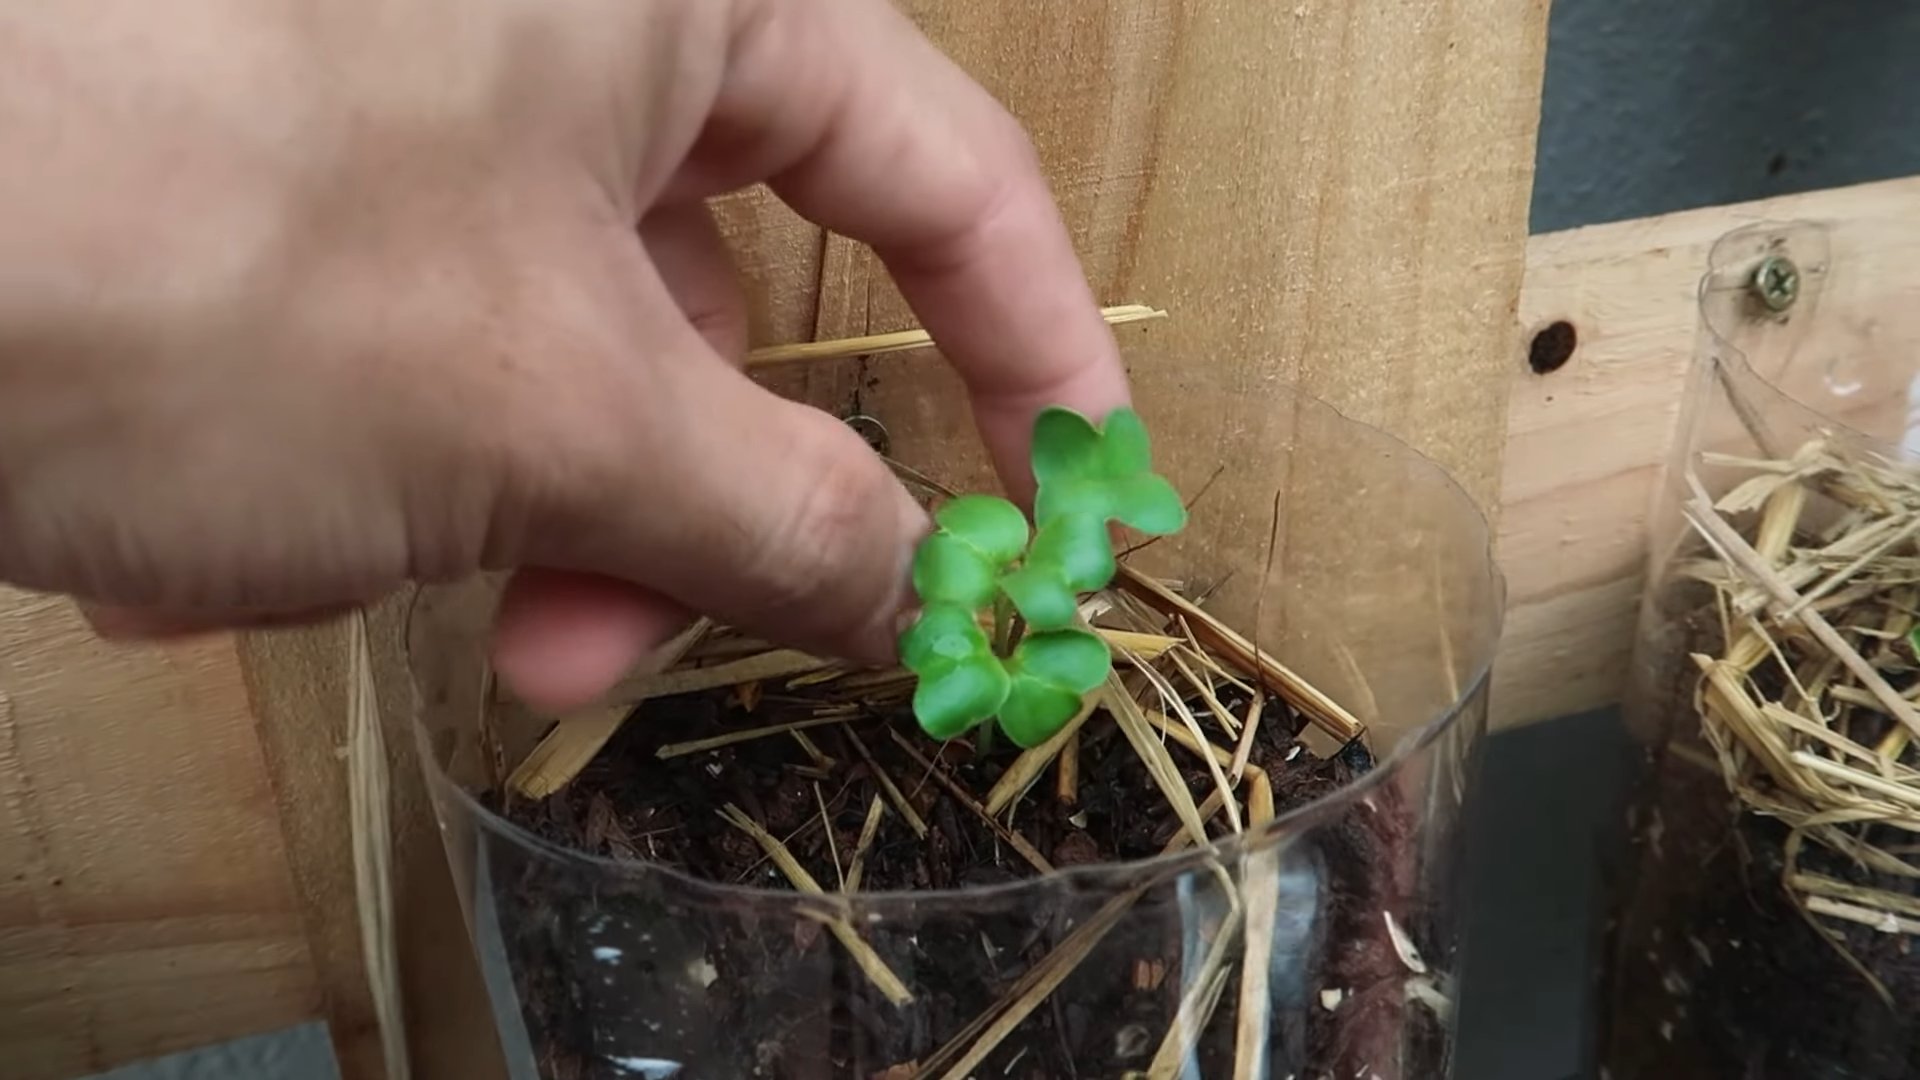
* **Radish microgreens:** Sprout radish seeds for nutritious and flavorful microgreens.

Leave a Comment