
DIY Paint Brush Storage: Are you tired of your paint brushes ending up a tangled, crusty mess? I know I was! There’s nothing more frustrating than reaching for your favorite brush, only to find it’s bent, dried out, or completely unusable. But fear not, fellow crafters and DIY enthusiasts! This article is packed with clever and cost-effective DIY paint brush storage solutions that will transform your workspace and extend the life of your beloved brushes.
Throughout history, artists and artisans have sought ways to protect their tools. From ancient Egyptians storing pigments in carefully crafted containers to Renaissance painters meticulously cleaning their brushes, the preservation of artistic implements has always been a priority. Today, we can build on that legacy with simple, modern solutions.
Why is proper DIY paint brush storage so important? Well, beyond the obvious organizational benefits, it’s about saving money and reducing waste. Think of all the brushes you’ve had to throw away because they weren’t properly cared for. With a few simple hacks, you can keep your brushes in tip-top shape, ensuring they’re always ready for your next creative project. Plus, a well-organized workspace is a happy workspace, and I’m all about creating a space that inspires creativity and minimizes frustration. Let’s dive in and discover some fantastic DIY paint brush storage ideas!
Growing Eggplant at Home: A Comprehensive DIY Guide
Hey there, fellow gardening enthusiasts! Ever dreamt of harvesting your own plump, glossy eggplants right from your backyard? Well, dream no more! Growing eggplants at home is totally achievable, even if you’re a beginner. I’m going to walk you through everything you need to know, from choosing the right variety to battling those pesky pests. Let’s get our hands dirty!
Choosing the Right Eggplant Variety
Before we even think about planting, we need to pick the perfect eggplant variety for our garden. There are so many options, it can be a little overwhelming, but don’t worry, I’ll break it down for you.
* Climate Considerations: Think about your local climate. Do you have long, hot summers? Or are your growing seasons shorter and cooler? Some varieties thrive in heat, while others are more cold-tolerant.
* Space Availability: Eggplants can get pretty big, so consider how much space you have. If you’re gardening in containers, you’ll want to choose a more compact variety.
* Personal Preference: What kind of eggplant do you like to eat? Do you prefer the classic large, purple globe eggplant? Or are you more interested in trying something unique, like a long, slender Japanese eggplant or a small, round Thai eggplant?
Here are a few popular varieties to consider:
* Black Beauty: A classic, reliable globe eggplant that’s easy to grow and produces large, flavorful fruits.
* Ichiban: A Japanese eggplant with long, slender, dark purple fruits. It’s known for its mild flavor and tender skin.
* Fairy Tale: A beautiful and productive variety with small, striped purple and white fruits. It’s perfect for containers and small gardens.
* Thai Green: Small, round, green eggplants with a slightly bitter flavor. They’re commonly used in Thai curries.
Once you’ve chosen your variety, it’s time to get started!
Starting Eggplant Seeds Indoors (Recommended)
Eggplants need a long growing season, so starting them indoors is usually the best way to go, especially if you live in a cooler climate. I usually start my seeds about 8-10 weeks before the last expected frost.
1. Gather Your Supplies: You’ll need:
* Eggplant seeds
* Seed starting trays or small pots
* Seed starting mix (a light, well-draining mix is essential)
* A spray bottle filled with water
* A heat mat (optional, but helpful)
* A grow light (optional, but highly recommended)
2. Sow the Seeds: Fill your seed starting trays or pots with seed starting mix. Moisten the mix with your spray bottle. Sow the seeds about 1/4 inch deep, placing 2-3 seeds in each cell or pot.
3. Provide Warmth and Light: Eggplant seeds need warmth to germinate. Place your trays or pots on a heat mat, if you have one. Cover them with a clear plastic dome or plastic wrap to create a humid environment. Place them under a grow light or in a sunny window.
4. Keep the Soil Moist: Check the soil moisture daily and mist with water as needed to keep it consistently moist, but not soggy.
5. Wait for Germination: Eggplant seeds typically germinate in 7-14 days. Once the seedlings emerge, remove the plastic dome or wrap and continue to provide them with plenty of light.
6. Thin the Seedlings: Once the seedlings have their first true leaves (the second set of leaves), thin them to one seedling per cell or pot. Choose the strongest, healthiest-looking seedling and snip off the others at the soil line.
7. Harden Off the Seedlings: Before transplanting your seedlings outdoors, you need to “harden them off.” This process gradually acclimates them to the outdoor environment. Start by placing them outdoors in a sheltered location for an hour or two each day, gradually increasing the amount of time they spend outside over the course of a week or two.
Transplanting Eggplant Seedlings Outdoors
Once the danger of frost has passed and the soil has warmed up, it’s time to transplant your eggplant seedlings outdoors.
1. Choose a Sunny Location: Eggplants need at least 6-8 hours of sunlight per day. Choose a location in your garden that gets plenty of sun.
2. Prepare the Soil: Eggplants prefer well-drained soil that is rich in organic matter. Amend your soil with compost or well-rotted manure before planting.
3. Dig the Holes: Dig holes that are slightly larger than the root balls of your seedlings. Space the holes about 2-3 feet apart, depending on the variety.
4. Transplant the Seedlings: Gently remove the seedlings from their pots or trays. Loosen the roots slightly and place the seedlings in the holes. Backfill the holes with soil and gently firm the soil around the base of the plants.
5. Water Thoroughly: Water the newly transplanted seedlings thoroughly.
6. Mulch: Apply a layer of mulch around the base of the plants to help retain moisture, suppress weeds, and regulate soil temperature. I like to use straw or shredded leaves.
7. Stake or Cage: Eggplants can get quite heavy with fruit, so it’s a good idea to stake or cage them to provide support. This will prevent the branches from breaking under the weight of the eggplants.
Caring for Your Eggplant Plants
Now that your eggplants are in the ground, it’s time to provide them with the care they need to thrive.
1. Watering: Eggplants need consistent moisture, especially during hot weather. Water deeply and regularly, aiming to keep the soil consistently moist but not waterlogged. I usually water my eggplants every 2-3 days, depending on the weather.
2. Fertilizing: Eggplants are heavy feeders, so they need regular fertilization. Fertilize them every 2-3 weeks with a balanced fertilizer or a fertilizer specifically formulated for vegetables. Follow the instructions on the fertilizer package. I like to use a liquid fertilizer that I can apply with a watering can.
3. Weeding: Keep the area around your eggplant plants free of weeds. Weeds compete with the eggplants for water and nutrients.
4. Pruning: Pruning eggplants can help improve air circulation and encourage fruit production. Remove any suckers (small shoots that grow from the base of the plant) and any yellowing or damaged leaves.
5. Pest and Disease Control: Eggplants are susceptible to a few pests and diseases. Keep an eye out for common pests like aphids, flea beetles, and spider mites. You can control these pests with insecticidal soap or neem oil. Common diseases include fungal diseases like early blight and verticillium wilt. Prevent these diseases by providing good air circulation and avoiding overhead watering. If you notice any signs of disease, treat the plants with a fungicide.
Dealing with Common Eggplant Problems
Even with the best care, you might encounter some problems while growing eggplants. Here are a few common issues and how to address them:
* Blossom Drop: This is when the eggplant flowers fall off before they can produce fruit. It’s often caused by stress, such as extreme temperatures, inconsistent watering, or lack of pollination. Make sure your plants are getting enough water and fertilizer, and try hand-pollinating the flowers by gently shaking the plants.
* Small or Misshapen Fruit: This can be caused by poor pollination, nutrient deficiencies, or pests. Make sure your plants are getting enough sunlight and fertilizer, and control any pests that are present.
* Sunscald: This is when the eggplants get sunburned, causing them to develop brown or white patches. Protect the fruits from sunscald by providing shade during the hottest part of the day.
Harvesting Your Eggplants
The moment we’ve all been waiting for! Harvesting your own homegrown eggplants is incredibly rewarding.
1. Timing is Key: Eggplants are typically ready to harvest about 60-80 days after transplanting, depending on the variety. The fruits should be firm, glossy, and have a deep, rich color. The skin should be smooth and unblemished.
2. The Squeeze Test: Gently squeeze the eggplant. If it feels firm and slightly yields to pressure, it’s ready to harvest. If it’s hard as a rock, it’s not quite ripe. If it’s soft and mushy, it’s overripe.
3. Use Pruning Shears: Use a sharp pair of pruning shears or a knife to cut the eggplant from the plant. Leave about an inch of stem attached to the fruit.
4. Handle with Care: Eggplants are delicate and can bruise easily, so handle them with care.
5. Store Properly: Store your harvested eggplants in the refrigerator for up to a week
Conclusion
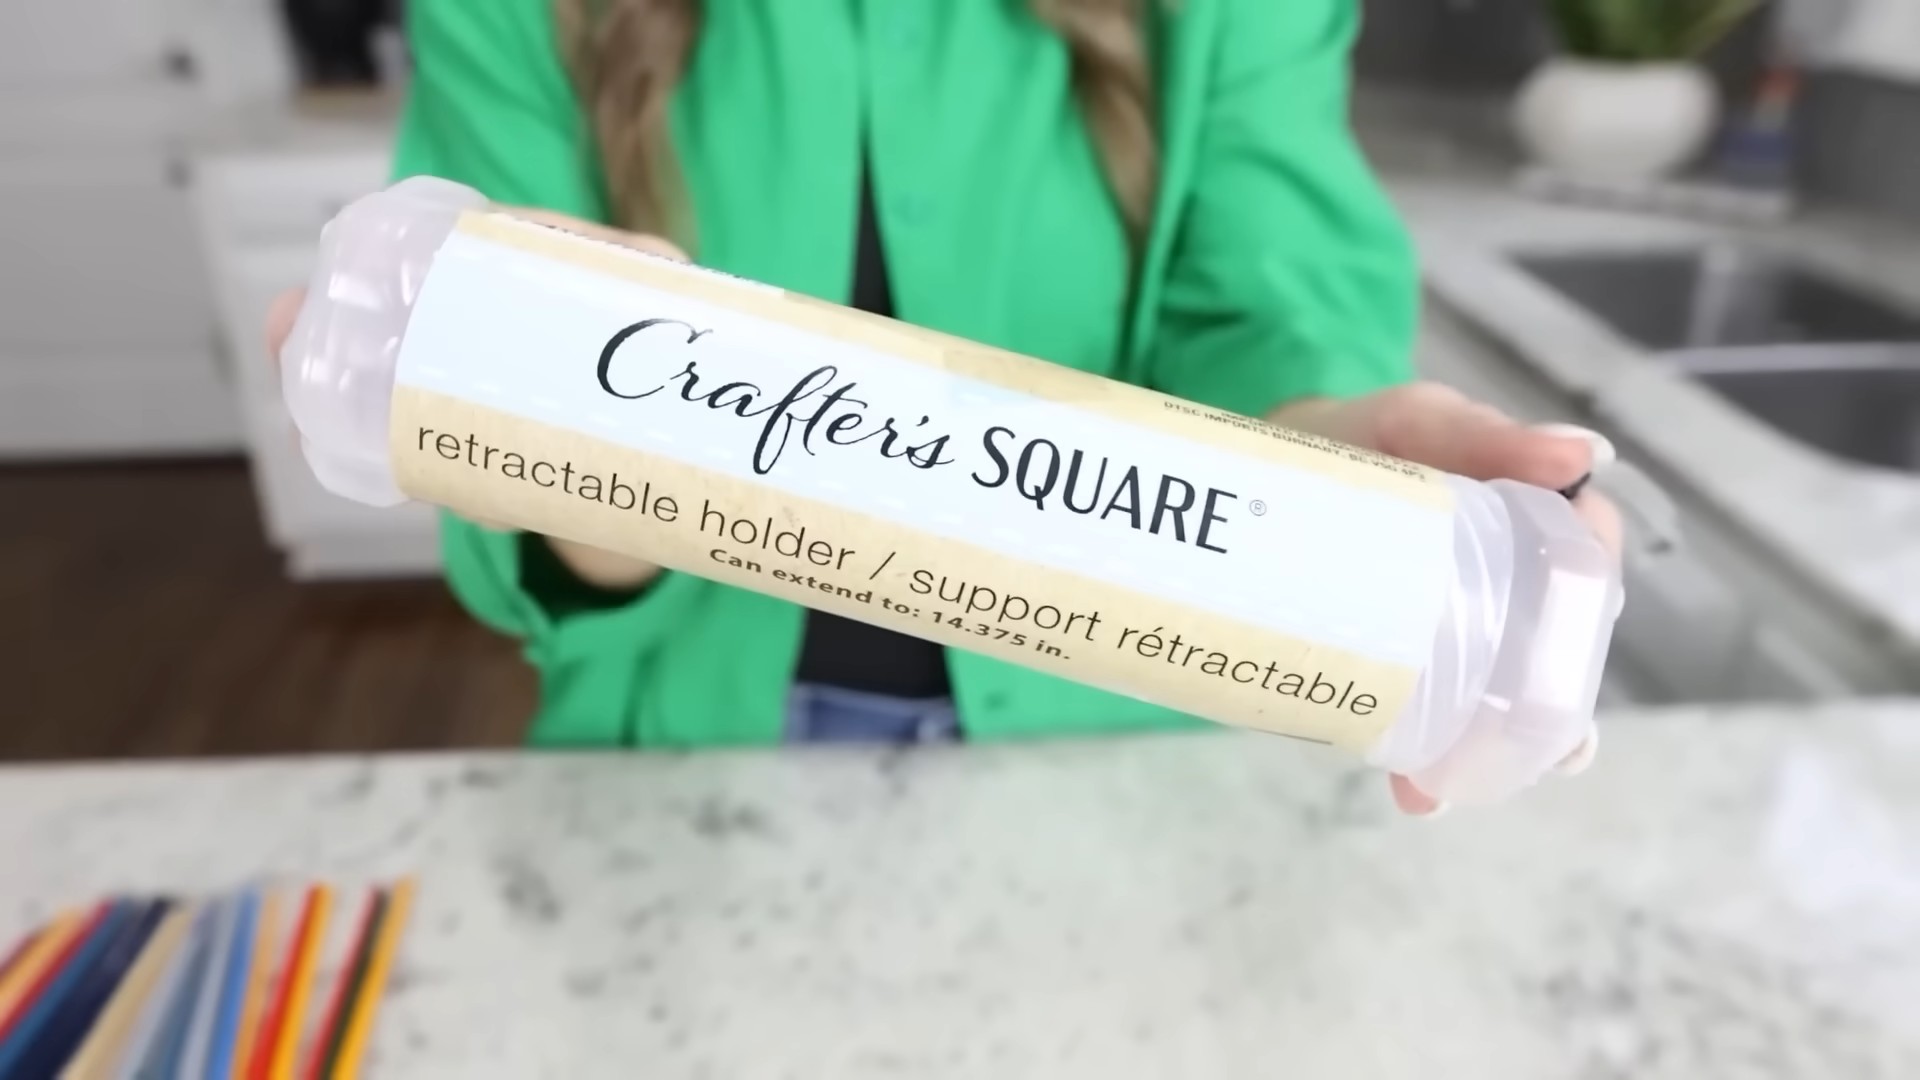
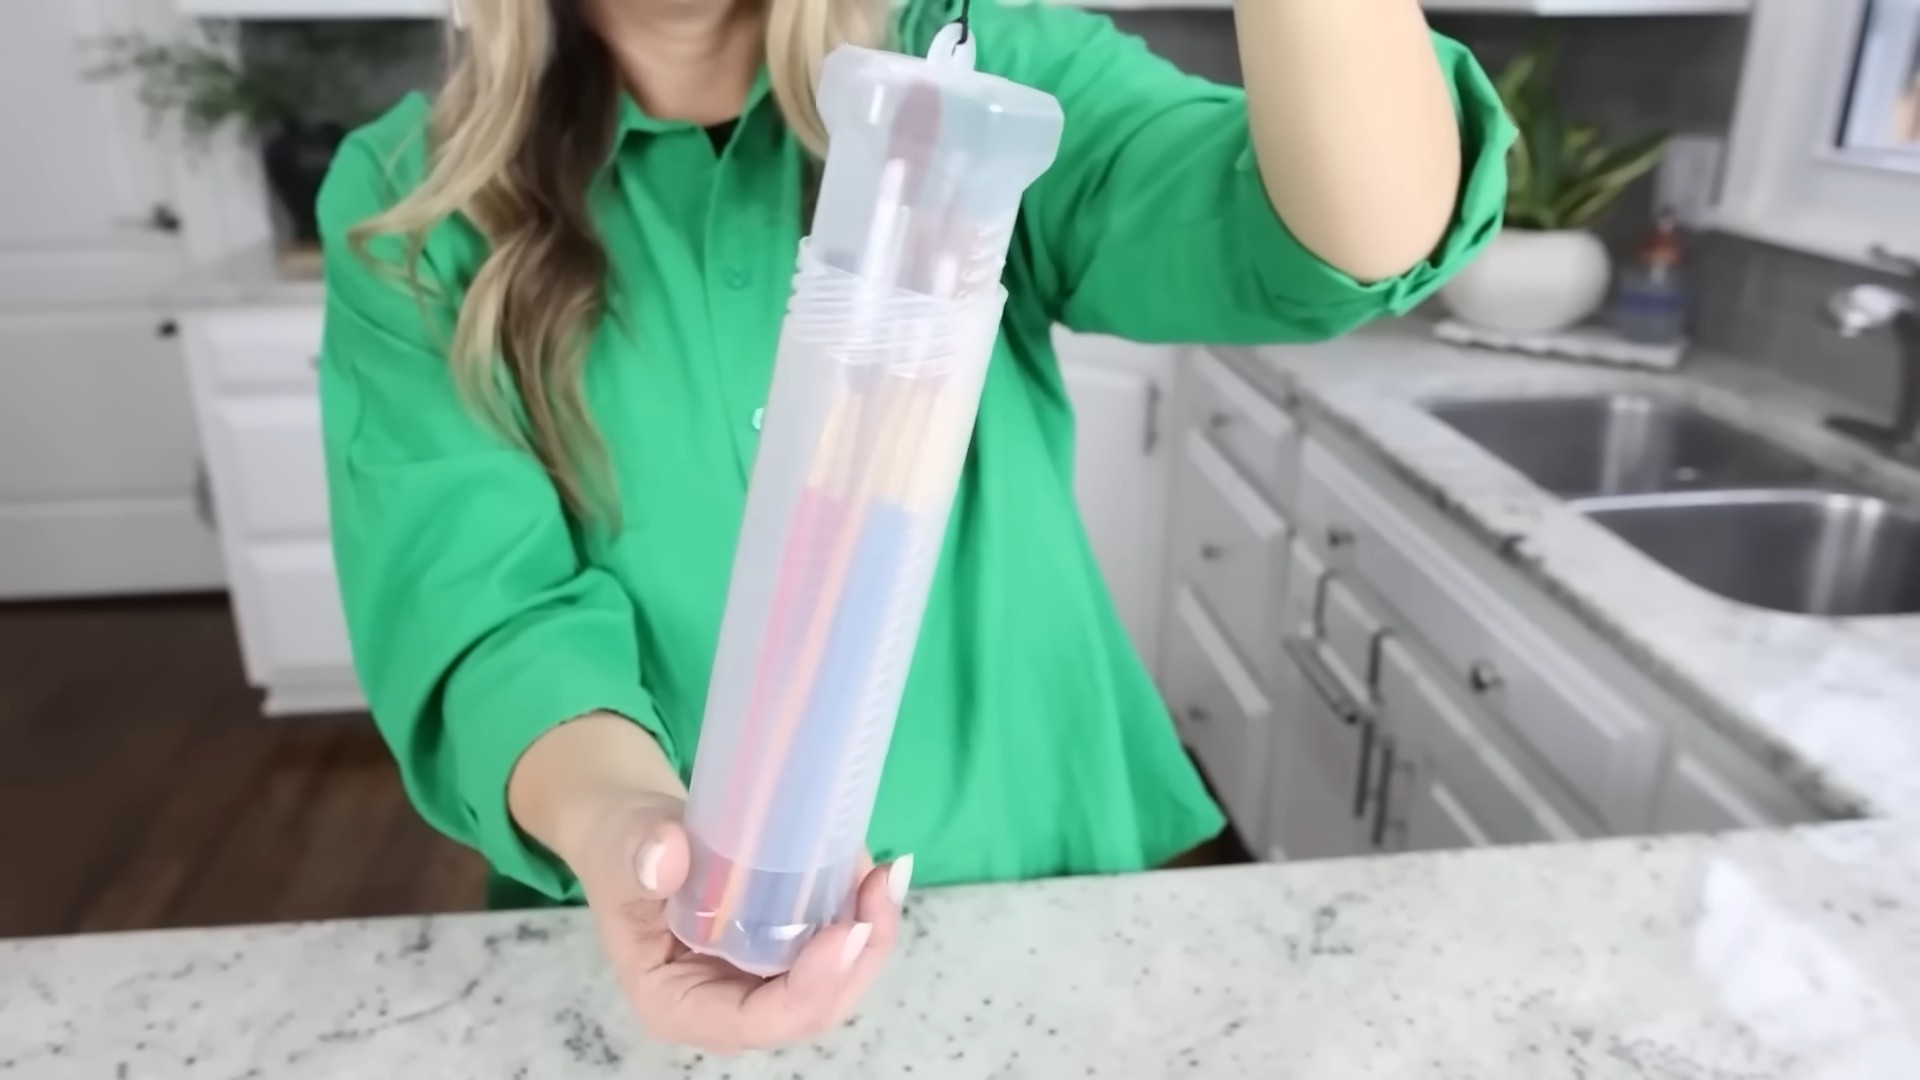
So, there you have it! Transforming a simple, often overlooked item into a functional and space-saving DIY paint brush storage solution is not only incredibly easy but also remarkably satisfying. Forget rummaging through drawers or dealing with brushes scattered haphazardly across your workspace. This project offers a streamlined, organized, and visually appealing way to keep your brushes in tip-top shape and readily accessible for your next creative endeavor.
Why is this a must-try? Because it addresses several common pain points for artists and DIY enthusiasts alike. It’s cost-effective, utilizing materials you likely already have on hand. It’s customizable, allowing you to tailor the design to perfectly fit your specific brush collection and available space. And, perhaps most importantly, it promotes better brush care, extending the lifespan of your valuable tools and ensuring they’re always ready to perform their best.
But the beauty of this DIY project lies in its adaptability. Feel free to experiment with different containers. Mason jars, repurposed tin cans, or even sturdy cardboard tubes can all serve as excellent bases. Consider adding decorative elements to personalize your storage solution. Paint the container to match your studio decor, add labels for easy identification, or even incorporate embellishments like beads, ribbons, or decoupage.
For larger brush collections, consider creating a multi-tiered storage system by attaching several containers to a wooden board or shelf. This allows you to categorize your brushes by size, type, or medium, making it even easier to find the perfect brush for the job. Another variation involves adding drainage holes to the bottom of the containers, allowing wet brushes to air dry without damaging the bristles. You could even incorporate a small sponge at the bottom to absorb excess water.
Don’t be afraid to get creative and put your own spin on this project. The possibilities are truly endless! The key is to create a storage solution that is both functional and aesthetically pleasing, reflecting your personal style and enhancing your creative workspace.
We wholeheartedly encourage you to give this DIY paint brush storage trick a try. It’s a simple yet effective way to improve your organization, protect your brushes, and elevate your overall crafting experience. Once you’ve created your own personalized brush storage solution, we’d love to see it! Share your creations with us on social media using [Your Hashtag Here] and let us know how this DIY project has transformed your workspace. We can’t wait to see your ingenuity and creativity! Happy crafting!
Frequently Asked Questions (FAQ)
What type of container is best for DIY paint brush storage?
The best type of container depends on your personal preference and the size of your brush collection. Mason jars are a popular choice due to their durability and aesthetic appeal. Repurposed tin cans are a great eco-friendly option. Sturdy cardboard tubes, such as those from paper towels or wrapping paper, can also be used, especially for larger brushes. Consider the height and width of the container to ensure it can accommodate your tallest and widest brushes. The material should be sturdy enough to prevent tipping and resistant to moisture if you plan to store wet brushes.
How do I clean my paint brushes before storing them?
Proper cleaning is crucial for extending the lifespan of your paint brushes. For water-based paints, rinse the brushes thoroughly with warm water until all traces of paint are removed. For oil-based paints, use a solvent such as mineral spirits or turpentine, followed by a thorough cleaning with soap and water. Always reshape the bristles after cleaning and allow the brushes to dry completely before storing them. Avoid storing brushes with paint residue, as this can cause the bristles to harden and become unusable.
Can I store wet paint brushes in my DIY storage container?
While it’s generally recommended to dry your brushes before storing them, you can store slightly damp brushes if you incorporate proper ventilation. Consider adding drainage holes to the bottom of your storage container to allow excess water to escape. You can also place a small sponge or absorbent material at the bottom to soak up any remaining moisture. Regularly check the container for mold or mildew and clean it as needed. For optimal brush care, it’s best to allow brushes to air dry completely before storing them.
How do I prevent my paint brushes from splaying or bending in storage?
To prevent splaying or bending, ensure that the bristles are properly shaped after cleaning and drying. You can use a brush shaper or simply mold the bristles back into their original form. Avoid overcrowding the storage container, as this can put pressure on the bristles and cause them to bend. If you’re using a container with a narrow opening, consider wrapping the bristles with paper or plastic wrap to protect them. Storing brushes upright with the bristles facing up can also help maintain their shape.
What if I don’t have enough space for a large DIY paint brush storage container?
If space is limited, consider creating a smaller, more compact storage solution. You can use a small jar or tin can to store a few essential brushes. Alternatively, you can create a wall-mounted storage system using a piece of wood and some hooks or clips. This allows you to store your brushes vertically, saving valuable counter or desk space. Another option is to use a rolling cart or organizer that can be easily moved and stored when not in use.
How can I customize my DIY paint brush storage container to match my studio decor?
There are numerous ways to customize your storage container to match your studio decor. You can paint the container in your favorite colors or use decorative paper or fabric to decoupage it. Add labels to identify the different types of brushes or paints. Embellish the container with beads, ribbons, or other decorative elements. You can also use stencils or stamps to create unique designs. The key is to let your creativity shine and create a storage solution that reflects your personal style.
What are some alternative materials I can use if I don’t have jars or cans?
If you don’t have jars or cans readily available, consider using other repurposed materials. Plastic bottles, cut and sanded down, can make excellent containers. Sturdy cardboard tubes from paper towels or wrapping paper are also a good option. You can even use old mugs or cups that you no longer use for drinking. Get creative and look around your home for items that can be repurposed into functional and stylish brush storage.
How do I maintain my DIY paint brush storage container?
Regular maintenance is essential for keeping your storage container clean and organized. Wipe down the container regularly with a damp cloth to remove any dust or paint splatters. If you’re storing wet brushes, check the container for mold or mildew and clean it as needed. Periodically reorganize your brushes to ensure that they are properly stored and easily accessible. By taking good care of your storage container, you can keep your brushes in top condition and your workspace organized.

Leave a Comment