
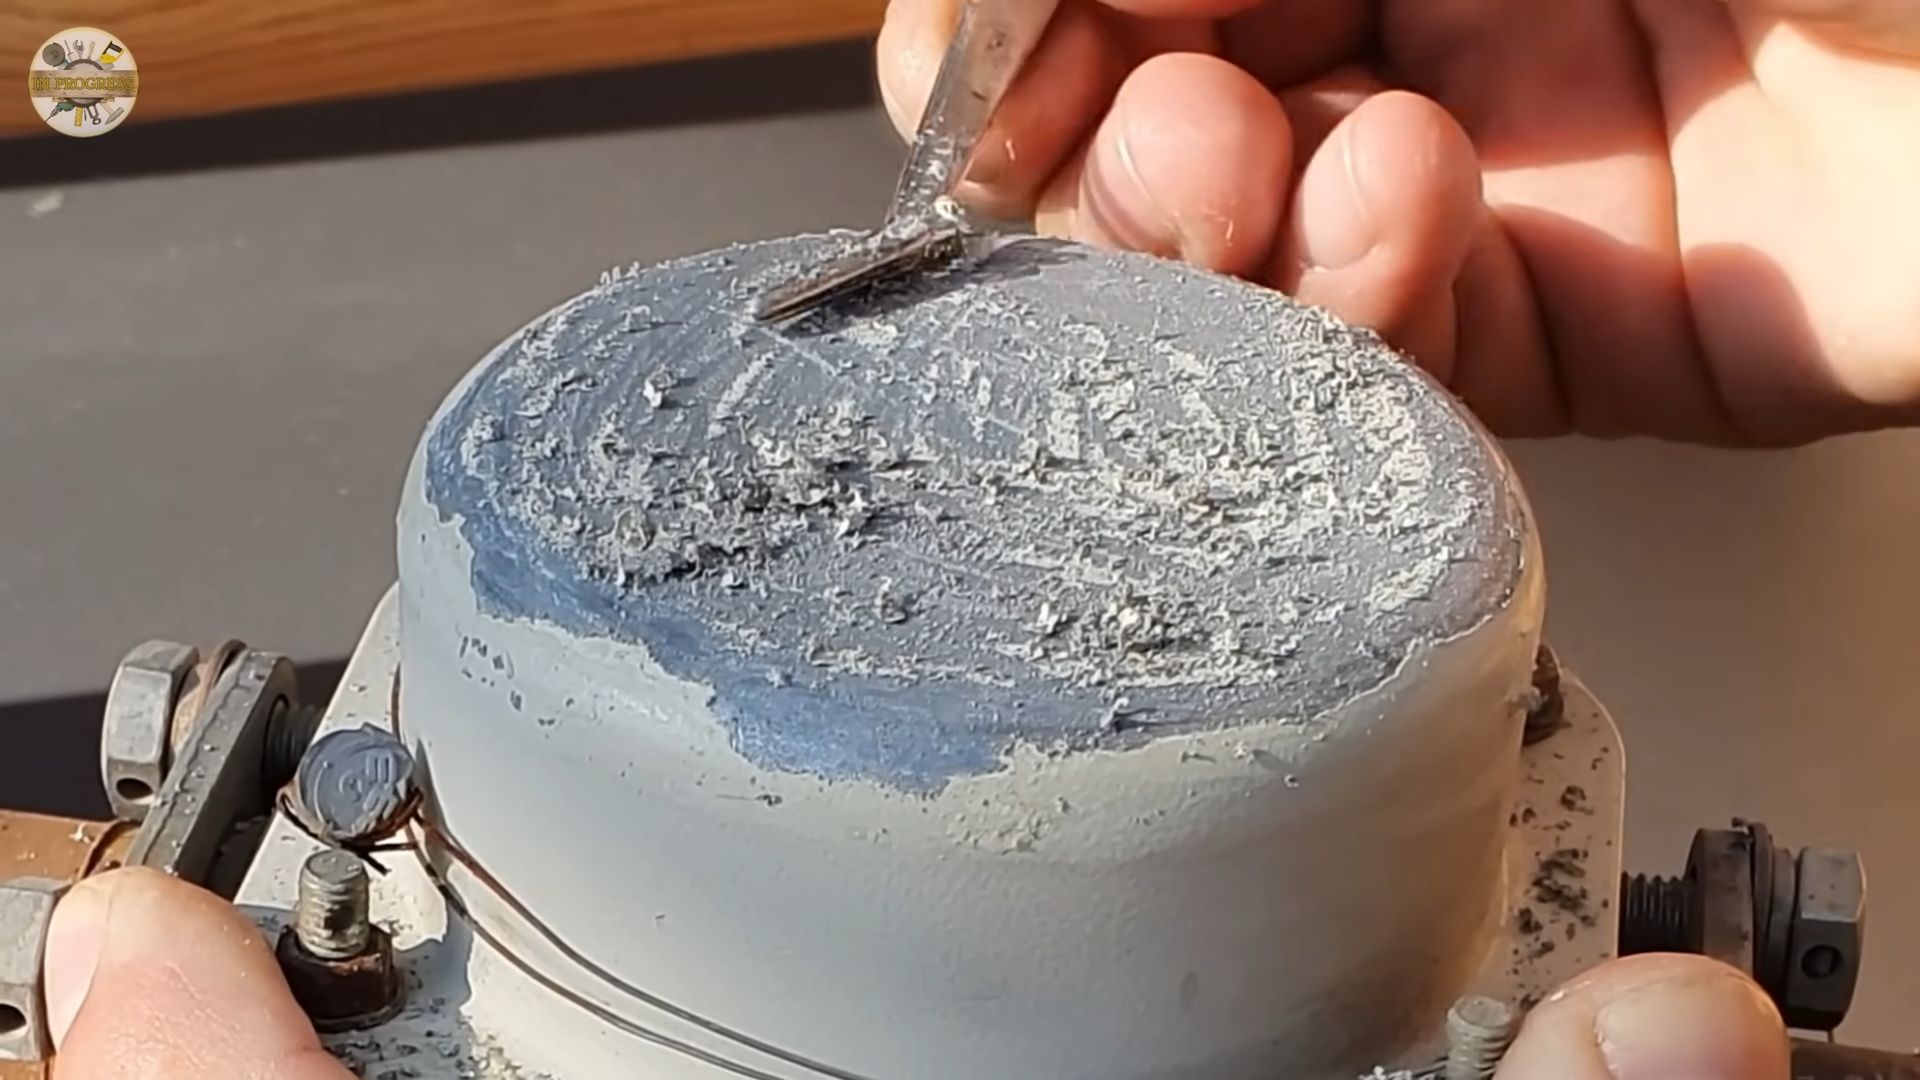
DIY Home Repair: The words themselves might conjure images of weekend warriors, armed with toolboxes and a can-do attitude. But let’s be honest, the thought of tackling home repairs can also be a little daunting, right? I get it! We’ve all been there, staring at a leaky faucet or a wobbly shelf, wondering if we should just call a professional. But what if I told you that many common home repairs are surprisingly manageable, even for beginners?
From ancient civilizations building their own shelters to the “Victory Garden” movement during wartime, the spirit of self-sufficiency and DIY home repair has deep roots. It’s about more than just saving money; it’s about taking pride in your home, understanding how things work, and gaining valuable skills. In today’s world, where costs are constantly rising, mastering a few basic DIY home repair tricks can be a game-changer.
This article is your friendly guide to unlocking the secrets of DIY home repair. We’ll explore simple yet effective hacks that can save you time, money, and the stress of waiting for a handyman. Whether it’s fixing a running toilet, patching a small hole in the wall, or silencing a squeaky door, I’m here to empower you with the knowledge and confidence to tackle those little projects around the house. Let’s get started and transform you from a DIY novice into a home repair hero!

DIY Miracle Cream: Vinegar and Vaseline for Amazing Skin!
Hey everyone! I’m so excited to share this incredible DIY beauty hack with you. I stumbled upon this combination of vinegar and Vaseline while researching natural skincare remedies, and let me tell you, the results have been amazing! It’s super simple, affordable, and can address a multitude of skin concerns. I’ve been using it for a few weeks now, and I’m already seeing a noticeable difference in the texture and appearance of my skin.
This DIY cream is perfect for anyone looking to:
* Hydrate dry skin: Vaseline is an occlusive, meaning it creates a barrier that locks in moisture.
* Exfoliate gently: The acidity of vinegar helps to loosen dead skin cells.
* Brighten skin tone: Regular use can help fade dark spots and even out skin tone.
* Reduce inflammation: Vinegar has anti-inflammatory properties that can soothe irritated skin.
* Soften rough patches: Say goodbye to dry elbows, knees, and heels!
Before we dive in, a quick disclaimer: Always do a patch test before applying any new skincare product to your entire face or body. Apply a small amount of the mixture to a discreet area, like your inner arm, and wait 24 hours to see if you experience any irritation.
What You’ll Need
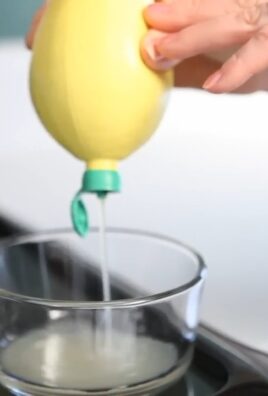
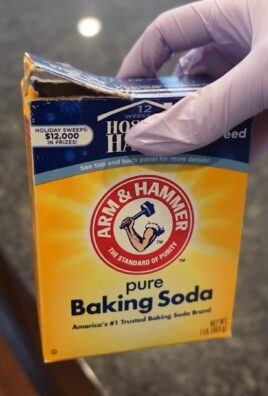
* White Vinegar: Plain white vinegar is best. Avoid using flavored vinegars or cleaning vinegars.
* Vaseline (Petroleum Jelly): The classic, original Vaseline is what you want.
* A Small, Clean Container: To mix and store your cream.
* A Mixing Tool: A small spoon or spatula will work perfectly.
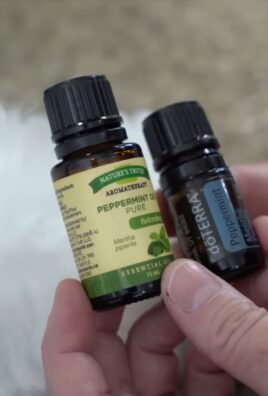
* Optional: Essential Oil (Lavender, Tea Tree, or Rosehip): For added benefits and a pleasant scent.
Mixing the Miracle Cream
This is the fun part! It’s so easy to whip up this cream, and you can adjust the ratios to suit your skin’s needs.
1. Gather Your Supplies: Make sure you have everything ready to go before you start. This will make the process smoother and more efficient.
2. Measure the Vaseline: Scoop out about 2 tablespoons of Vaseline and place it in your clean container. I like to use a small glass jar with a lid for easy storage.
3. Add the Vinegar: Now, add 1 tablespoon of white vinegar to the Vaseline. This is a 2:1 ratio (Vaseline to vinegar), which I find works well for most skin types. If you have sensitive skin, you might want to start with a 3:1 ratio (3 tablespoons of Vaseline to 1 tablespoon of vinegar).
4. Mix Thoroughly: Use your mixing tool to combine the Vaseline and vinegar. At first, it might seem like they won’t mix, but keep stirring! It will eventually come together to form a creamy consistency. This might take a few minutes of consistent stirring. Don’t give up!
5. Optional: Add Essential Oil: If you’re using essential oil, add 2-3 drops to the mixture. Lavender is great for calming and soothing, tea tree is good for acne-prone skin, and rosehip is known for its anti-aging properties. Be careful not to add too much, as essential oils can be irritating in high concentrations.
6. Mix Again: Give the mixture one final stir to ensure the essential oil is evenly distributed.
7. Store Properly: Seal the container tightly and store it in a cool, dark place. This will help to preserve the cream and prevent it from spoiling. I usually keep mine in my bathroom cabinet.
Applying the Cream
Now that you’ve made your miracle cream, it’s time to put it to the test! Here’s how I like to use it:
1. Cleanse Your Skin: Start with clean, dry skin. This will allow the cream to penetrate more effectively. Use your favorite cleanser to remove any dirt, oil, or makeup.
2. Apply a Thin Layer: Scoop out a small amount of the cream and apply it to the desired area. Remember, a little goes a long way! You don’t need to slather it on.
3. Massage Gently: Gently massage the cream into your skin using circular motions. This will help to improve circulation and promote absorption.
4. Leave it On: You can leave the cream on overnight or for a few hours during the day. I personally prefer to use it as an overnight treatment.
5. Rinse (Optional): If you find the cream to be too greasy, you can rinse it off with warm water after a few hours. However, I usually just leave it on overnight and let it work its magic.
6. Repeat Regularly: For best results, use the cream regularly. I recommend using it 2-3 times per week. You can adjust the frequency based on your skin’s needs.
Targeting Specific Skin Concerns
This DIY cream is incredibly versatile and can be used to address a variety of skin concerns. Here are a few specific ways I’ve found it helpful:
For Dry Skin
If you suffer from dry, flaky skin, this cream is a lifesaver! The Vaseline creates a protective barrier that locks in moisture, while the vinegar helps to exfoliate dead skin cells, revealing smoother, softer skin.
1. Apply to Dry Areas: Focus on applying the cream to areas that are particularly dry, such as your elbows, knees, heels, and hands.
2. Use as an Overnight Treatment: Apply a generous layer of the cream to the affected areas before bed and leave it on overnight.
3. Wear Socks or Gloves: If you’re applying the cream to your feet or hands, consider wearing socks or gloves to help lock in moisture and prevent the cream from rubbing off.
For Acne-Prone Skin
While it might seem counterintuitive to put Vaseline on acne-prone skin, the vinegar in this cream can actually help to fight breakouts. Vinegar has antibacterial and anti-inflammatory properties that can help to reduce redness and inflammation associated with acne.
1. Spot Treatment: Apply a small amount of the cream directly to pimples or blemishes.
2. Use Sparingly: Avoid applying the cream to your entire face if you have oily skin. Focus on using it as a spot treatment for problem areas.
3. Tea Tree Oil: Adding a drop or two of tea tree oil to the mixture can further enhance its acne-fighting properties.
For Dark Spots and Uneven Skin Tone
The vinegar in this cream can help to fade dark spots and even out skin tone over time. Regular exfoliation helps to remove dead skin cells, revealing brighter, more radiant skin.
1. Apply to Dark Spots: Focus on applying the cream to areas with dark spots or hyperpigmentation.
2. Use Sunscreen: It’s important to wear sunscreen during the day when using this cream, as vinegar can make your skin more sensitive to the sun.
3. Be Patient: It may take several weeks or months to see noticeable results. Consistency is key!
For Rough Patches
If you have rough, bumpy skin on your arms, legs, or other areas of your body, this cream can help to smooth and soften those areas.
1. Exfoliate First: Before applying the cream, gently exfoliate the affected area with a scrub or loofah.
2. Apply Generously: Apply a generous layer of the cream to the rough patches and massage it in well.
3. Use Regularly: Use the cream regularly to maintain smooth, soft skin.
Important Considerations
While this DIY cream is generally safe for most people, there are a few things to keep in mind:
* Patch Test: As I mentioned earlier, always do a patch test before applying the cream to your entire face or body.
* Vinegar Sensitivity: If you have sensitive skin, you may experience some redness or irritation when using this cream. If this happens, reduce the amount of vinegar in the mixture or discontinue use.
* Sun Sensitivity: Vinegar can make your skin more sensitive to the sun, so it’s important to wear sunscreen during the day.
* Avoid Eye Area: Be careful not to get the cream in your eyes. If you do, rinse thoroughly with water.
* Not a Substitute for Medical Advice: This DIY cream is not a substitute for professional medical advice. If you have any serious skin concerns, consult with a dermatologist.
Troubleshooting
* Cream is too greasy: Reduce the amount of Vaseline in the mixture.
* Skin is irritated: Reduce the amount of vinegar in the mixture or discontinue use.
* No noticeable results: Be patient and consistent with your use. It may take several weeks or months to see results. Also, ensure you are using pure white vinegar and original Vaseline.
I hope you found this DIY tutorial helpful! I’m so
Conclusion
So, there you have it! This simple yet effective DIY home repair trick can save you time, money, and the headache of calling a professional for minor fixes. We’ve walked you through the process, highlighting its ease of execution and the significant impact it can have on maintaining the value and comfort of your home.
Why is this a must-try? Because it empowers you to take control of your living space. No longer will you be held hostage by dripping faucets, squeaky doors, or wobbly shelves. This DIY home repair solution is about more than just fixing things; it’s about building confidence and fostering a sense of accomplishment. It’s about understanding your home and becoming more self-reliant.
But the beauty of DIY lies in its adaptability. Feel free to experiment with variations to suit your specific needs and preferences. For instance, if you’re dealing with a particularly stubborn squeak, try using a lubricant specifically designed for hinges. If you’re repairing a small hole in drywall, consider using a patching compound that’s pre-mixed for even greater convenience. And if you’re tackling a larger project, don’t hesitate to consult online resources or local hardware store experts for guidance.
Consider these variations to elevate your DIY home repair game:
* **Color Matching:** When patching walls, take the time to perfectly match the paint color. Bring a small chip of the existing paint to your local hardware store for a color match. This will ensure a seamless repair that’s virtually invisible.
* **Preventative Measures:** Once you’ve completed a repair, think about preventative measures to avoid future issues. For example, after fixing a leaky faucet, check the water pressure in your home to ensure it’s not too high, which can contribute to leaks.
* **Upcycling and Repurposing:** Get creative with your repair materials! Old wood can be repurposed for shelving, and discarded fabric can be used to patch furniture. This not only saves money but also adds a unique touch to your home.
* **Tool Organization:** Invest in a good tool organizer to keep your tools readily accessible and in good condition. This will make future DIY projects much easier and more efficient.
We firmly believe that anyone can master this DIY home repair trick with a little patience and the right guidance. It’s not about being a professional contractor; it’s about being resourceful and proactive in maintaining your home.
We encourage you to give this a try. Start with a small, manageable project to build your confidence. And most importantly, share your experience with us! We’d love to hear about your successes, your challenges, and any variations you’ve discovered. Your feedback will help us refine this guide and empower even more people to embrace the world of DIY home repair. Let’s build a community of confident homeowners, one repair at a time! Share your before and after photos, tips, and tricks on our social media channels using #DIYHomeRepairSuccess. We can’t wait to see what you create!
FAQ
Frequently Asked Questions About DIY Home Repair
Q: I’m a complete beginner. Is this DIY home repair trick really for me?
A: Absolutely! This particular trick is designed to be accessible to even the most novice DIYers. We’ve broken down the steps into clear, concise instructions, and we’ve included tips to help you avoid common pitfalls. The key is to start small and build your confidence. Choose a simple project, gather your materials, and follow the instructions carefully. Remember, everyone starts somewhere! Don’t be afraid to make mistakes; they’re a valuable learning opportunity. And if you get stuck, there are plenty of online resources and helpful hardware store employees who can offer guidance.
Q: What tools will I need for most basic DIY home repairs?
A: A well-stocked toolbox is essential for any homeowner. For basic DIY home repairs, we recommend having the following tools on hand:
* A good quality screwdriver set (both Phillips head and flathead)
* An adjustable wrench
* A pair of pliers
* A hammer
* A measuring tape
* A level
* A utility knife
* Safety glasses
* Work gloves
* A stud finder
* A drill with various drill bits
As you tackle more complex projects, you may need to add to your collection, but these tools will cover most common repairs.
Q: How do I know if a repair is beyond my capabilities and requires a professional?
A: Knowing your limits is crucial when it comes to DIY. If a repair involves electrical work, plumbing that goes beyond simple faucet repairs, or structural issues, it’s always best to call a professional. These types of repairs can be dangerous and require specialized knowledge and equipment. Additionally, if you’re uncomfortable or unsure about any aspect of a repair, it’s better to err on the side of caution and seek professional help. Your safety and the integrity of your home are paramount.
Q: What are some common mistakes people make when attempting DIY home repairs?
A: One of the most common mistakes is not properly preparing the area before starting a repair. This includes cleaning the surface, gathering all necessary materials, and protecting surrounding areas from damage. Another common mistake is using the wrong tools or materials for the job. Always read the instructions carefully and make sure you have the right equipment. Finally, many people underestimate the time and effort required to complete a repair. Don’t rush the process; take your time and pay attention to detail.
Q: How can I find reliable information and tutorials for DIY home repairs?
A: The internet is a treasure trove of information for DIY enthusiasts. YouTube is a great resource for visual tutorials, and there are many websites and blogs dedicated to DIY home repair. Look for reputable sources that provide clear, concise instructions and safety guidelines. Local hardware stores often offer workshops and classes on various DIY topics. Additionally, don’t hesitate to ask friends or family members who have experience with home repairs for advice.
Q: What are some essential safety precautions to take when doing DIY home repairs?
A: Safety should always be your top priority when undertaking any DIY project. Always wear safety glasses and work gloves to protect your eyes and hands. If you’re working with power tools, read the manufacturer’s instructions carefully and wear appropriate safety gear. Be aware of your surroundings and take steps to prevent accidents. If you’re working at heights, use a sturdy ladder and have someone spot you. And always turn off the power before working on electrical repairs.
Q: How can I save money on DIY home repair projects?
A: There are several ways to save money on DIY home repair projects. First, shop around for the best prices on materials. Compare prices at different hardware stores and online retailers. Second, consider buying used tools or renting them instead of buying new ones. Third, repurpose or upcycle materials whenever possible. Fourth, plan your projects carefully to avoid costly mistakes. And finally, don’t be afraid to ask for help from friends or family members who have experience with home repairs.
Q: What are some easy DIY projects that can increase the value of my home?
A: While major renovations require professional help, there are several smaller DIY projects that can significantly increase your home’s value. These include painting interior and exterior walls, updating kitchen and bathroom fixtures, improving landscaping, and adding energy-efficient features. Even simple projects like decluttering and organizing can make a big difference in how potential buyers perceive your home.
Q: How do I properly dispose of hazardous materials after a DIY home repair project?
A: Proper disposal of hazardous materials is essential for protecting the environment and your health. Never pour hazardous materials down the drain or throw them in the trash. Instead, contact your local waste management agency for information on how to properly dispose of these materials. Many communities have designated drop-off locations for hazardous waste. Common hazardous materials include paint, solvents, pesticides, and batteries.
Q: What if I damage something while attempting a DIY home repair?
A: Accidents happen, even to experienced DIYers. If you damage something while attempting a repair, don’t panic. Assess the damage and determine the best course of action. If the damage is minor, you may be able to repair it yourself. If the damage is more extensive, you may need to call a professional. The important thing is to learn from your mistakes and take steps to prevent them from happening again.
Leave a Comment