
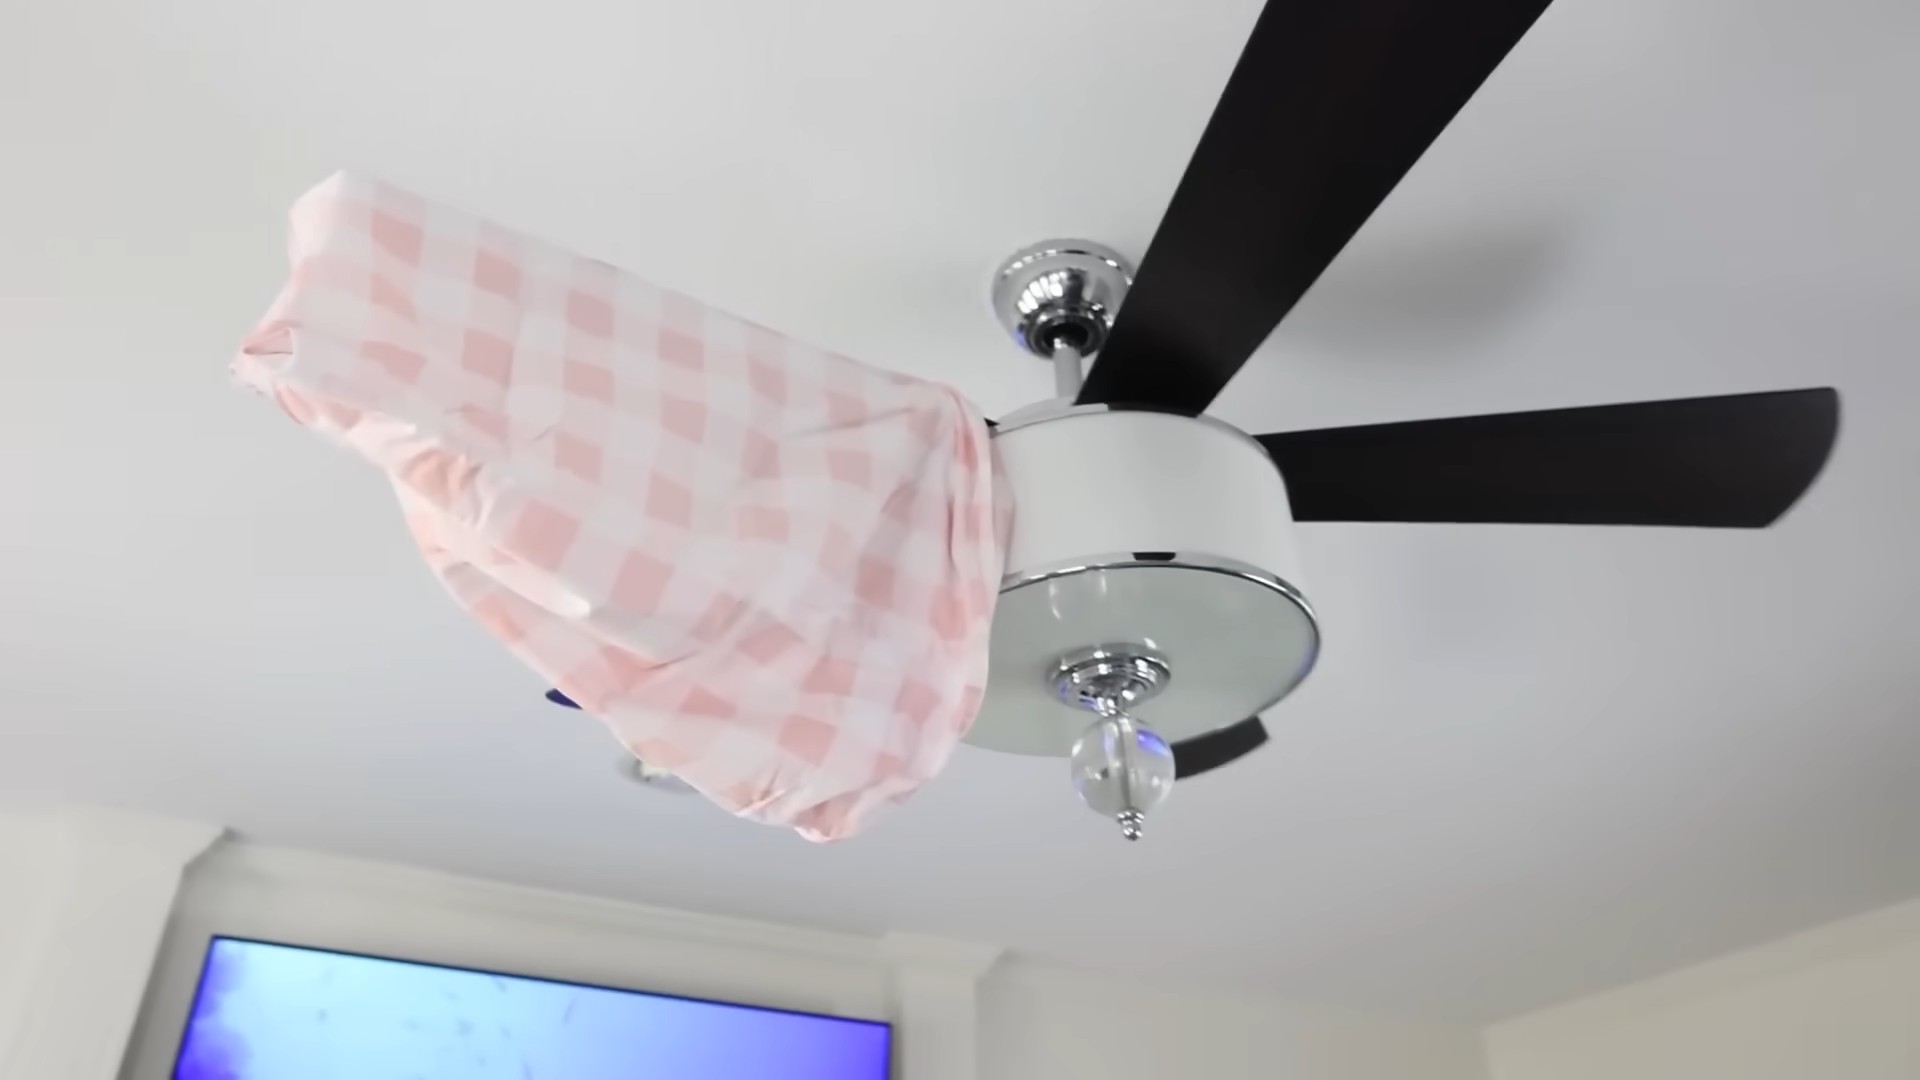
Clean pillowcase quickly? Absolutely! Let’s face it, laundry day is nobody’s favorite, and those pillowcases? They seem to attract every bit of drool, makeup, and stray hair imaginable. But what if I told you there’s a way to keep your pillowcases fresh and clean *without* spending hours scrubbing or constantly running loads of laundry?
For centuries, cultures around the world have understood the importance of clean bedding for hygiene and a good night’s sleep. Think about it – ancient Egyptians used linen for its cooling properties, and meticulous cleaning rituals were common in many societies. While we may not be washing our linens in the Nile River anymore, the need for clean pillowcases remains!
That’s where these DIY tricks come in. We all lead busy lives, and sometimes, a full laundry cycle just isn’t in the cards. Maybe you’re traveling, dealing with a sudden stain, or simply want to extend the life of your pillowcases between washes. Whatever the reason, these quick and easy methods for how to clean pillowcase quickly will be your new best friend. I’m going to share some of my favorite hacks that will have you sleeping on fresh, clean fabric in no time – no washing machine required!
Grow Your Own Celery: A Beginner’s Guide
Hey there, fellow gardening enthusiasts! Ever thought about growing your own celery? It’s surprisingly easy and rewarding, and nothing beats the fresh, crisp taste of homegrown celery. I’m going to walk you through the whole process, from starting seeds to harvesting your crunchy stalks. Let’s get started!
Choosing Your Celery Variety
First things first, let’s talk celery varieties. There are a few options, and the best one for you will depend on your climate and preferences.
* ‘Utah Tall Green’: This is a classic, reliable variety that’s known for its tall, green stalks and excellent flavor. It’s a good all-around choice for most gardeners.
* ‘Golden Self-Blanching’: If you prefer milder-flavored, yellowish stalks, this is the variety for you. It’s also a bit easier to grow, as it doesn’t require as much blanching (more on that later).
* ‘Giant Red’: Want something a little different? ‘Giant Red’ celery has beautiful reddish-purple stalks and a slightly stronger flavor. It’s a real conversation starter!
Once you’ve picked your variety, it’s time to get those seeds started!
Starting Celery Seeds Indoors
Celery seeds are tiny and need a head start indoors, especially if you live in a cooler climate. I usually start mine about 10-12 weeks before the last expected frost.
1. Gather Your Supplies: You’ll need:
* Celery seeds
* Seed starting trays or small pots
* Seed starting mix (a fine, sterile soil mix)
* Spray bottle with water
* Heat mat (optional, but helpful)
* Grow light (optional, but recommended)
2. Prepare the Seed Starting Trays: Fill your seed starting trays or pots with the seed starting mix. Gently tap the trays to settle the soil.
3. Sow the Seeds: Celery seeds are very small, so sprinkle them lightly over the surface of the soil. Don’t bury them too deep; they need light to germinate. I usually just press them gently into the soil with my finger.
4. Water Gently: Use a spray bottle to mist the soil thoroughly. You want to keep the soil consistently moist, but not soggy.
5. Provide Warmth and Light: Place the trays on a heat mat (if using) and under a grow light (if using). Celery seeds germinate best in warm temperatures (around 70-75°F). If you don’t have a heat mat or grow light, you can place the trays in a warm, sunny spot, but be sure to monitor the soil moisture closely.
6. Maintain Moisture: Keep the soil consistently moist by misting it regularly. Don’t let it dry out!
7. Wait for Germination: Celery seeds can take a while to germinate, usually 2-3 weeks. Be patient!
8. Thin the Seedlings: Once the seedlings have their first true leaves (the second set of leaves), thin them out so that only the strongest seedling remains in each cell or pot. I know it’s hard to do, but it’s necessary to give the remaining seedlings enough room to grow.
Transplanting Your Celery Seedlings
Once your celery seedlings are about 4-6 inches tall and the danger of frost has passed, it’s time to transplant them outdoors.
1. Harden Off the Seedlings: Before transplanting, you’ll need to harden off the seedlings. This means gradually exposing them to outdoor conditions over a period of about a week. Start by placing them in a sheltered spot outdoors for a few hours each day, gradually increasing the amount of time they spend outside. This will help them adjust to the sun, wind, and temperature changes.
2. Prepare the Planting Bed: Celery needs rich, well-drained soil. Amend your soil with plenty of compost or well-rotted manure before planting. Celery also prefers a slightly acidic soil pH (around 6.0-6.5).
3. Choose a Sunny Location: Celery needs at least 6 hours of sunlight per day.
4. Transplant the Seedlings: Space the seedlings about 6-8 inches apart in rows that are 18-24 inches apart. Dig a hole that’s large enough to accommodate the root ball, gently remove the seedling from its container, and place it in the hole. Backfill with soil and water thoroughly.
5. Mulch Around the Plants: Apply a layer of mulch around the plants to help retain moisture, suppress weeds, and keep the soil cool. I like to use straw or shredded leaves.
Caring for Your Celery Plants
Celery is a bit of a water hog, so consistent watering is key.
1. Water Regularly: Water deeply and regularly, especially during hot, dry weather. Celery needs at least 1 inch of water per week.
2. Fertilize Regularly: Celery is a heavy feeder, so fertilize it regularly with a balanced fertilizer. I like to use a liquid fertilizer every 2-3 weeks.
3. Weed Regularly: Keep the area around your celery plants free of weeds. Weeds compete with celery for water and nutrients.
4. Blanching (Optional): Blanching is the process of excluding light from the celery stalks to make them milder and more tender. It’s not strictly necessary, but it can improve the flavor and texture of your celery. To blanch celery, you can either mound soil around the stalks or wrap them with newspaper or cardboard. Start blanching about 2-3 weeks before you plan to harvest.
5. Watch Out for Pests and Diseases: Celery can be susceptible to a few pests and diseases, such as aphids, celery leaf tiers, and early blight. Inspect your plants regularly and take action if you see any problems. Insecticidal soap can be effective against aphids, and copper fungicide can help control early blight.
Harvesting Your Celery
You can start harvesting celery when the stalks are about 6-8 inches tall.
1. Harvest Individual Stalks: You can harvest individual stalks as needed by cutting them off at the base of the plant.
2. Harvest the Entire Plant: If you want to harvest the entire plant, cut it off at the base of the plant.
3. Store Celery Properly: Celery can be stored in the refrigerator for several weeks. Wrap it in a damp paper towel and place it in a plastic bag.
Troubleshooting Common Celery Growing Problems
Even with the best care, you might encounter a few problems when growing celery. Here are some common issues and how to address them:
* Bolting (Premature Flowering): Bolting can occur if celery plants are exposed to prolonged periods of cold weather. To prevent bolting, start your seeds indoors early and protect your plants from frost.
* Stringy Stalks: Stringy stalks can be caused by insufficient watering or fertilization. Make sure you’re watering and fertilizing your celery plants regularly.
* Bitter Taste: A bitter taste can be caused by hot weather or lack of blanching. Choose a variety that’s suited to your climate and blanch your celery if desired.
* Pest Infestations: Keep an eye out for pests like aphids and celery leafminers. Treat infestations promptly with insecticidal soap or other appropriate methods.
* Diseases: Celery can be susceptible to diseases like early blight and late blight. Ensure good air circulation around your plants and treat diseases with a copper-based fungicide.
Extra Tips for Celery Success
Here are a few extra tips I’ve learned over the years that can help you grow even better celery:
* Succession Planting: Plant celery seeds every few weeks to ensure a continuous harvest throughout the growing season.
* Companion Planting: Celery grows well with other plants like onions, garlic, and tomatoes.
* Use Celery Leaves: Don’t throw away the celery leaves! They can be used in soups, stews, and salads.
* Save Celery Seeds: If you want to save seeds from your celery plants, allow a few plants to flower and produce seeds. Collect the seeds when they are dry and store them in a cool, dry place.
Growing your own celery is a rewarding experience. With a little patience and care, you can enjoy fresh, crisp celery from your own garden. Happy gardening!

Conclusion
So, there you have it! This simple yet effective DIY trick for quickly cleaning your pillowcase is a game-changer for anyone looking to maintain a fresh and healthy sleep environment. We’ve all been there – late at night, realizing your pillowcase isn’t as pristine as it should be, and dreading the thought of a full laundry cycle. This method bypasses that hassle, offering a rapid and convenient solution that fits seamlessly into even the busiest schedules.
Why is this a must-try? Because it’s more than just a quick fix; it’s an investment in your well-being. A clean pillowcase is crucial for preventing breakouts, minimizing allergens, and promoting overall skin health. Think of all the oils, dead skin cells, and potential irritants that accumulate on your pillowcase night after night. This DIY trick helps to eliminate those unwanted guests, leaving you with a cleaner, more comfortable surface to rest your head on.
Beyond the basic method, there are several variations you can explore to tailor the process to your specific needs and preferences. For example, if you have sensitive skin, consider using a hypoallergenic detergent or adding a few drops of tea tree oil to the water for its antibacterial properties. For a more luxurious experience, you could incorporate a fabric softener or a few drops of your favorite essential oil to leave your pillowcase smelling divine. Lavender, chamomile, and eucalyptus are all excellent choices for promoting relaxation and better sleep.
Another variation involves the drying method. While air-drying is generally recommended to prevent shrinkage and damage to delicate fabrics, you can use a dryer on a low heat setting if you’re in a real hurry. Just be sure to remove the pillowcase promptly to avoid wrinkles. You could also use a cool setting on your hair dryer for a quick and targeted drying solution.
We understand that everyone’s needs and preferences are different, so feel free to experiment with different detergents, essential oils, and drying methods to find what works best for you. The key is to find a routine that is both effective and sustainable, ensuring that you consistently maintain a clean and healthy sleep environment.
This DIY trick for how to clean pillowcase quickly is not just about convenience; it’s about taking proactive steps to improve your overall health and well-being. It’s about prioritizing self-care and creating a sleep environment that supports restful and rejuvenating sleep.
We are confident that once you try this method, you’ll be amazed at how easy and effective it is. It’s a simple yet powerful tool that can make a significant difference in your daily life.
So, what are you waiting for? Give this DIY trick a try and experience the difference a clean pillowcase can make. We encourage you to share your experiences with us! Let us know what variations you tried, what detergents you preferred, and how this method has improved your sleep and skin health. Your feedback is invaluable and helps us to continue providing helpful and informative content. Share your tips and tricks in the comments below – we can all learn from each other!
Frequently Asked Questions
How often should I clean my pillowcase using this method?
Ideally, you should clean your pillowcase every two to three days. This frequency helps to prevent the buildup of oils, dead skin cells, and allergens that can contribute to breakouts and other skin irritations. If you have particularly oily skin or are prone to acne, you may want to clean your pillowcase even more frequently, perhaps even daily. This DIY method is quick and easy enough to incorporate into your routine without adding significant time or effort. Remember, consistency is key to maintaining a clean and healthy sleep environment.
What type of detergent should I use?
The best type of detergent to use depends on your skin sensitivity and the fabric of your pillowcase. For sensitive skin, opt for a hypoallergenic, fragrance-free detergent. These detergents are formulated to minimize the risk of irritation and allergic reactions. If your pillowcase is made of a delicate fabric like silk or satin, use a gentle detergent specifically designed for delicate fabrics. Avoid using harsh chemicals or bleach, as these can damage the fabric and irritate your skin. A mild, pH-balanced detergent is generally a safe and effective choice for most pillowcase types.
Can I use this method on all types of pillowcases?
This method is generally safe for most types of pillowcases, including cotton, linen, and synthetic blends. However, if you have a pillowcase made of a particularly delicate fabric like silk or satin, it’s essential to exercise caution. Use a gentle detergent and avoid excessive scrubbing or wringing. You may also want to consider hand-washing the pillowcase instead of using a washing machine. Always check the care label on your pillowcase for specific instructions and recommendations.
How do I dry my pillowcase after cleaning it?
Air-drying is generally the best option for drying your pillowcase after cleaning it using this DIY method. Air-drying helps to prevent shrinkage and damage to delicate fabrics. Simply hang the pillowcase on a clothesline or drying rack in a well-ventilated area. Avoid exposing the pillowcase to direct sunlight, as this can cause fading. If you’re in a hurry, you can use a dryer on a low heat setting. However, be sure to remove the pillowcase promptly to avoid wrinkles. You can also use a cool setting on your hair dryer for a quick and targeted drying solution.
What if I don’t have time to do a full wash?
That’s precisely why this DIY trick is so valuable! It’s designed for those times when you don’t have the time or energy for a full laundry cycle. This method allows you to quickly and easily clean your pillowcase without the hassle of loading and unloading a washing machine. It’s a perfect solution for busy individuals who want to maintain a clean and healthy sleep environment without sacrificing valuable time.
Can I add essential oils to the water?
Yes, adding essential oils to the water can be a great way to enhance the cleaning process and promote relaxation. Lavender, chamomile, and eucalyptus are all excellent choices for promoting better sleep. Simply add a few drops of your favorite essential oil to the water before soaking the pillowcase. Be sure to use high-quality, pure essential oils to avoid any potential irritations. If you have sensitive skin, test a small area first to ensure that you don’t have any adverse reactions.
Will this method remove stubborn stains?
While this method is effective for removing everyday dirt and grime, it may not be sufficient for removing stubborn stains. If you have a pillowcase with a particularly stubborn stain, you may need to pre-treat the stain with a stain remover before using this DIY method. Follow the instructions on the stain remover carefully and test it on a small, inconspicuous area of the pillowcase first to ensure that it doesn’t cause any damage or discoloration. For particularly difficult stains, you may need to consult a professional cleaner.
Is this method environmentally friendly?
This DIY method can be more environmentally friendly than a full laundry cycle, as it uses less water and energy. To further reduce your environmental impact, consider using an eco-friendly detergent and air-drying your pillowcase instead of using a dryer. You can also reuse the water from the cleaning process to water your plants or clean other surfaces. By making small, conscious choices, you can minimize your environmental footprint and contribute to a more sustainable lifestyle.


Leave a Comment