
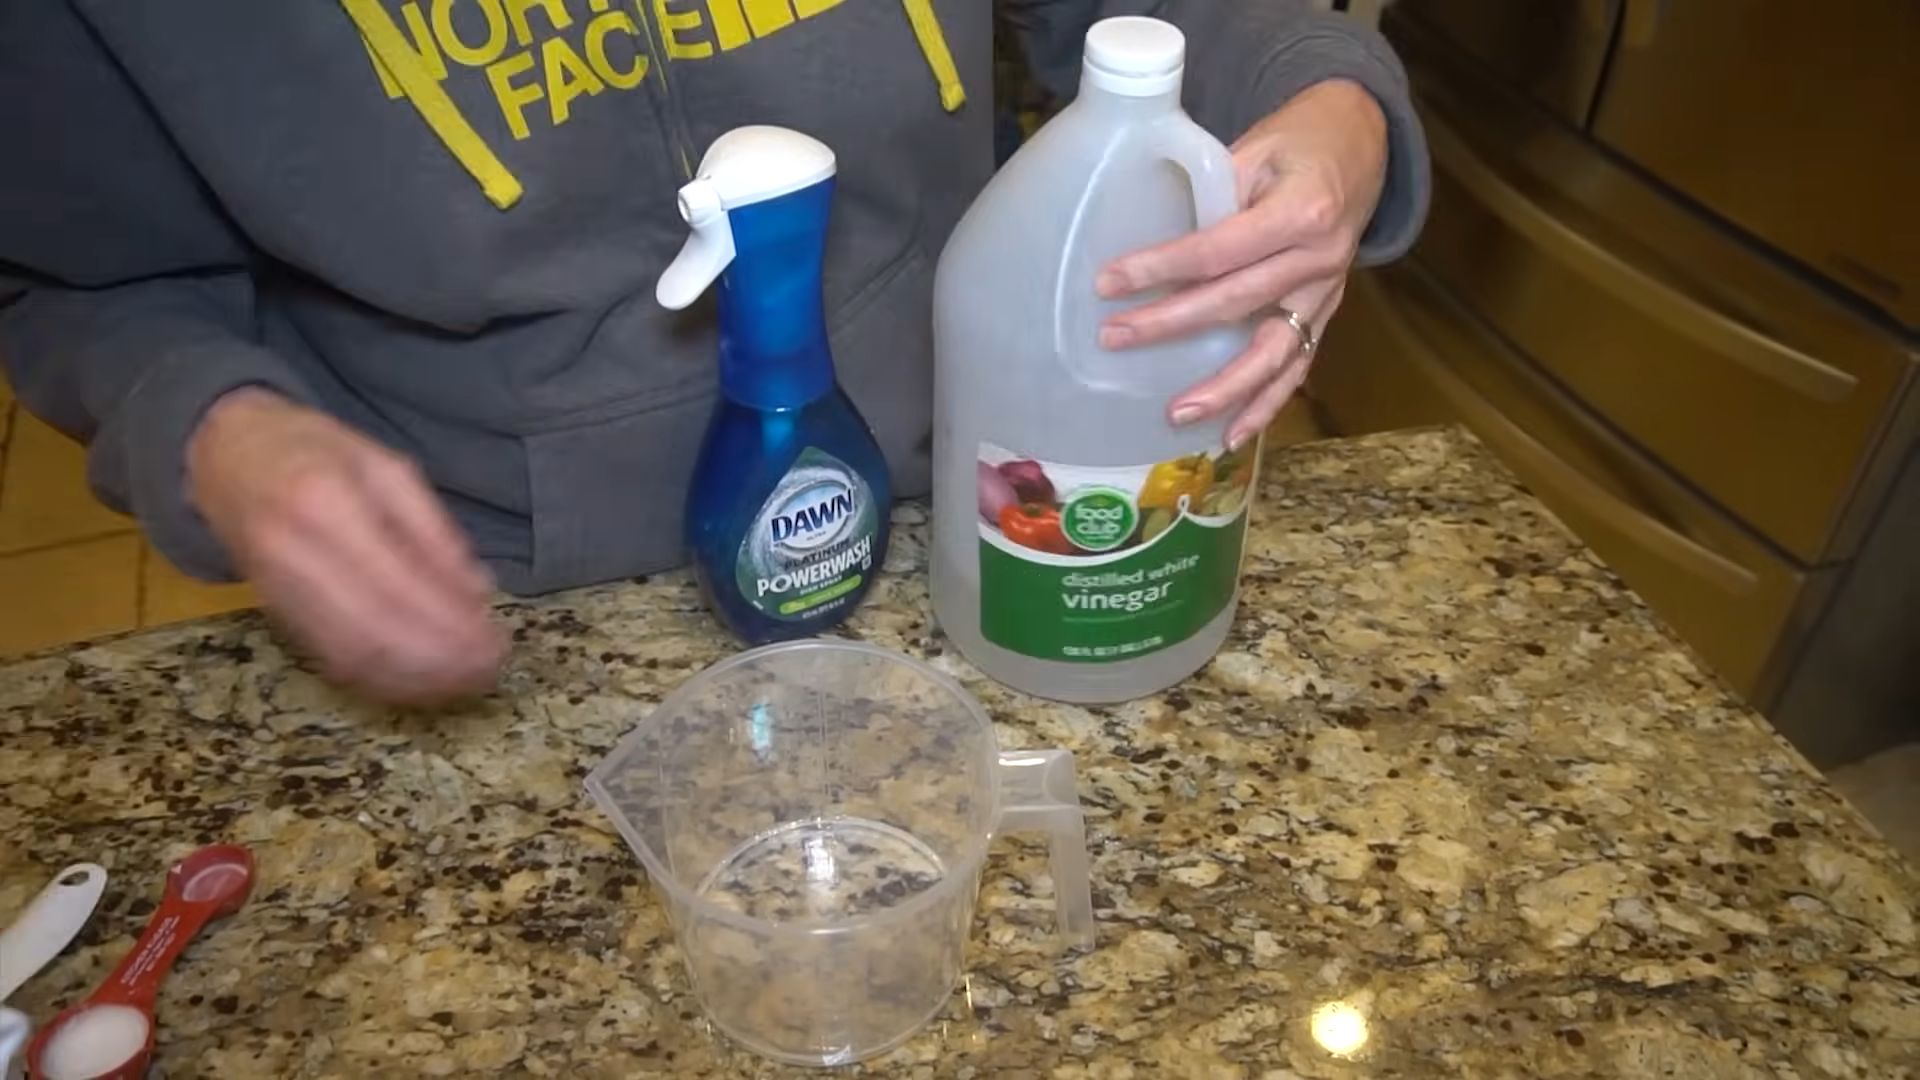
Dawn Soap Cleaning Hacks: Who knew a simple bottle of dish soap could unlock a world of cleaning wonders? I’m constantly amazed by the versatility of everyday household items, and Dawn dish soap is definitely a superstar in that category. For generations, Dawn has been a trusted name in kitchens, tackling greasy dishes with ease. But its cleaning power extends far beyond the sink!
Think about it – our grandmothers probably used a simpler version of Dawn to clean everything from delicate fabrics to stubborn stains. It’s a testament to its effectiveness and gentle formula. But why should you, in today’s world of specialized cleaners, bother with Dawn Soap Cleaning Hacks? Because they’re effective, economical, and often safer for your family and the environment.
In this article, I’m going to share some of my favorite DIY cleaning tricks using Dawn dish soap. From removing grease stains from clothing to creating an all-purpose cleaner, you’ll be surprised at how many uses this humble soap has. Get ready to ditch those expensive, chemical-laden cleaners and embrace the power of Dawn! These Dawn Soap Cleaning Hacks will save you time, money, and maybe even a trip to the store. Let’s get cleaning!
Growing Sweet Potatoes at Home: A Beginner’s Guide
Okay, so you want to grow sweet potatoes at home? Awesome! It’s totally doable, even if you don’t have a huge garden. I’ve done it myself, and let me tell you, there’s nothing quite like digging up your own homegrown sweet potatoes. They taste amazing, and it’s super satisfying. This guide will walk you through everything you need to know, from sprouting slips to harvesting your bounty.
What You’ll Need
Before we dive in, let’s gather our supplies. Here’s a list of what you’ll need to get started:
* Sweet Potatoes: Choose organic sweet potatoes if possible. This reduces the risk of them being treated with sprout inhibitors.
* Containers: Jars, glasses, or plastic containers for sprouting slips.
* Water: Tap water is fine.
* Toothpicks: To suspend the sweet potato in water.
* Potting Mix: A well-draining potting mix for planting the slips.
* Large Containers or Garden Bed: Depending on your space, you’ll need either large containers (at least 10 gallons per plant) or a prepared garden bed.
* Fertilizer: A balanced fertilizer or one specifically formulated for root vegetables.
* Gardening Tools: Trowel, gloves, watering can, etc.
* Mulch: Straw or other organic mulch to help retain moisture and suppress weeds.
Sprouting Sweet Potato Slips: The First Step
Sweet potato slips are basically the sprouts that grow from the sweet potato itself. You can’t just plant a sweet potato and expect it to grow (well, you *can*, but you’ll have much better luck with slips). Here’s how to sprout them:
1. Choose Your Sweet Potato: Select a healthy-looking sweet potato. Organic is best, as non-organic ones might be treated to prevent sprouting. I usually pick a few, just in case some don’t sprout.
2. Prepare the Sweet Potato: Wash the sweet potato thoroughly to remove any dirt.
3. Suspend in Water: This is where the toothpicks come in. Insert 3-4 toothpicks around the middle of the sweet potato. These will act as a support to suspend the bottom half of the sweet potato in water.
4. Place in Water: Fill a jar or glass with water. The water level should cover the bottom half of the sweet potato.
5. Find a Sunny Spot: Place the jar in a warm, sunny location. A windowsill is perfect.
6. Change the Water Regularly: Change the water every 2-3 days to prevent mold and keep the water fresh.
7. Wait for Sprouts: Be patient! It can take several weeks for sprouts (slips) to appear. You’ll start to see small roots growing from the bottom and green shoots emerging from the top.
8. Harvesting the Slips: Once the slips are 6-8 inches long, they’re ready to be harvested. Gently twist or cut the slips off the sweet potato. Try to get as much of the root as possible.
9. Rooting the Slips in Water: Place the harvested slips in a glass of water, making sure the bottom inch or two is submerged. This will encourage them to develop their own roots. Change the water every day.
10. Wait for Roots: In about a week, the slips should have developed a good root system, ready for planting.
Preparing Your Planting Area
Whether you’re using containers or a garden bed, proper preparation is key. Sweet potatoes need well-drained soil and plenty of sunlight.
Container Gardening
1. Choose the Right Container: Select a large container, at least 10 gallons in size. Sweet potatoes need room to grow.
2. Ensure Drainage: Make sure the container has drainage holes to prevent waterlogging.
3. Fill with Potting Mix: Use a high-quality, well-draining potting mix. Avoid using garden soil, as it can become compacted in containers.
4. Amend the Soil: You can amend the potting mix with compost or other organic matter to improve fertility.
Garden Bed Preparation
1. Choose a Sunny Location: Sweet potatoes need at least 6-8 hours of sunlight per day.
2. Prepare the Soil: Loosen the soil to a depth of at least 12 inches. Remove any rocks, weeds, or debris.
3. Amend the Soil: Sweet potatoes prefer well-drained, slightly acidic soil. Amend the soil with compost, aged manure, or other organic matter to improve drainage and fertility.
4. Create Mounds or Ridges: Sweet potatoes grow best in mounds or ridges. This helps with drainage and allows the roots to expand. Create mounds that are about 12 inches high and 12 inches wide, spaced about 12 inches apart.
Planting Your Sweet Potato Slips
Now for the fun part – planting!
1. Water the Soil: Before planting, water the soil thoroughly. This will help the slips establish themselves.
2. Dig a Hole: Dig a small hole in the soil, large enough to accommodate the roots of the slip.
3. Plant the Slip: Gently place the slip in the hole, making sure the roots are spread out. Cover the roots with soil, leaving the top leaves exposed.
4. Space the Slips: If you’re planting multiple slips, space them about 12 inches apart.
5. Water Again: Water the newly planted slips thoroughly.
Caring for Your Sweet Potato Plants
Sweet potatoes are relatively low-maintenance, but they do need some care to thrive.
1. Watering: Water regularly, especially during dry periods. Sweet potatoes need consistent moisture, but avoid overwatering, which can lead to root rot.
2. Fertilizing: Fertilize every 4-6 weeks with a balanced fertilizer or one specifically formulated for root vegetables. Follow the instructions on the fertilizer package.
3. Weeding: Keep the planting area free of weeds. Weeds can compete with the sweet potatoes for nutrients and water.
4. Mulching: Apply a layer of mulch around the plants to help retain moisture, suppress weeds, and regulate soil temperature. Straw, wood chips, or other organic mulches work well.
5. Pest Control: Sweet potatoes are generally pest-resistant, but watch out for pests like aphids, flea beetles, and sweet potato weevils. If you notice any pests, treat them with an appropriate insecticide or organic pest control method.
6. Vine Management: Sweet potato vines can grow quite long and spread out. You can prune them back if they’re taking over your garden, but be careful not to damage the developing sweet potatoes.
Harvesting Your Sweet Potatoes
The moment you’ve been waiting for! Harvesting sweet potatoes is a rewarding experience.
1. Timing: Sweet potatoes are typically ready to harvest about 90-120 days after planting. The leaves will start to turn yellow and the vines will begin to die back.
2. Dig Carefully: Use a garden fork or shovel to carefully dig around the plants. Be careful not to damage the sweet potatoes.
3. Lift the Potatoes: Gently lift the sweet potatoes from the soil.
4. Curing: Curing is essential for developing the sweet flavor and improving the storage life of sweet potatoes.
* Clean the Potatoes: Gently brush off any excess dirt from the sweet potatoes. Avoid washing them, as this can promote rot.
* Cure in a Warm, Humid Place: Place the sweet potatoes in a warm, humid place (80-85°F and 85-90% humidity) for 7-10 days. A greenhouse, garage, or shed can work well. You can also use a humidifier to increase the humidity.
* Monitor the Potatoes: Check the sweet potatoes regularly for signs of rot. Remove any damaged or diseased potatoes.
5. Storing: After curing, store the sweet potatoes in a cool, dry, and dark place (55-60°F). They should keep for several months.
Troubleshooting
Even with the best planning, things can sometimes go wrong. Here are some common problems and how to fix them:
* Slips Not Sprouting: Make sure the sweet potato is in a warm, sunny location and that the water is changed regularly. If it still doesn’t sprout after several weeks, try a different sweet potato.
* Yellowing Leaves: Yellowing leaves can be a sign of overwatering, underwatering, or nutrient deficiency. Adjust your watering schedule and fertilize as needed.
* Root Rot: Root rot is caused by overwatering. Make sure the soil is well-
Conclusion
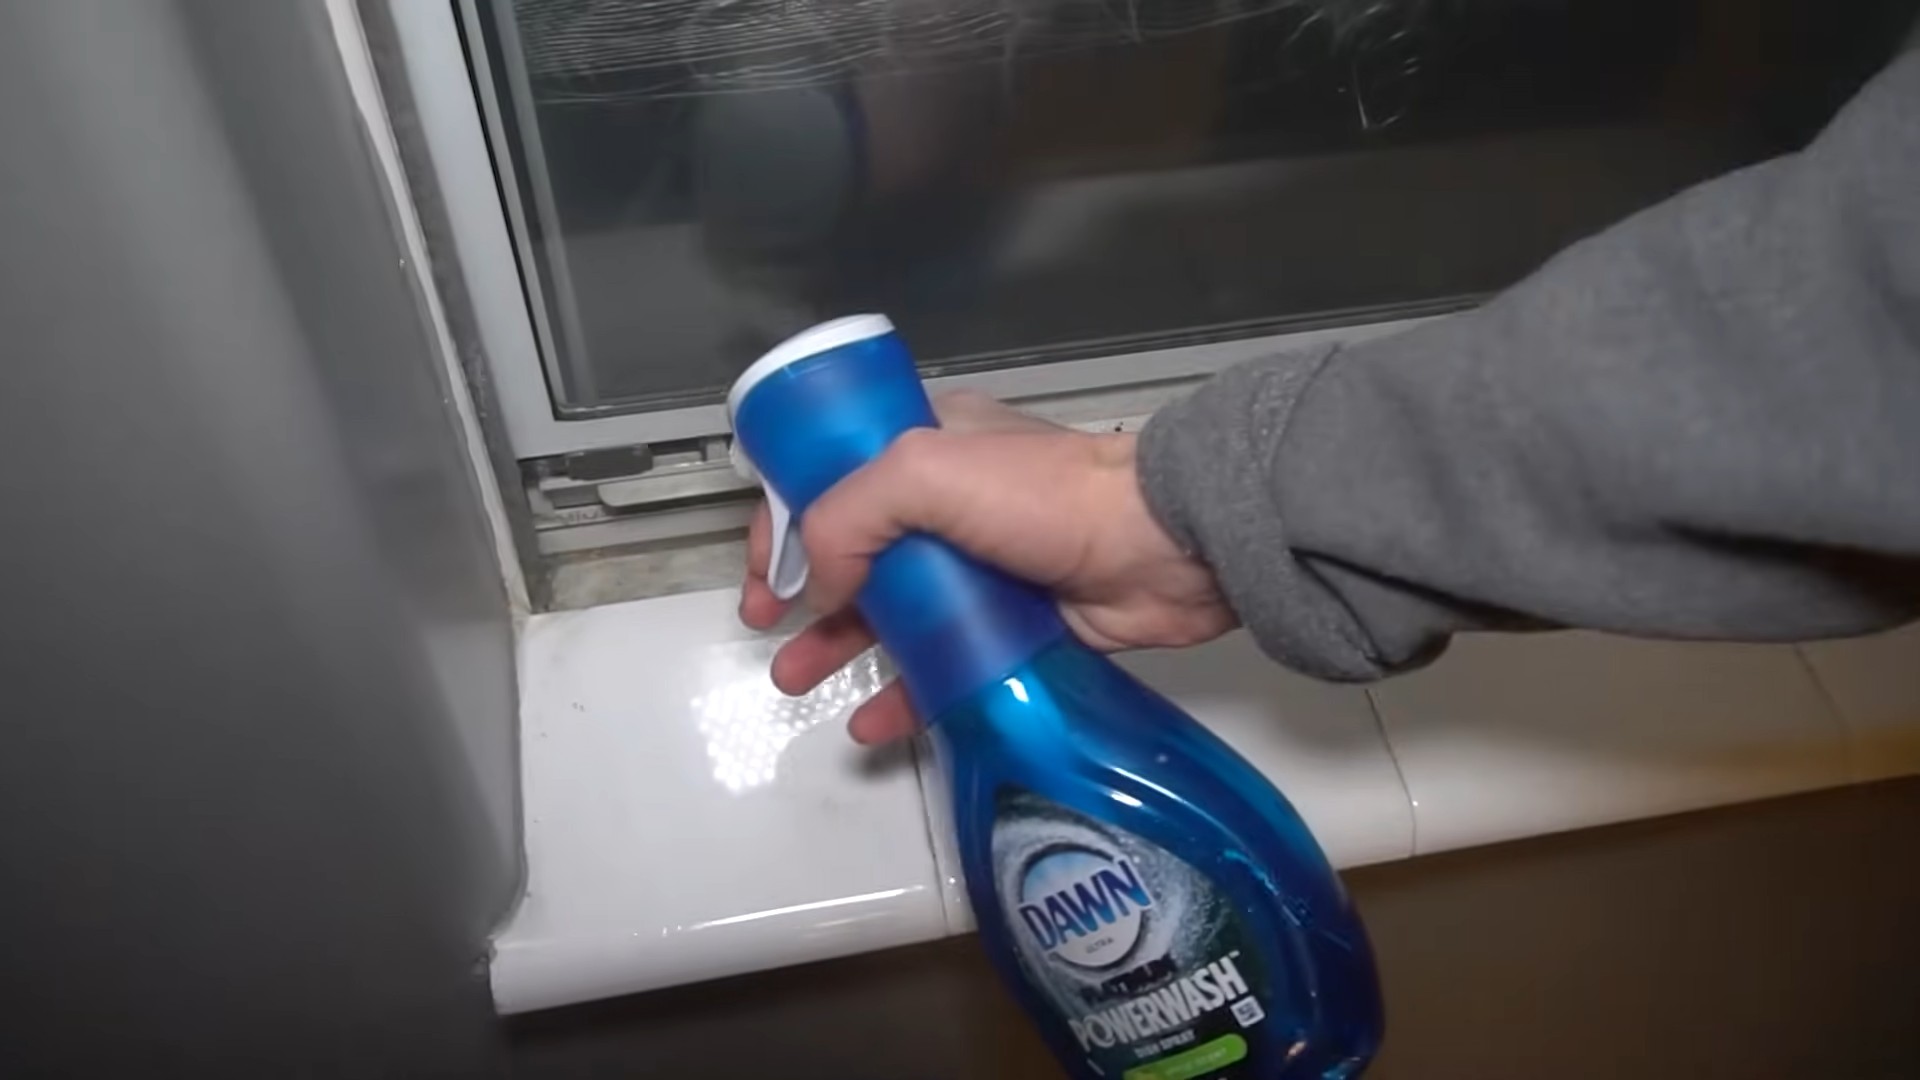
So, there you have it! Transforming your cleaning routine with these incredible Dawn soap cleaning hacks is not just about saving money; it’s about embracing a simpler, more effective, and surprisingly versatile approach to tackling everyday messes. From degreasing the grimiest stovetops to banishing stubborn stains from your favorite clothes, Dawn dish soap proves time and again that it’s more than just a dishwashing liquid – it’s a cleaning powerhouse.
Why is this a must-try? Because it works! You’ll be amazed at how easily Dawn cuts through grease and grime, often outperforming specialized cleaners that cost significantly more. Plus, its gentle formula makes it safe for a wide range of surfaces, reducing the need for a cabinet full of different cleaning products. Think of the space you’ll save!
But the magic doesn’t stop there. Feel free to experiment and adapt these hacks to your specific needs. For instance, if you’re dealing with particularly tough grease on your oven door, try adding a bit of baking soda to your Dawn and water mixture for extra scrubbing power. Or, if you’re cleaning delicate fabrics, dilute the Dawn even further to prevent any potential damage. You can even add a few drops of your favorite essential oil, like lavender or lemon, to your cleaning solution for a fresh, invigorating scent.
Consider these variations:
* **Dawn Power Dissolver Boost:** For baked-on messes in pots and pans, create a paste of Dawn, baking soda, and a little water. Apply it to the affected area, let it sit for a few hours (or even overnight), and then scrub away the grime with ease.
* **Dawn as a Pre-Wash Stain Remover:** Before tossing stained clothes in the washing machine, apply a small amount of Dawn directly to the stain, gently rub it in, and let it sit for about 30 minutes. This can significantly improve your chances of removing the stain completely.
* **Dawn for Cleaning Car Interiors:** Diluted Dawn can be used to clean vinyl and plastic surfaces inside your car. Just be sure to rinse thoroughly with clean water and dry with a microfiber cloth to prevent streaks.
* **Dawn for Cleaning Jewelry:** Soak your jewelry in a solution of warm water and a few drops of Dawn. Gently scrub with a soft toothbrush, rinse thoroughly, and dry with a soft cloth. This will remove dirt and grime, leaving your jewelry sparkling.
We’re confident that once you try these Dawn soap cleaning hacks, you’ll wonder how you ever lived without them. They’re simple, effective, and budget-friendly – a winning combination for any home.
So, go ahead, give them a try! We’re eager to hear about your experiences. Share your before-and-after photos, your favorite variations, and any other tips you discover along the way. Let’s build a community of Dawn-powered cleaning enthusiasts! Don’t forget to share your results on social media using #DawnCleaningHacks. We can’t wait to see what you create!
Frequently Asked Questions (FAQs)
Is Dawn dish soap safe to use on all surfaces?
While Dawn is generally considered safe and gentle, it’s always a good idea to test it on an inconspicuous area first, especially when cleaning delicate or unfamiliar surfaces. Avoid using it on porous materials like unfinished wood, as it can potentially absorb the soap and be difficult to rinse out. For surfaces like leather or suede, consult a professional cleaner. When in doubt, err on the side of caution.
Can I use any type of Dawn dish soap for these cleaning hacks?
The original blue Dawn dish soap is often recommended for its grease-cutting power and gentle formula. However, many other Dawn varieties will also work well. Just be mindful of any added ingredients, such as moisturizers, which might leave a residue on certain surfaces. If you’re unsure, stick with the classic blue Dawn.
How much Dawn dish soap should I use in my cleaning solutions?
A little goes a long way! In most cases, just a few drops of Dawn are sufficient for creating an effective cleaning solution. Overusing Dawn can lead to excessive suds and make rinsing more difficult. Start with a small amount and add more if needed. Remember, you can always add more, but you can’t take it away!
Will Dawn dish soap damage my skin if I use it for cleaning?
While Dawn is generally gentle, prolonged exposure can dry out your skin. It’s always a good idea to wear gloves when cleaning with Dawn, especially if you have sensitive skin. If you do experience dryness or irritation, apply a moisturizer after cleaning.
Can I use Dawn dish soap to clean my car’s exterior?
While Dawn can be used to wash your car, it’s not the ideal choice. It can strip away wax and other protective coatings, leaving your car’s paint vulnerable to the elements. If you do use Dawn, be sure to reapply wax afterwards. For best results, use a car wash soap specifically formulated for automotive paint.
Is Dawn dish soap safe for septic systems?
Dawn is generally considered safe for septic systems when used in moderation. However, excessive use of any soap can potentially disrupt the balance of bacteria in your septic tank. To minimize the risk, use Dawn sparingly and avoid pouring large amounts down the drain.
How do I remove Dawn residue from surfaces?
If you notice a soapy residue after cleaning with Dawn, simply rinse the surface thoroughly with clean water. You may need to rinse multiple times to remove all traces of the soap. Drying the surface with a clean microfiber cloth can also help prevent streaks.
Can Dawn dish soap be used to kill weeds?
While some people claim that Dawn can be used to kill weeds, it’s not a recommended method. Dawn is not designed as an herbicide and may not be effective at killing weeds completely. Additionally, it can potentially harm beneficial plants and insects in your garden. There are more effective and environmentally friendly ways to control weeds.
What are some other uses for Dawn dish soap besides cleaning?
Dawn’s versatility extends beyond cleaning. It can be used to remove oil from birds affected by oil spills, as a bubble solution for kids, and even as a lubricant for installing grips on bicycle handlebars. Its gentle and effective formula makes it a surprisingly useful tool in a variety of situations.
Where can I find more information about Dawn soap cleaning hacks?
You can find a wealth of information online about Dawn soap cleaning hacks. Search for articles, videos, and blog posts that offer tips, tricks, and variations. You can also join online communities and forums dedicated to cleaning and home organization to share your experiences and learn from others. Don’t be afraid to experiment and discover new ways to harness the power of Dawn!


Leave a Comment