
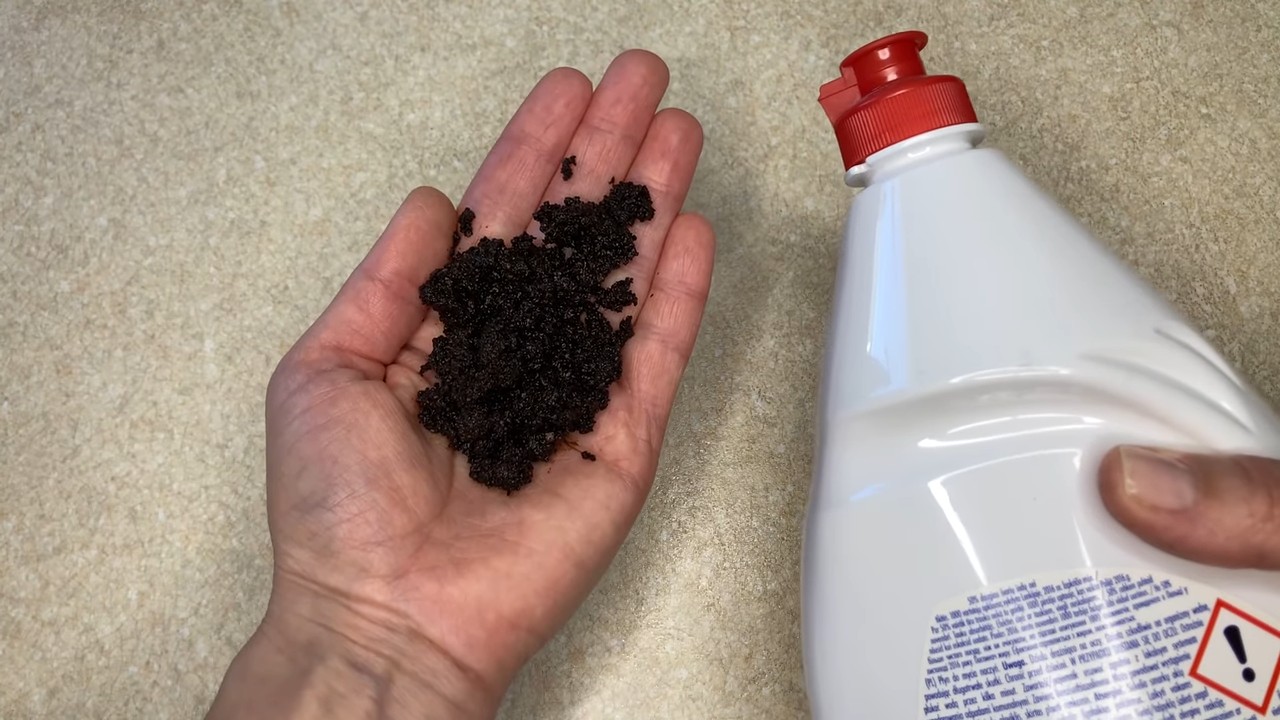
Coffee and Dish Soap Mixture: Sounds a little strange, right? But trust me, this unexpected combination might just be the secret weapon your garden has been waiting for! For centuries, gardeners have been experimenting with natural remedies to keep their plants thriving, often drawing inspiration from household items. Think about it – our grandparents probably didn’t have access to the fancy pesticides we see on shelves today, so they relied on ingenuity and resourcefulness.
And that’s where this DIY trick comes in. I know, I know, you’re probably wondering why you’d ever want to mix coffee and dish soap. Well, the truth is, this simple concoction can be a surprisingly effective solution for tackling common garden pests and even boosting your plant’s health. Are you tired of battling aphids, spider mites, or other unwelcome guests munching on your precious plants? Are you looking for a natural and affordable way to give your garden a little extra love? Then you’re in the right place! This article will walk you through exactly how to create and use this coffee and dish soap mixture to achieve a flourishing, pest-free garden. Let’s get started!
Growing Peanuts at Home: A DIY Guide to Nutty Success!
Okay, peanut lovers, gather ’round! I’m going to walk you through the surprisingly simple process of growing your own peanuts right in your backyard (or even in containers!). Trust me, there’s nothing quite like the taste of freshly harvested, homegrown peanuts. Plus, it’s a super fun and rewarding project. Let’s get started!
What You’ll Need: The Peanut Starter Pack
Before we dive into the dirt, let’s make sure you have everything you need. Here’s your checklist:
* Raw, Unsalted Peanuts in the Shell: This is crucial! You need raw peanuts, not roasted or boiled ones. Look for them at your local health food store or online. Make sure they are labeled as “raw” or “for planting.”
* Well-Draining Soil: Peanuts thrive in loose, sandy loam soil. If your soil is heavy clay, you’ll need to amend it with compost, peat moss, or sand to improve drainage.
* Sunny Location: Peanuts need at least 6-8 hours of direct sunlight per day. Choose a spot in your garden that gets plenty of sunshine.
* Gardening Gloves: Protect those hands!
* Shovel or Trowel: For digging and planting.
* Watering Can or Hose: To keep your peanut plants hydrated.
* Optional:
* Compost or Aged Manure: To enrich the soil.
* Peat Moss: To improve soil drainage.
* Raised Bed or Large Container: If your soil isn’t ideal or you’re short on space.
* Row Cover: To protect young plants from pests or frost.
Phase 1: Preparing for Peanut Planting
This phase is all about getting your peanuts ready to sprout and setting up their future home.
1. Choosing Your Planting Time: Peanuts need a long, warm growing season (at least 120-150 frost-free days). The best time to plant is after the last frost, when the soil temperature has warmed to at least 65°F (18°C). I usually aim for late spring or early summer.
2. Sprouting Your Peanuts (Optional, but Recommended): While you can plant peanuts directly in the ground, sprouting them beforehand gives them a head start. Here’s how I do it:
* Step 1: Gently crack open the peanut shells without damaging the peanuts inside.
* Step 2: Place the peanuts on a damp paper towel.
* Step 3: Fold the paper towel over the peanuts and place it in a plastic bag or container.
* Step 4: Keep the paper towel moist and store the bag in a warm place (around 70-80°F or 21-27°C).
* Step 5: Check the peanuts daily. They should start to sprout in 3-7 days.
3. Preparing the Soil: Peanuts need loose, well-draining soil to thrive. If your soil is heavy clay, amend it with compost, peat moss, or sand.
* Step 1: Clear the planting area of any weeds, rocks, or debris.
* Step 2: Dig to a depth of at least 12 inches.
* Step 3: Mix in compost or aged manure to enrich the soil.
* Step 4: If your soil is heavy clay, add peat moss or sand to improve drainage.
* Step 5: Rake the soil smooth and level.
4. Choosing a Planting Location: Peanuts need at least 6-8 hours of direct sunlight per day. Choose a spot in your garden that gets plenty of sunshine. Also, make sure the location has good drainage. Peanuts don’t like to sit in soggy soil.
Phase 2: Planting Your Peanuts
Now for the fun part – getting those peanuts in the ground!
1. Spacing Your Plants: Peanuts need plenty of space to spread out. I recommend spacing them about 6-8 inches apart in rows that are 2-3 feet apart. This allows for good air circulation and prevents overcrowding.
2. Planting Depth: Plant the peanuts about 1-2 inches deep. If you sprouted them, be careful not to damage the sprouts.
3. Planting Instructions:
* Step 1: Dig a small hole about 1-2 inches deep.
* Step 2: Place the peanut (or sprouted peanut) in the hole.
* Step 3: Cover the peanut with soil and gently pat it down.
* Step 4: Repeat for all your peanuts, spacing them 6-8 inches apart.
* Step 5: Water the planting area thoroughly.
4. Mulching (Optional): Applying a layer of mulch around your peanut plants can help retain moisture, suppress weeds, and regulate soil temperature. I like to use straw or shredded leaves.
Phase 3: Caring for Your Peanut Plants
This is where the patience comes in. But trust me, it’s worth it!
1. Watering: Peanuts need consistent moisture, especially during flowering and pod development. Water deeply and regularly, especially during dry spells. Avoid overwatering, as this can lead to fungal diseases. I usually water them every 2-3 days, depending on the weather.
2. Weeding: Keep the planting area free of weeds, as they can compete with your peanut plants for nutrients and water. Hand-pull weeds regularly or use a hoe to cultivate the soil.
3. Fertilizing (Optional): Peanuts are legumes, which means they can fix nitrogen from the air. However, they can still benefit from a light feeding of fertilizer, especially if your soil is poor. Use a fertilizer that is low in nitrogen and high in phosphorus and potassium. I usually fertilize them once or twice during the growing season.
4. Hilling: As your peanut plants grow, they will produce “pegs” that grow down from the flowers into the soil. These pegs are what develop into peanuts. To encourage pod development, you can “hill” the soil around the base of the plants, covering the pegs with soil. This helps protect the developing peanuts and keeps them moist. I usually hill them a couple of times during the growing season.
5. Pest and Disease Control: Peanuts are relatively pest-resistant, but they can be susceptible to certain pests and diseases, such as aphids, spider mites, and fungal diseases. Inspect your plants regularly for signs of pests or diseases. If you find any, treat them promptly with an appropriate insecticide or fungicide. I prefer to use organic pest control methods whenever possible.
Phase 4: Harvesting Your Peanuts
The moment you’ve been waiting for!
1. Knowing When to Harvest: This is the trickiest part. Peanuts are ready to harvest when the leaves start to turn yellow and the inside of the peanut shells are brown and veined. This usually happens about 120-150 days after planting. You can also dig up a few plants to check the peanuts. If they are plump and mature, it’s time to harvest.
2. Harvesting Instructions:
* Step 1: Loosen the soil around the peanut plants with a shovel or garden fork.
* Step 2: Gently pull the plants out of the ground, being careful not to break off the peanuts.
* Step 3: Shake off any excess soil.
* Step 4: Hang the plants upside down in a dry, well-ventilated place for 2-3 weeks to cure.
Phase 5: Curing and Storing Your Peanuts
Almost there! Proper curing and storage are essential for preserving the flavor and quality of your peanuts.
1. Curing: Curing allows the peanuts to dry out and develop their full flavor. Hang the plants upside down in a dry, well-ventilated place for 2-3 weeks. Make sure the peanuts are not exposed to direct sunlight or rain.
2. Separating the Peanuts: Once the peanuts are cured, you can separate them from the plants. Simply pull them off the roots and stems.
3. Storing: Store the peanuts in a cool, dry place in an airtight container. They can be stored in the shell or shelled. Shelled peanuts will last longer if stored in the refrigerator or freezer.
Enjoying Your Homegrown Peanuts!
Now for the best part – enjoying the fruits (or rather, nuts!) of your labor. You can roast them, boil them, or eat them raw. They’re also great in peanut butter, cookies, and other recipes.
Conclusion
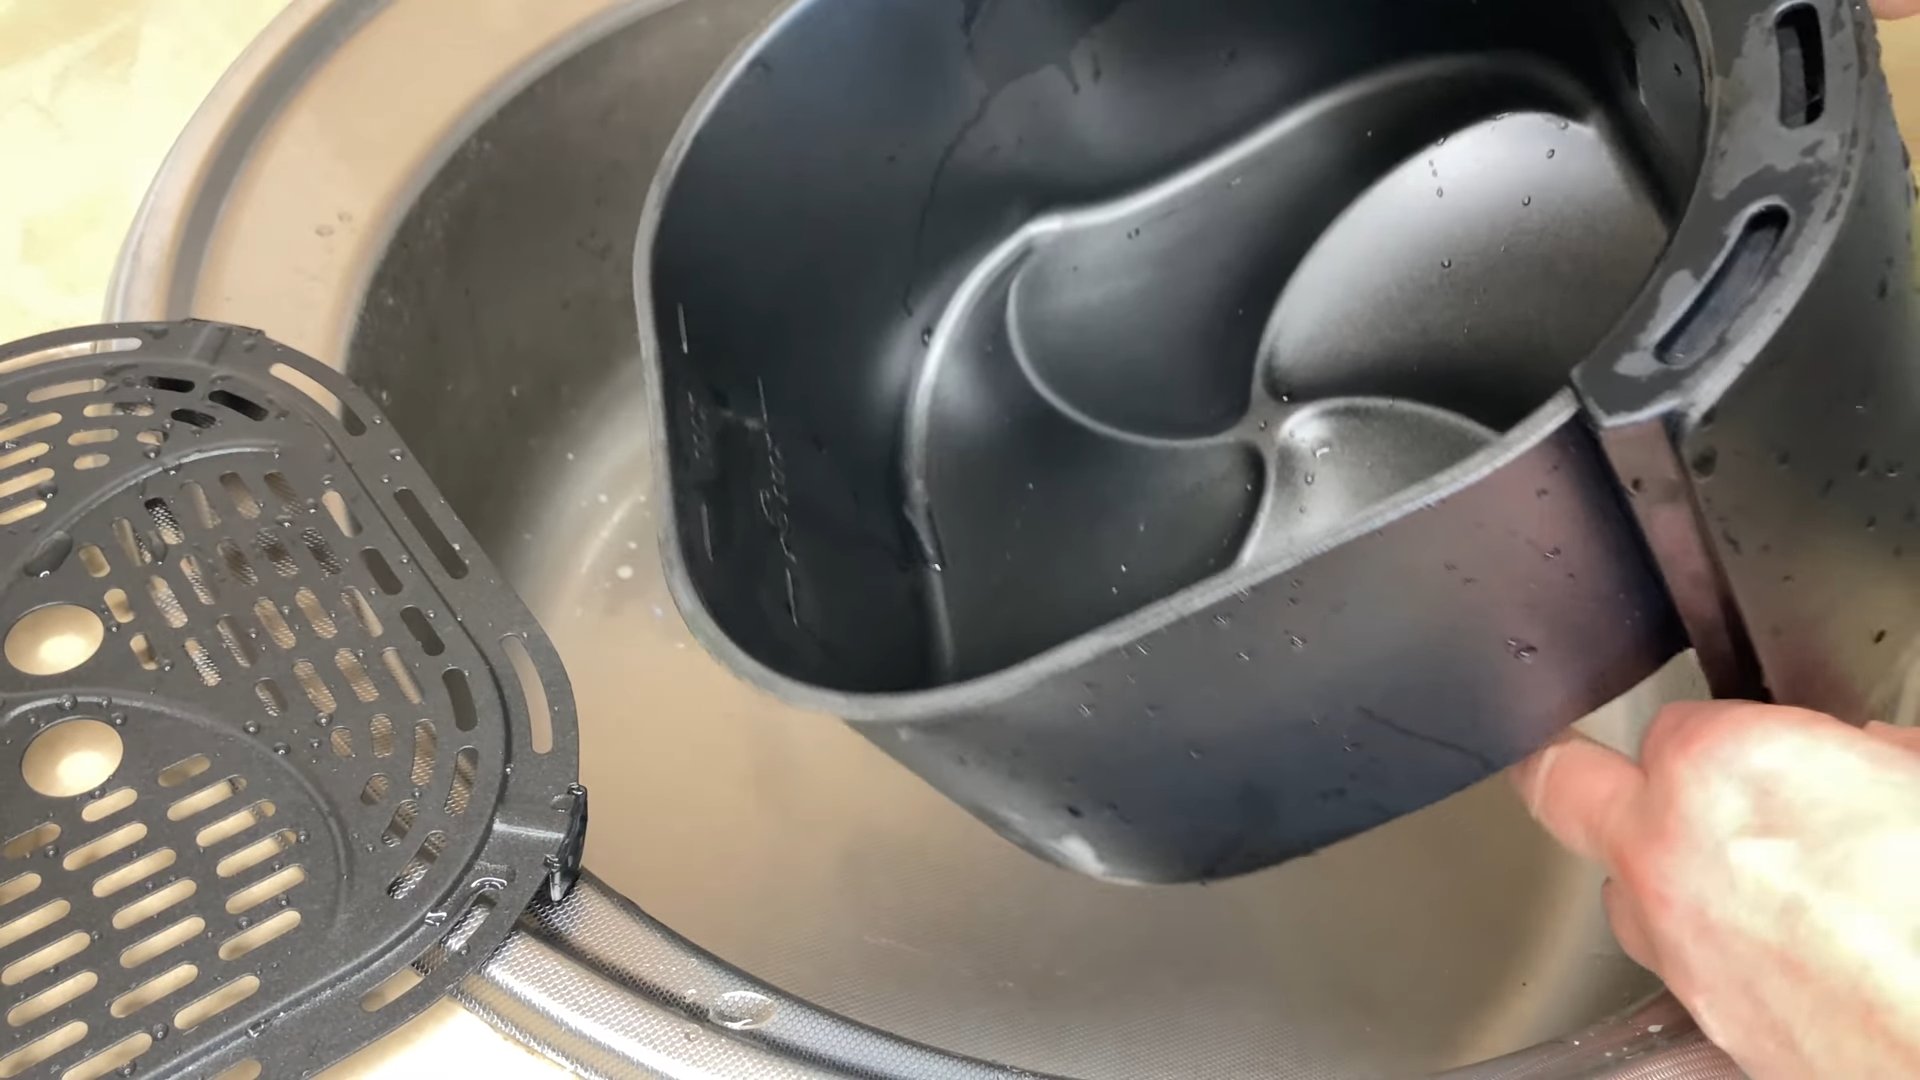
So, there you have it! This simple yet surprisingly effective DIY trick using a coffee and dish soap mixture is a game-changer for tackling stubborn grease and grime. We’ve explored how the abrasive nature of coffee grounds combined with the degreasing power of dish soap creates a potent cleaning solution that’s both eco-friendly and readily available. Forget harsh chemicals and expensive specialty cleaners; this method offers a cost-effective and sustainable alternative that delivers impressive results.
Why is this a must-try? Because it’s more than just a cleaning hack; it’s a practical solution that addresses common household cleaning challenges with readily available ingredients. It’s about simplifying your cleaning routine and achieving sparkling results without compromising on your values or breaking the bank. The coffee grounds provide a gentle scrubbing action, lifting away stubborn residue without scratching delicate surfaces, while the dish soap cuts through grease and grime, leaving surfaces clean and refreshed.
But the beauty of this DIY trick lies in its versatility. Feel free to experiment with different types of coffee grounds – coarser grounds will offer more abrasive cleaning power, while finer grounds are gentler on delicate surfaces. You can also adjust the ratio of coffee grounds to dish soap to suit your specific cleaning needs. For heavily soiled areas, try using a higher concentration of coffee grounds. For lighter cleaning tasks, a milder mixture will suffice.
Consider adding a few drops of essential oils, such as lemon or tea tree oil, to enhance the cleaning power and leave a pleasant scent. Lemon oil is known for its degreasing properties, while tea tree oil boasts antibacterial benefits. A few drops of vinegar can also be added to boost the cleaning power and help remove hard water stains.
Don’t be afraid to get creative and customize this DIY cleaning solution to fit your unique needs and preferences.
We wholeheartedly encourage you to give this coffee and dish soap mixture a try. You’ll be amazed at how effectively it tackles grease, grime, and stubborn stains. It’s a simple, sustainable, and surprisingly powerful cleaning solution that will quickly become a staple in your cleaning arsenal.
Once you’ve experienced the magic of this DIY cleaning trick, we’d love to hear about your results! Share your experiences, tips, and variations in the comments below. Let’s build a community of eco-conscious cleaners who are passionate about finding simple and effective solutions for a sparkling home. Your feedback will not only help others discover the benefits of this method but also inspire new and innovative ways to use this powerful cleaning combination. Let us know what surfaces you’ve tried it on, what variations you’ve experimented with, and any tips you’ve discovered along the way. Together, we can unlock the full potential of this amazing DIY cleaning solution. So, grab your coffee grounds, dish soap, and get ready to experience the cleaning power of this amazing coffee and dish soap mixture!
Frequently Asked Questions
Is this coffee and dish soap mixture safe to use on all surfaces?
While the coffee and dish soap mixture is generally safe for most surfaces, it’s always a good idea to test it on an inconspicuous area first, especially on delicate or easily scratched materials like polished wood, certain types of plastic, or painted surfaces. The abrasiveness of the coffee grounds can potentially cause minor scratches on these surfaces. If you’re unsure, err on the side of caution and use a gentler cleaning method. For example, you might want to avoid using it on stainless steel appliances as it could potentially leave micro-scratches over time. Always rinse the cleaned surface thoroughly with water to remove any remaining residue.
What type of coffee grounds should I use?
You can use any type of coffee grounds for this DIY cleaning solution, but the texture of the grounds will affect the cleaning power. Coarser grounds will provide more abrasive cleaning, making them ideal for tackling tough stains and grime. Finer grounds are gentler and better suited for delicate surfaces. Used coffee grounds are perfectly fine to use, making this a great way to repurpose them. Just make sure they are relatively dry to prevent mold growth in your cleaning mixture. Experiment with different types of grounds to find what works best for your specific cleaning needs.
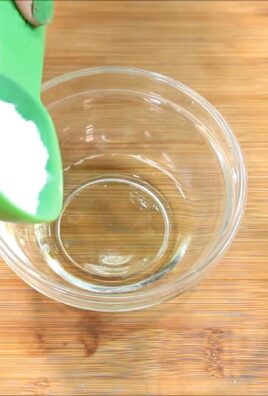
How much dish soap should I use?
The amount of dish soap you use will depend on the consistency you desire and the severity of the cleaning task. A general guideline is to start with a ratio of approximately 1 part dish soap to 2 parts coffee grounds. You can adjust the ratio as needed. For heavily soiled areas, you might want to use a higher concentration of coffee grounds. For lighter cleaning tasks, a milder mixture will suffice. The goal is to create a paste-like consistency that is easy to apply and scrub with.
Can I store the coffee and dish soap mixture for later use?
While you can store the coffee and dish soap mixture, it’s best to use it fresh for optimal results. If you do choose to store it, keep it in an airtight container in a cool, dry place. Be aware that the mixture may dry out over time, so you may need to add a little water to rehydrate it before use. It’s also important to note that the mixture may develop an odor if stored for an extended period. We recommend making only as much as you need for each cleaning session to ensure the best possible results and prevent any potential issues with storage.
What are some other uses for this coffee and dish soap mixture?
Besides cleaning kitchen surfaces, this mixture can be used to clean bathroom tiles, grout, and even outdoor furniture. It’s also effective at removing stubborn stains from pots and pans. Some people even use it as a natural hand scrub to remove grease and odors after cooking or gardening. The possibilities are endless! Just remember to test it on an inconspicuous area first to ensure it doesn’t damage the surface.
Is this mixture safe for septic systems?
While coffee grounds are generally considered safe for septic systems in small amounts, it’s important to be mindful of the quantity you’re using. Excessive amounts of coffee grounds can potentially clog your septic system over time. If you have a septic system, it’s best to use this mixture sparingly and avoid flushing large quantities of coffee grounds down the drain. Consider disposing of the used coffee grounds in your compost bin instead.
Can I use this mixture to clean my coffee maker?
No, this mixture is not recommended for cleaning your coffee maker. The coffee grounds can clog the delicate parts of the machine. Instead, use a solution of vinegar and water to clean your coffee maker according to the manufacturer’s instructions.
What if I don’t have dish soap? Can I use something else?
While dish soap is the preferred ingredient due to its degreasing properties, you can experiment with other mild liquid soaps, such as castile soap or even a gentle hand soap. However, keep in mind that the results may not be as effective as with dish soap, especially for tackling greasy messes.
How do I dispose of the used coffee grounds after cleaning?
The best way to dispose of the used coffee grounds is to add them to your compost bin. Coffee grounds are a valuable addition to compost, as they are rich in nitrogen and other nutrients that benefit plants. If you don’t have a compost bin, you can also dispose of them in your regular trash. Avoid flushing large quantities of coffee grounds down the drain, as this can potentially clog your plumbing.


Leave a Comment