
Cleaning grout with OxiClean might not be the most glamorous topic, but trust me, it’s a game-changer for your home! Are you tired of staring at dingy, discolored grout lines, no matter how much you scrub? I know I was! It felt like I was constantly battling a losing war against grime. But what if I told you there’s a simple, effective, and surprisingly affordable solution hiding in your laundry room?
Grout, that porous material between your tiles, has been a staple in construction for centuries, dating back to ancient civilizations. While its purpose is functional 鈥?to bind and seal 鈥?it’s also a magnet for dirt, mildew, and stains. Over time, these build-ups can make even the most beautiful tile look dull and uninviting. The good news is, you don’t need harsh chemicals or expensive professional cleaning services to restore your grout to its former glory.
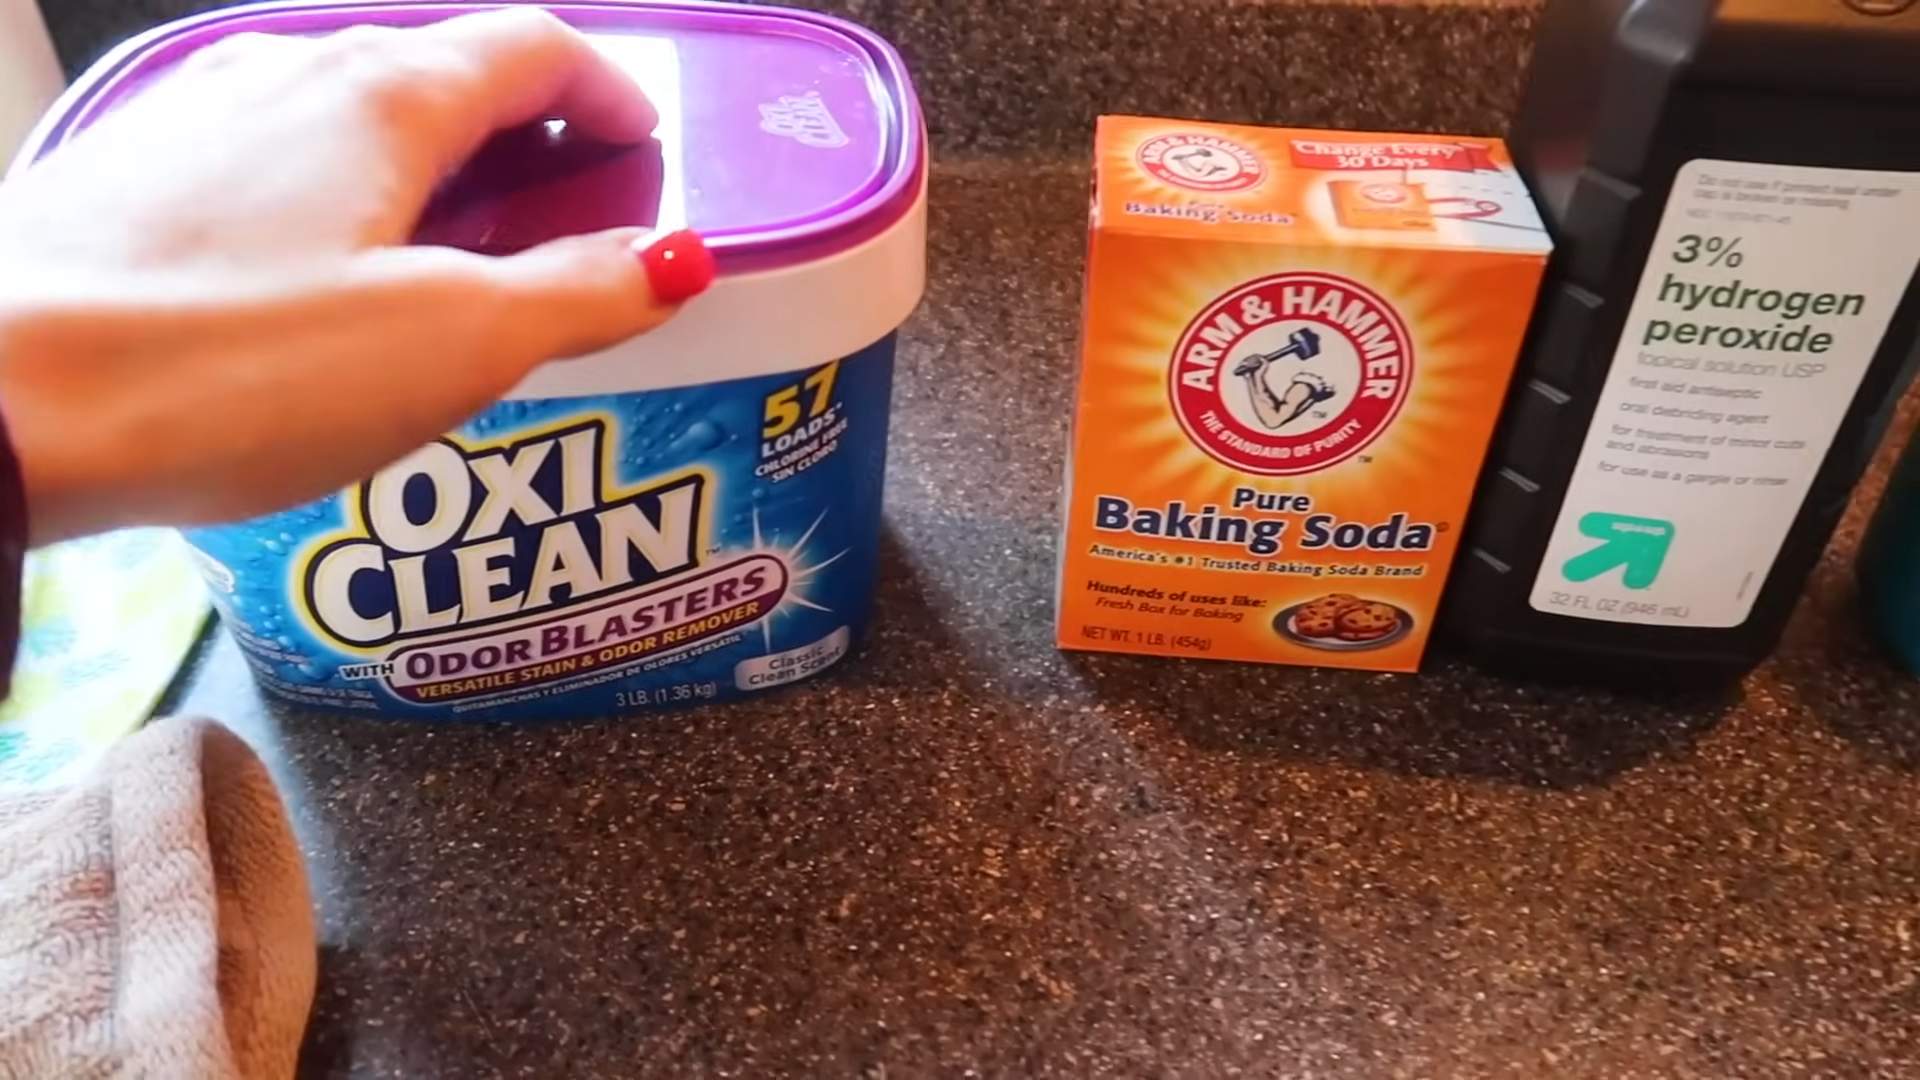
That’s where OxiClean comes in! This oxygen-based cleaner has become a household staple for its stain-fighting power, and it works wonders on grout. In this DIY guide, I’ll walk you through the simple steps of cleaning grout with OxiClean, sharing my personal tips and tricks for achieving sparkling clean results. Say goodbye to stubborn stains and hello to a brighter, fresher home! You’ll be amazed at the difference it makes, and you’ll wonder why you didn’t try this sooner.
Grow Your Own Corn in Bags: A Beginner’s Guide
Hey there, fellow gardening enthusiasts! Ever thought about growing corn but felt limited by space or soil conditions? Well, I’m here to tell you that you can absolutely grow corn in bags! It’s a fantastic way to enjoy fresh, homegrown corn, even if you only have a balcony or a small patio. I’ve done it myself, and trust me, the satisfaction of harvesting your own sweet corn is unbeatable. Let’s dive into how you can do it too!
What You’ll Need
Before we get started, let’s gather all the necessary supplies. This will make the process smoother and more enjoyable.
* Large Grow Bags: I recommend using bags that are at least 15-20 gallons in size. The bigger, the better, as corn plants need plenty of room for their roots to grow. Fabric grow bags are ideal because they allow for good drainage and aeration.
* High-Quality Potting Mix: Don’t skimp on the soil! Corn is a heavy feeder, so you’ll need a nutrient-rich potting mix. Look for a mix that contains compost, peat moss, and perlite or vermiculite for drainage.
* Corn Seeds: Choose a variety of corn that is suitable for your climate and growing season. Sweet corn is a popular choice, but you can also grow popcorn or ornamental corn.
* Slow-Release Fertilizer: This will provide your corn plants with a steady supply of nutrients throughout the growing season. Look for a fertilizer that is specifically formulated for vegetables.
* Watering Can or Hose: You’ll need a way to water your corn plants regularly.
* Optional: Stakes or Trellis: Depending on the variety of corn you choose, you may need to provide support for the stalks as they grow.
* Optional: Mulch: Mulch helps to retain moisture in the soil and suppress weeds. Straw, wood chips, or shredded leaves are all good options.
Choosing the Right Corn Variety
Not all corn varieties are created equal, especially when it comes to growing in bags. Here’s what I’ve learned:
* Short-Stalk Varieties: These are your best bet. Taller varieties can become top-heavy and prone to falling over in bags. Look for varieties specifically bred for smaller spaces or container gardening.
* Days to Maturity: Consider your local climate and growing season. Choose a variety that will mature before the first frost.
* Sweet Corn vs. Other Types: Sweet corn is the most popular choice for home gardeners, but you can also grow popcorn or ornamental corn. Just be aware that different types of corn may require different growing conditions.
* Research is Key: Before you buy seeds, do some research to find out which varieties are best suited for your area and growing conditions. Your local garden center or agricultural extension office can be a great resource.
Step-by-Step Instructions: Planting Your Corn
Now for the fun part! Let’s get those corn seeds in the ground (or, in this case, the bag).
1. Prepare the Grow Bags: Fill your grow bags with the high-quality potting mix, leaving about 2-3 inches of space at the top. This will make watering easier.
2. Add Slow-Release Fertilizer: Mix the slow-release fertilizer into the top few inches of the potting mix, following the instructions on the fertilizer package.
3. Plant the Seeds: Sow the corn seeds about 1-2 inches deep and 4-6 inches apart. I usually plant 4-5 seeds per bag to ensure good pollination. Corn is wind-pollinated, so planting in a block rather than a single row helps with pollination.
4. Water Thoroughly: After planting, water the soil thoroughly until it is evenly moist.
5. Choose a Sunny Location: Place the grow bags in a location that receives at least 6-8 hours of direct sunlight per day. Corn needs plenty of sun to thrive.
6. Germination: Keep the soil consistently moist, but not waterlogged, until the seeds germinate. This usually takes about 7-10 days.
Caring for Your Corn Plants
Once your corn plants have sprouted, it’s important to provide them with the care they need to grow strong and healthy.
1. Watering: Water your corn plants regularly, especially during hot, dry weather. The soil should be consistently moist, but not waterlogged. I usually water deeply every 2-3 days, or more often if the soil dries out quickly.
2. Fertilizing: Corn is a heavy feeder, so you’ll need to fertilize your plants regularly. In addition to the slow-release fertilizer you added at planting time, you can also supplement with a liquid fertilizer every 2-3 weeks. Look for a fertilizer that is high in nitrogen, phosphorus, and potassium.
3. Thinning: Once the seedlings are a few inches tall, thin them to the strongest 2-3 plants per bag. This will give the remaining plants plenty of room to grow.
4. Weeding: Keep the grow bags free of weeds, as weeds can compete with the corn plants for nutrients and water.
5. Pollination Assistance (If Needed): Corn is wind-pollinated, but if you’re growing in a sheltered location, you may need to assist with pollination. When the tassels (the male flowers at the top of the plant) start to shed pollen, gently shake the stalks to release the pollen. You can also collect the pollen in a small container and then sprinkle it onto the silks (the female flowers that emerge from the developing ears of corn).
6. Supporting the Stalks: As the corn plants grow taller, they may need support to prevent them from falling over. You can use stakes or a trellis to provide support. I usually insert a few stakes around the perimeter of the bag and then tie the stalks to the stakes with twine.
7. Pest and Disease Control: Keep an eye out for pests and diseases. Common corn pests include corn earworms, aphids, and spider mites. Common corn diseases include rust and smut. If you notice any signs of pests or diseases, take action immediately to control them. Insecticidal soap and neem oil are effective treatments for many common pests. Fungicides can be used to control fungal diseases.
Harvesting Your Corn
The moment you’ve been waiting for! Harvesting your own homegrown corn is incredibly rewarding.
1. Check for Ripeness: Corn is usually ready to harvest about 20-30 days after the silks emerge. The silks will turn brown and dry, and the ears of corn will feel plump and full.
2. The “Thumb Test”: Gently peel back a portion of the husk and puncture a kernel with your thumbnail. If the liquid that comes out is milky, the corn is ripe. If the liquid is clear, the corn is not yet ripe. If the liquid is doughy, the corn is overripe.
3. Harvesting: To harvest the corn, grasp the ear firmly and twist it downward. The ear should snap off easily from the stalk.
4. Enjoy! Enjoy your freshly harvested corn as soon as possible. Sweet corn is at its sweetest when it is freshly picked. You can grill it, boil it, roast it, or use it in your favorite recipes.
Troubleshooting Common Problems
Even with the best care, you may encounter some problems when growing corn in bags. Here are some common issues and how to address them:
* Poor Germination: If your corn seeds don’t germinate, it could be due to several factors, such as poor-quality seeds, cold soil, or overwatering. Make sure you’re using fresh, high-quality seeds and that the soil is warm enough for germination. Avoid overwatering, as this can cause the seeds to rot.
* Yellowing Leaves: Yellowing leaves can be a sign of nutrient deficiency, especially nitrogen deficiency. Fertilize your corn plants with a nitrogen-rich fertilizer to correct the deficiency.
* Stunted Growth: Stunted growth can be caused by a variety of factors, such as poor soil, lack of sunlight, or pest infestation. Make sure your corn plants are growing in high-quality soil and receiving plenty of sunlight. Check for pests and diseases and take action to control them if necessary.
* Poor Pollination: Poor pollination can result in ears of corn with missing kernels. If you’re growing in a sheltered location, you may need to assist with pollination by shaking the stalks or collecting and applying pollen to the silks.
* Falling Over: Corn plants can fall over if they are not properly supported. Use stakes or a trellis to provide support for the stalks.
Tips for Success
Here are a few extra tips to help you succeed in growing corn in bags:
* Start with Good Soil: The quality of your soil is crucial for growing healthy corn plants. Use a high-quality potting mix that is rich in nutrients and well-draining.
* Provide Plenty of Sunlight:
Conclusion
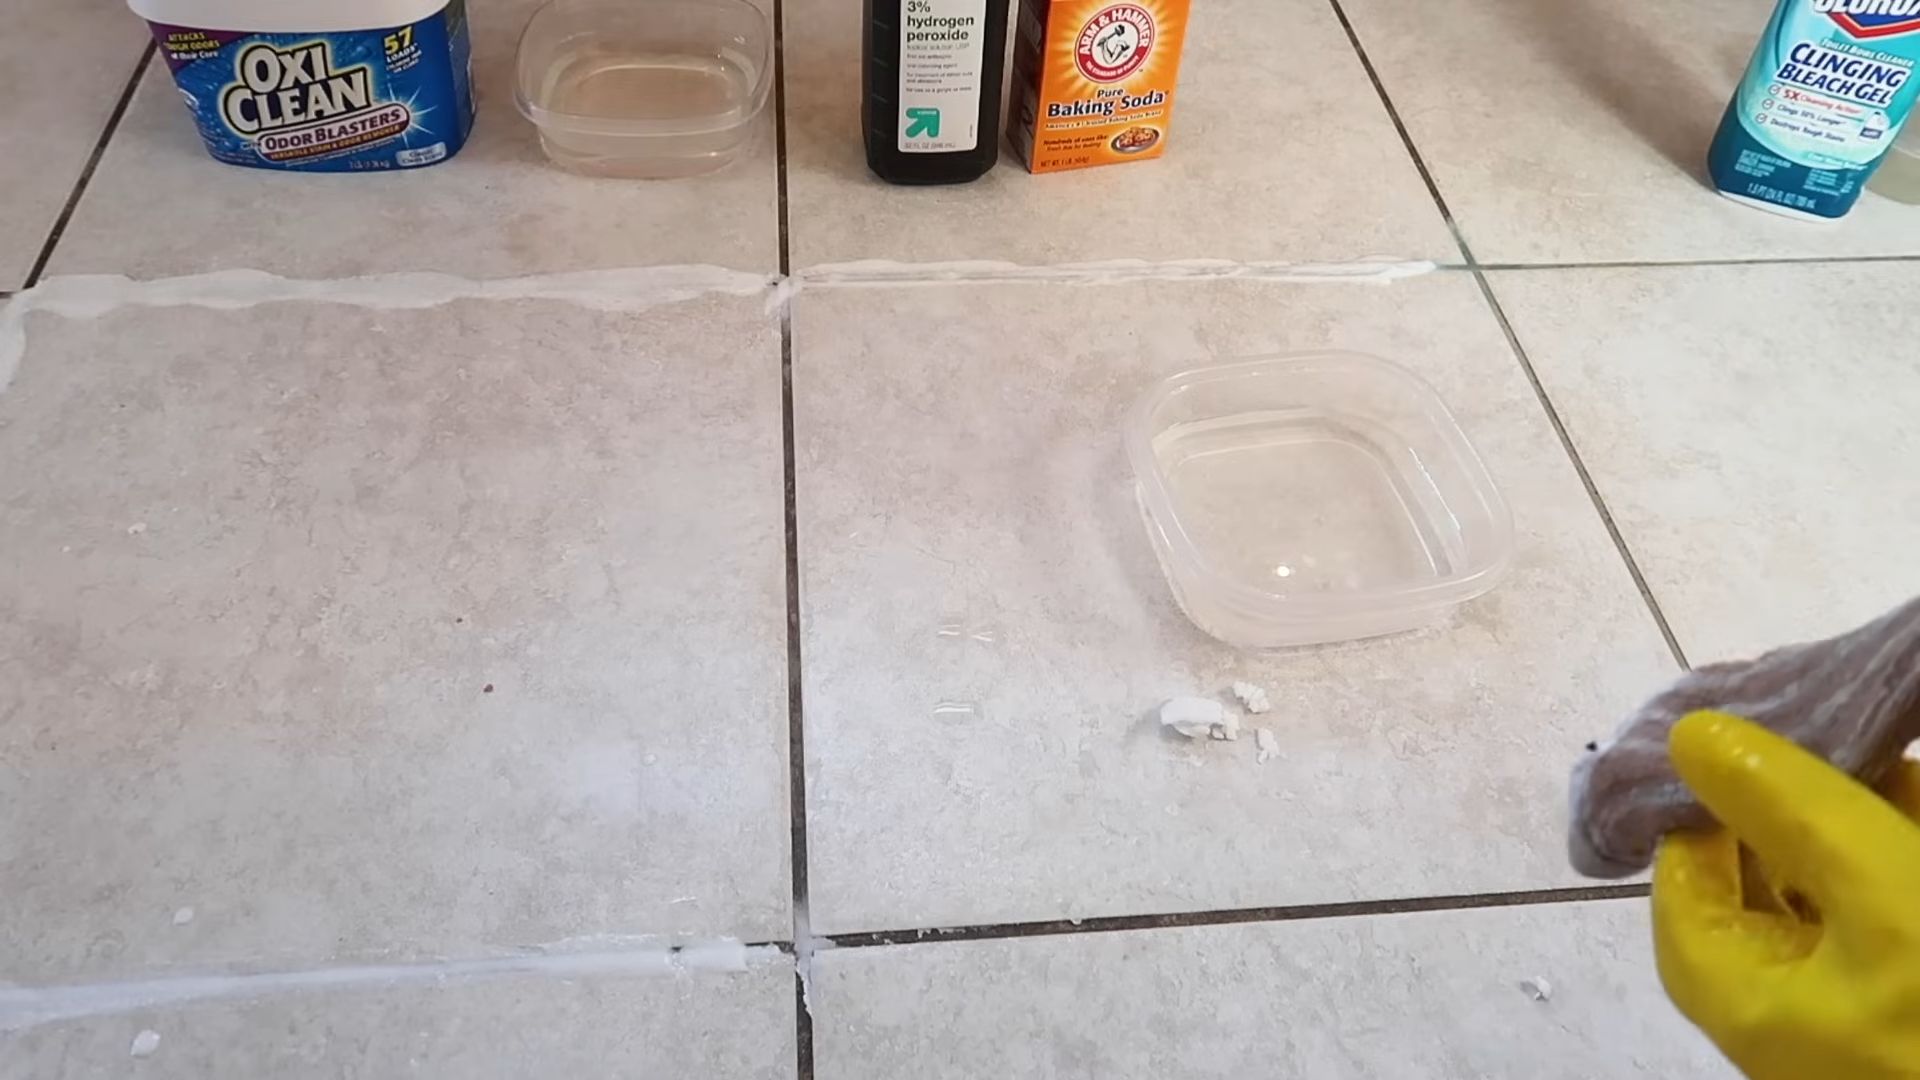
So, there you have it! Cleaning grout doesn’t have to be a back-breaking chore involving harsh chemicals and endless scrubbing. This simple, effective DIY trick using Oxiclean offers a powerful yet surprisingly gentle solution for restoring your grout to its former glory. We’ve shown you how to harness the power of oxygen to lift away years of grime, stains, and discoloration, revealing the bright, clean grout you forgot was even there.
Why is this a must-try? Because it’s cost-effective, readily accessible, and significantly less abrasive than many commercial grout cleaners. You likely already have Oxiclean in your laundry room, saving you a trip to the store and the expense of specialized products. More importantly, it’s a safer alternative, minimizing your exposure to harsh chemicals and fumes. The results speak for themselves: visibly cleaner, brighter grout with minimal effort.
But the beauty of this DIY method lies in its adaptability. Feel free to experiment with variations to suit your specific needs and preferences. For particularly stubborn stains, consider creating a thicker paste of Oxiclean and water, allowing it to sit on the grout for an extended period before scrubbing. You can also add a few drops of your favorite essential oil, like tea tree or eucalyptus, for an added boost of cleaning power and a refreshing scent. If you’re dealing with colored grout, always test the solution in an inconspicuous area first to ensure it doesn’t affect the color. Another variation is to use a grout brush with stiffer bristles for more aggressive cleaning on heavily soiled areas. Remember to always wear gloves to protect your hands and ensure proper ventilation in the area you are cleaning.
This method is not just for bathroom tiles; it works wonders on kitchen backsplashes, tiled floors, and even outdoor patios. Think of all the surfaces where grout accumulates dirt and grime 鈥?this Oxiclean solution can tackle them all!
We’re confident that once you try this DIY trick for cleaning grout with Oxiclean, you’ll be amazed by the results. It’s a game-changer for anyone looking to maintain a clean and healthy home without resorting to harsh chemicals or expensive professional services.
Now, it’s your turn! We encourage you to give this method a try and see the difference it makes in your own home. Don’t forget to take before-and-after photos 鈥?we’d love to see your transformations! Share your experiences, tips, and variations in the comments below. Let’s create a community of clean grout enthusiasts and help each other achieve sparkling results. We’re eager to hear your stories and learn from your experiences. Happy cleaning!
Frequently Asked Questions (FAQ)
1. Is Oxiclean safe to use on all types of grout?
While Oxiclean is generally considered safe for most types of grout, it’s always best to test it in an inconspicuous area first, especially if you have colored grout. Apply a small amount of the Oxiclean solution to a hidden spot and let it sit for the recommended time. Then, rinse it off and check for any discoloration or damage. If you notice any adverse effects, discontinue use. For epoxy grout, which is more resistant to staining, Oxiclean is generally safe, but still perform a spot test. If you are unsure about the type of grout you have, consult with a tile or grout specialist before proceeding.
2. How long should I let the Oxiclean solution sit on the grout?
The recommended dwell time for the Oxiclean solution is typically 10-15 minutes. However, for heavily soiled grout, you can let it sit for up to 30 minutes. Keep an eye on the grout and ensure the solution doesn’t dry out completely. If it starts to dry, lightly mist it with water to keep it active. Avoid leaving the solution on for extended periods, as this could potentially damage the grout or surrounding tiles. After the dwell time, thoroughly scrub the grout with a brush and rinse with clean water.
3. What kind of brush should I use for scrubbing the grout?
A grout brush with stiff nylon bristles is ideal for scrubbing grout. These brushes are specifically designed to reach into the narrow grout lines and effectively remove dirt and grime. You can find grout brushes at most hardware stores or online retailers. Alternatively, you can use an old toothbrush for smaller areas or detail work. Avoid using metal brushes or abrasive scrub pads, as these can scratch or damage the grout and surrounding tiles. An oscillating tool with a grout cleaning attachment can also be used for larger areas to speed up the process.
4. Can I use Oxiclean on vertical surfaces like shower walls?
Yes, you can use Oxiclean on vertical surfaces like shower walls. To prevent the solution from running down the wall, create a thicker paste by using less water and more Oxiclean powder. Apply the paste to the grout lines and let it sit for the recommended time. You can also use a spray bottle to lightly mist the paste with water to keep it moist. When scrubbing, work in small sections and use a grout brush or sponge to remove the dirt and grime. Rinse thoroughly with clean water.
5. How often should I clean my grout with Oxiclean?
The frequency of cleaning your grout with Oxiclean depends on several factors, including the amount of foot traffic, the level of humidity, and the type of grout you have. In general, it’s recommended to clean your grout every 1-3 months to prevent the buildup of dirt, grime, and mildew. For high-traffic areas or areas prone to moisture, such as bathrooms and kitchens, you may need to clean your grout more frequently. Regular cleaning will help maintain the appearance of your grout and prevent stubborn stains from setting in.
6. Is Oxiclean safe for septic systems?
Oxiclean is generally considered safe for septic systems when used as directed. The active ingredient in Oxiclean, sodium percarbonate, breaks down into sodium carbonate (washing soda) and hydrogen peroxide, which are both relatively harmless to septic systems. However, it’s important to avoid using excessive amounts of Oxiclean, as this could potentially disrupt the balance of bacteria in your septic tank. Always follow the manufacturer’s instructions and use the recommended dosage. If you have any concerns about using Oxiclean with your septic system, consult with a septic system professional.
7. What if the Oxiclean solution doesn’t remove all the stains?
If the Oxiclean solution doesn’t completely remove all the stains, there are a few things you can try. First, try creating a thicker paste of Oxiclean and water and letting it sit on the grout for a longer period. You can also try using a grout brush with stiffer bristles for more aggressive scrubbing. For particularly stubborn stains, you may need to use a specialized grout cleaner that contains stronger chemicals. However, always test the cleaner in an inconspicuous area first to ensure it doesn’t damage the grout or surrounding tiles. Another option is to use a steam cleaner, which can help loosen dirt and grime and make it easier to remove. In some cases, severely stained or damaged grout may need to be professionally cleaned or replaced.
8. Can I use Oxiclean on natural stone tiles?
While Oxiclean is generally safe for most types of grout, it’s not recommended for use on natural stone tiles, such as marble, granite, or limestone. Natural stone is porous and can be easily damaged by harsh chemicals or abrasive cleaners. Oxiclean can potentially etch or discolor natural stone, so it’s best to avoid using it on these surfaces. Instead, use a pH-neutral cleaner specifically designed for natural stone. Always follow the manufacturer’s instructions and test the cleaner in an inconspicuous area first.
9. How do I prevent grout from getting dirty in the first place?
Preventing grout from getting dirty is key to maintaining its appearance and reducing the need for frequent cleaning. Here are a few tips:
* Seal your grout: Applying a grout sealer will help protect it from stains and moisture. Reapply the sealer every 6-12 months, or as recommended by the manufacturer.
* Wipe up spills immediately: Don’t let spills sit on the grout for extended periods, as this can cause staining.
* Use mats and rugs: Place mats and rugs in high-traffic areas to trap dirt and debris before they reach the grout.
* Ventilate your bathroom: Proper ventilation will help reduce moisture and prevent the growth of mildew.
* Clean regularly: Regular cleaning with a mild detergent and water will help prevent the buildup of dirt and grime.
10. What are the potential risks of using Oxiclean for cleaning grout?
While Oxiclean is generally considered a safer alternative to harsh chemical cleaners, there are still some potential risks to be aware of:
* Skin and eye irritation: Oxiclean can cause skin and eye irritation, so it’s important to wear gloves and eye protection when using it.
* Respiratory irritation: Oxiclean can release dust particles that can irritate the respiratory system, so it’s important to use it in a well-ventilated area.
* Discoloration: In rare cases, Oxiclean can cause discoloration of grout or surrounding tiles, especially if used on colored grout or natural stone.
* Damage to grout: Overuse or prolonged exposure to Oxiclean can potentially damage the grout, making it more porous and susceptible to staining.
Always follow the manufacturer’s instructions and use

Leave a Comment