
Cleaning burnt pan can feel like the ultimate kitchen nightmare, right? We’ve all been there – distracted by a phone call, a captivating TV show, or simply forgetting about that simmering sauce for a *tad* too long. Suddenly, you’re faced with a blackened, crusty mess that seems impossible to salvage. But don’t despair! Before you resign yourself to scrubbing for hours (or worse, tossing that beloved pan), I’m here to tell you there’s hope!
Throughout history, resourceful cooks have developed clever techniques to tackle this very problem. From using natural abrasives like sand and ash in ancient times to the modern-day reliance on baking soda and vinegar, the quest for the perfect burnt pan cleaning solution has been ongoing. These methods weren’t just about cleanliness; they were about preserving precious cookware and minimizing waste – values that resonate just as strongly today.
Let’s face it, nobody enjoys spending their precious time scrubbing away at stubborn burnt food. That’s why I’m sharing some amazing DIY tricks and hacks that will make cleaning burnt pan a breeze. These simple, effective methods use common household ingredients, saving you time, money, and a whole lot of elbow grease. Get ready to say goodbye to those frustrating burnt-on messes and hello to sparkling clean pans with minimal effort!
DIY: Revive Your Burnt Pans with These Simple Tricks!
Okay, let’s face it, we’ve all been there. You’re multitasking, maybe catching up on your favorite show while cooking, and suddenly… the smell of burnt food fills the air. Disaster! Your pan is now a blackened mess. Don’t despair! Before you toss that poor pan in the trash, let me share some tried-and-true methods I’ve used to rescue my own cookware from the depths of burnt-on food hell. These are all relatively easy, use common household ingredients, and, most importantly, they work!
The Baking Soda and Vinegar Power Couple
This is my go-to method for most burnt pans. It’s gentle, effective, and uses ingredients you probably already have in your pantry.
What you’ll need:
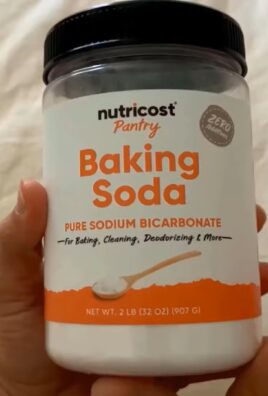
* Baking soda
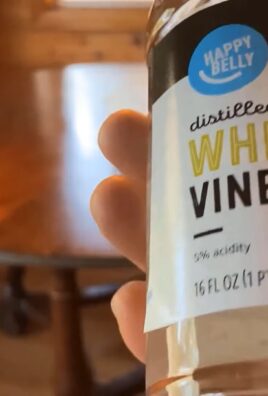
* White vinegar
* Water
* Scrubbing sponge (non-abrasive is best to avoid scratching)
* Dish soap
Step-by-step instructions:
1. Assess the Damage: First, take a good look at the pan. How badly is it burnt? This will help you determine how long to let the solution sit. For lightly burnt pans, a shorter soaking time will suffice. For heavily burnt pans, you might need to repeat the process.
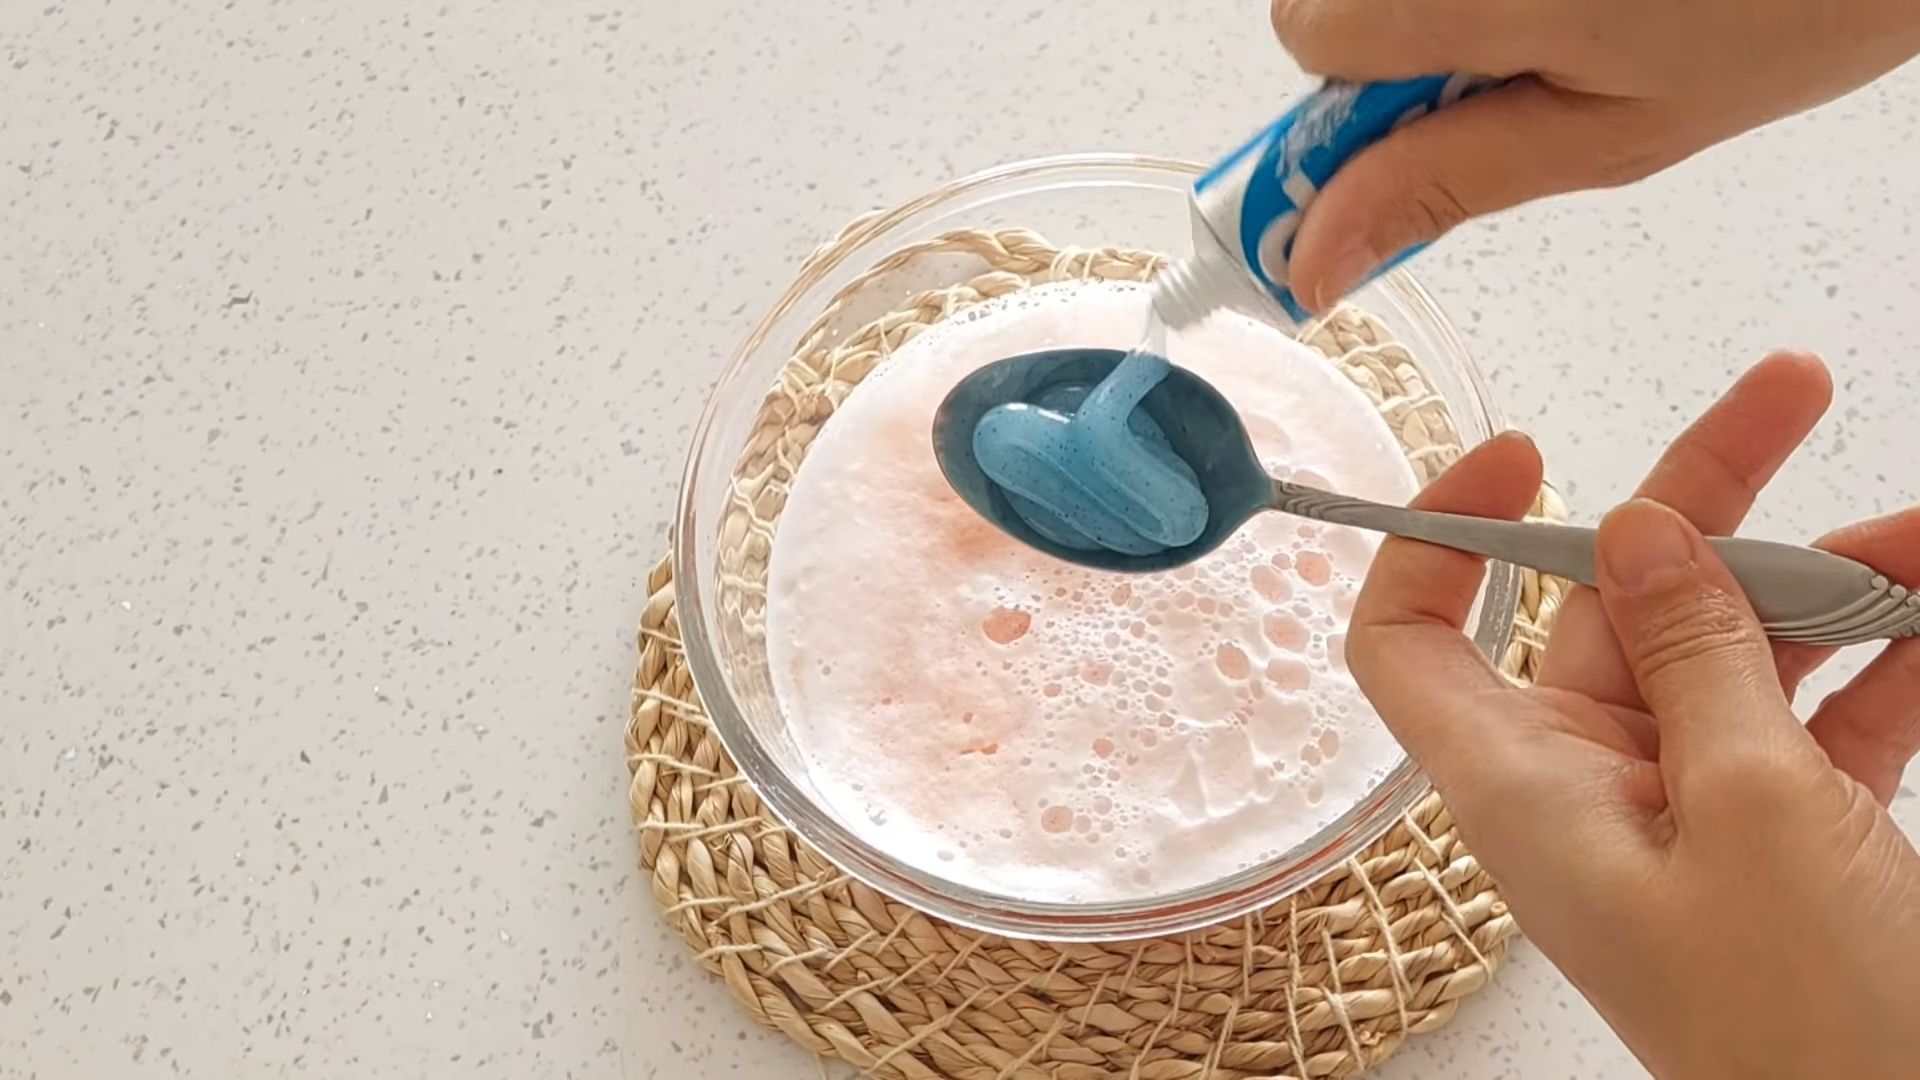
2. Cover the Burnt Area: Pour a generous layer of baking soda over the burnt food residue in the pan. You want to completely cover the affected area. Don’t be shy!
3. Add Vinegar: Now, slowly pour white vinegar over the baking soda. You’ll see it start to fizz – that’s the magic happening! The chemical reaction between the baking soda and vinegar helps to loosen the burnt food.
4. Add Water and Boil: Add enough water to cover the burnt area completely. Place the pan on the stovetop and bring the mixture to a boil.
5. Simmer and Scrape: Let the mixture simmer for about 10-15 minutes. As it simmers, use a wooden spoon or spatula to gently scrape at the burnt food. You should see it starting to lift away from the pan.
6. Cool and Scrub: Remove the pan from the heat and let it cool down enough to handle. Pour out the baking soda and vinegar mixture.
7. Scrub Away: Using your scrubbing sponge and a little dish soap, scrub the remaining burnt food residue. Hopefully, most of it will come off easily. If there are still stubborn spots, don’t worry! Move on to the next step.
8. Repeat if Necessary: For particularly stubborn burnt spots, you might need to repeat the baking soda and vinegar treatment. Just add more baking soda, vinegar, and water, and simmer again.
9. Final Wash: Once you’ve removed all the burnt food, wash the pan thoroughly with dish soap and water. Dry it completely to prevent rust.
The Salt and Potato Power Scrub
This is a great, natural method, especially good for cast iron pans. The potato acts as a gentle abrasive, while the salt helps to lift the burnt food.
What you’ll need:
* Coarse salt (sea salt or kosher salt works well)
* Potato (cut in half)
* Water
* Dish soap
Step-by-step instructions:
1. Prepare the Pan: Lightly wet the burnt area of the pan with water. This will help the salt and potato stick.
2. Sprinkle with Salt: Generously sprinkle coarse salt over the burnt food residue.
3. Potato Power: Take one half of the potato and use it as a scrubbing pad. Press down firmly and scrub the burnt area in a circular motion. The potato’s natural enzymes and the abrasive salt will work together to loosen the burnt food.
4. Add More Salt as Needed: As you scrub, the salt will become dirty. Add more salt as needed to maintain a good abrasive surface.
5. Rinse and Repeat: Rinse the pan with water to remove the loosened burnt food and salt. If there are still stubborn spots, repeat the scrubbing process with the potato and salt.
6. Wash and Dry: Once you’ve removed all the burnt food, wash the pan thoroughly with dish soap and water. Dry it completely.
7. Season Cast Iron (If Applicable): If you used this method on a cast iron pan, it’s important to re-season it after cleaning. This will prevent rust and maintain the pan’s non-stick surface. To season, lightly coat the pan with cooking oil and bake it in a preheated oven at 350°F (175°C) for about an hour.
The Dryer Sheet Surprise
This might sound strange, but trust me, it works! Dryer sheets contain chemicals that can help to loosen burnt food residue.
What you’ll need:
* Dryer sheets (used or new)
* Water
* Dish soap
* Scrubbing sponge
Step-by-step instructions:
1. Line the Pan: Place a dryer sheet (or several, depending on the size of the pan) in the burnt pan.
2. Fill with Water: Fill the pan with warm water, making sure the dryer sheet is completely submerged.
3. Let it Soak: Let the pan soak overnight (or for at least 8 hours). The chemicals in the dryer sheet will work to loosen the burnt food.
4. Drain and Scrub: The next day, drain the water and remove the dryer sheet. You should find that the burnt food has softened considerably.
5. Scrub Away: Using your scrubbing sponge and a little dish soap, scrub the remaining burnt food residue. It should come off much easier than before.
6. Wash and Dry: Wash the pan thoroughly with dish soap and water. Dry it completely.
The Lemon Juice Solution
Lemon juice is a natural acid that can help to break down burnt food. This method is particularly good for stainless steel pans.
What you’ll need:
* Lemon juice (fresh or bottled)
* Water
* Scrubbing sponge
* Dish soap
Step-by-step instructions:
1. Fill with Lemon Juice and Water: Pour enough lemon juice into the pan to cover the burnt area. Add an equal amount of water.
2. Boil and Simmer: Place the pan on the stovetop and bring the mixture to a boil. Then, reduce the heat and let it simmer for about 15-20 minutes. The lemon juice will help to loosen the burnt food.
3. Cool and Scrub: Remove the pan from the heat and let it cool down enough to handle. Pour out the lemon juice and water mixture.
4. Scrub Away: Using your scrubbing sponge and a little dish soap, scrub the remaining burnt food residue. It should come off easily.
5. Wash and Dry: Wash the pan thoroughly with dish soap and water. Dry it completely.
The Cream of Tartar Trick
Cream of tartar is a mild abrasive that can help to remove stains and burnt food residue.
What you’ll need:
* Cream of tartar
* Water
* Scrubbing sponge
* Dish soap
Step-by-step instructions:
1. Make a Paste: Mix cream of tartar with a small amount of water to form a paste.
2. Apply the Paste: Apply the cream of tartar paste to the burnt food residue in the pan.
3. Let it Sit: Let the paste sit for about 30 minutes. This will give the cream of tartar time to work its magic.
4. Scrub Away: Using your scrubbing sponge, scrub the burnt food residue. The cream of tartar will act as a gentle abrasive to help lift the burnt food.
5. Wash and Dry: Wash the pan thoroughly with dish soap and water. Dry it completely.
Important Considerations and Tips
* Pan Material Matters: Always consider the material of your pan before using any of these methods. Some methods are better suited for certain materials than others. For example, abrasive cleaners should be avoided on non-stick surfaces.
* Avoid Abrasive Cleaners on Non-Stick: Never use steel wool or other abrasive cleaners on non-stick pans, as they can damage the coating.
* Test in an Inconspicuous Area: If you’re unsure about using a particular method on your pan, test it in a small, inconspicuous area first.
* Prevention is Key: The best way to avoid burnt pans is to prevent them in the first place! Pay attention to your cooking, use the correct heat settings, and don’t leave food unattended.
* Soak Immediately: If you do burn a pan, soak it in hot, soapy water as soon as possible. This will help to loosen

Conclusion
So, there you have it! No more dreading those stubborn, burnt-on messes in your favorite pans. This simple, yet incredibly effective DIY cleaning trick is a game-changer for anyone who loves to cook but hates the aftermath. We’ve shown you how to reclaim your cookware without harsh chemicals or endless scrubbing. It’s a cost-effective, eco-friendly, and surprisingly satisfying way to bring your burnt pans back to life.
Why is this a must-try? Because it works! It saves you time, money, and the frustration of battling burnt food residue. Think of all the pans you’ve relegated to the back of the cupboard, convinced they were beyond saving. This method offers a second chance, extending the life of your cookware and reducing waste. Plus, it’s a fantastic feeling to see those once-blackened surfaces gleaming again.
But don’t just take our word for it. We encourage you to try this DIY cleaning trick yourself. The basic method of baking soda and vinegar is a great starting point, but feel free to experiment. For particularly stubborn messes, try adding a squirt of dish soap to the mixture. You can also adjust the amount of water depending on the size and depth of the burnt area. For stainless steel pans, some people swear by adding a crumpled ball of aluminum foil to the scrubbing process for extra abrasion. Remember to test any abrasive method in an inconspicuous area first to avoid scratching.
Consider this: you can also use this method on other cookware items, such as baking sheets, casserole dishes, and even the inside of your oven (with proper ventilation, of course!). The power of baking soda and vinegar is truly remarkable.
We’re confident that once you try this method, you’ll be amazed by the results. It’s a simple solution to a common kitchen problem, and it’s a technique you’ll find yourself using again and again.
Now, we want to hear from you! Did you try this DIY cleaning trick? What were your results? Did you experiment with any variations? Share your experiences, tips, and photos in the comments below. Let’s build a community of clean pan enthusiasts and help each other conquer those burnt-on messes once and for all. Your feedback is invaluable, and it helps us refine and improve our recommendations. So, go ahead, give it a try, and let us know what you think! Let’s make burnt pans a thing of the past, one sparkling clean pan at a time. This DIY cleaning trick is your secret weapon against kitchen messes!
Frequently Asked Questions (FAQs)
Q: What kind of pans does this DIY cleaning trick work on?
A: This method is generally effective on a wide range of pan types, including stainless steel, cast iron (uncoated), enamel-coated, and even some non-stick pans. However, it’s crucial to exercise caution, especially with non-stick surfaces. Avoid using abrasive scrubbers or excessive force on non-stick pans, as this can damage the coating. Always test in an inconspicuous area first. For cast iron, remember to re-season the pan after cleaning to prevent rust.
Q: Can I use this method on Teflon pans?
A: While the baking soda and vinegar method is generally considered safe for Teflon pans, it’s best to use it sparingly and with extreme caution. The abrasive nature of baking soda, even in a paste, can potentially scratch or damage the Teflon coating over time. If you choose to use it, use a very soft sponge or cloth and avoid scrubbing vigorously. For Teflon pans, a gentler approach, such as soaking in warm, soapy water, is often sufficient for removing burnt food. Prevention is key – avoid overheating Teflon pans and use non-stick cooking sprays or oils to prevent food from sticking in the first place.
Q: How long should I let the baking soda and vinegar mixture sit in the pan?
A: The soaking time depends on the severity of the burn. For lightly burnt pans, 30 minutes to an hour might be sufficient. For more stubborn messes, you can let the mixture sit for several hours or even overnight. Just be sure to monitor the pan and add more water if the mixture starts to dry out. The longer the mixture sits, the more time it has to loosen the burnt food particles, making them easier to scrub away.
Q: What if the burnt food is really stuck on and doesn’t come off easily?
A: If the burnt food is particularly stubborn, there are a few things you can try. First, add a squirt of dish soap to the baking soda and vinegar mixture. The soap can help to break down grease and further loosen the burnt food. Second, try simmering the mixture on the stovetop for a few minutes before scrubbing. The heat can help to soften the residue. Finally, for stainless steel pans, you can try using a crumpled ball of aluminum foil as a scrubber. The foil is abrasive enough to remove the burnt food but gentle enough to avoid scratching the pan (test in an inconspicuous area first).
Q: Can I use this method to clean the outside of my pans?
A: Yes, you can use this method to clean the outside of your pans, but be mindful of the material. For stainless steel, the baking soda and vinegar paste works well. For other materials, such as copper or enamel, you may need to use a different cleaning solution specifically designed for those materials. Always test in an inconspicuous area first to ensure that the cleaning solution doesn’t damage the finish.
Q: Is it safe to use baking soda and vinegar together? I’ve heard they neutralize each other.
A: While it’s true that baking soda (a base) and vinegar (an acid) neutralize each other when combined, the fizzing reaction is what helps to loosen the burnt food particles. The resulting solution is still effective at cleaning, although it’s less acidic than vinegar alone. The fizzing action is key to lifting the burnt residue.
Q: How do I prevent my pans from getting burnt in the first place?
A: Prevention is always better than cure! Here are a few tips to prevent your pans from getting burnt:
* Use the correct heat setting: Avoid using high heat, especially when cooking foods that are prone to sticking.
* Use enough oil or cooking spray: Make sure the pan is properly lubricated before adding food.
* Stir frequently: Stirring helps to prevent food from sticking to the bottom of the pan.
* Don’t overcrowd the pan: Overcrowding can lower the temperature of the pan and cause food to steam instead of sear, which can lead to sticking.
* Use the right type of pan for the job: Some pans are better suited for certain types of cooking than others. For example, non-stick pans are great for cooking eggs and pancakes, while stainless steel pans are better for searing meat.
* Clean your pans regularly: Don’t let food residue build up over time, as this can make it more difficult to clean.
Q: What other DIY cleaning solutions can I use for burnt pans?
A: Besides baking soda and vinegar, there are a few other DIY cleaning solutions you can try:
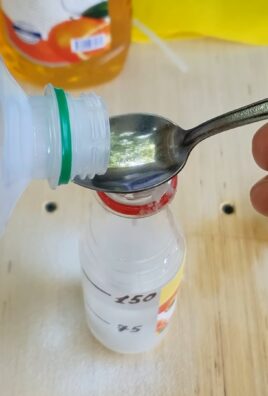
* Boiling water and dish soap: Fill the pan with water, add a squirt of dish soap, and bring to a boil. Let it simmer for a few minutes, then scrub.
* Lemon juice: Cut a lemon in half and rub it over the burnt area. Let it sit for a few minutes, then scrub.
* Cream of tartar: Make a paste of cream of tartar and water, apply it to the burnt area, and let it sit for a few minutes, then scrub.
* Dryer sheets: Place a dryer sheet in the pan, fill it with water, and let it soak overnight. The dryer sheet will help to loosen the burnt food.
Q: How often should I clean my pans using this method?
A: You can use this method as often as needed, depending on how frequently your pans get burnt. For pans that are prone to burning, you may want to clean them after each use. For pans that are less prone to burning, you can clean them less frequently. The key is to address the burnt food residue as soon as possible, before it becomes too difficult to remove.
Leave a Comment