
Scrub Daddy Cleaning Tips: Who knew a smiley-faced sponge could revolutionize your cleaning routine? I certainly didn’t, until I discovered the incredible versatility of this little wonder! For years, cleaning was a chore I dreaded, filled with harsh chemicals and endless scrubbing. But now, armed with my trusty Scrub Daddy, I actually enjoy tackling those tough messes.
While the Scrub Daddy might seem like a modern invention, the quest for effective cleaning tools is as old as civilization itself. From ancient Egyptians using natron (a natural salt mixture) to clean their homes to the development of the first synthetic sponges in the 20th century, humans have always sought better ways to keep their spaces tidy. The Scrub Daddy, with its unique FlexTexture material, represents the latest evolution in this ongoing pursuit.
Why do you need these Scrub Daddy cleaning tips and DIY hacks? Because life’s too short to spend hours scrubbing! Whether you’re battling baked-on food, stubborn soap scum, or grimy outdoor furniture, the Scrub Daddy can help you get the job done faster and more efficiently. I’m going to share my favorite tips and tricks for using this amazing sponge, so you can unlock its full potential and make your cleaning routine a breeze. Get ready to say goodbye to endless scrubbing and hello to a sparkling clean home!
How to Deep Clean Your Scrub Daddy (and Keep Him Fresh!)
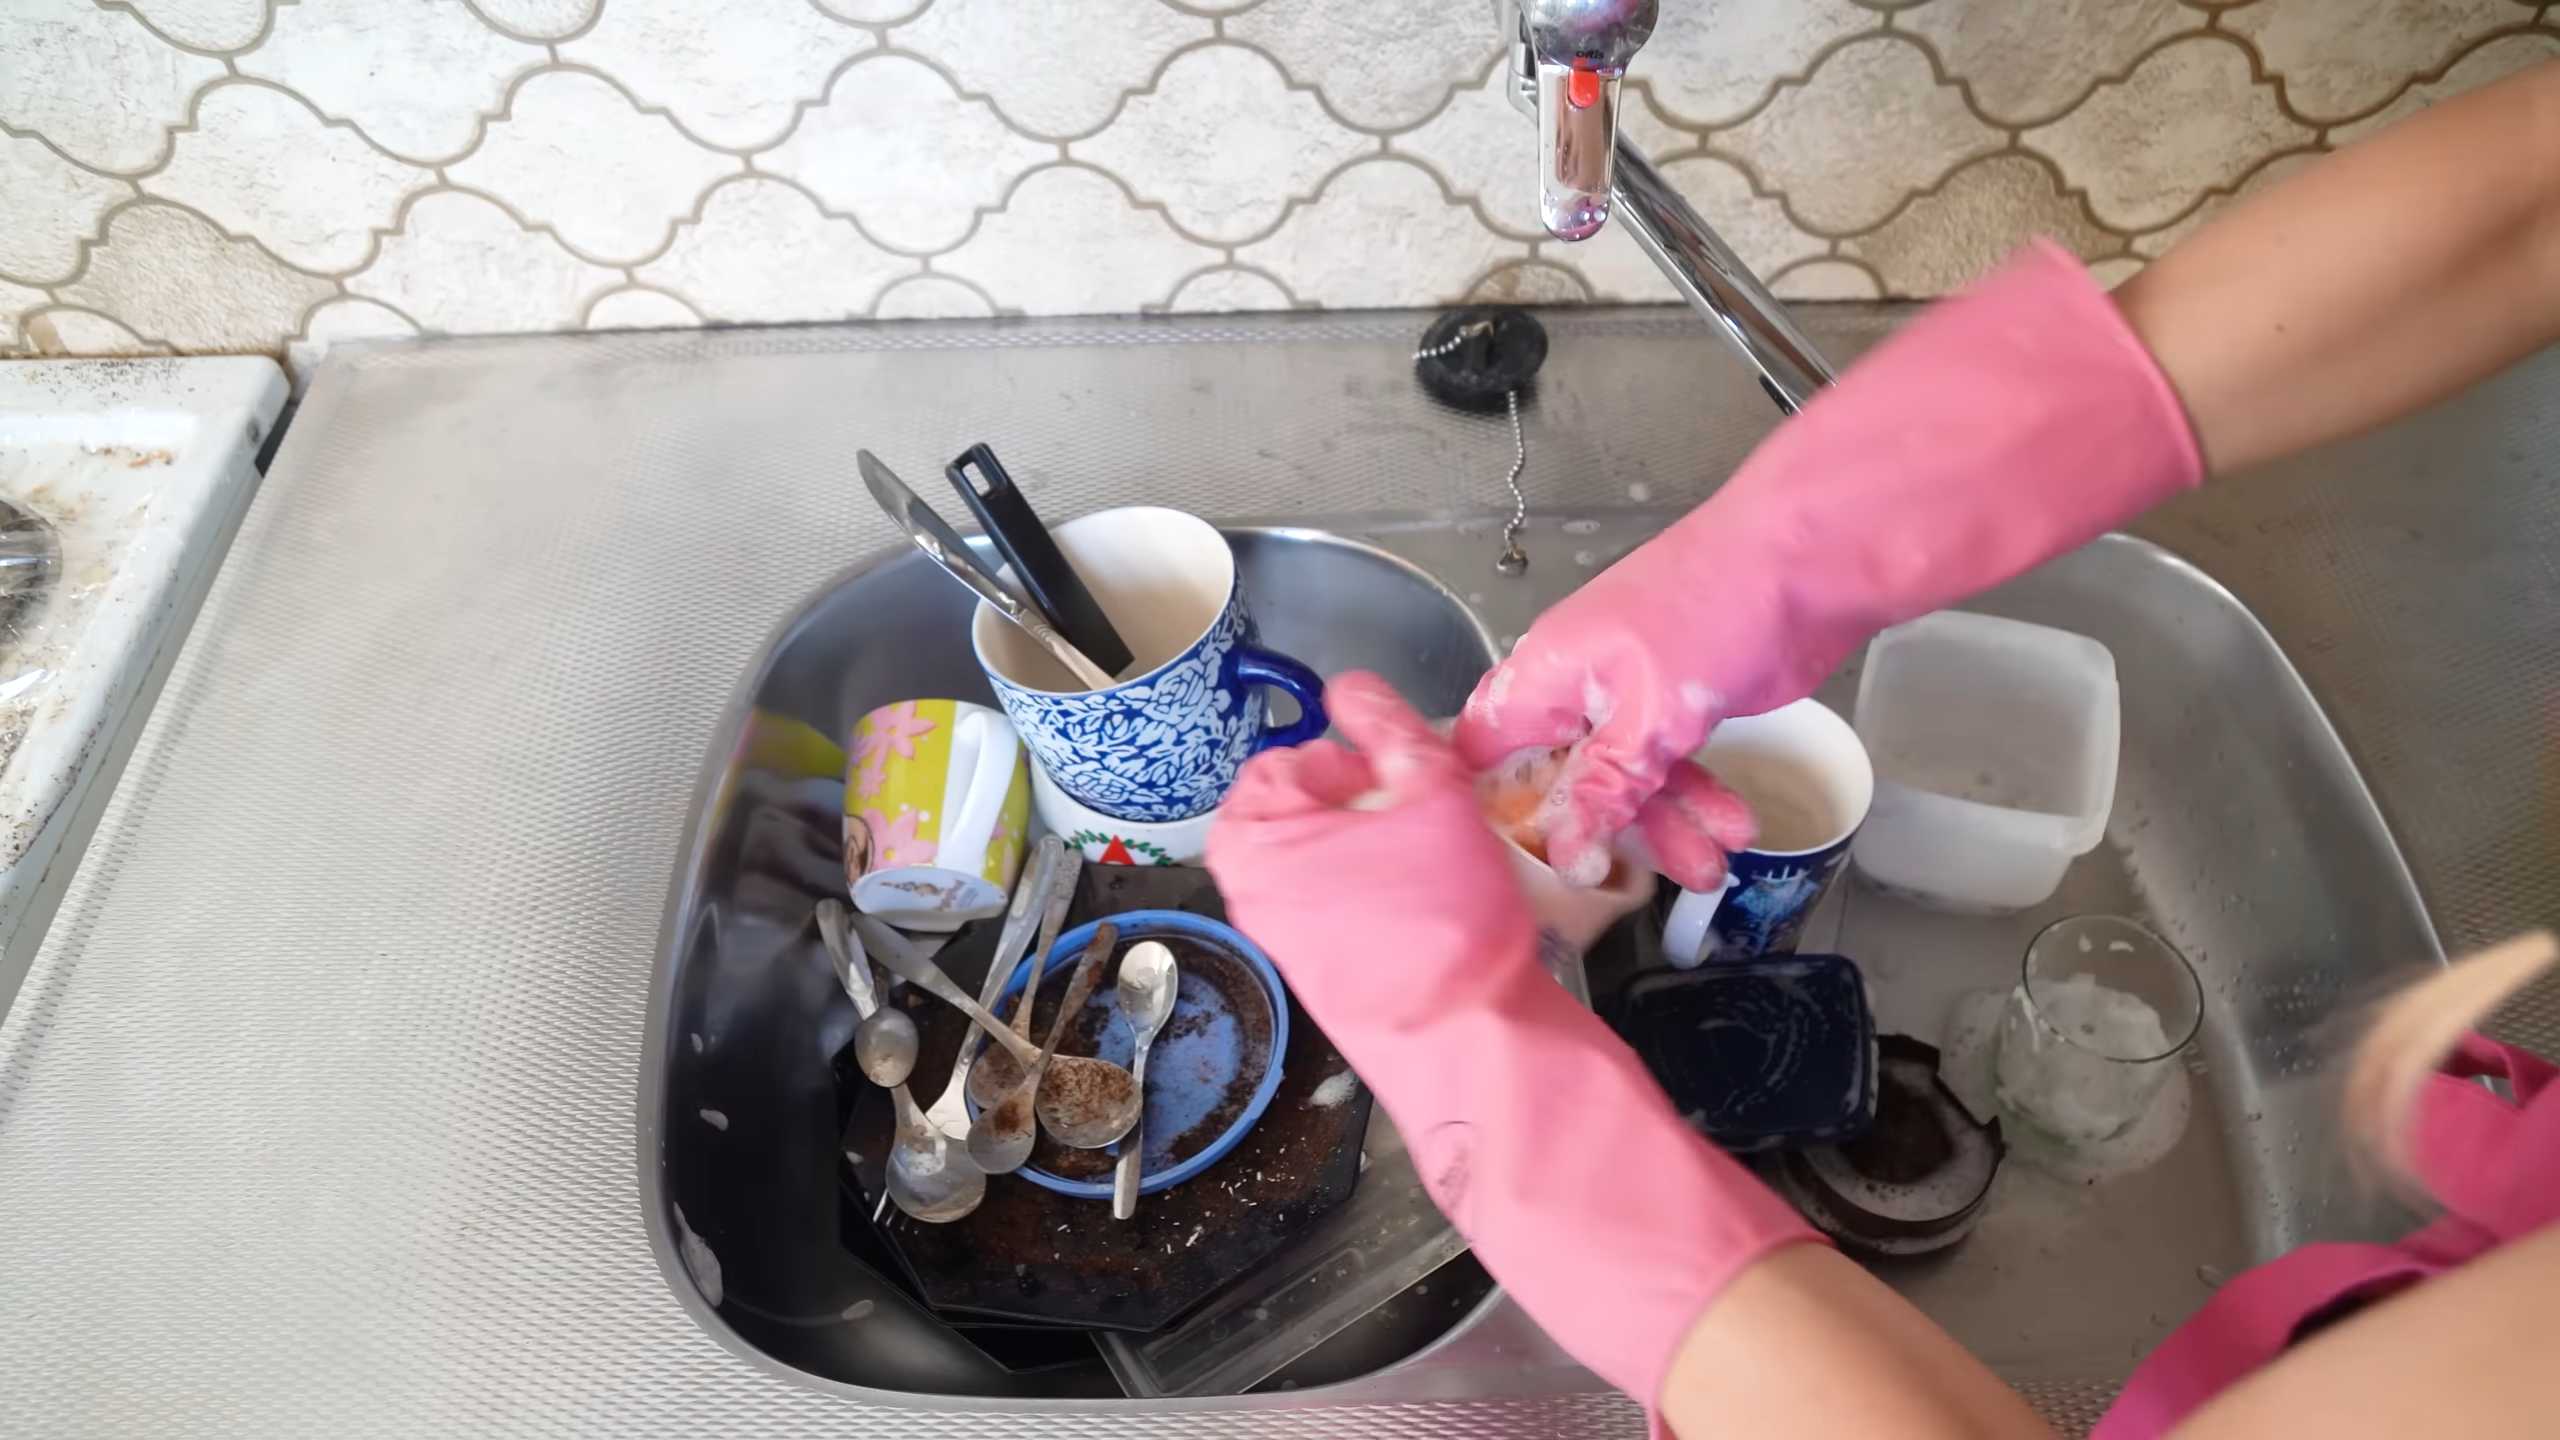
Okay, so you love your Scrub Daddy, right? I know I do! He’s the smiley-faced superhero of my kitchen sink. But let’s be honest, after tackling all those greasy pans and stubborn food stains, he can get a little… well, gross. Don’t worry, you don’t have to toss him! With a few simple tricks, you can keep your Scrub Daddy sparkling clean and ready for his next cleaning adventure. I’m going to walk you through my favorite methods for deep cleaning and sanitizing your Scrub Daddy, so he stays fresh and effective for longer.
Cleaning Methods Overview
Before we dive into the step-by-step instructions, here’s a quick rundown of the cleaning methods we’ll be covering:
* Dishwasher Delight: The easiest and most convenient method for a quick refresh.
* Boiling Bonanza: A powerful way to kill bacteria and remove stubborn grime.
* Vinegar Victory: A natural and effective disinfectant that tackles odors and buildup.
* Bleach Boost: For seriously grimy situations (use with caution!).
* Microwave Magic: A quick and easy way to sanitize (but be careful!).
Dishwasher Delight: The Easiest Refresh
This is my go-to method for a quick and easy clean. It’s perfect for maintaining your Scrub Daddy’s cleanliness between deeper cleans.
1. Rinse Thoroughly: Before placing your Scrub Daddy in the dishwasher, give him a good rinse under running water to remove any loose food particles.
2. Find a Safe Spot: Place your Scrub Daddy on the top rack of your dishwasher. This will prevent him from melting or warping due to the higher heat on the bottom rack. I usually tuck him into a corner or between some glasses so he doesn’t bounce around.
3. Run a Normal Cycle: Use your regular dishwasher detergent and run a normal wash cycle. The hot water and detergent will effectively clean and sanitize your Scrub Daddy.
4. Air Dry Completely: Once the cycle is complete, remove your Scrub Daddy and allow him to air dry completely. This is crucial to prevent the growth of mold and mildew. I usually leave him on a drying rack or prop him up against something so air can circulate around him.
Boiling Bonanza: The Deep Clean Powerhouse
When your Scrub Daddy is looking particularly grimy, boiling is the way to go. This method effectively kills bacteria and loosens stubborn grime.
1. Gather Your Supplies: You’ll need a pot large enough to fully submerge your Scrub Daddy, water, and tongs.
2. Fill the Pot: Fill the pot with enough water to completely cover your Scrub Daddy.
3. Bring to a Boil: Place the pot on the stove and bring the water to a rolling boil.
4. Submerge the Scrub Daddy: Carefully place your Scrub Daddy into the boiling water using tongs.
5. Boil for 5-10 Minutes: Let your Scrub Daddy boil for 5-10 minutes. This will effectively kill bacteria and loosen any stuck-on grime. Keep an eye on the water level and add more if needed.
6. Remove and Rinse: Carefully remove your Scrub Daddy from the boiling water using tongs. Rinse him thoroughly under running water to remove any remaining debris.
7. Air Dry Completely: Allow your Scrub Daddy to air dry completely before using him again.
Vinegar Victory: The Natural Disinfectant
Vinegar is a fantastic natural disinfectant and deodorizer. This method is perfect for tackling odors and removing buildup without harsh chemicals.
1. Prepare the Vinegar Solution: In a bowl or container, mix equal parts white vinegar and water. You’ll need enough solution to fully submerge your Scrub Daddy.
2. Soak the Scrub Daddy: Place your Scrub Daddy into the vinegar solution and let him soak for at least 30 minutes, or even overnight for a deeper clean.
3. Rinse Thoroughly: After soaking, rinse your Scrub Daddy thoroughly under running water to remove any vinegar residue.
4. Squeeze Out Excess Water: Squeeze out as much excess water as possible.
5. Air Dry Completely: Allow your Scrub Daddy to air dry completely. The vinegar smell will dissipate as he dries.
Bleach Boost: For Seriously Grimy Situations (Use with Caution!)
Important Note: Bleach is a powerful disinfectant, but it should be used with caution. Always wear gloves and eye protection when working with bleach, and ensure proper ventilation. This method is only recommended for extremely grimy situations and should not be used regularly.
1. Prepare the Bleach Solution: In a well-ventilated area, mix 1 tablespoon of bleach with 1 gallon of water. Never mix bleach with ammonia or other cleaning products, as this can create dangerous fumes.
2. Soak the Scrub Daddy: Place your Scrub Daddy into the bleach solution and let him soak for no more than 5 minutes. Soaking for too long can damage the material.
3. Rinse Thoroughly: Rinse your Scrub Daddy extremely thoroughly under running water until all traces of bleach are gone. This is crucial to prevent any bleach residue from coming into contact with food or surfaces.
4. Squeeze Out Excess Water: Squeeze out as much excess water as possible.
5. Air Dry Completely: Allow your Scrub Daddy to air dry completely in a well-ventilated area.
Microwave Magic: The Quick Sanitize (Be Careful!)
Microwaving can be a quick and easy way to sanitize your Scrub Daddy, but it’s important to do it safely.
Important Note: Make sure your Scrub Daddy is thoroughly wet before microwaving. A dry sponge can catch fire in the microwave.
1. Wet the Scrub Daddy: Thoroughly wet your Scrub Daddy with water. Squeeze out any excess water, but leave him damp.
2. Microwave for 1-2 Minutes: Place your Scrub Daddy in the microwave and heat on high for 1-2 minutes. The steam will help to kill bacteria.
3. Let Cool Before Handling: Carefully remove your Scrub Daddy from the microwave. He will be very hot, so let him cool down before handling.
4. Rinse and Air Dry: Rinse your Scrub Daddy under running water and allow him to air dry completely.
Tips for Keeping Your Scrub Daddy Fresh
Cleaning your Scrub Daddy is important, but preventing him from getting too dirty in the first place is even better! Here are some tips to help you keep your Scrub Daddy fresh and clean:
* Rinse After Each Use: After each use, rinse your Scrub Daddy thoroughly under running water to remove any food particles or soap residue.
* Squeeze Out Excess Water: Squeeze out as much excess water as possible after rinsing. This will help to prevent the growth of mold and mildew.
* Store in a Dry Place: Store your Scrub Daddy in a dry, well-ventilated place. Avoid leaving him in a damp sink or on a wet surface. I like to use a little suction cup holder to keep him off the counter.
* Alternate Scrub Daddies: Consider having two Scrub Daddies and alternating between them. This will give each one time to dry completely and prevent the buildup of bacteria.
* Replace Regularly: Even with regular cleaning, your Scrub Daddy will eventually wear out. Replace him every few months, or sooner if he starts to smell or look excessively worn.
Troubleshooting Common Issues
* Smelly Scrub Daddy: If your Scrub Daddy has a lingering odor, try soaking him in a vinegar solution or boiling him. Make sure to dry him completely after cleaning.
* Mold or Mildew: If you see mold or mildew on your Scrub Daddy, it’s best to replace him. While you can try to clean it, it’s difficult to completely remove mold and mildew from porous materials.
* Greasy Residue: If your Scrub Daddy feels greasy, try washing him in the dishwasher or boiling him with a bit of dish soap.
* Worn Out or Damaged: If your Scrub Daddy is starting to fall apart or lose its shape, it’s time to replace him.
By following these simple cleaning methods and tips, you can keep your Scrub Daddy fresh, clean, and ready to tackle any cleaning challenge. Happy scrubbing!

Conclusion
So, there you have it! Transforming your cleaning routine with these Scrub Daddy cleaning tips is more than just a trend; it’s a game-changer. We’ve explored how this smiley-faced sponge can tackle everything from stubborn stovetop grease to delicate glassware, all while maintaining its integrity and preventing scratches. The versatility of the Scrub Daddy, combined with these simple yet effective techniques, makes it an indispensable tool in any home.
Why is this a must-try? Because it simplifies cleaning, saves you money on multiple specialized cleaning products, and, frankly, makes the chore a little more enjoyable. The unique texture-changing properties of the Scrub Daddy, firm in cold water for scrubbing power and soft in warm water for gentle cleaning, mean you’re essentially getting two sponges in one. This adaptability allows you to clean a wider range of surfaces with confidence, knowing you’re not causing damage.
But don’t stop there! Experiment with different cleaning solutions to find what works best for your specific needs. For instance, try using a mixture of baking soda and water for a natural abrasive cleaner on tough stains, or add a few drops of essential oil to your dish soap for a fresh, invigorating scent while you clean. You can also explore using the Scrub Daddy to clean your car’s interior, paying special attention to the dashboard and console. The possibilities are endless!
We encourage you to embrace these Scrub Daddy cleaning tips and discover the difference they can make in your home. It’s time to ditch the multiple sponges and cloths cluttering your sink and embrace the efficiency and effectiveness of this single, powerful cleaning tool.
Don’t just take our word for it – try it yourself! We’re confident that once you experience the cleaning power of the Scrub Daddy and these helpful tips, you’ll never go back. And most importantly, we want to hear about your experiences. Share your own Scrub Daddy cleaning hacks, tips, and tricks in the comments below. Let us know what surfaces you’ve successfully cleaned, what cleaning solutions you’ve found to be most effective, and any other creative uses you’ve discovered. Your feedback will not only help other readers but also contribute to a community of cleaning enthusiasts who are passionate about making their homes sparkle. Let’s revolutionize the way we clean, one smiley-faced sponge at a time!
Frequently Asked Questions (FAQs)
What makes the Scrub Daddy so special compared to other sponges?
The Scrub Daddy’s unique FlexTexture material is what sets it apart. It’s firm in cold water, providing excellent scrubbing power for tough messes, and soft in warm water, making it gentle enough for delicate surfaces. This dual-texture functionality eliminates the need for multiple sponges, saving you money and space. Furthermore, its open-pore design resists odors and stains, keeping it fresher for longer than traditional sponges. The ergonomic shape also makes it comfortable to hold and use.
Can I use the Scrub Daddy on non-stick cookware?
Yes, you can! When used with warm water, the Scrub Daddy becomes soft and non-abrasive, making it safe for cleaning non-stick cookware without scratching the surface. However, always test a small, inconspicuous area first to ensure compatibility, especially with older or more delicate non-stick coatings. Avoid using excessive pressure when cleaning non-stick surfaces.
How do I clean and maintain my Scrub Daddy to prolong its lifespan?
Maintaining your Scrub Daddy is easy. After each use, rinse it thoroughly with water to remove any food particles or debris. You can also sanitize it in the dishwasher (top rack) or microwave it for a minute (while wet) to kill bacteria. Avoid using harsh chemicals or bleach, as these can damage the FlexTexture material. Allow it to air dry completely between uses to prevent mildew growth. With proper care, your Scrub Daddy can last for several months.
Is the Scrub Daddy safe to use on all surfaces?
While the Scrub Daddy is generally safe for most surfaces, it’s always a good idea to test it on a small, inconspicuous area first, especially on delicate or easily scratched materials like painted surfaces, polished metals, or certain types of plastic. When in doubt, use warm water to soften the sponge and reduce its abrasiveness. Avoid using excessive pressure, and always follow the manufacturer’s instructions for cleaning specific surfaces.
Can I use the Scrub Daddy with different types of cleaning solutions?
Yes, you can use the Scrub Daddy with a wide variety of cleaning solutions, including dish soap, all-purpose cleaners, bathroom cleaners, and even natural cleaning solutions like vinegar and baking soda. However, avoid using harsh chemicals or abrasive cleaners, as these can damage the sponge and potentially harm the surfaces you’re cleaning. Always rinse the Scrub Daddy thoroughly after use to remove any residue from the cleaning solution.
How can I remove stubborn stains or odors from my Scrub Daddy?
For stubborn stains, try soaking your Scrub Daddy in a solution of warm water and baking soda for a few hours or overnight. You can also use a mild bleach solution (diluted with water) for tougher stains, but be sure to rinse it thoroughly afterward. To eliminate odors, microwave the wet Scrub Daddy for one minute or soak it in a solution of vinegar and water.
Are there any surfaces I should absolutely avoid using the Scrub Daddy on?
While the Scrub Daddy is versatile, avoid using it on surfaces that are extremely delicate or prone to scratching, such as antique furniture, fine china, or certain types of polished stone. Also, avoid using it on surfaces that are sensitive to heat, as the hot water can damage them. Always err on the side of caution and test a small, inconspicuous area first before cleaning the entire surface.
Where can I purchase Scrub Daddies?
Scrub Daddies are widely available at most major retailers, including grocery stores, drugstores, home improvement stores, and online retailers like Amazon. You can also find them at specialty cleaning supply stores. Check the Scrub Daddy website for a list of authorized retailers in your area.
What are some creative uses for the Scrub Daddy beyond cleaning dishes?
The Scrub Daddy’s versatility extends far beyond the kitchen sink. You can use it to clean your bathroom, scrub grout, remove soap scum, clean car interiors, wash windows, and even exfoliate your skin (gently, of course!). Its unique texture and shape make it ideal for tackling a wide range of cleaning tasks around the house.
How often should I replace my Scrub Daddy?
The lifespan of your Scrub Daddy depends on how frequently you use it and the types of messes you clean. In general, you should replace it every few months, or sooner if it becomes excessively worn, stained, or develops an unpleasant odor. Regularly cleaning and sanitizing your Scrub Daddy can help prolong its lifespan.

Leave a Comment