
Cillit Bang household uses – bet you didn’t think you’d be reading about that today, did you? I know, I know, it’s usually reserved for tackling stubborn bathroom grime, but trust me, this powerful cleaner has a surprising number of applications beyond the shower! For generations, resourceful homeowners have sought clever ways to simplify cleaning tasks, and sometimes, the answer lies in unexpected places.
Think of your grandmother’s generation, always finding innovative uses for everyday items. This spirit of resourcefulness is alive and well, and that’s what this article is all about. We’re diving deep into the world of Cillit Bang household uses you probably haven’t considered. From tackling tough stains to reviving tired surfaces, I’m going to show you how to unlock the full potential of this cleaning powerhouse.
Why do you need these DIY tricks? Because who doesn’t want to save time, money, and effort? Instead of buying a cabinet full of specialized cleaners, you can harness the power of Cillit Bang for a multitude of tasks. Plus, it’s incredibly satisfying to discover a new use for something you already have on hand. So, grab your gloves, and let’s get ready to revolutionize your cleaning routine with these amazing Cillit Bang hacks!
DIY Cleaning Powerhouse: Unleashing the Versatility of Cillit Bang
Okay, let’s be honest, Cillit Bang is a cleaning superhero in a bottle. But did you know you can stretch its cleaning powers even further and tackle a wider range of household messes? I’m going to share some of my favorite DIY hacks using Cillit Bang that will leave your home sparkling. Remember to always test in an inconspicuous area first, and wear gloves! Safety first, friends!
Understanding Cillit Bang’s Core Strengths
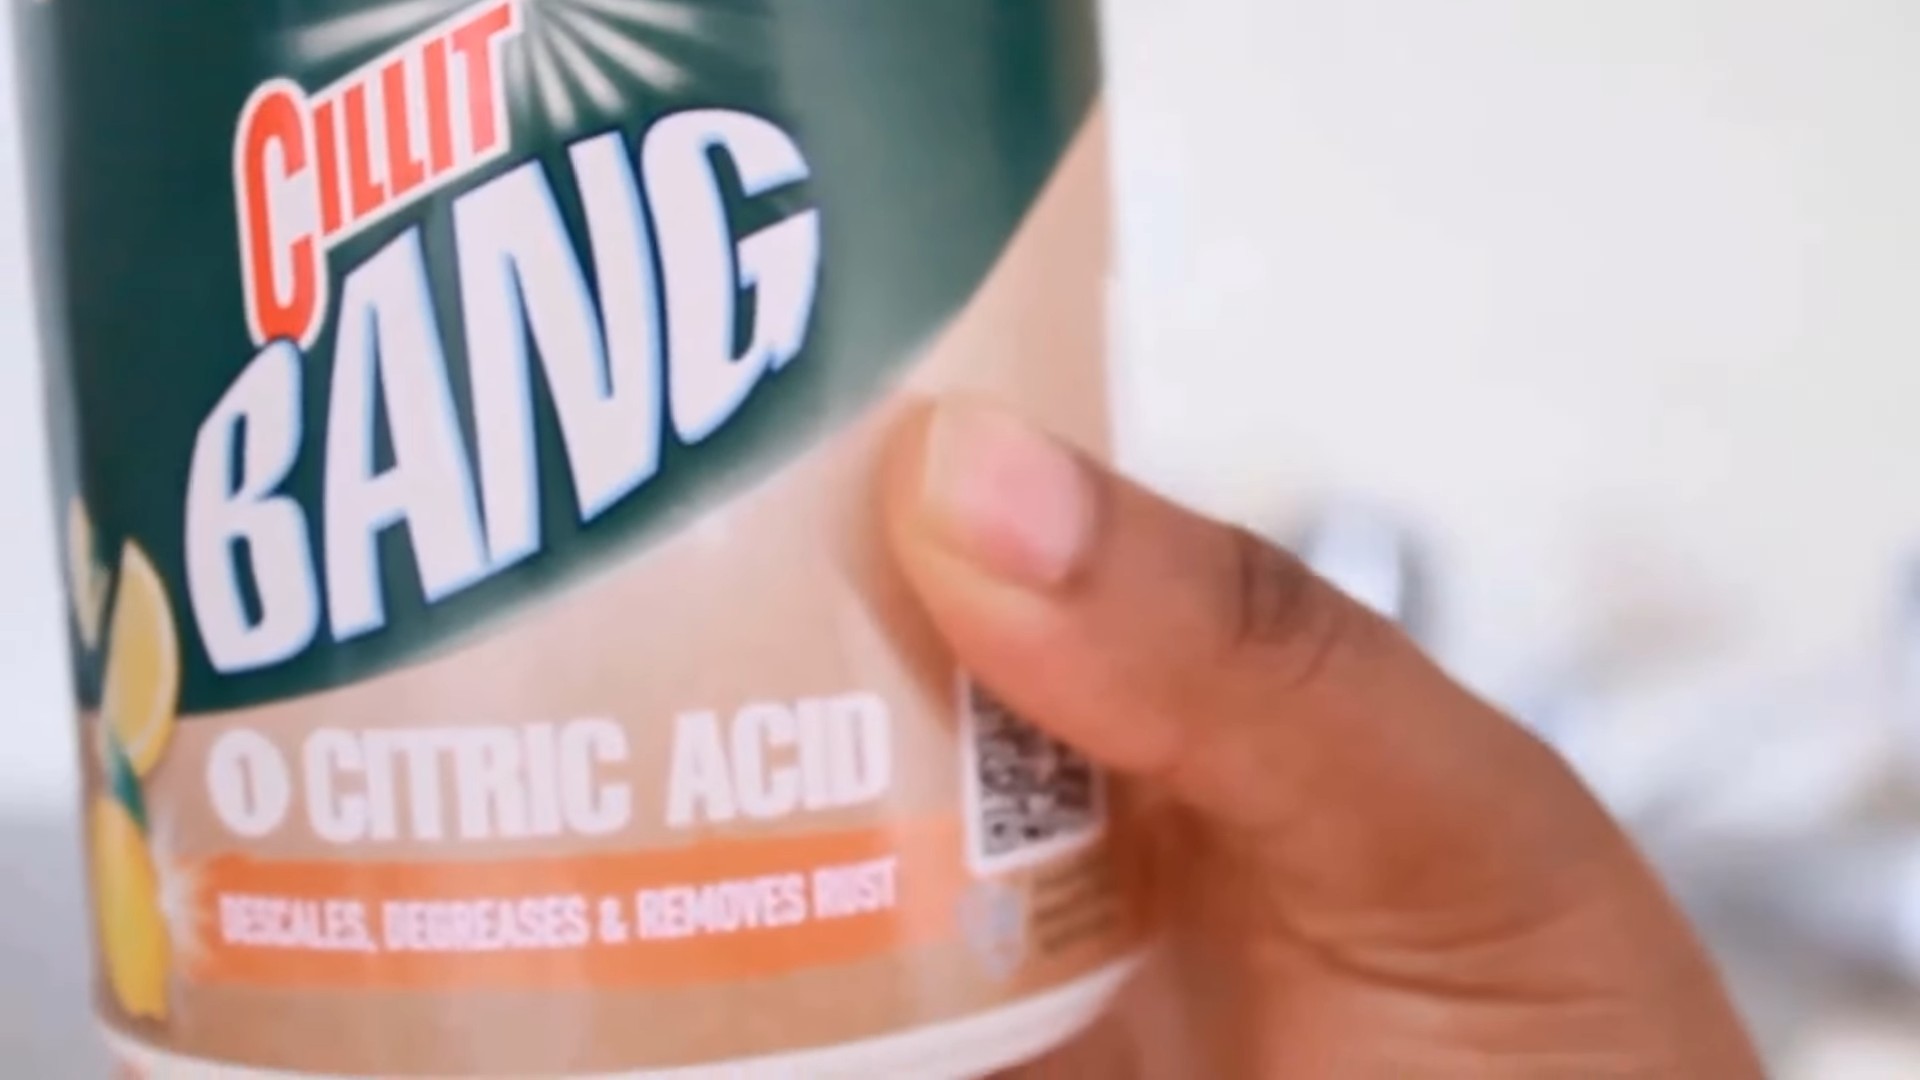
Before we dive into the hacks, it’s good to understand what makes Cillit Bang so effective. Most Cillit Bang formulas are designed to tackle tough stains like:
* Grease and grime: Perfect for kitchen surfaces and ovens.
* Soap scum: A bathroom cleaning essential.
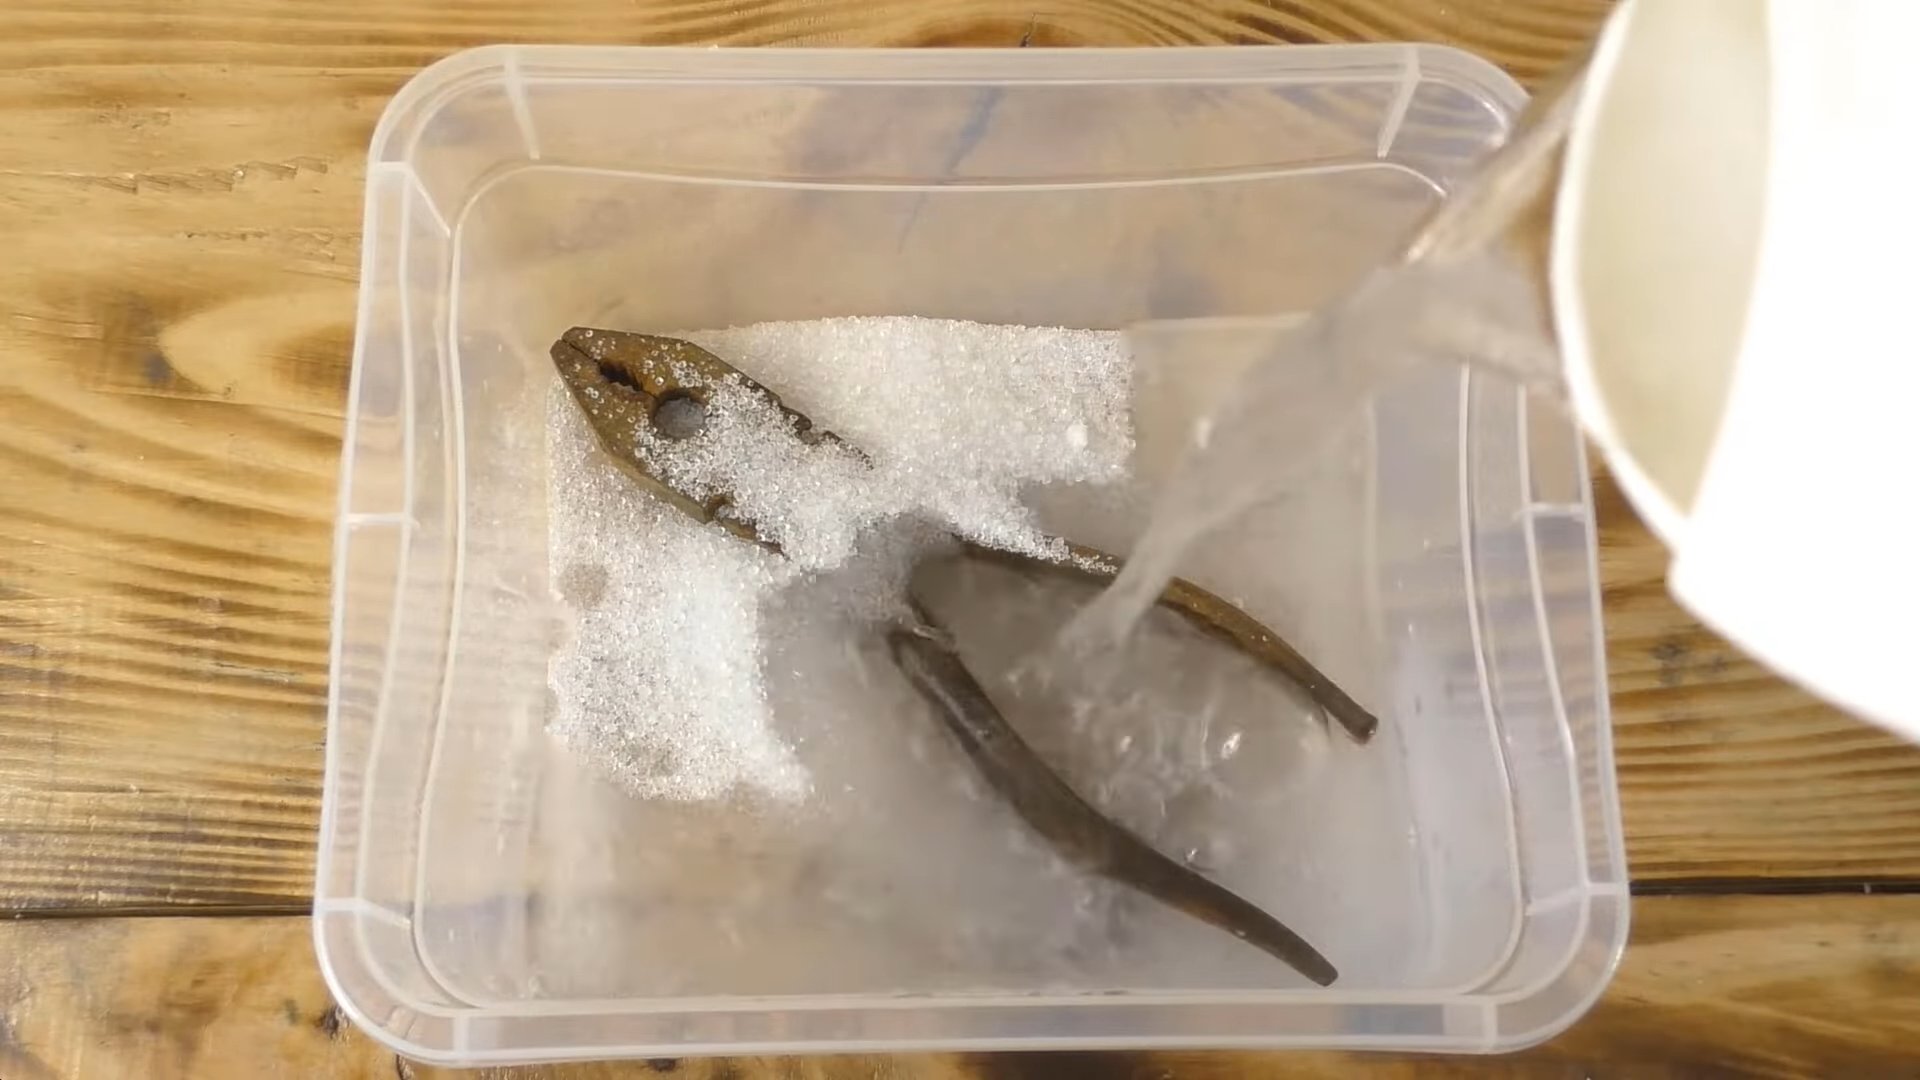
* Rust: Can help remove light rust stains.
* Mold and mildew: Some formulas are specifically designed for this.
Knowing this helps us tailor our DIY solutions for maximum impact.
Hack 1: Supercharged Shower Cleaner
This hack combines the power of Cillit Bang with other common household ingredients to create a shower cleaner that blasts away soap scum and hard water stains.
Ingredients You’ll Need:
* Cillit Bang (the one for soap scum and limescale is ideal)
* White vinegar
* Baking soda
* Spray bottle
* Microfiber cloth
Step-by-Step Instructions:
1. Prepare the Solution: In a well-ventilated area, mix equal parts Cillit Bang and white vinegar in your spray bottle. Be careful, as this mixture can fizz a bit.
2. Apply the Solution: Spray the mixture liberally onto your shower walls, door, and fixtures. Make sure to target areas with heavy soap scum buildup.
3. Let it Sit: Allow the solution to sit for about 5-10 minutes. This gives the Cillit Bang and vinegar time to break down the grime.
4. Baking Soda Scrub: Sprinkle baking soda onto a damp microfiber cloth. The baking soda acts as a gentle abrasive to help scrub away stubborn stains.
5. Scrub Away: Scrub the shower surfaces with the baking soda cloth, paying extra attention to problem areas.
6. Rinse Thoroughly: Rinse the entire shower with plenty of water to remove all traces of the cleaning solution and baking soda.
7. Dry and Admire: Dry the shower surfaces with a clean microfiber cloth to prevent water spots. Step back and admire your sparkling clean shower!
Hack 2: Oven Cleaning Power-Up
Cleaning the oven is a chore we all dread. But with this hack, Cillit Bang can make the process a whole lot easier.
Ingredients You’ll Need:
* Cillit Bang (the one for grease and grime is best)
* Baking soda
* Water
* Spray bottle
* Sponge or scrub brush
* Rubber gloves
Step-by-Step Instructions:
1. Prepare the Oven: Remove oven racks and any loose debris from the oven.
2. Baking Soda Paste: In a bowl, mix baking soda with enough water to form a thick paste.
3. Apply the Paste: Spread the baking soda paste evenly over the interior surfaces of the oven, avoiding the heating elements.
4. Let it Sit Overnight: Allow the baking soda paste to sit overnight. This will help loosen the baked-on grease and grime.
5. Cillit Bang Boost: The next day, lightly spray Cillit Bang over the baking soda paste.
6. Scrubbing Time: Use a sponge or scrub brush to scrub the oven surfaces. The Cillit Bang will help break down any remaining grease and grime.
7. Wipe Clean: Wipe the oven clean with a damp cloth, rinsing frequently. You may need to repeat this step several times to remove all traces of the baking soda and cleaning solution.
8. Replace Racks: Replace the oven racks and you’re good to go!
Hack 3: Grout Whitening Wonder
Dirty grout can make even the cleanest tiles look dingy. This hack uses Cillit Bang to brighten and whiten grout lines.
Ingredients You’ll Need:
* Cillit Bang (the one for mold and mildew is ideal, but the soap scum version can also work)
* Old toothbrush or grout brush
* Water
* Sponge
* Rubber gloves
Step-by-Step Instructions:
1. Ventilate the Area: Open windows or turn on a fan to ensure good ventilation.
2. Apply Cillit Bang: Spray Cillit Bang directly onto the grout lines.
3. Let it Sit: Allow the Cillit Bang to sit for about 5-10 minutes.
4. Scrub the Grout: Use an old toothbrush or grout brush to scrub the grout lines.
5. Rinse Thoroughly: Rinse the tiles and grout with plenty of water.
6. Wipe Clean: Wipe the tiles dry with a clean sponge or cloth.
Hack 4: Reviving Stainless Steel
Stainless steel appliances can be a pain to keep clean. Fingerprints, water spots, and smudges seem to appear out of nowhere. This hack uses Cillit Bang to restore the shine to your stainless steel.
Ingredients You’ll Need:
* Cillit Bang (the one for grease and grime is recommended)
* Microfiber cloth
* Water
* Clean, dry cloth
Step-by-Step Instructions:
1. Test in a Hidden Area: Before applying Cillit Bang to the entire appliance, test it in a small, inconspicuous area to ensure it doesn’t damage the finish.
2. Apply Sparingly: Lightly spray Cillit Bang onto a microfiber cloth.
3. Wipe with the Grain: Wipe the stainless steel appliance with the damp cloth, following the grain of the metal.
4. Rinse with Water: Dampen a clean microfiber cloth with water and wipe the appliance to remove any residue.
5. Dry Thoroughly: Dry the appliance with a clean, dry cloth to prevent water spots.
Hack 5: Toilet Bowl Deep Clean
While there are many toilet bowl cleaners out there, Cillit Bang can be a powerful addition to your cleaning routine.
Ingredients You’ll Need:
* Cillit Bang (the one for limescale and rust is ideal)
* Toilet brush
* Gloves
Step-by-Step Instructions:
1. Apply Cillit Bang: Squirt Cillit Bang around the rim of the toilet bowl, allowing it to coat the entire surface.
2. Let it Sit: Let the Cillit Bang sit for at least 15 minutes, or even longer for stubborn stains.
3. Scrub Thoroughly: Use a toilet brush to scrub the entire bowl, paying attention to areas with stains or buildup.
4. Flush: Flush the toilet to rinse away the cleaning solution and debris.
5. Repeat if Necessary: If stains persist, repeat the process.
Hack 6: Cleaning Burnt Pots and Pans
Burnt food stuck to the bottom of your favorite pot or pan? Don’t despair! Cillit Bang can help loosen that stubborn residue.
Ingredients You’ll Need:
* Cillit Bang (the one for grease and grime is best)
* Water
* Scrub sponge or steel wool (for really tough cases)
* Gloves
Step-by-Step Instructions:
1. Soak the Pan: Fill the burnt pot or pan with enough water to cover the burnt area.
2. Add Cillit Bang: Add a generous squirt of Cillit Bang to the water.
3. Bring to a Simmer: Bring the water to a simmer on the stovetop.
4. Let it Simmer: Let the mixture simmer for about 15-20 minutes. This will help loosen the burnt food.
5. Cool and Scrub: Allow the water to cool slightly before scrubbing the pan with a scrub sponge or steel wool.
6. Wash and Rinse: Wash the pot or pan with soap and water, then rinse thoroughly.
Important Safety Considerations
Remember, Cillit Bang is a powerful cleaner, so it’s important to use it safely. Always:
* Wear gloves: Protect your skin from irritation.
* Ventilate the area: Ensure good airflow to avoid inhaling fumes.
* Avoid mixing with bleach: This can create dangerous gases.
* Test in an inconspicuous area first: To ensure it doesn’t damage the surface
Conclusion
So, there you have it! Transforming everyday household items into powerful cleaning agents, rivalling even the mighty Cillit Bang, is not only possible but surprisingly simple. This DIY approach isn’t just about saving money; it’s about taking control of what you’re using in your home, reducing your exposure to harsh chemicals, and embracing a more sustainable lifestyle.
This method offers a fantastic alternative to commercially produced cleaners. The beauty of this DIY cleaning solution lies in its adaptability. You can tailor the ingredients to suit your specific cleaning needs and preferences. For instance, if you’re tackling stubborn limescale in the bathroom, you might want to increase the concentration of vinegar. Alternatively, for a gentler all-purpose cleaner, you could add a few drops of your favorite essential oil, like lavender or tea tree, for a pleasant scent and added antibacterial properties.
Why is this DIY trick a must-try? Because it empowers you to create a powerful, effective, and eco-friendly cleaning solution using ingredients you likely already have in your pantry. It’s a win-win for your wallet, your health, and the environment. Plus, the satisfaction of creating something yourself that works so well is an added bonus!
Don’t be intimidated by the idea of making your own cleaning products. The process is straightforward, and the results are truly impressive. We encourage you to give this DIY Cillit Bang alternative a try. Experiment with different variations, find what works best for your home, and most importantly, share your experiences with us! Let us know in the comments below what modifications you made and how they worked out. Did you find a particular combination of ingredients that was especially effective on tough stains? Did you discover a new essential oil blend that left your home smelling divine? Your insights could help others discover the joy and effectiveness of DIY cleaning.
We believe that everyone deserves access to safe, effective, and affordable cleaning solutions. By sharing this DIY trick, we hope to empower you to take control of your cleaning routine and create a healthier, happier home. So, ditch the harsh chemicals and embrace the power of DIY! You might be surprised at just how effective and enjoyable it can be.
Now, go forth and conquer those cleaning challenges with your newfound DIY cleaning prowess! We can’t wait to hear about your success stories.
Frequently Asked Questions (FAQ)
What are the main benefits of using a DIY Cillit Bang alternative?
The primary benefits are cost savings, reduced exposure to harsh chemicals, environmental friendliness, and the ability to customize the solution to your specific cleaning needs. Commercial cleaners often contain harsh chemicals that can be harmful to your health and the environment. DIY solutions allow you to control the ingredients and avoid these potentially harmful substances. Plus, you’ll save money by using readily available and inexpensive household items.
Can I use this DIY cleaner on all surfaces?
While this DIY cleaner is generally safe for most surfaces, it’s always a good idea to test it on an inconspicuous area first, especially on delicate surfaces like marble or granite. Avoid using it on surfaces that are sensitive to acids, such as unsealed stone or certain types of metal. For wooden surfaces, use a diluted solution and wipe dry immediately.
What if I don’t have all the ingredients listed?
The beauty of DIY is its flexibility. While the suggested recipe provides a good starting point, you can adjust the ingredients based on what you have available. For example, if you don’t have borax, you can try using baking soda instead. If you don’t have lemon juice, you can use more vinegar. The key is to experiment and find what works best for you.
How long does the DIY cleaner last?
Because this DIY cleaner doesn’t contain any preservatives, it’s best to use it within a few weeks. Store it in a cool, dark place to prolong its shelf life. If you notice any changes in color or odor, discard the solution and make a fresh batch.
Is it safe to mix different cleaning ingredients?
No! It is extremely important to never mix bleach with vinegar or ammonia, as this can create toxic and potentially deadly fumes. Always use caution when mixing any cleaning ingredients, and if you’re unsure, it’s best to err on the side of caution and avoid mixing them altogether. When creating your DIY cleaner, stick to the recommended ingredients and avoid adding anything that could potentially react negatively.
Can I add essential oils to the DIY cleaner?
Yes, adding essential oils can enhance the cleaning power and scent of your DIY cleaner. Tea tree oil, lavender oil, lemon oil, and eucalyptus oil are all excellent choices for their antibacterial and antifungal properties. Add a few drops of your favorite essential oil to the solution for a pleasant and refreshing scent.
How do I store the DIY cleaner?
Store the DIY cleaner in a clean, labeled spray bottle. Be sure to label the bottle clearly to avoid any confusion. Keep it out of reach of children and pets. Store it in a cool, dark place to prolong its shelf life.
What if the DIY cleaner doesn’t work as well as Cillit Bang?
While this DIY cleaner is effective, it may not be as powerful as Cillit Bang on extremely stubborn stains. In such cases, you may need to apply the solution multiple times or let it sit for a longer period. You can also try increasing the concentration of vinegar or adding a small amount of baking soda to the solution for extra cleaning power. Remember, patience and persistence are key!
How can I make this DIY cleaner more environmentally friendly?
To make this DIY cleaner even more environmentally friendly, use organic ingredients whenever possible. You can also reuse old spray bottles to reduce waste. Consider composting any leftover lemon peels or other organic materials. By making small changes, you can significantly reduce your environmental impact.
What safety precautions should I take when using this DIY cleaner?
Always wear gloves when using any cleaning solution, even a DIY one. Avoid contact with eyes and skin. If contact occurs, rinse thoroughly with water. Keep the cleaner out of reach of children and pets. Never mix this cleaner with other cleaning products, especially bleach. Always test the cleaner on an inconspicuous area before using it on a larger surface.
Leave a Comment