
Celery Growing Water Saving: Are you dreaming of crisp, crunchy celery straight from your garden, but dreading the thought of sky-high water bills? I get it! We all want a thriving garden without draining our resources (or our wallets!). That’s why I’m so excited to share some ingenious DIY tricks that will revolutionize your celery growing experience, all while conserving precious water.
Celery, with its refreshing taste and versatility in the kitchen, has been cultivated for centuries. Originating in the Mediterranean, it was initially valued for its medicinal properties before becoming a culinary staple. Today, celery is a beloved ingredient worldwide, adding a delightful crunch to salads, soups, and snacks. But let’s face it, traditionally, celery can be a bit of a water hog.
But what if I told you that you could enjoy a bountiful celery harvest while significantly reducing your water consumption? In this article, I’m going to reveal some simple yet effective DIY hacks that will transform your approach to celery growing water saving. These aren’t just theoretical ideas; they’re practical, tested methods that I’ve personally used to achieve amazing results. From clever watering techniques to soil amendments that boost water retention, you’ll discover how to create a water-wise celery patch that thrives even in drier conditions. Get ready to ditch the guilt and embrace a sustainable, delicious celery harvest!
DIY: Grow Celery Indoors Using Water Bottle Hydroponics (Save Water!)
Hey there, fellow plant enthusiasts! I’m so excited to share this super cool and surprisingly easy DIY project with you: growing celery indoors using a recycled water bottle hydroponic system. Not only is this a fantastic way to get fresh celery right from your kitchen, but it’s also incredibly water-efficient. We’re talking serious water conservation here, folks! Plus, it’s a great way to reuse those plastic bottles that seem to multiply in our homes. Let’s dive in!
Materials You’ll Need
Before we get started, let’s gather all the necessary supplies. Don’t worry, most of these are probably already lying around your house!
* **Plastic Water Bottle (2-Liter or Similar):** The sturdier, the better. A clear bottle will allow you to monitor the water level and root growth easily.
* **Celery Stalk Base:** This is the bottom part of a celery bunch that you usually discard. Make sure it’s firm and healthy-looking.
* **Toothpicks (4-6):** These will help suspend the celery base over the water.
* **Growing Medium (Optional):** Coco coir, perlite, or even just some clean pebbles can help support the roots as they grow. I personally prefer coco coir for its water retention.
* **Water:** Tap water is fine, but filtered water is even better.
* **Liquid Fertilizer (Optional):** A balanced liquid fertilizer diluted to half strength can give your celery a boost.
* **Scissors or Utility Knife:** For cutting the water bottle. Be careful!
* **Ruler or Measuring Tape:** To ensure accurate cuts.
* **Marker:** For marking the bottle.
* **Spray Bottle (Optional):** For misting the celery leaves.
Preparing the Water Bottle Hydroponic System
Okay, let’s get our hands dirty (well, not really, since it’s hydroponics!). This part involves transforming our humble water bottle into a mini celery-growing haven.
1. **Clean the Water Bottle:** Thoroughly wash the water bottle with soap and water to remove any residue. Rinse it well to ensure no soap remains. This is crucial for the health of your celery.
2. **Cut the Water Bottle:** This is where the scissors or utility knife comes in. We need to cut the bottle into two sections.
* Measure approximately 4-6 inches from the bottle’s neck (the top part where the cap screws on).
* Using the marker, draw a line around the bottle at this measurement.
* Carefully cut along the marked line. You should now have two pieces: the top (neck) section and the bottom section.
3. **Prepare the Top Section (Plant Holder):** This section will hold the celery base.
* Flip the top section upside down. This will act as a funnel-like holder for the celery.
* If you’re using a growing medium, add a small amount to the neck of the bottle. This will help support the celery base and encourage root growth. Don’t pack it too tightly!
4. **Prepare the Bottom Section (Water Reservoir):** This section will hold the water and nutrients for your celery.
* That’s it! No modifications needed for this part.
Preparing the Celery Base
Now, let’s get the celery ready for its hydroponic adventure!
1. **Trim the Celery Base:** If the celery base has any brown or mushy parts, trim them off with a clean knife. You want a firm, healthy base to work with.
2. **Insert Toothpicks:** This is where the toothpicks come in handy.
* Insert the toothpicks horizontally around the celery base, about halfway up. Space them evenly apart.
* The toothpicks will act as “legs” to suspend the celery base over the water in the bottom section of the bottle.
Assembling and Maintaining Your Hydroponic Celery Setup
Alright, we’re in the home stretch! Now it’s time to put everything together and learn how to care for our little celery friend.
1. **Assemble the System:**
* Carefully place the celery base (with the toothpicks) into the top section of the water bottle (the inverted neck). The toothpicks should rest on the rim of the bottle, suspending the celery base.
* Make sure the bottom of the celery base is just touching the growing medium (if you’re using it).
2. **Add Water:**
* Pour water into the bottom section of the water bottle. The water level should be high enough to just touch the bottom of the celery base.
* If you’re using liquid fertilizer, add it to the water according to the package instructions (usually diluted to half strength).
3. **Placement:**
* Place your hydroponic celery setup in a location that receives bright, indirect sunlight. A windowsill is often a good choice. Avoid direct sunlight, as it can overheat the water and damage the celery.
4. **Maintenance:**
* **Water Level:** Check the water level daily and add more water as needed to keep the bottom of the celery base moist.
* **Water Changes:** Change the water completely every 1-2 weeks to prevent algae growth and ensure a fresh supply of nutrients.
* **Fertilizer:** Add liquid fertilizer to the water every 2-3 weeks, following the package instructions.
* **Misting:** Mist the celery leaves with water every few days to keep them hydrated.
* **Rotation:** Rotate the bottle regularly to ensure even light exposure on all sides of the celery.
Observing Growth and Harvesting
Now comes the fun part: watching your celery grow!
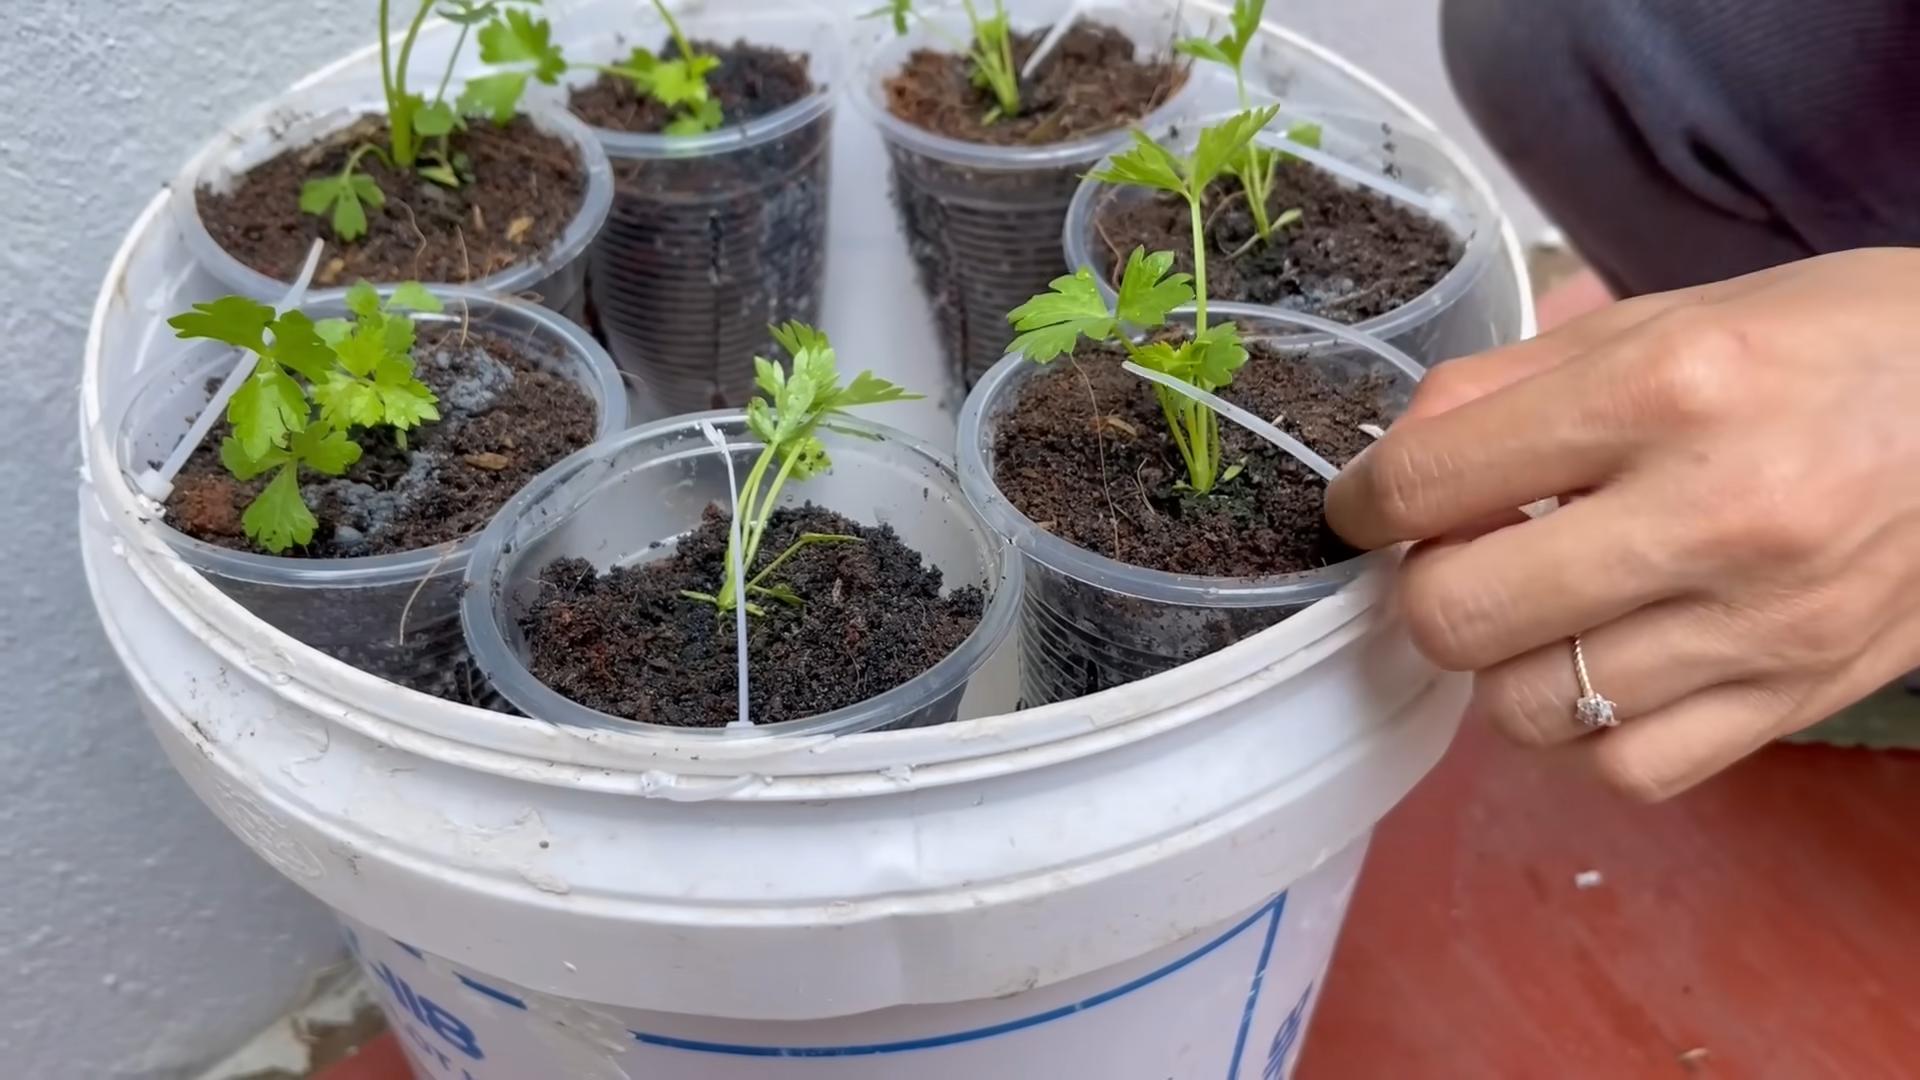
1. **Root Development:** Within a week or two, you should start to see roots emerging from the bottom of the celery base. This is a sign that your celery is thriving!
2. **Leaf Growth:** New leaves will start to sprout from the top of the celery base. These leaves are edible and can be harvested as needed.
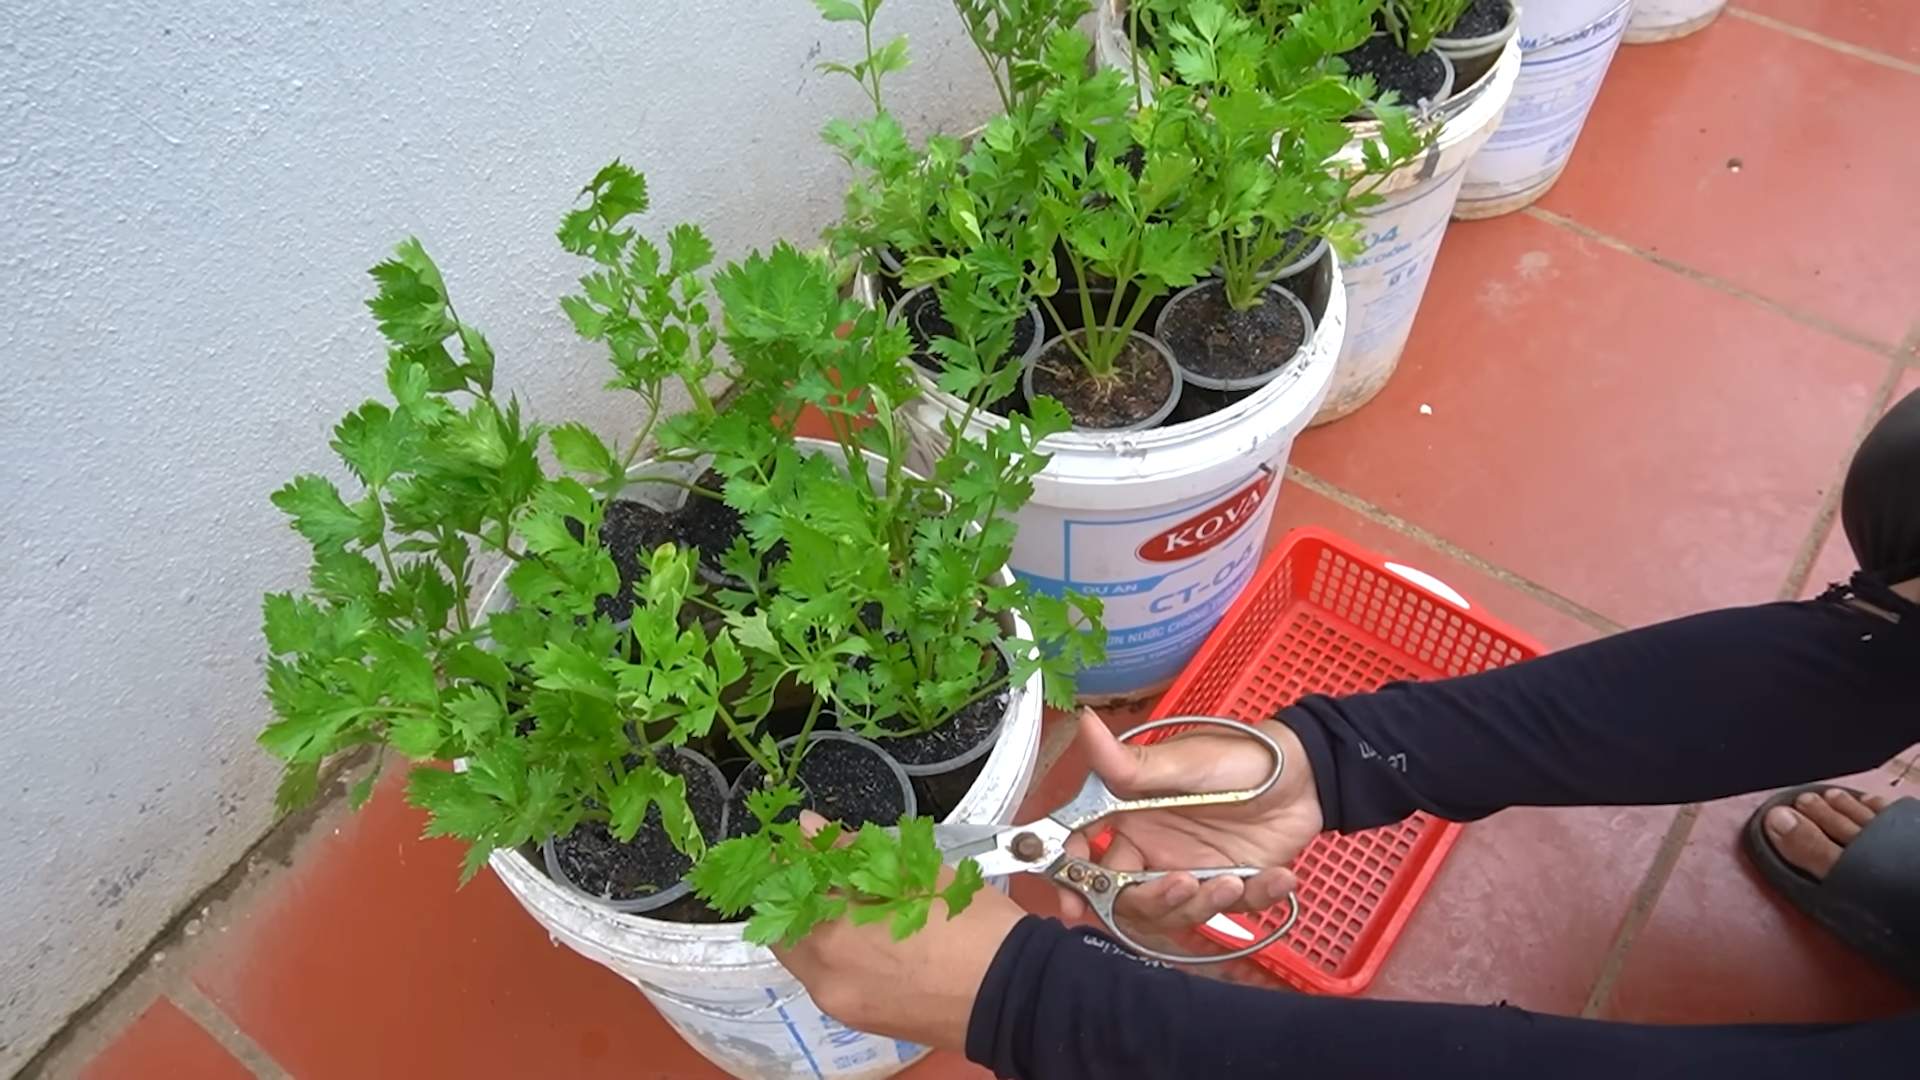
3. **Harvesting:** You can harvest individual celery stalks as they grow, or you can wait until the entire plant is larger. To harvest, simply cut the stalks near the base with a sharp knife.
4. **Replanting (Optional):** Once the celery has grown significantly, you can transplant it into a larger pot with soil if you wish. This will allow it to grow even larger and produce more stalks.
Troubleshooting
Even with the best intentions, sometimes things don’t go exactly as planned. Here are a few common issues you might encounter and how to address them:
* **Celery Base Rotting:** This is usually caused by overwatering or poor water quality. Make sure the water level is not too high and change the water regularly. You can also try adding a small amount of hydrogen peroxide to the water to kill any bacteria.
* **Yellowing Leaves:** This can be a sign of nutrient deficiency. Try adding a balanced liquid fertilizer to the water. It could also be a sign of too much direct sunlight.
* **Slow Growth:** This could be due to insufficient light or nutrients. Make sure the celery is getting enough light and fertilize regularly.
* **Algae Growth:** Algae can grow in the water, especially if the bottle is exposed to direct sunlight. Change the water regularly and consider using an opaque bottle to block out light.
Tips and Tricks for Success
Here are a few extra tips to help you succeed with your hydroponic celery project:
* Start with a healthy celery base. The healthier the base, the better the chances of success.
* Use filtered water. Tap water can contain chlorine and other chemicals that can harm the celery.
* Don’t over-fertilize. Too much fertilizer can burn the roots.
* Be patient. Celery can take several weeks to grow, so don’t get discouraged if you don’t see results immediately.
* Experiment with different growing mediums. Coco coir, perlite, and pebbles all have their own advantages.
* Have fun! Growing celery hydroponically is a rewarding and educational experience.
I hope you found this guide helpful! Growing celery indoors using a water bottle hydroponic system is a fun, easy, and water-saving way to enjoy fresh celery all year round. Give it a try, and let me know how it goes! Happy growing!
Conclusion
So, there you have it! This simple yet ingenious DIY celery growing water saving trick is more than just a gardening hack; it’s a commitment to sustainability, a pathway to fresher, tastier celery, and a testament to the power of resourcefulness. We’ve shown you how to transform discarded celery bases into thriving plants, all while significantly reducing your water consumption. In a world increasingly aware of environmental impact, every little bit counts, and this method allows you to contribute to water conservation without sacrificing your love for fresh, homegrown produce.
But the benefits extend beyond just environmental responsibility. Imagine the satisfaction of harvesting crisp, flavorful celery stalks that you nurtured from what would have otherwise been kitchen waste. Think of the money you’ll save by reducing your grocery bills. And consider the joy of sharing your homegrown bounty with friends and family. This DIY project is an investment in your health, your wallet, and the planet.
Don’t be afraid to experiment! While we’ve outlined the basic steps, there’s plenty of room for personalization. Try different types of celery – perhaps a vibrant red variety or a particularly flavorful heirloom strain. You can also experiment with different soil mixes to find what works best for your climate and growing conditions. Consider adding companion plants like onions or garlic to deter pests naturally.
This celery growing water saving method is truly a game-changer for home gardeners. It’s easy, affordable, and incredibly rewarding.
We urge you to give this DIY trick a try. You’ll be amazed at how simple it is to regrow celery from scraps and how much water you can save in the process. Once you’ve experienced the magic of this method, we’d love to hear about your results! Share your photos, tips, and stories with us in the comments below. Let’s build a community of resourceful gardeners who are passionate about growing their own food sustainably. Together, we can make a difference, one celery stalk at a time. So, grab that celery base, get your hands dirty, and start growing! You won’t regret it.
Frequently Asked Questions (FAQ)
What exactly is the “celery growing water saving” trick, and why is it so effective?
The celery growing water saving trick involves regrowing celery from the base of a store-bought stalk. Instead of discarding the base, you place it in a shallow dish of water, allowing it to sprout new roots and leaves. Once the roots are established, you transplant it into soil. The water-saving aspect comes from the fact that you’re essentially giving the plant a head start, reducing the amount of water needed for initial germination and growth compared to starting from seeds. Furthermore, by using a container or raised bed, you can more effectively control the watering, minimizing water waste through runoff or evaporation. This method is effective because celery is naturally predisposed to regrow from its base, making it a relatively easy and reliable way to propagate new plants.
How long does it take for the celery base to start regrowing?
Generally, you should start to see new growth within 5-7 days. The speed of regrowth depends on factors like the temperature, sunlight, and the overall health of the original celery stalk. Make sure the celery base is kept in a bright location but out of direct sunlight, and change the water every 1-2 days to prevent bacterial growth. You’ll notice small leaves emerging from the center of the base, and roots developing from the bottom. Once the roots are about an inch or two long, it’s time to transplant the celery into soil.
What kind of soil is best for regrowing celery?
Celery thrives in rich, well-draining soil. A good mix would be equal parts compost, potting soil, and perlite or vermiculite. The compost provides essential nutrients, the potting soil offers a good base for root growth, and the perlite or vermiculite improves drainage and aeration. Before planting, amend the soil with a slow-release fertilizer to provide a steady supply of nutrients throughout the growing season. Ensure the soil pH is slightly acidic to neutral, around 6.0 to 7.0.
How often should I water the regrown celery plant?
Celery needs consistent moisture to thrive, but it doesn’t like to sit in soggy soil. Water deeply when the top inch of soil feels dry to the touch. During hot weather, you may need to water more frequently. A good rule of thumb is to water in the morning to allow the foliage to dry before nightfall, which helps prevent fungal diseases. Mulching around the base of the plant can also help retain moisture and suppress weeds.
What are some common problems I might encounter when regrowing celery, and how can I fix them?
Some common problems include:
* **Yellowing leaves:** This could indicate overwatering, underwatering, or a nutrient deficiency. Check the soil moisture and adjust your watering schedule accordingly. If the soil is consistently moist, reduce watering. If it’s dry, water more frequently. You can also try fertilizing with a balanced liquid fertilizer.
* **Pests:** Celery can be susceptible to pests like aphids, slugs, and snails. Inspect your plants regularly and remove any pests you find. You can also use organic pest control methods like insecticidal soap or diatomaceous earth.
* **Bolting (premature flowering):** This can happen if the plant experiences stress, such as extreme temperature fluctuations or drought. Ensure consistent watering and protect the plant from extreme heat or cold.
* **Fungal diseases:** These can be prevented by ensuring good air circulation and avoiding overhead watering. If you notice signs of fungal disease, such as powdery mildew or leaf spot, remove affected leaves and treat the plant with a fungicide.
Can I grow regrown celery indoors?
Yes, you can grow regrown celery indoors, but it requires a sunny location and consistent care. Place the plant near a south-facing window or under grow lights. Ensure the plant receives at least 6-8 hours of light per day. Maintain consistent moisture and humidity levels. Indoor-grown celery may not grow as large as outdoor-grown celery, but you can still harvest leaves and stalks for use in cooking.
How do I harvest the regrown celery?
You can harvest celery stalks as needed once they reach a desirable size. Simply cut the outer stalks near the base of the plant, leaving the inner stalks to continue growing. You can also harvest individual leaves for use in salads or as a garnish. Regular harvesting encourages the plant to produce more stalks.
Is regrown celery as nutritious as celery grown from seed?
Yes, regrown celery is just as nutritious as celery grown from seed. It contains the same vitamins, minerals, and antioxidants. The taste and texture may vary slightly depending on the growing conditions, but the nutritional value remains the same.
Can I regrow celery indefinitely from the same base?
While you can harvest multiple times from the same regrown celery plant, it will eventually lose its vigor and stop producing new growth. It’s best to start with a fresh celery base each time you want to regrow celery. This ensures that you’re starting with a healthy and vigorous plant.
What are some creative ways to use my homegrown celery?
Beyond the usual snacks and soups, get creative with your homegrown celery! Use it to make fresh celery juice, add it to smoothies for a boost of vitamins, or pickle it for a tangy condiment. You can also use the leaves to make celery salt or add them to salads for extra flavor. Don’t forget to compost any leftover celery scraps to enrich your garden soil!


Leave a Comment