
Cabbage in Plastic Bottles: Sounds a little crazy, right? But trust me, this ingenious DIY gardening trick is about to revolutionize your small-space gardening game! Forget sprawling fields; we’re talking fresh, homegrown cabbage, even if all you have is a balcony or a sunny windowsill.
The concept of container gardening, of which this is a clever variation, has roots stretching back centuries. From the Hanging Gardens of Babylon to the intricate rooftop gardens of ancient Rome, people have always found ways to cultivate plants in limited spaces. While I can’t say Cleopatra was growing cabbage in recycled bottles, the spirit of resourcefulness and ingenuity is definitely the same!
Why should you try growing cabbage in plastic bottles? Well, for starters, it’s incredibly space-efficient. Plus, it’s a fantastic way to recycle those plastic bottles that might otherwise end up in a landfill. But more importantly, it allows anyone, regardless of their living situation, to enjoy the satisfaction of growing their own food. Imagine the taste of a crisp, freshly harvested cabbage, knowing you nurtured it from seedling to table, all within the confines of a repurposed plastic bottle. I’m excited to show you how!
Growing Cabbage in Plastic Bottles: A DIY Guide
Hey there, fellow gardening enthusiasts! I’m super excited to share one of my favorite space-saving and budget-friendly gardening hacks with you: growing cabbage in plastic bottles! It’s a fantastic way to recycle, maximize your yield, and even get a head start on the growing season. Trust me, once you try it, you’ll be hooked!
Why Grow Cabbage in Plastic Bottles?
Before we dive in, let’s talk about why this method is so awesome:
* Space Saving: Perfect for small gardens, balconies, or even patios. You can arrange the bottles vertically or horizontally, making the most of limited space.
* Recycling: Give those plastic bottles a new life instead of tossing them in the trash. It’s a win-win for your garden and the environment!
* Easy to Move: Need to chase the sun or protect your cabbage from a sudden frost? No problem! The bottles are lightweight and easy to relocate.
* Improved Drainage: With proper drainage holes, you can avoid waterlogged soil, which cabbage absolutely hates.
* Pest Control: The bottles can offer some protection against ground-dwelling pests, especially when the seedlings are young.
* Early Start: You can start your cabbage seedlings indoors in the bottles and then easily transplant them outside when the weather warms up.
Materials You’ll Need
Okay, let’s gather our supplies. Here’s what you’ll need to get started:
* Plastic Bottles: The size depends on the type of cabbage you’re growing. For smaller varieties, 2-liter bottles work great. For larger cabbages, you might want to use gallon-sized jugs or even larger containers. Make sure they’re clean!
* Cabbage Seeds: Choose your favorite variety! Early varieties like ‘Golden Acre’ are a good choice for container gardening.
* Potting Mix: Use a high-quality potting mix that drains well. Avoid using garden soil, as it can compact in containers.
* Drill or Sharp Knife: For creating drainage holes.
* Watering Can or Hose: For watering your cabbage.
* Scissors or Utility Knife: For cutting the plastic bottles.
* Optional:
* Fertilizer (balanced, slow-release fertilizer is best)
* Labels (to identify your cabbage varieties)
* Gloves (to protect your hands)
* Small rocks or gravel (for drainage)
Preparing the Plastic Bottles
This is where the fun begins! We’re going to transform those ordinary plastic bottles into mini cabbage gardens.
1. Clean the Bottles: Wash the bottles thoroughly with soap and water to remove any residue. Rinse them well and let them dry completely.
2. Cut the Bottles: There are a few ways you can cut the bottles, depending on how you want to use them:
* Horizontal Planting: Cut a large rectangular opening in the side of the bottle, leaving the top and bottom intact. This creates a trough-like container.
* Vertical Planting: Cut off the top of the bottle, leaving a cylindrical container. You can also invert the top and use it as a funnel for watering.
* Multi-Planting: Cut several smaller holes around the sides of the bottle, allowing you to plant multiple cabbage seedlings in one container. This works best for smaller cabbage varieties.
3. Create Drainage Holes: This is crucial! Use a drill or sharp knife to create several drainage holes in the bottom of the bottle. If you’re using the horizontal planting method, also add drainage holes to the bottom of the trough. I usually make about 4-6 holes, depending on the size of the bottle.
4. Optional: Add a Drainage Layer: Place a layer of small rocks or gravel at the bottom of the bottle to improve drainage. This helps prevent the potting mix from becoming waterlogged.
Planting Your Cabbage Seeds
Now for the exciting part – planting those tiny seeds that will eventually become delicious cabbage!
1. Fill the Bottles with Potting Mix: Fill the prepared bottles with high-quality potting mix, leaving about an inch of space at the top. Gently tap the bottle to settle the soil.
2. Sow the Seeds: Sow the cabbage seeds according to the instructions on the seed packet. Generally, you’ll want to plant them about ¼ to ½ inch deep. I usually plant 2-3 seeds per bottle or planting hole, just to increase the chances of germination.
3. Water Gently: Water the potting mix gently with a watering can or hose, making sure to moisten the soil evenly. Avoid overwatering, as this can cause the seeds to rot.
4. Label Your Bottles: Use labels to identify the cabbage varieties you’ve planted. This will help you keep track of your plants as they grow.
5. Place in a Sunny Location: Place the bottles in a warm, sunny location. Cabbage needs at least 6 hours of sunlight per day to thrive. If you’re starting your seeds indoors, you may need to use a grow light to supplement the natural sunlight.
Caring for Your Cabbage Plants
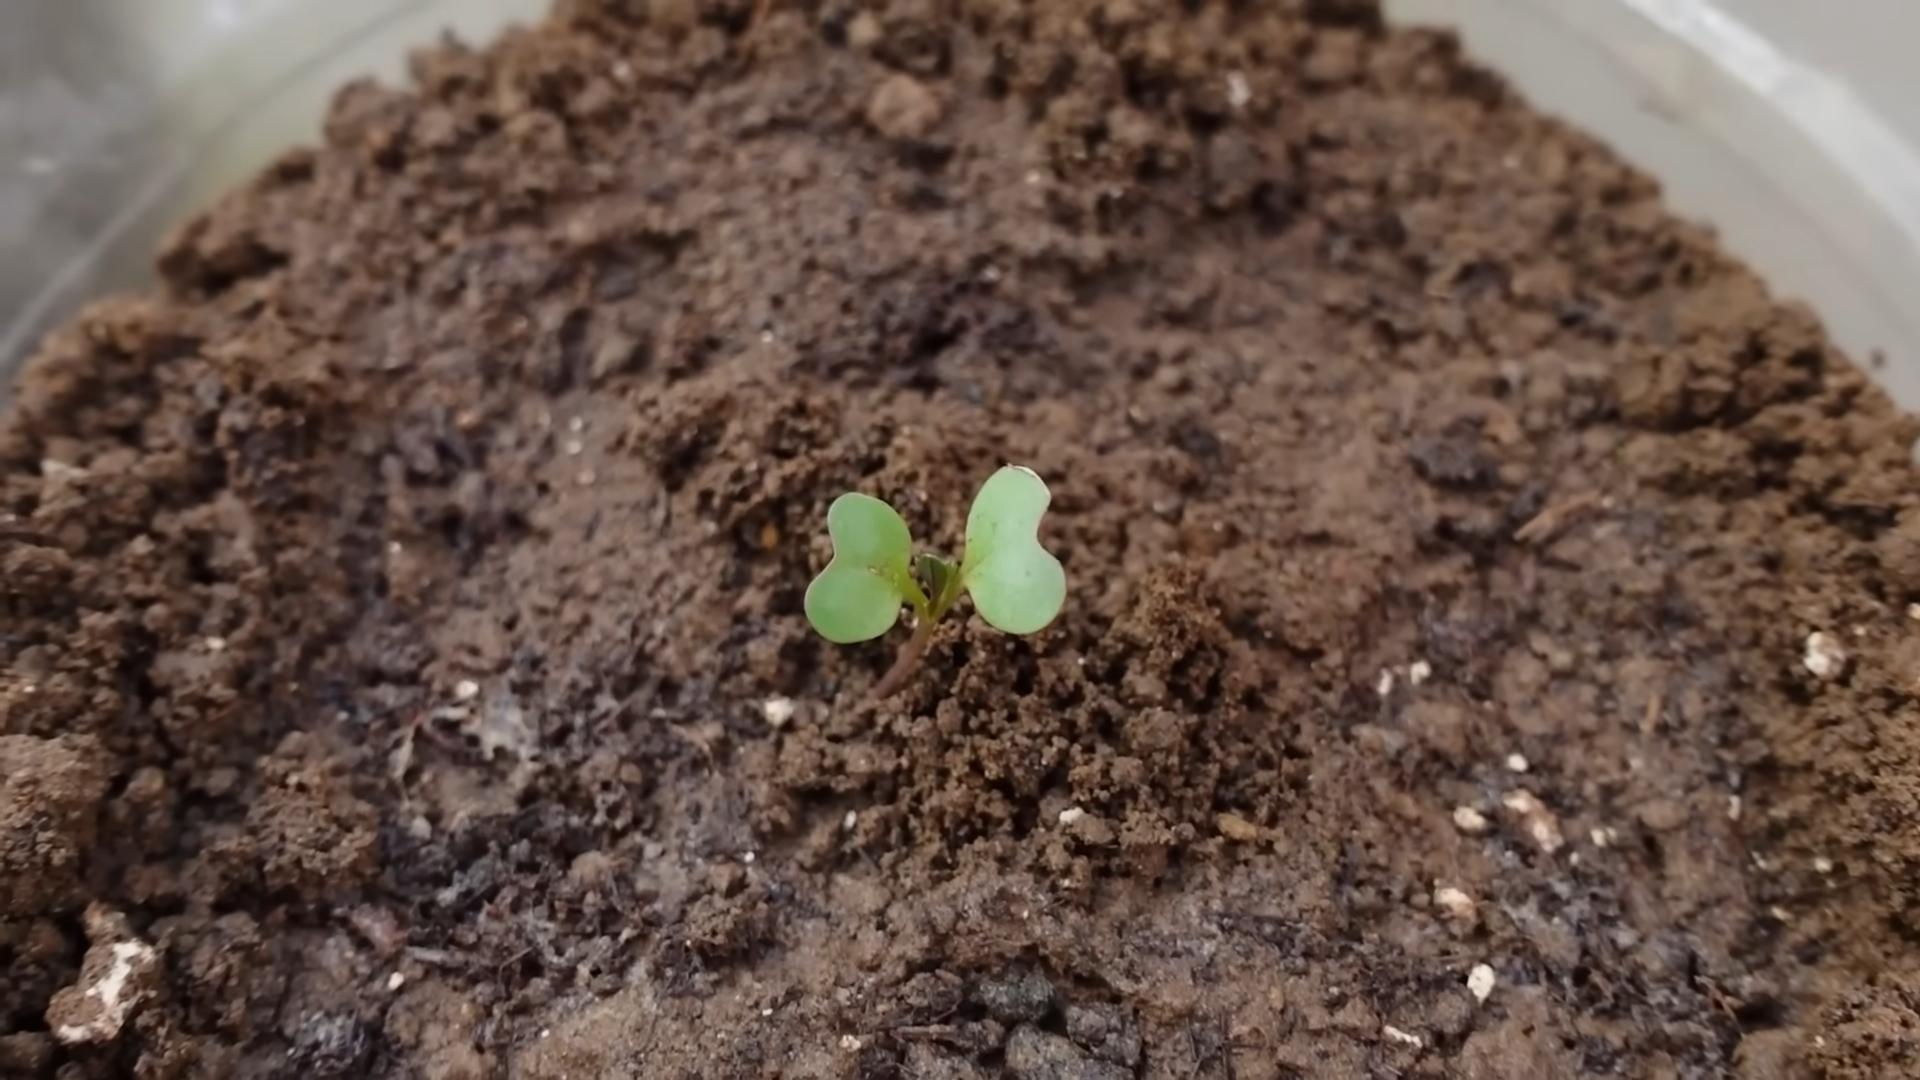
Once your cabbage seedlings have sprouted, it’s time to provide them with the care they need to grow into healthy, productive plants.
1. Thin the Seedlings: Once the seedlings have developed a few true leaves, thin them to one plant per bottle or planting hole. Choose the strongest, healthiest-looking seedling and snip off the others at the soil line. Don’t pull them out, as this can disturb the roots of the remaining seedling.
2. Water Regularly: Water your cabbage plants regularly, especially during hot, dry weather. The soil should be consistently moist, but not waterlogged. Check the soil moisture by sticking your finger into the soil. If the top inch feels dry, it’s time to water.
3. Fertilize: Cabbage is a heavy feeder, so it’s important to fertilize your plants regularly. Use a balanced, slow-release fertilizer according to the instructions on the package. You can also supplement with liquid fertilizer every few weeks.
4. Monitor for Pests and Diseases: Keep an eye out for common cabbage pests, such as cabbage worms, aphids, and flea beetles. You can control these pests with insecticidal soap, neem oil, or by handpicking them off the plants. Also, watch out for diseases like black rot and clubroot. Proper watering and good air circulation can help prevent these diseases.
5. Provide Support: As your cabbage heads grow larger, they may need some support to prevent them from toppling over. You can use stakes or cages to support the plants.
6. Rotate the Bottles: If you’re growing your cabbage on a balcony or patio, rotate the bottles regularly to ensure that all sides of the plants receive equal sunlight.
Harvesting Your Cabbage
The moment you’ve been waiting for! Harvesting your homegrown cabbage is incredibly rewarding.
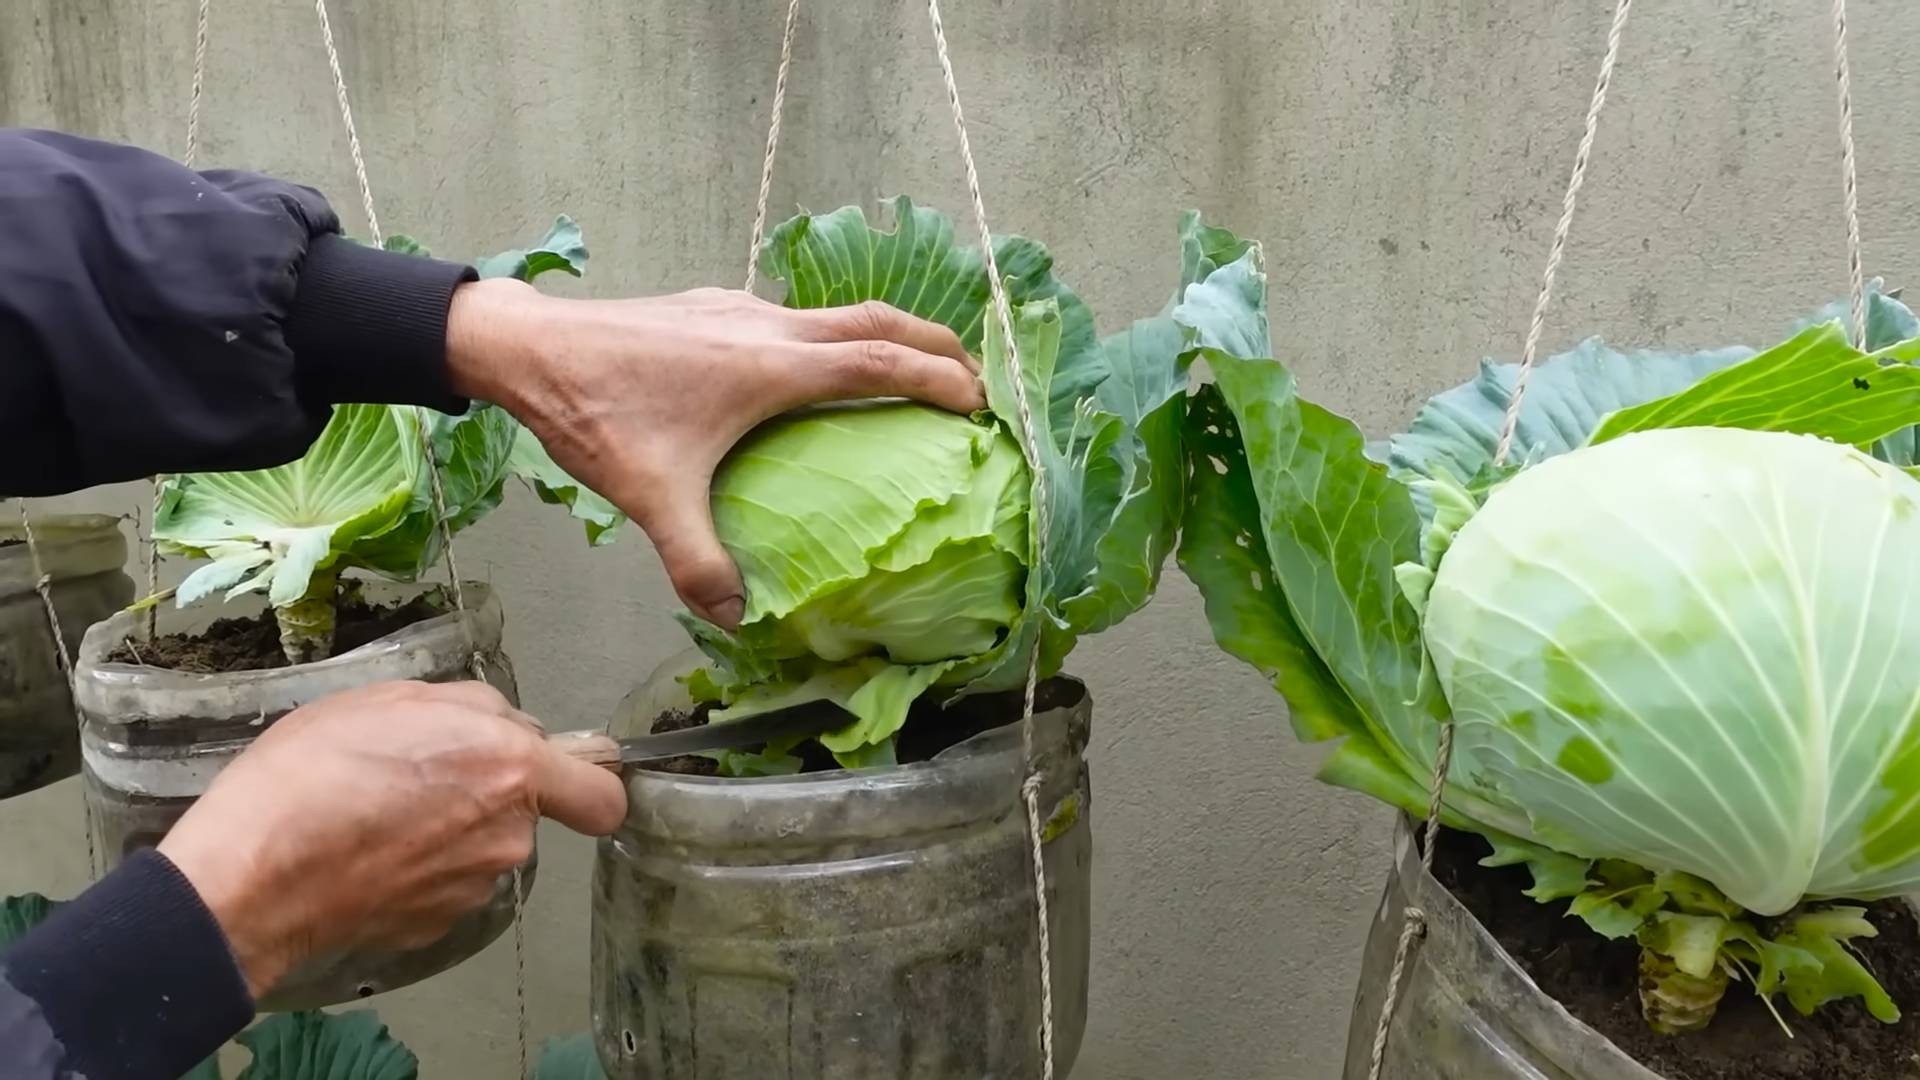
1. Check for Maturity: Cabbage is typically ready to harvest when the heads are firm and compact. The size of the head will depend on the variety you’re growing.
2. Harvesting: Use a sharp knife to cut the cabbage head from the stem, leaving a few outer leaves intact.
3. Storage: Store your harvested cabbage in the refrigerator. It will keep for several weeks if stored properly.
Tips for Success
Here are a few extra tips to help you succeed with growing cabbage in plastic bottles:
* Choose the Right Variety: Select cabbage varieties that are well-suited for container gardening. Smaller varieties like ‘Golden Acre’ and ‘Dwarf Morden’ are good choices.
* Use High-Quality Potting Mix: Don’t skimp on the potting mix! Use a high-quality mix that drains well and provides the nutrients your cabbage plants need.
* Provide Adequate Sunlight: Cabbage needs at least 6 hours of sunlight per day to thrive. If you don’t have enough natural sunlight, consider using a grow light.
* Water Regularly: Cabbage needs consistent moisture, but avoid overwatering. Check the soil moisture regularly and water when the top inch feels dry.
* Fertilize Regularly: Cabbage is a heavy feeder, so fertilize your plants regularly with a balanced fertilizer.
* Protect from Pests and Diseases: Monitor your plants regularly for pests and diseases and take action promptly if you spot any problems.
* Don’t Overcrowd: Give your cabbage plants enough space to grow. Overcrowding can lead to stunted growth and increased susceptibility to pests and diseases.
* Recycle and Reuse: Don’t throw away your plastic bottles after you’ve harvested your cabbage! You can reuse them for other gardening projects.
Growing cabbage in plastic bottles is a fun, rewarding, and eco-friendly way to enjoy fresh, homegrown vegetables. With a little bit of effort and attention, you can harvest
Conclusion
So, there you have it! Transforming humble plastic bottles into miniature cabbage gardens is not just a quirky DIY project; it’s a sustainable, space-saving, and surprisingly effective way to cultivate your own fresh produce. We’ve walked you through the process, highlighting the simplicity and adaptability of this method. But why should you actually try growing cabbage in plastic bottles?
Firstly, consider the environmental impact. We’re all increasingly aware of the need to reduce, reuse, and recycle. This project directly addresses the “reuse” aspect, giving plastic bottles a new lease on life and preventing them from ending up in landfills or polluting our oceans. It’s a small step, but every little bit helps in creating a more sustainable future.
Secondly, think about the convenience. Whether you have a sprawling garden or a tiny balcony, this method allows you to grow cabbage virtually anywhere. The vertical nature of the setup maximizes space, making it ideal for urban dwellers or those with limited gardening areas. Plus, the controlled environment within the bottles can help protect your cabbages from pests and harsh weather conditions.
Thirdly, there’s the sheer satisfaction of growing your own food. Nurturing a tiny seedling into a thriving cabbage head is an incredibly rewarding experience. You’ll gain a deeper appreciation for the food you eat and the effort that goes into producing it. And let’s be honest, there’s nothing quite like the taste of freshly harvested, homegrown vegetables.
But the beauty of this DIY trick lies in its adaptability. Feel free to experiment with different varieties of cabbage. Red cabbage, Savoy cabbage, or even Chinese cabbage (Napa cabbage) can all thrive in plastic bottles. You can also adjust the size of the bottles to accommodate different cabbage sizes or to create a tiered system for even more efficient space utilization. Consider adding companion plants like marigolds or basil to deter pests and enhance the flavor of your cabbages.
Don’t be afraid to get creative with your setup. Paint the bottles to add a splash of color to your garden, or decorate them with stencils or markers. You can even create a vertical garden wall using multiple bottles, transforming a drab space into a vibrant and productive oasis.
We wholeheartedly encourage you to give this DIY project a try. It’s a fun, educational, and environmentally friendly way to grow your own cabbage. And most importantly, it’s incredibly rewarding.
Once you’ve embarked on your cabbage-growing adventure, we’d love to hear about your experience. Share your photos, tips, and challenges in the comments section below. Let’s create a community of bottle-cabbage enthusiasts and inspire others to embrace sustainable gardening practices. What worked for you? What didn’t? What innovative variations did you come up with? Your feedback will help us refine this method and make it even more accessible to everyone. So, grab some plastic bottles, some soil, and some cabbage seeds, and get ready to grow your own delicious and sustainable harvest!
Frequently Asked Questions (FAQ)
What type of plastic bottles are best for growing cabbage?
Ideally, you should use food-grade plastic bottles, such as those that previously contained water, juice, or soda. Avoid using bottles that held harsh chemicals or cleaning products, as these could contaminate the soil and affect the cabbage’s growth. PET (polyethylene terephthalate) bottles are a common and generally safe choice. Make sure to thoroughly clean the bottles with soap and water before using them. The size of the bottle will depend on the variety of cabbage you are growing, but larger bottles (2-3 liters) are generally recommended to provide enough space for the roots to develop.
How often should I water my cabbage plants in plastic bottles?
The watering frequency will depend on several factors, including the climate, the type of soil you’re using, and the size of the bottle. As a general rule, check the soil moisture level daily. If the top inch of soil feels dry to the touch, it’s time to water. Water thoroughly until excess water drains out of the drainage holes at the bottom of the bottle. Avoid overwatering, as this can lead to root rot. During hot and dry weather, you may need to water more frequently, possibly even twice a day. In cooler or more humid conditions, you can water less often. A good indicator is to observe the leaves of the cabbage plant. If they start to wilt or droop, it’s a sign that the plant needs water.
What kind of soil should I use for growing cabbage in plastic bottles?
A well-draining and nutrient-rich soil mix is essential for successful cabbage growth. A good option is to use a combination of potting soil, compost, and perlite or vermiculite. Potting soil provides a good base for the plants to grow. Compost adds essential nutrients and improves soil structure. Perlite or vermiculite helps to improve drainage and aeration, preventing the soil from becoming waterlogged. A ratio of 1:1:1 (potting soil:compost:perlite/vermiculite) is a good starting point. You can also add a slow-release fertilizer to the soil mix to provide a steady supply of nutrients to the cabbage plants.
How much sunlight do cabbage plants need when grown in plastic bottles?
Cabbage plants need at least 6 hours of direct sunlight per day to thrive. Choose a location that receives plenty of sunlight throughout the day. If you’re growing cabbage indoors, you may need to supplement with artificial grow lights. Rotate the bottles regularly to ensure that all sides of the plant receive adequate sunlight. If the leaves start to look pale or leggy, it’s a sign that the plant is not getting enough sunlight.
How do I protect my cabbage plants from pests and diseases when growing them in plastic bottles?
Growing cabbage in plastic bottles can actually help to reduce the risk of pests and diseases, as the bottles provide a physical barrier. However, it’s still important to take precautions. Regularly inspect your plants for signs of pests, such as aphids, cabbage worms, or slugs. If you find any pests, you can remove them by hand or use an organic insecticide, such as neem oil or insecticidal soap. To prevent diseases, ensure good air circulation around the plants and avoid overwatering. You can also use a fungicide if necessary. Companion planting with herbs like rosemary or thyme can also help to deter pests.
Can I grow other vegetables in plastic bottles using the same method?
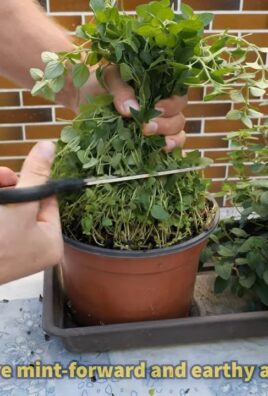
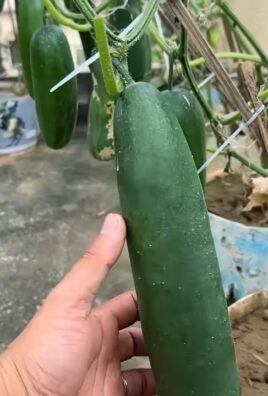
Yes, absolutely! The plastic bottle gardening method is versatile and can be used to grow a variety of other vegetables, herbs, and even flowers. Some popular choices include lettuce, spinach, kale, tomatoes, peppers, strawberries, and various herbs like basil, mint, and parsley. The key is to choose plants that are suitable for the size of the bottle and the growing conditions. Smaller plants with shallow root systems are generally better suited for this method. Remember to adjust the soil mix, watering frequency, and sunlight exposure to meet the specific needs of each plant.
How do I harvest my cabbage when it’s grown in a plastic bottle?
The harvesting time will depend on the variety of cabbage you are growing and the growing conditions. Generally, cabbage is ready to harvest when the head is firm and compact. To harvest, simply cut the cabbage head off at the base of the plant using a sharp knife. Leave a few of the outer leaves intact, as they can continue to produce smaller side shoots. You can also harvest the outer leaves of the cabbage plant as needed, leaving the main head to continue growing.
What are some variations I can try when growing cabbage in plastic bottles?
There are many creative variations you can try to personalize your plastic bottle cabbage garden. You can create a vertical garden by hanging multiple bottles from a wall or fence. You can also paint the bottles to add a splash of color and protect the roots from sunlight. Another option is to create a self-watering system by adding a wick to the bottom of the bottle that draws water from a reservoir. You can also experiment with different soil amendments, such as worm castings or bone meal, to improve the nutrient content of the soil. Don’t be afraid to get creative and experiment with different techniques to find what works best for you.
Leave a Comment