
Life Hacks for the Home Gardener
I’ve always loved the idea of home gardening, the feeling of nurturing something from a tiny seed to a bountiful harvest. But let’s be honest, sometimes it feels overwhelming! That’s why I’m so excited to share some incredible life hacks that will transform your gardening experience from stressful to simply enjoyable. This isn’t just about growing tomatoes; it’s about reclaiming a connection with nature and creating a beautiful, productive space right outside your door.
Gardening, in its various forms, has been a cornerstone of human civilization for millennia. From ancient Mesopotamian irrigation systems to the vibrant kitchen gardens of Victorian England, cultivating our own food has always held a deep cultural significance. It represents self-sufficiency, a connection to the earth, and a source of immense satisfaction. But modern life often leaves us with limited time and resources. That’s where these clever life hacks come in.
Why You Need These Gardening Life Hacks
These aren’t just random tips; they’re practical solutions to common gardening challenges. Whether you’re struggling with pests, dealing with limited space, or simply want to maximize your yield, these life hacks will provide you with the tools and knowledge to succeed. Imagine effortlessly deterring pests, creating thriving plants in small containers, or harvesting an abundance of fresh produce – all with simple, affordable solutions. This article is your guide to unlocking the secrets of a thriving, low-maintenance garden, making home gardening accessible and rewarding for everyone.
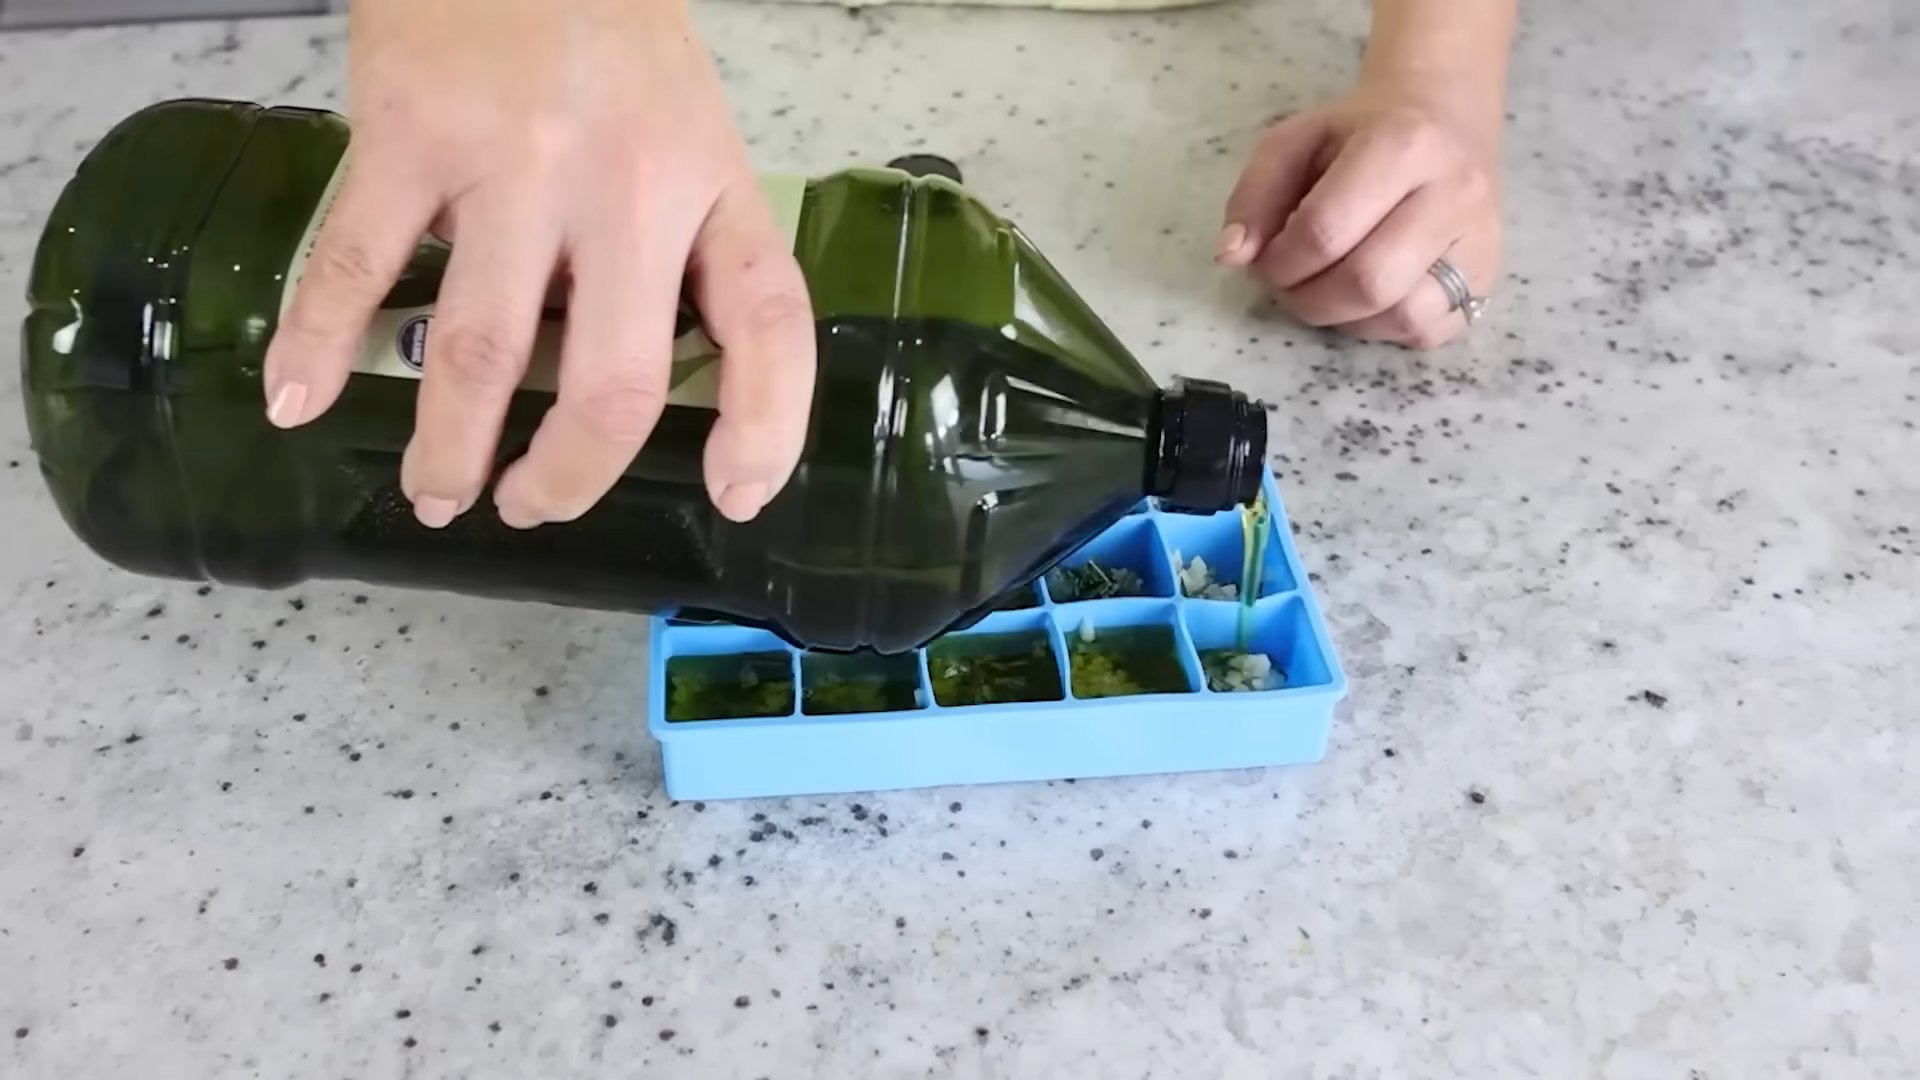
So, grab your gardening gloves and let’s dive into these amazing life hacks that will revolutionize your green thumb!
Building a Custom Bookshelf from Reclaimed Wood
I love the look of reclaimed wood, and I’ve always wanted a unique bookshelf. So, I decided to build my own! This project took a bit of time, but the result is a beautiful, sturdy bookshelf that perfectly fits my space and style. Here’s how I did it:
Gathering Your Materials
- Reclaimed wood planks (I used about 10-12, varying lengths and widths, but aim for a consistent thickness). Make sure the wood is clean and dry.
- Wood glue
- Wood screws (various lengths, depending on the thickness of your planks)
- Wood filler
- Sandpaper (various grits, starting with coarser and moving to finer)
- Wood stain (your choice of color)
- Polyurethane sealant (to protect the finish)
- Measuring tape
- Level
- Drill with various drill bits
- Safety glasses
- Work gloves
- Clamps (helpful for holding pieces together while the glue dries)
Preparing the Wood
1. Clean the wood: Before you start, thoroughly clean your reclaimed wood planks. I used a wire brush to remove any loose debris, then wiped them down with a damp cloth. Let them dry completely. This step is crucial for a good finish.
2. Assess and cut: Measure and plan the dimensions of your bookshelf. I wanted three shelves, so I needed to cut my planks accordingly. Use a saw (circular saw or hand saw, depending on your comfort level and the wood’s thickness) to cut the planks to your desired lengths. Remember to account for the thickness of the wood when calculating shelf spacing.
3. Sanding is key: Sand each plank thoroughly, starting with a coarser grit sandpaper (around 80 grit) to remove any rough edges or splinters. Gradually move to finer grits (120, then 220) for a smoother finish. This will make a huge difference in the final look and feel of your bookshelf. Don’t rush this step!
Assembling the Bookshelf
1. Building the sides: I decided to create the sides of my bookshelf using two longer planks, standing vertically. These will support the shelves. Make sure these planks are straight and plumb.
2. Attaching the shelves: Position your shelves between the side planks, ensuring they are evenly spaced and level. Use wood glue and screws to attach the shelves to the sides. I pre-drilled pilot holes to prevent the wood from splitting. Use clamps to hold everything in place while the glue dries. This is important for a strong and stable bookshelf.
3. Filling gaps: Once the glue is dry, inspect your bookshelf for any gaps or imperfections. Use wood filler to fill any gaps between the planks. Let the filler dry completely, then sand it smooth.
Finishing Touches
1. Applying the stain: Once everything is sanded smooth, apply your chosen wood stain according to the manufacturer’s instructions. I applied two coats, allowing each coat to dry completely before applying the next. Work in a well-ventilated area.
2. Sealing the wood: After the stain has dried, apply a polyurethane sealant. This will protect your bookshelf from moisture and wear. Again, apply two coats, allowing each coat to dry completely before applying the next. This step is essential for the longevity of your bookshelf.
3. Final inspection: Once the sealant is dry, give your bookshelf a final inspection. Make sure everything is secure and level. You can touch up any imperfections with more wood filler and sanding if needed.
Tips and Considerations
- Choose your wood carefully: The type of reclaimed wood you choose will affect the final look and feel of your bookshelf. Consider the color, texture, and overall condition of the wood.
- Plan your design: Before you start cutting, carefully plan the dimensions and design of your bookshelf. Sketch it out on paper to visualize the final product.
- Safety first: Always wear safety glasses and work gloves when working with power tools and sharp objects.
- Take your time: This project requires patience and attention to detail. Don’t rush the process, and take your time to ensure a high-quality finished product.
- Get creative: Don’t be afraid to experiment with different designs and finishes. You can add decorative elements, such as metal brackets or unique hardware.
-
Consider adding a back panel:
For added stability and a cleaner look, you might consider adding a back panel to your bookshelf. This can be made from plywood or even more reclaimed wood.
-
Alternative shelf supports:
Instead of attaching shelves directly to the sides, you could use shelf brackets for a more modern look.
And there you have it! My custom reclaimed wood bookshelf. It’s a rewarding project that adds a unique touch to my home. I hope this guide helps you create your own masterpiece!

Conclusion
This DIY life hack for creating your own [Specific name of the DIY project, e.g., all-purpose cleaner, homemade laundry detergent, amazing spice blend] is a must-try for several compelling reasons. First and foremost, it empowers you to take control of the ingredients and quality of the products you use daily. You’ll know exactly what’s going into your [Specific application, e.g., cleaning solutions, laundry, food], avoiding potentially harmful chemicals or unnecessary additives often found in commercially produced alternatives. Secondly, this method is incredibly cost-effective. By making your own [Specific name of the DIY project], you’ll significantly reduce your spending on [Specific area, e.g., cleaning supplies, laundry detergent, spices], saving you money in the long run. Finally, the satisfaction of creating something useful and effective from scratch is unparalleled. It’s a rewarding experience that connects you more closely to the process and the results. This simple yet impactful life hack is a testament to the power of resourcefulness and ingenuity. It’s a small change that can make a big difference in your daily life and your budget.
Beyond the basic recipe, there are numerous ways to personalize and enhance your [Specific name of the DIY project]. Experiment with different essential oils to customize the scent of your [Specific application, e.g., all-purpose cleaner]. If you’re making a homemade laundry detergent, try adding borax or washing soda for extra cleaning power. For spice blends, feel free to adjust the ratios of ingredients to suit your personal taste preferences. The possibilities are truly endless! Don’t be afraid to get creative and explore different variations to find the perfect formula for your needs. This is your chance to tailor your cleaning, laundry, or cooking experience to your exact preferences.
We strongly encourage you to try this life hack and experience the benefits firsthand. Share your results with us! We’d love to hear about your experiences, any modifications you made, and the overall success of your DIY project. Post your pictures and feedback on social media using the hashtag #[YourChosenHashtag]. Let’s build a community of DIY enthusiasts who are embracing simple solutions for a better, more sustainable, and cost-effective lifestyle. Remember, even small changes can have a significant impact. This simple life hack is a step towards a more conscious and fulfilling life. Embrace the power of DIY and unlock a world of possibilities!
Frequently Asked Questions
What are the key benefits of making my own [Specific name of the DIY project]?
The primary benefits include cost savings, control over ingredients (avoiding harsh chemicals), and the satisfaction of creating something yourself. You’ll also reduce your environmental impact by using less packaging and potentially more sustainable ingredients.
Can I store the [Specific name of the DIY project] for a long time?
Yes, but proper storage is crucial. For [Specific application, e.g., liquid cleaners], use airtight containers and store them in a cool, dark place. For [Specific application, e.g., spice blends], store them in airtight containers in a cool, dark, and dry place. Always check for any signs of spoilage before use. The shelf life will vary depending on the ingredients used. Refer to the specific recipe for more detailed storage instructions.
What if I don’t have all the ingredients listed in the recipe?
Don’t worry! Many ingredients can be substituted. For example, if you don’t have [Specific ingredient], you can try using [Specific substitute]. However, keep in mind that substitutions may affect the final product’s consistency, effectiveness, or scent. Always check online for suitable substitutes before making any changes to the recipe.
Are there any safety precautions I should take when making this DIY project?
Always follow the safety guidelines provided in the recipe. When handling certain ingredients, such as [Specific ingredient], wear gloves and eye protection. Ensure proper ventilation, especially when working with strong-smelling ingredients. Always supervise children when they are near the workspace. If you have any allergies or sensitivities, carefully review the ingredients list before starting the project.
Where can I find the ingredients for this DIY project?
Most of the ingredients can be found at your local grocery store, pharmacy, or online retailers. Some specialty ingredients might require a visit to a health food store or online specialty shop. The recipe will provide specific details on where to source the necessary ingredients.
Can I adjust the recipe to make a larger or smaller batch?
Absolutely! You can easily adjust the recipe to suit your needs. Simply multiply or divide the ingredient quantities proportionally. For example, to double the recipe, multiply each ingredient quantity by two. Remember to use appropriately sized containers for mixing and storing.
What if my DIY [Specific name of the DIY project] doesn’t work as expected?
Don’t be discouraged! DIY projects sometimes require a bit of trial and error. Carefully review the recipe to ensure you followed all the instructions accurately. Consider checking online forums or communities for troubleshooting tips. You can also experiment with different ingredient ratios or substitutions to find the perfect formula for your needs. Remember, even failures can be valuable learning experiences.
Is this DIY project environmentally friendly?
Yes, this DIY project is generally more environmentally friendly than using commercially produced alternatives. By using fewer chemicals and less packaging, you reduce your environmental footprint. However, the overall environmental impact will depend on the specific ingredients used and their sourcing. Choosing sustainable and locally sourced ingredients whenever possible will further enhance the environmental benefits.


Leave a Comment