
Clean Kitchen Sink: DIY Tricks for a Sparkling Sink
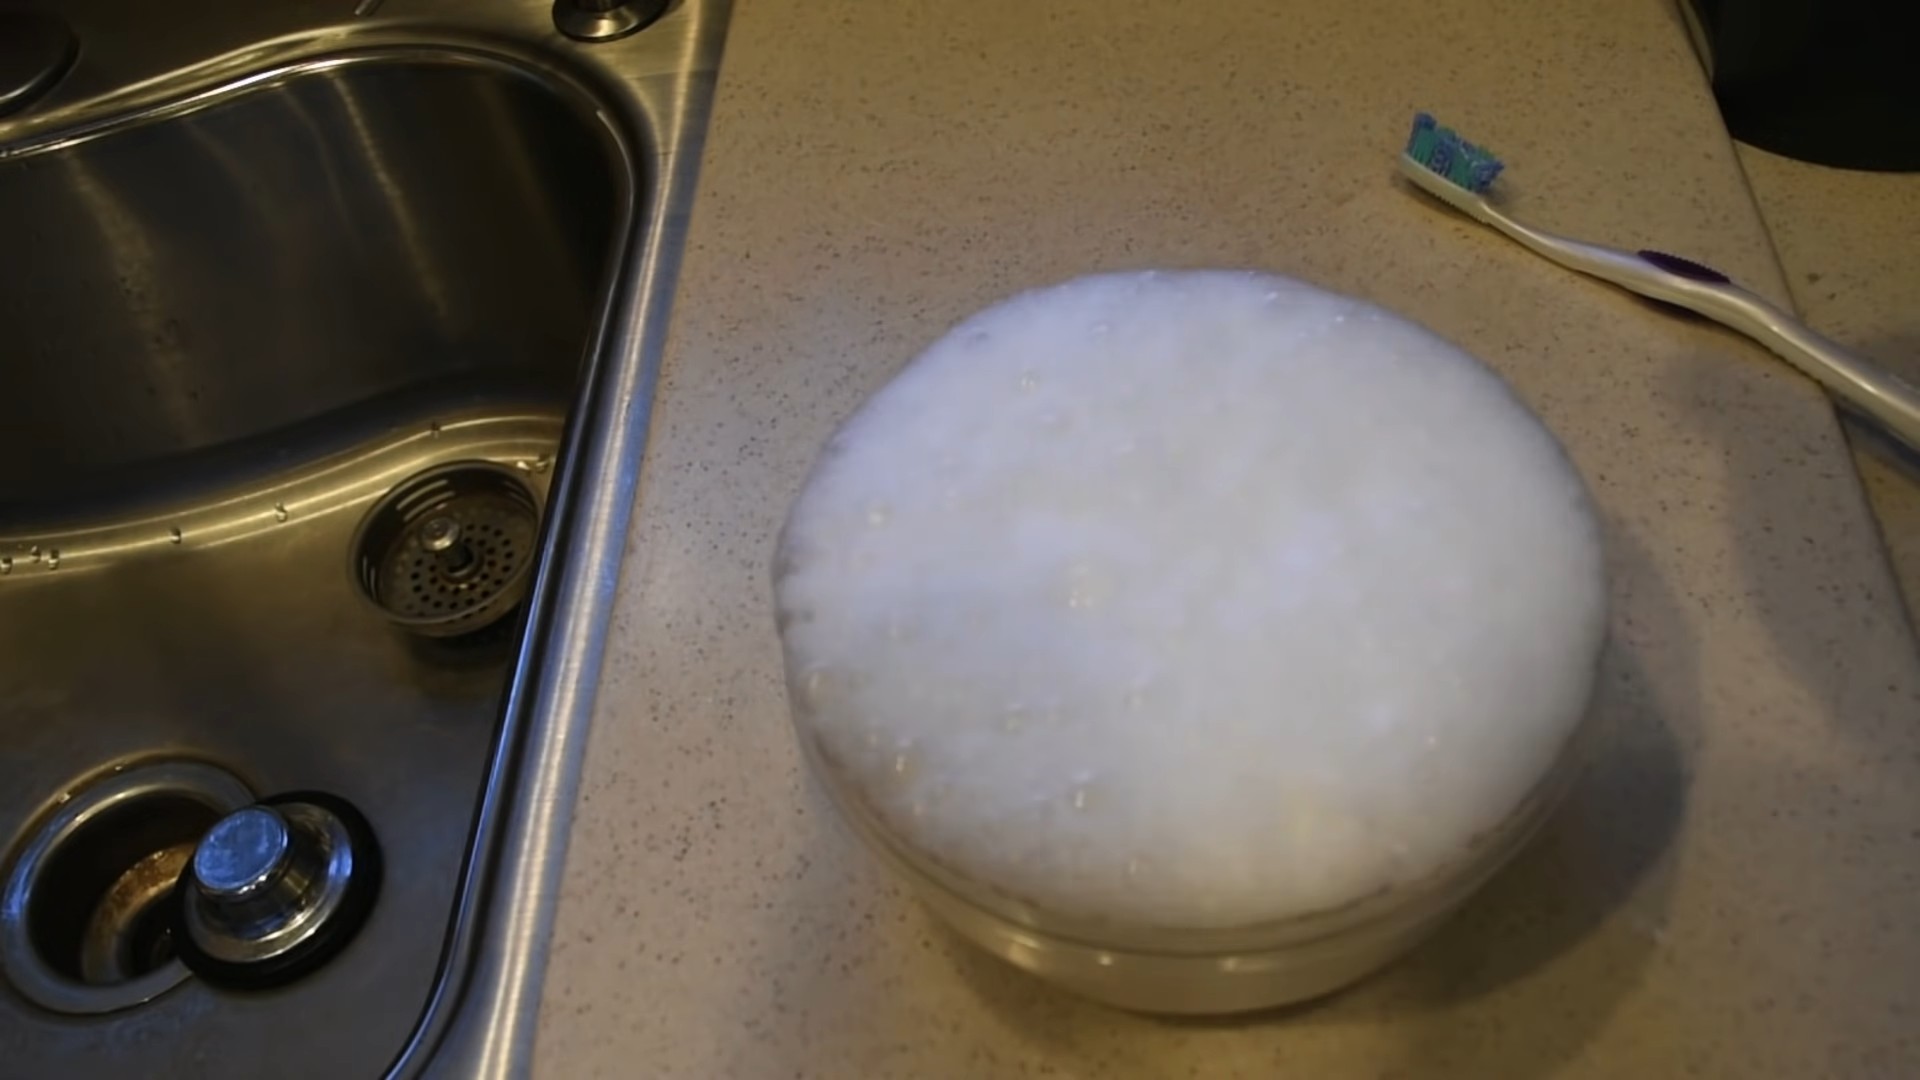
I love a sparkling clean kitchen sink! There’s something incredibly satisfying about a gleaming, spotless sink – it instantly makes the whole kitchen feel cleaner and more inviting. But let’s be honest, keeping that pristine shine can be a real challenge. Between daily dishes, food spills, and the inevitable build-up of grime, your kitchen sink can quickly become a breeding ground for bacteria and unpleasant odors. That’s why I’m sharing my favorite Clean Kitchen Sink DIY tricks and hacks to help you achieve that sparkling clean sink you crave, without resorting to harsh chemicals or expensive cleaners.
The desire for a clean and functional kitchen sink is nothing new; throughout history, cleanliness in the kitchen has been associated with health and prosperity. From the simple clay sinks of ancient civilizations to the modern stainless steel marvels we have today, the importance of a clean kitchen sink has remained constant. But modern life often leaves us with less time for deep cleaning, making effective and efficient cleaning methods crucial.
This article isn’t just about surface-level cleaning; it’s about tackling those stubborn stains, eliminating lingering odors, and preventing future build-up. You’ll discover simple, yet effective Clean Kitchen Sink solutions using ingredients you likely already have in your pantry. These DIY methods are not only budget-friendly but also environmentally conscious, avoiding harsh chemicals that can harm your family and the environment. So, let’s dive in and transform your kitchen sink from drab to fab!
Building a Custom Bookshelf from Reclaimed Wood
I love the look of reclaimed wood, and I’ve always wanted a unique bookshelf. So, I decided to build my own! This project took a bit of time, but the result is a beautiful, one-of-a-kind piece of furniture that I’m incredibly proud of. Here’s how I did it:
Gathering Your Materials
- Reclaimed wood planks (I used about 10, varying in width and length – aim for a mix of interesting textures and colors!)
- Wood glue
- Wood screws (various lengths, depending on plank thickness)
- Wood filler
- Sandpaper (various grits, starting with coarser and moving to finer)
- Wood stain (your choice of color – I went with a dark walnut)
- Polyurethane sealant (to protect the finish)
- Measuring tape
- Level
- Drill with various drill bits
- Safety glasses
- Work gloves
- Clamps (lots of them!)
- Putty knife
- Paintbrushes (for stain and sealant)
- Drop cloths or old newspapers to protect your work area
Preparing the Reclaimed Wood
1. Clean the wood: Before you start, give your reclaimed wood planks a good cleaning. I used a stiff brush to remove loose dirt and debris. For stubborn grime, a pressure washer can be helpful, but be gentle to avoid damaging the wood.
2. Assess and cut: Lay out your planks to visualize your bookshelf design. You’ll likely need to cut some planks to size to create even shelves and sides. Use a saw (circular saw or hand saw, depending on your comfort level and the wood’s thickness) to make precise cuts. Remember to always wear safety glasses!
3. Sanding is key: Once you have your planks cut, it’s time for sanding. Start with a coarser grit sandpaper (around 80 grit) to remove any rough spots or splinters. Gradually move to finer grits (120, then 220) for a smooth finish. Sanding is crucial for a professional-looking result. Take your time and sand in the direction of the wood grain.
Assembling the Bookshelf
1. Building the sides: I decided to create the sides of my bookshelf using two longer planks, standing vertically. Measure and mark the locations for the shelves on these side planks. Ensure the shelves are evenly spaced.
2. Attaching the shelves: Apply a generous amount of wood glue to the ends of each shelf where they will meet the side planks. Then, use wood screws to secure the shelves to the sides. Pre-drill pilot holes to prevent the wood from splitting. Use clamps to hold everything firmly in place while the glue dries. This is important for a strong and stable bookshelf.
3. Adding support: For extra stability, especially if you plan on loading your bookshelf heavily, consider adding support pieces between the shelves and the sides. These can be small pieces of wood glued and screwed in place.
4. Filling gaps and imperfections: Reclaimed wood often has imperfections. Use wood filler to fill any gaps or holes in the wood. Let the filler dry completely, then sand it smooth.
Finishing Touches
1. Applying the stain: Once everything is dry and sanded smooth, it’s time to apply the stain. Follow the manufacturer’s instructions carefully. I applied two coats of stain, allowing each coat to dry completely before applying the next. Use a clean rag to wipe away any excess stain.
2. Sealing the wood: After the stain has dried, apply a few coats of polyurethane sealant. This will protect your bookshelf from moisture and wear. Again, follow the manufacturer’s instructions for drying time between coats. Sand lightly between coats with very fine sandpaper (320 grit or higher) to ensure a smooth finish.
3. Final inspection and placement: Once the sealant is completely dry, give your bookshelf a final inspection. Make sure everything is secure and level. Then, find the perfect spot in your home to display your beautiful, handcrafted creation!
Tips for Success
- Plan your design carefully: Before you start cutting, sketch out your bookshelf design and measure everything twice (or three times!) to ensure accuracy.
- Use quality materials: Investing in good quality wood glue, screws, and stain will make a big difference in the final product.
- Take your time: This project requires patience. Don’t rush the process. Allow ample drying time between steps.
- Safety first: Always wear safety glasses and work gloves when using power tools.
Troubleshooting
- Uneven shelves: If your shelves are uneven, use shims to level them before securing them with screws.
- Splitting wood: Pre-drilling pilot holes will help prevent the wood from splitting when you screw it together.
- Uneven stain: If your stain is uneven, lightly sand the area and reapply the stain.
Conclusion
So there you have it! Our guide to achieving a sparkling clean kitchen sink, a task that often feels daunting but is surprisingly achievable with a few simple, readily available ingredients. This DIY approach to Clean Kitchen Sink maintenance not only saves you money compared to expensive commercial cleaners but also allows you to control the ingredients, ensuring a safer and more environmentally friendly cleaning solution. The satisfying results – a gleaming, streak-free sink – are well worth the minimal effort involved. This method is a must-try because it’s effective, economical, and gentle on your sink’s surface, preventing potential damage from harsh chemicals. You’ll be amazed at how easily you can banish stubborn stains and grime, leaving your kitchen feeling fresh and inviting. Beyond the immediate satisfaction of a sparkling clean sink, this DIY method contributes to a healthier home environment, free from the potentially harmful chemicals found in many commercial cleaners.
Beyond the basic recipe, there are numerous ways to personalize your cleaning solution to suit your specific needs and preferences. For instance, if you have particularly stubborn stains, you can increase the soaking time or add a small amount of baking soda for extra scrubbing power. For a more fragrant clean, add a few drops of your favorite essential oil, such as lemon or tea tree oil, to the mixture. Experiment with different combinations to find what works best for you and your sink’s material. If you have a stainless steel sink, you might want to avoid abrasive cleaners, opting instead for a gentler approach with a microfiber cloth and your DIY solution. For porcelain sinks, a slightly more vigorous scrubbing might be necessary, but always test any new cleaning solution on an inconspicuous area first. Remember, the key is to find a balance between effectiveness and gentleness to maintain the longevity and beauty of your kitchen sink. Don’t be afraid to get creative and adapt the recipe to your specific circumstances.
We strongly encourage you to try this simple and effective DIY Clean Kitchen Sink method. Share your experience with us! Let us know in the comments below how it worked for you, what variations you tried, and any tips you discovered along the way. Your feedback will help others achieve the same sparkling results and contribute to a community of clean kitchen enthusiasts. We believe that everyone deserves to enjoy the satisfaction of a sparkling clean kitchen sink, and this DIY trick makes it easier than ever before. So, grab your supplies, get cleaning, and prepare to be amazed by the transformative power of this simple yet effective solution. Let’s make clean kitchens the norm!
Frequently Asked Questions
What types of sinks does this method work on?
This DIY Clean Kitchen Sink method is generally suitable for most sink materials, including stainless steel, porcelain, and enamel. However, always test a small, inconspicuous area first to ensure the solution doesn’t damage or discolor the surface. Avoid using abrasive cleaners or excessive scrubbing on delicate materials.
How often should I clean my kitchen sink using this method?
The frequency of cleaning depends on your usage. For most households, a weekly cleaning is sufficient to maintain a clean and hygienic sink. However, if you frequently use your sink for messy tasks, you may need to clean it more often. A quick rinse after each use can also help prevent the buildup of grime and stains.
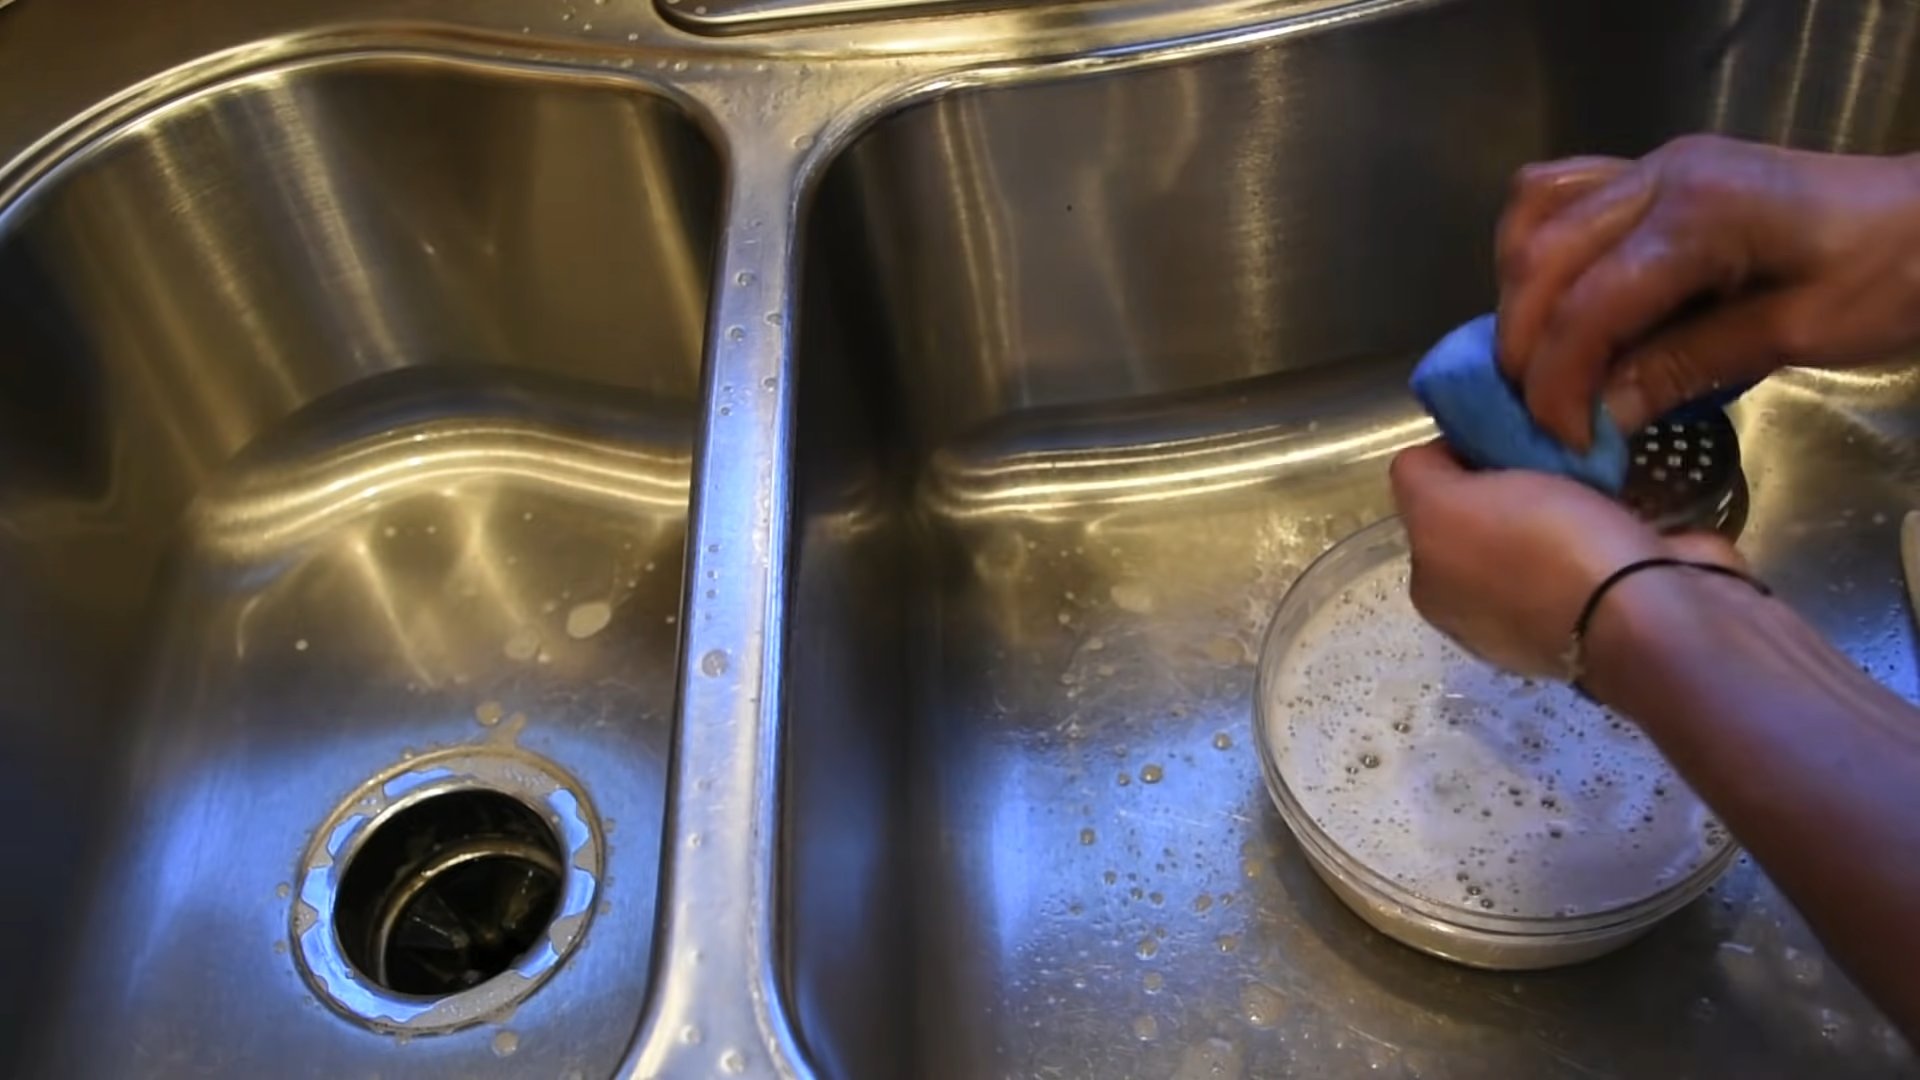
Can I use this method on a garbage disposal?
While this method is primarily designed for cleaning the sink basin, you can use the solution to clean around the garbage disposal flange. However, avoid pouring the solution directly into the disposal, as this could potentially damage the unit. For a deeper clean of your garbage disposal, consider using a separate cleaning method specifically designed for that purpose.
What if I have stubborn stains or watermarks?
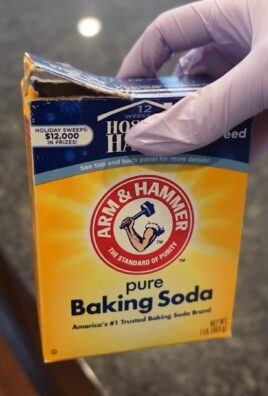
For stubborn stains or watermarks, you can increase the soaking time or add a small amount of baking soda to create a gentle abrasive paste. Gently scrub the affected areas with a soft sponge or cloth. For particularly persistent stains, you may need to repeat the process or consider using a specialized stain remover appropriate for your sink material.
Are there any safety precautions I should take?
Always wear rubber gloves when handling cleaning solutions to protect your skin. Ensure adequate ventilation in your kitchen while cleaning. Keep the cleaning solution out of reach of children and pets. If you experience any skin irritation, rinse the affected area thoroughly with water and discontinue use.
What if I don’t have all the ingredients listed in the recipe?
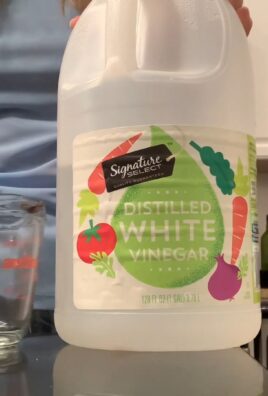
The beauty of this DIY Clean Kitchen Sink method is its flexibility. You can adapt the recipe based on what you have available. For example, if you don’t have white vinegar, you can substitute with lemon juice. If you don’t have baking soda, you can still achieve good results with just the vinegar and water solution. Experiment and find what works best for you.
Can I use this method on other areas in my kitchen?
While this method is primarily designed for cleaning kitchen sinks, you can adapt it to clean other kitchen surfaces, such as countertops (test on an inconspicuous area first!), stovetops, or even the exterior of appliances. However, always check the manufacturer’s recommendations for cleaning specific materials before applying any cleaning solution.
Where can I find the ingredients for this DIY Clean Kitchen Sink solution?
The ingredients for this solution are readily available at most grocery stores and supermarkets. White vinegar, baking soda, and dish soap are common household items. Essential oils, if desired, can be found in health food stores or online.

Leave a Comment