
Baking Soda Dish Soap Cleaner: Sounds like a science experiment, right? Well, it kind of is, but it’s also your secret weapon for a sparkling clean home! Forget those harsh chemicals and expensive cleaners – I’m going to show you how to whip up a powerful, all-natural cleaner using just two ingredients you probably already have in your pantry.
The beauty of homemade cleaners isn’t just about saving money; it’s about taking control of what you bring into your home. For generations, resourceful homemakers have relied on simple, natural ingredients like baking soda and soap to keep their homes clean and healthy. Think of your grandmother’s cleaning rituals – chances are, baking soda played a starring role! This tradition continues today as more and more people seek eco-friendly and budget-friendly alternatives to commercial cleaning products.
Let’s face it, cleaning can be a chore. But what if I told you that you could make it easier, cheaper, and even a little bit fun? This baking soda dish soap cleaner is incredibly versatile. It can tackle everything from greasy stovetops to grimy bathroom tiles. Plus, it’s gentle enough to use on most surfaces, so you don’t have to worry about damaging your precious belongings. I’m excited to share this simple yet effective DIY cleaner that will leave your home sparkling and your conscience clear!
DIY Baking Soda and Dish Soap Cleaner: Your All-Purpose Solution!
Hey there, fellow DIY enthusiasts! I’m so excited to share one of my absolute favorite cleaning hacks with you: a simple, yet incredibly effective cleaner made from just two ingredients – baking soda and dish soap! Seriously, this stuff is magic. It’s my go-to for tackling everything from grimy stovetops to stubborn bathroom stains. Plus, it’s super budget-friendly and avoids harsh chemicals. Let’s dive in!
What Makes This Cleaner So Great?
Before we get started, let’s talk about why this combination works so well. Baking soda is a mild abrasive and a natural deodorizer. It helps to scrub away dirt and grime without scratching surfaces. Dish soap, on the other hand, is a powerful degreaser that cuts through grease and oil like a champ. Together, they create a cleaning powerhouse that’s tough on messes but gentle on your home.
What You’ll Need
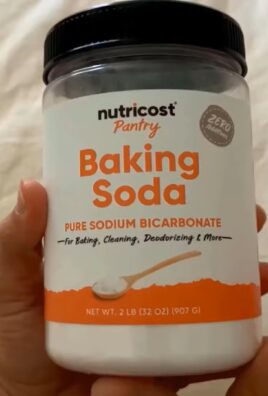
* Baking Soda
* Dish Soap (I prefer a grease-cutting variety like Dawn, but any dish soap will work)
* A Bowl or Container for Mixing
* A Spoon or Spatula
* A Scrub Brush, Sponge, or Cleaning Cloth
* Spray Bottle (optional, for thinner applications)
* Gloves (optional, but recommended if you have sensitive skin)
Step-by-Step Instructions: Making the Cleaning Paste
This is the heart of the whole operation! Follow these steps carefully, and you’ll have a fantastic cleaning paste ready to go in no time.
1. Gather Your Supplies: First things first, make sure you have everything you need within easy reach. There’s nothing worse than getting halfway through a project and realizing you’re missing something!
2. Measure the Baking Soda: Pour about ½ cup of baking soda into your mixing bowl or container. You can adjust the amount depending on how much cleaner you want to make, but this is a good starting point.
3. Add the Dish Soap: Now, slowly add the dish soap to the baking soda. I usually start with about ¼ cup and then add more as needed. The key is to add it gradually so you can control the consistency.
4. Mix Thoroughly: Using your spoon or spatula, mix the baking soda and dish soap together. At first, it will be quite dry and crumbly. Keep mixing, and the dish soap will start to incorporate into the baking soda, creating a paste.
5. Adjust the Consistency: This is where you get to customize the cleaner to your liking. If the paste is too thick, add a little more dish soap, a teaspoon at a time, until you reach your desired consistency. If it’s too thin, add a bit more baking soda. I personally like a thick, creamy paste that clings well to surfaces.
6. Test the Paste: Before you go wild cleaning everything in sight, it’s always a good idea to test the paste on an inconspicuous area first. This will ensure that it doesn’t damage or discolor the surface. Apply a small amount of the paste, let it sit for a minute or two, and then wipe it away. If everything looks good, you’re ready to roll!
Using the Cleaning Paste: Different Applications
Okay, you’ve got your amazing cleaning paste. Now, let’s talk about how to use it effectively in different areas of your home.
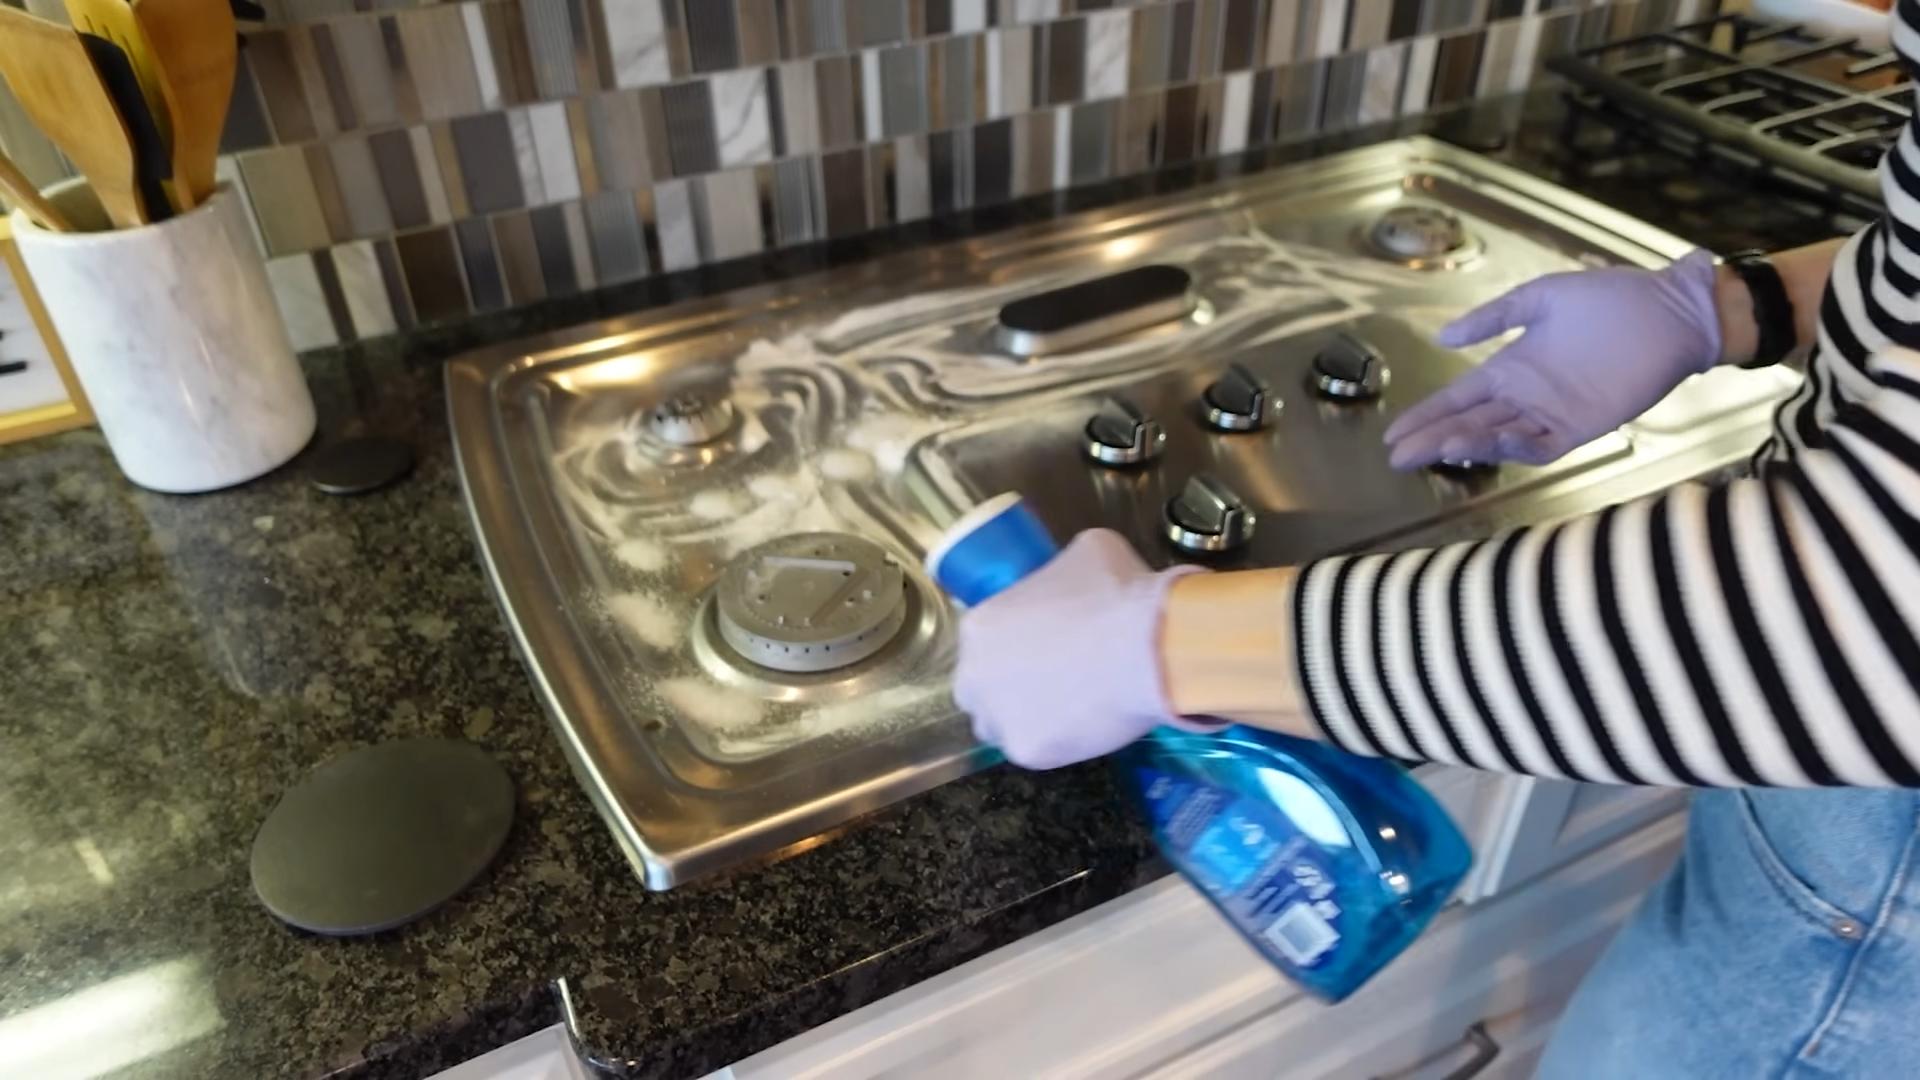
Cleaning the Stovetop
A grimy stovetop is a common kitchen woe, but this cleaner tackles it like a pro.
1. Apply the Paste: Spread a generous layer of the baking soda and dish soap paste over the dirty areas of your stovetop. Don’t be shy – really get in there!
2. Let it Sit: Allow the paste to sit for about 10-15 minutes. This gives the baking soda and dish soap time to loosen the grease and grime. For really stubborn messes, you can let it sit for even longer.
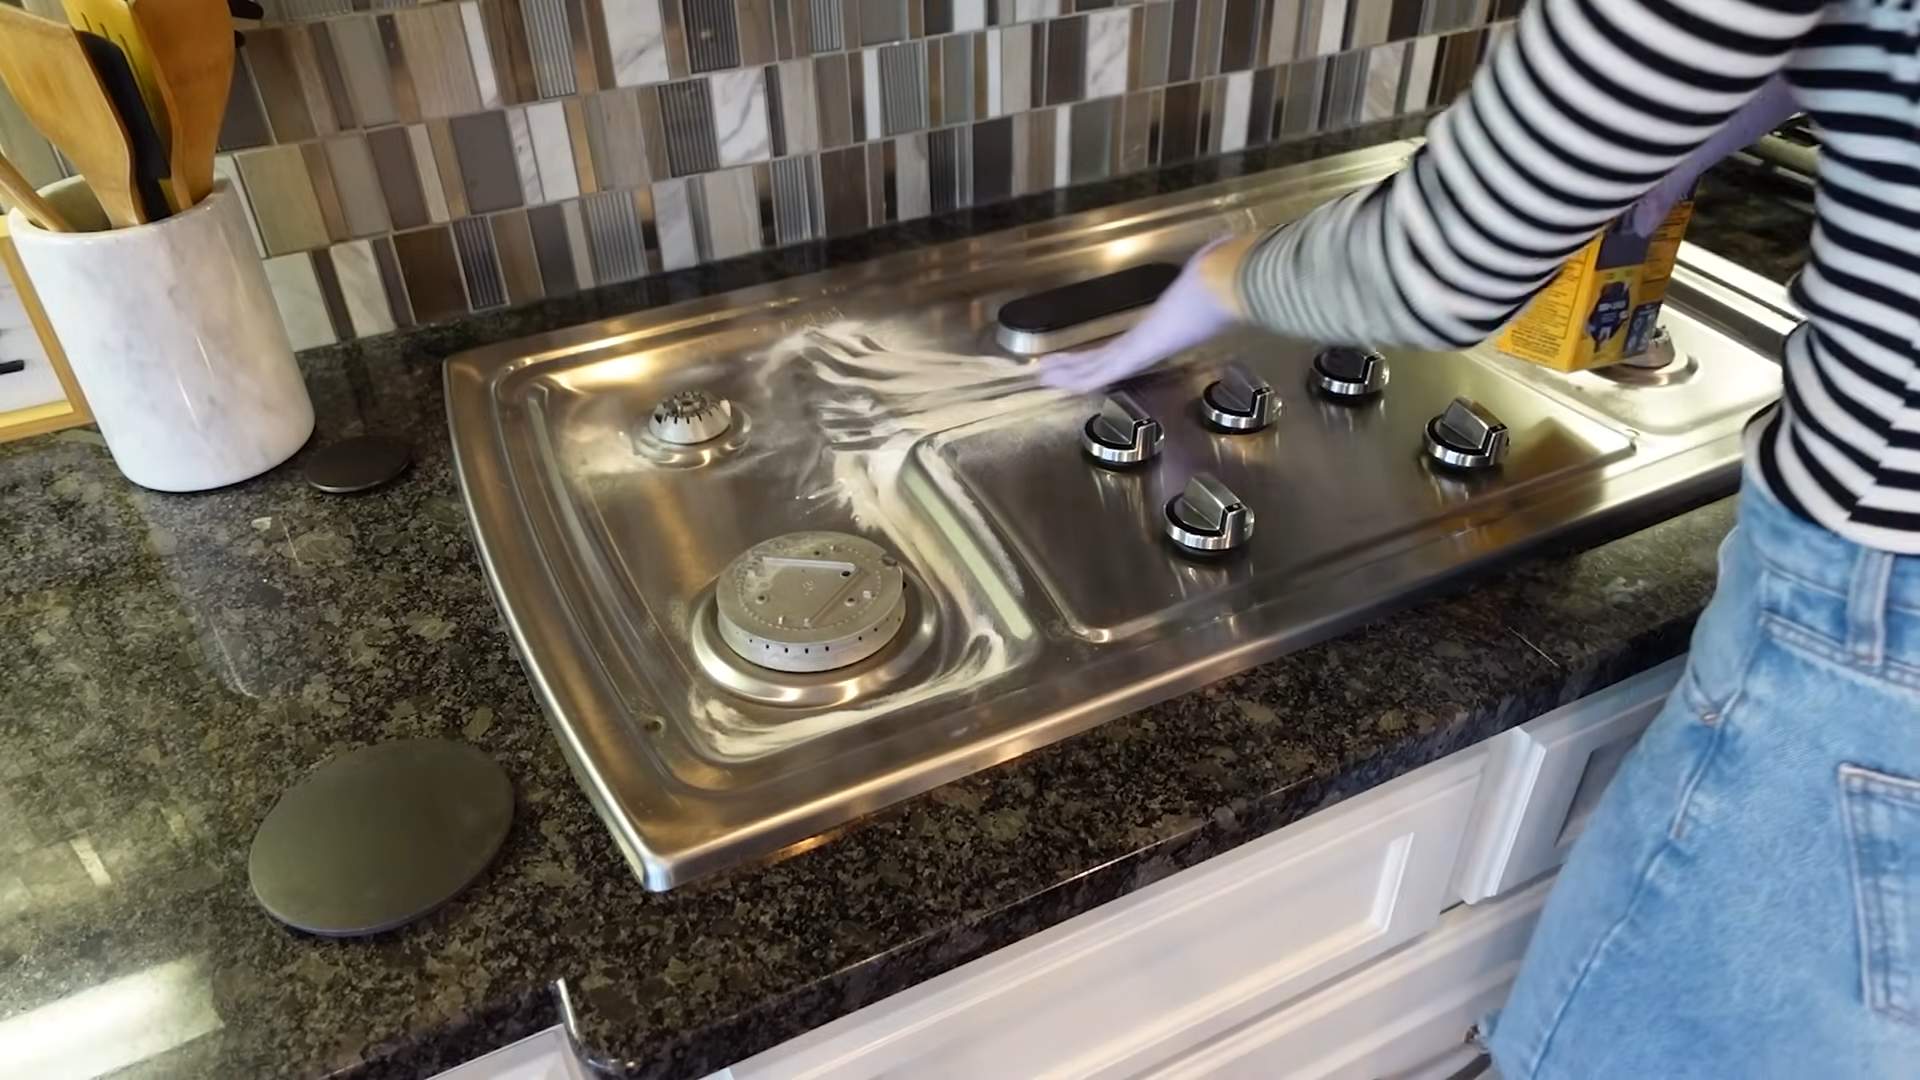
3. Scrub: Using a scrub brush or sponge, scrub the stovetop in a circular motion. You’ll see the grime start to lift away.
4. Wipe Clean: Wipe away the paste with a damp cloth or sponge. You may need to rinse the cloth several times to remove all the residue.
5. Dry: Finally, dry the stovetop with a clean cloth. And voila! A sparkling clean stovetop.
Cleaning the Bathroom
This cleaner is also fantastic for tackling bathroom grime, especially in the shower and around the sink.
1. Apply to Surfaces: Apply the paste to the areas you want to clean, such as the shower walls, tiles, grout, and sink.
2. Let it Sit: Let the paste sit for about 5-10 minutes.
3. Scrub: Use
Hey there, fellow DIY enthusiasts! I’m so excited to share one of my absolute favorite cleaning hacks with you: a simple, yet incredibly effective cleaner made from just two ingredients – baking soda and dish soap! Seriously, this stuff is magic. It’s my go-to for tackling everything from grimy stovetops to stubborn bathroom stains. Plus, it’s super budget-friendly and avoids harsh chemicals. Let’s dive in!
What Makes This Cleaner So Great?
Before we get started, let’s talk about why this combination works so well. Baking soda is a mild abrasive and a natural deodorizer. It helps to scrub away dirt and grime without scratching surfaces. Dish soap, on the other hand, is a powerful degreaser that cuts through grease and oil like a champ. Together, they create a cleaning powerhouse that’s tough on messes but gentle on your home.
What You’ll Need
* Baking Soda
* Dish Soap (I prefer a grease-cutting variety like Dawn, but any dish soap will work)
* A Bowl or Container for Mixing
* A Spoon or Spatula
* A Scrub Brush, Sponge, or Cleaning Cloth
* Spray Bottle (optional, for thinner applications)
* Gloves (optional, but recommended if you have sensitive skin)
Step-by-Step Instructions: Making the Cleaning Paste
This is the heart of the whole operation! Follow these steps carefully, and you’ll have a fantastic cleaning paste ready to go in no time.
1. Gather Your Supplies: First things first, make sure you have everything you need within easy reach. There’s nothing worse than getting halfway through a project and realizing you’re missing something!
2. Measure the Baking Soda: Pour about ½ cup of baking soda into your mixing bowl or container. You can adjust the amount depending on how much cleaner you want to make, but this is a good starting point.
3. Add the Dish Soap: Now, slowly add the dish soap to the baking soda. I usually start with about ¼ cup and then add more as needed. The key is to add it gradually so you can control the consistency.
4. Mix Thoroughly: Using your spoon or spatula, mix the baking soda and dish soap together. At first, it will be quite dry and crumbly. Keep mixing, and the dish soap will start to incorporate into the baking soda, creating a paste.
5. Adjust the Consistency: This is where you get to customize the cleaner to your liking. If the paste is too thick, add a little more dish soap, a teaspoon at a time, until you reach your desired consistency. If it’s too thin, add a bit more baking soda. I personally like a thick, creamy paste that clings well to surfaces.
6. Test the Paste: Before you go wild cleaning everything in sight, it’s always a good idea to test the paste on an inconspicuous area first. This will ensure that it doesn’t damage or discolor the surface. Apply a small amount of the paste, let it sit for a minute or two, and then wipe it away. If everything looks good, you’re ready to roll!
Using the Cleaning Paste: Different Applications
Okay, you’ve got your amazing cleaning paste. Now, let’s talk about how to use it effectively in different areas of your home.
Cleaning the Stovetop
A grimy stovetop is a common kitchen woe, but this cleaner tackles it like a pro.
1. Apply the Paste: Spread a generous layer of the baking soda and dish soap paste over the dirty areas of your stovetop. Don’t be shy – really get in there!
2. Let it Sit: Allow the paste to sit for about 10-15 minutes. This gives the baking soda and dish soap time to loosen the grease and grime. For really stubborn messes, you can let it sit for even longer.
3. Scrub: Using a scrub brush or sponge, scrub the stovetop in a circular motion. You’ll see the grime start to lift away.
4. Wipe Clean: Wipe away the paste with a damp cloth or sponge. You may need to rinse the cloth several times to remove all the residue.
5. Dry: Finally, dry the stovetop with a clean cloth. And voila! A sparkling clean stovetop.
Cleaning the Bathroom
This cleaner is also fantastic for tackling bathroom grime, especially in the shower and around the sink.
1. Apply to Surfaces: Apply the paste to the areas you want to clean, such as the shower walls, tiles, grout, and sink.
2. Let it Sit: Let the paste sit for about 5-10 minutes.
3. Scrub: Use a scrub brush or sponge to scrub the surfaces. For grout, you might want to use a smaller brush to get into the crevices.
4. Rinse Thoroughly: Rinse the surfaces thoroughly with water. Make sure to remove all traces of the paste.
5. Dry: Dry the surfaces with a clean cloth.
Cleaning Sinks and Drains
This cleaner can also help freshen up your sinks and drains.
1. Apply to Sink: Apply the paste to the sink and scrub with a sponge. Rinse well.
2. Pour into Drain: For drains, scoop a generous amount of baking soda directly into the drain.
3. Add Vinegar (Optional): Pour about ½ cup of vinegar down the drain after the baking soda. This will create a fizzing reaction that helps to loosen debris.
4. Let it Sit: Let the mixture sit for about 30 minutes.
5. Flush with Hot Water: Flush the drain with hot water for several minutes to clear out any remaining debris.
Removing Stubborn Stains
This cleaner can also be used to remove stubborn stains from various surfaces.
1. Apply to Stain: Apply a thick layer of the paste to the stain.
2. Let it Sit: Let it sit for several hours or even overnight.
3. Scrub and Rinse: Scrub the area with a brush or sponge and then rinse thoroughly with water.
Tips and Tricks for Success
* Adjust the Consistency: Don’t be afraid to experiment with the ratio of baking soda to dish soap to find the consistency that works best for you.
* Use Warm Water: When wiping away the paste, use warm water for better results.
* Wear Gloves: If you have sensitive skin, wear gloves to protect your hands.
* Store in an Airtight Container: Store any leftover paste in an airtight container to prevent it from drying out.
* Add Essential Oils (Optional): For a pleasant scent, you can add a few drops of your favorite essential oil to the paste. Lemon, lavender, and tea tree oil are all great options.
* Don’t Use on Delicate Surfaces: While baking soda is a mild abrasive, it can still scratch delicate surfaces like polished marble or certain types of plastic. Always test on an inconspicuous area first.
* For Burnt Food on Pots and Pans: For really stubborn burnt food, try boiling water in the pot or pan with a few tablespoons of the baking soda paste before scrubbing.
Making a Spray Version
Sometimes, you might prefer a spray cleaner for easier application. Here’s how to adapt this recipe:
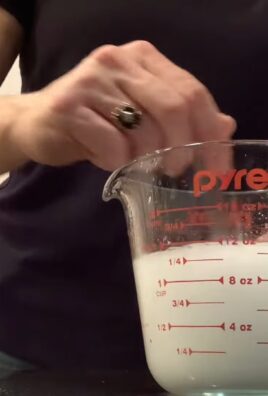
1. Combine Ingredients: In a spray bottle, combine 1 tablespoon of baking soda with 1 cup of warm water.
2. Add Dish Soap: Add a squirt of dish soap (about 1 teaspoon).
3. Shake Well: Shake the bottle well to dissolve the baking soda.
4. Use as a Spray Cleaner: Spray on surfaces, let sit for a few minutes, and wipe clean.
Safety First!
While this cleaner is generally safe, it’s always a good idea to take a few precautions:
* Avoid Eye Contact: Avoid getting the cleaner in your eyes. If contact occurs, rinse thoroughly with water.
* Keep Out of Reach of Children: As with all cleaning products, keep this cleaner out of reach of children and pets.
* Don’t Mix with Other Cleaners: Never mix this cleaner with other cleaning products, especially bleach, as this can create dangerous fumes.
Why I Love This DIY Cleaner
I’ve been using this baking soda and dish soap cleaner for years, and I’m constantly amazed by how effective it is. It’s so simple to make, it’s affordable, and it’s a much safer alternative to many commercial cleaning products. Plus, it’s incredibly versatile – I use it all over my house! I hope you give it a try and discover its cleaning magic for yourself! Happy cleaning!
Conclusion
So, there you have it! This simple yet incredibly effective baking soda dish soap cleaner is a game-changer for anyone looking to ditch harsh chemicals and embrace a more natural and budget-friendly approach to cleaning. We’ve walked you through the easy steps, highlighted the benefits, and hopefully, inspired you to give it a try.
Why is this DIY trick a must-try? Because it’s more than just a cleaner; it’s a statement. It’s a statement that you care about the environment, your health, and your wallet. It’s a statement that you’re willing to take a few extra minutes to create something powerful and effective, without relying on potentially harmful ingredients. The abrasive nature of baking soda combined with the degreasing power of dish soap creates a synergistic effect, tackling grime, grease, and stubborn stains with surprising ease. You’ll be amazed at how effectively it cleans sinks, stovetops, ovens, and even bathroom tiles.
But the beauty of this DIY cleaner lies not only in its effectiveness but also in its versatility. Feel free to experiment with variations to suit your specific needs and preferences. For a boost of disinfecting power, add a few drops of tea tree oil or lemon essential oil. The citrus scent will also leave your kitchen smelling fresh and clean. If you’re dealing with particularly stubborn stains, create a paste of baking soda and water, apply it to the affected area, let it sit for a few minutes, and then scrub with your baking soda dish soap cleaner. For a gentler scrub, use a soft cloth or sponge instead of an abrasive scouring pad.
Consider adding a splash of white vinegar to the mix for an extra fizzing, cleaning boost. Be cautious when mixing vinegar and baking soda, as it creates a reaction that releases carbon dioxide. Always do this in a well-ventilated area and avoid storing the mixture in a closed container. The fizzing action helps to loosen grime and dirt, making it easier to wipe away.
Another variation involves infusing your dish soap with citrus peels. Simply add the peels of lemons, oranges, or grapefruits to your dish soap bottle and let them steep for a few days. This will impart a lovely citrus scent and add extra degreasing power to your cleaner.
We truly believe that once you try this baking soda dish soap cleaner, you’ll never go back to store-bought cleaners. It’s simple, effective, affordable, and environmentally friendly. What more could you ask for?
So, what are you waiting for? Gather your ingredients, mix up a batch, and experience the cleaning power for yourself. We’re confident that you’ll be impressed with the results.
And most importantly, we want to hear about your experience! Share your tips, variations, and before-and-after photos with us in the comments below. Let’s build a community of DIY cleaning enthusiasts and inspire others to embrace a more natural and sustainable way of cleaning. Your feedback is invaluable, and we can’t wait to see what you create! Let us know how this baking soda dish soap cleaner worked for you!
FAQ
What exactly *is* baking soda dish soap cleaner?
Baking soda dish soap cleaner is a homemade cleaning solution made from combining baking soda and dish soap. It’s a natural, non-toxic alternative to commercial cleaners, effective for cleaning various surfaces in your home, particularly in the kitchen and bathroom. The baking soda acts as a mild abrasive, while the dish soap helps to cut through grease and grime.
Is baking soda dish soap cleaner safe to use on all surfaces?
While generally safe, it’s always a good idea to test the cleaner on an inconspicuous area first, especially on delicate surfaces like polished stone, painted walls, or certain types of plastic. The abrasive nature of baking soda could potentially scratch some surfaces. Avoid using it on surfaces that are known to be sensitive to abrasives.
How do I store the baking soda dish soap cleaner?
You can store the cleaner in a clean, airtight container, such as a spray bottle or a jar. Label the container clearly to avoid confusion. It’s best to use the cleaner within a few weeks, as the ingredients may separate over time. Give it a good shake before each use to ensure the ingredients are well combined.
Can I use any type of dish soap?
While you can use any type of dish soap, it’s best to choose a dish soap that is free of harsh chemicals and fragrances, especially if you have sensitive skin or are concerned about environmental impact. Look for dish soaps that are labeled as “natural” or “eco-friendly.” Clear dish soaps are often preferred as they are less likely to contain dyes that could stain surfaces.
How much baking soda and dish soap should I use?
A good starting ratio is approximately 1 part baking soda to 1 part dish soap. However, you can adjust the ratio to suit your specific needs. For a thicker paste, use more baking soda. For a more liquid cleaner, use more dish soap. Experiment to find the consistency that works best for you.
Does this cleaner have a strong smell?
The smell of the cleaner will depend on the dish soap you use. If you prefer a scented cleaner, choose a dish soap with a pleasant fragrance. You can also add a few drops of essential oils, such as lemon, lavender, or tea tree oil, to enhance the scent and add extra cleaning power.
Can I use this cleaner in my oven?
Yes, baking soda dish soap cleaner is excellent for cleaning ovens. To clean your oven, first, remove any loose debris. Then, apply a generous layer of the cleaner to the interior surfaces of the oven, avoiding the heating elements. Let it sit for several hours or overnight. Finally, scrub the oven with a sponge or brush and wipe away the residue with a damp cloth.
Is baking soda dish soap cleaner effective for removing hard water stains?
Yes, baking soda dish soap cleaner can be effective for removing hard water stains, especially when combined with vinegar. The acidity of the vinegar helps to dissolve the mineral deposits that cause hard water stains, while the baking soda acts as a mild abrasive to scrub away the residue.
Can I use this cleaner on stainless steel appliances?
Yes, you can use baking soda dish soap cleaner on stainless steel appliances, but be sure to use a soft cloth or sponge to avoid scratching the surface. Always wipe in the direction of the grain to prevent streaks. Rinse thoroughly with water and dry with a clean cloth.
What are some other uses for baking soda dish soap cleaner?
Besides cleaning sinks, stovetops, ovens, and bathrooms, baking soda dish soap cleaner can also be used to clean grout, remove stains from clothing, and even polish silverware. Its versatility makes it a valuable addition to any cleaning arsenal. You can even use it to clean your grill grates!
What if the baking soda dish soap cleaner doesn’t seem to be working?
If the cleaner isn’t working as well as you’d hoped, try increasing the amount of baking soda or dish soap. You can also let the cleaner sit on the surface for a longer period of time before scrubbing. For stubborn stains, consider using a more abrasive scrubbing tool or repeating the cleaning process. Adding vinegar can also boost its cleaning power.

Leave a Comment