
Fennel Pot Growing Guide: A Beginner’s Journey to Fresh Flavor
Fennel, with its anise-like fragrance and delicate flavor, is a culinary delight many home cooks crave. But did you know that growing your own fennel is surprisingly easy and rewarding? This Fennel Pot Growing Guide will walk you through everything you need to know, from selecting the right pot to harvesting your delicious, homegrown fennel. Forget expensive grocery store prices and inconsistent quality – this guide empowers you to cultivate your own vibrant fennel plants right on your patio or windowsill.
For centuries, fennel has held a significant place in various cultures. From ancient Greece, where it was associated with strength and memory, to its modern use in Italian and Mediterranean cuisines, fennel’s versatility and unique taste have captivated people for generations. Now, you can tap into this rich history and experience the joy of growing your own fennel, bringing a piece of culinary heritage into your own home.
Why bother with a Fennel Pot Growing Guide and the effort of growing your own? Simply put: the taste! Homegrown fennel boasts a superior flavor compared to store-bought varieties. Plus, you’ll have complete control over the growing process, ensuring pesticide-free, fresh, and flavorful fennel whenever you need it. Imagine the satisfaction of using your own homegrown fennel in your favorite recipes – from salads and stews to fish dishes and even desserts! This guide will help you achieve that culinary dream.
Whether you’re a seasoned gardener or a complete beginner, this Fennel Pot Growing Guide provides clear, step-by-step instructions and helpful tips to ensure your success. Let’s get started on your journey to fresh, flavorful, homegrown fennel!
Unlocking the Power of Vinegar: My Go-To Cleaning Hacks
Vinegar. It’s not just for salads anymore! This humble kitchen staple is a cleaning powerhouse, and I’m going to share my favorite vinegar cleaning tips and tricks with you. Get ready to ditch the harsh chemicals and embrace the natural cleaning power of vinegar.
Getting Started: Gathering Your Supplies
- White distilled vinegar (the cheapest kind works best!)
- Spray bottles (I like to have a few on hand for different cleaning solutions)
- Microfiber cloths (these are super absorbent and gentle on surfaces)
- Rubber gloves (optional, but recommended for protecting your hands)
- Baking soda (for extra scrubbing power in some applications)
- Optional: Essential oils (to mask the vinegar smell – a few drops of lemon or lavender work wonders)
Phase 1: Tackling Kitchen Greases and Grime
- Cleaning the Microwave: Fill a microwave-safe bowl with 1 cup of water and 1/2 cup of vinegar. Microwave on high for 5 minutes. Let it sit for another 5 minutes to loosen the grime. Then, simply wipe down the interior with a microfiber cloth. The steam will have loosened everything up, making it a breeze to clean!
- De-greasing the Stovetop: For a stainless steel stovetop, mix equal parts water and vinegar in a spray bottle. Spray generously onto the stovetop, let it sit for a few minutes, then scrub with a microfiber cloth or a non-abrasive sponge. For stubborn grease, sprinkle baking soda on the surface before spraying with the vinegar solution. The fizzing action will help lift the grease. Rinse thoroughly with clean water and dry.
- Cleaning the Dishwasher: To freshen up your dishwasher and remove any lingering odors, place a cup of vinegar on the top rack and run a full cycle. This will help remove food residue and leave your dishwasher sparkling clean.
- Removing Hard Water Stains from Faucets and Fixtures: Soak a cloth in undiluted vinegar and wrap it around the stained area. Secure it with a rubber band or clothespin and let it sit for at least 30 minutes, or even overnight for stubborn stains. Then, wipe clean and admire your sparkling faucets!
- Cleaning the Garbage Disposal: Pour 1 cup of baking soda down the garbage disposal, followed by 1 cup of vinegar. Let it fizz for about 30 minutes, then flush with cold water. This will help neutralize odors and remove any lingering food particles.
Phase 2: Bathroom Cleaning with Vinegar
- Cleaning the Showerhead: Fill a plastic bag with vinegar, and secure it around the showerhead using a rubber band. Let it soak for at least an hour, or overnight for really stubborn mineral deposits. Afterward, remove the bag and scrub the showerhead with a toothbrush to remove any remaining mineral buildup. You’ll be amazed at the difference!
- Cleaning the Toilet Bowl: Pour 1 cup of vinegar into the toilet bowl and let it sit for at least 30 minutes. Scrub with a toilet brush, paying attention to the waterline where stains often accumulate. Flush and enjoy a sparkling clean toilet.
- Cleaning the Shower and Tub: Mix equal parts water and vinegar in a spray bottle. Spray generously onto the shower walls and tub, let it sit for a few minutes, then scrub with a microfiber cloth or a non-abrasive sponge. For stubborn soap scum, you can sprinkle baking soda on the surface before spraying with the vinegar solution. Rinse thoroughly with clean water and dry.
- Cleaning Mirrors and Glass: Mix equal parts water and vinegar in a spray bottle. Spray onto the surface and wipe clean with a microfiber cloth. This will leave your mirrors and glass streak-free and sparkling.
- Removing Hard Water Stains from Shower Doors: For stubborn hard water stains on shower doors, try a paste of baking soda and vinegar. Apply the paste to the stains, let it sit for a few minutes, then scrub with a non-abrasive sponge or cloth. Rinse thoroughly and dry.
Phase 3: Beyond the Kitchen and Bathroom: Other Vinegar Cleaning Uses
- Cleaning Windows: For streak-free windows, use a solution of equal parts water and vinegar. Spray onto the windows and wipe clean with a clean microfiber cloth or newspaper. Newspaper works surprisingly well!
- Cleaning Floors: Vinegar can be used to clean many types of floors, but always test a small inconspicuous area first. For most hard floors, mix 1/2 cup of vinegar with a gallon of warm water. Mop the floor as usual and allow it to air dry.
- Laundry Booster: Add 1/2 cup of vinegar to your washing machine during the rinse cycle to help soften clothes and remove lingering detergent residue. It also helps to brighten whites.
- Removing Pet Odors: Vinegar can help neutralize pet odors. Spray a solution of equal parts water and vinegar onto carpets and upholstery, let it sit for a few minutes, then blot with a clean cloth. Always test in an inconspicuous area first.
- Cleaning Stainless Steel Appliances: Mix equal parts water and vinegar in a spray bottle. Spray onto the stainless steel surface and wipe clean with a microfiber cloth. This will help remove fingerprints and smudges, leaving your appliances looking shiny and new.
Phase 4: Important Considerations and Safety Tips
- Always test in an inconspicuous area first: Before using vinegar on any surface, especially delicate ones, test it on a small, hidden area to ensure it doesn’t damage the finish.
- Avoid using vinegar on marble or granite: Vinegar can etch these surfaces, so it’s best to avoid using it on them.
- Don’t mix vinegar with bleach: This creates a dangerous and toxic gas. Always use vinegar and bleach separately.
- Ventilate the area: When using vinegar, especially in enclosed spaces, make sure to ventilate the area to avoid inhaling strong fumes.
- Wear rubber gloves: While vinegar is generally safe, it can be irritating to some people’s skin. Wearing rubber gloves will protect your hands.
Remember, safety first! Always follow the instructions carefully and test in an inconspicuous area before applying to the entire surface. Happy cleaning!
Conclusion
So there you have it – your comprehensive guide to successfully growing fennel at home! This DIY fennel pot growing method offers a rewarding experience for gardeners of all levels, from seasoned pros to enthusiastic beginners. It’s a fantastic way to enjoy the fresh, anise-flavored leaves and bulbs of this versatile herb throughout the growing season, ensuring you always have a ready supply for your culinary creations. The ease and control offered by container gardening, especially when applied to a plant as relatively low-maintenance as fennel, makes this a truly must-try approach. You’ll bypass many of the challenges associated with direct sowing in the ground, such as unpredictable weather conditions and soil quality issues. The ability to easily move your fennel pot to optimize sunlight exposure and protect it from harsh elements further enhances the benefits of this method.
Beyond the basic technique outlined above, there are numerous exciting variations you can explore. Experiment with different pot sizes to see how it affects growth. Consider using self-watering pots for even more convenience, reducing the frequency of watering. For those with limited space, explore growing dwarf fennel varieties specifically bred for containers. You can also get creative with your potting mix, adding compost or other organic matter to enrich the soil and promote healthy growth. Furthermore, if you’re aiming for a particularly abundant harvest, consider pinching back the flower buds to encourage more leaf production. The possibilities are truly endless!
We strongly encourage you to try this DIY fennel pot growing method and experience the joy of harvesting your own fresh fennel. Share your experiences with us! Post pictures of your thriving fennel plants on social media using #FennelPotGrowing, and tag us so we can celebrate your success. Let’s build a community of fennel enthusiasts, sharing tips, tricks, and delicious recipes featuring this amazing herb. Remember, the journey of growing your own food is as rewarding as the final product. So grab a pot, some soil, and fennel seeds, and embark on this fulfilling gardening adventure. You won’t regret it!
Frequently Asked Questions
What type of pot is best for growing fennel?
Fennel plants have relatively deep taproots, so choose a pot that’s at least 12 inches deep and wide to allow for proper root development. Terracotta pots are a good option as they allow for better drainage, but plastic pots are also suitable. Ensure your chosen pot has drainage holes to prevent waterlogging.
What kind of soil is ideal for fennel in a pot?
Fennel thrives in well-draining, fertile soil. A good quality potting mix is ideal. You can enhance the mix by adding compost or other organic matter to improve drainage and nutrient content. Avoid heavy clay soils, which can retain too much water and lead to root rot.
How often should I water my fennel in a pot?
Water your fennel regularly, keeping the soil consistently moist but not soggy. The frequency of watering will depend on factors such as weather conditions, pot size, and type of potting mix. Check the soil moisture level before watering; if the top inch of soil feels dry, it’s time to water. Avoid overwatering, which can lead to root rot.
How much sunlight does fennel need?
Fennel requires at least 6-8 hours of direct sunlight per day to thrive. Choose a sunny location for your fennel pot, or ensure it receives adequate sunlight throughout the day. If you live in a particularly hot climate, consider providing some afternoon shade to prevent scorching.
When can I harvest my fennel?
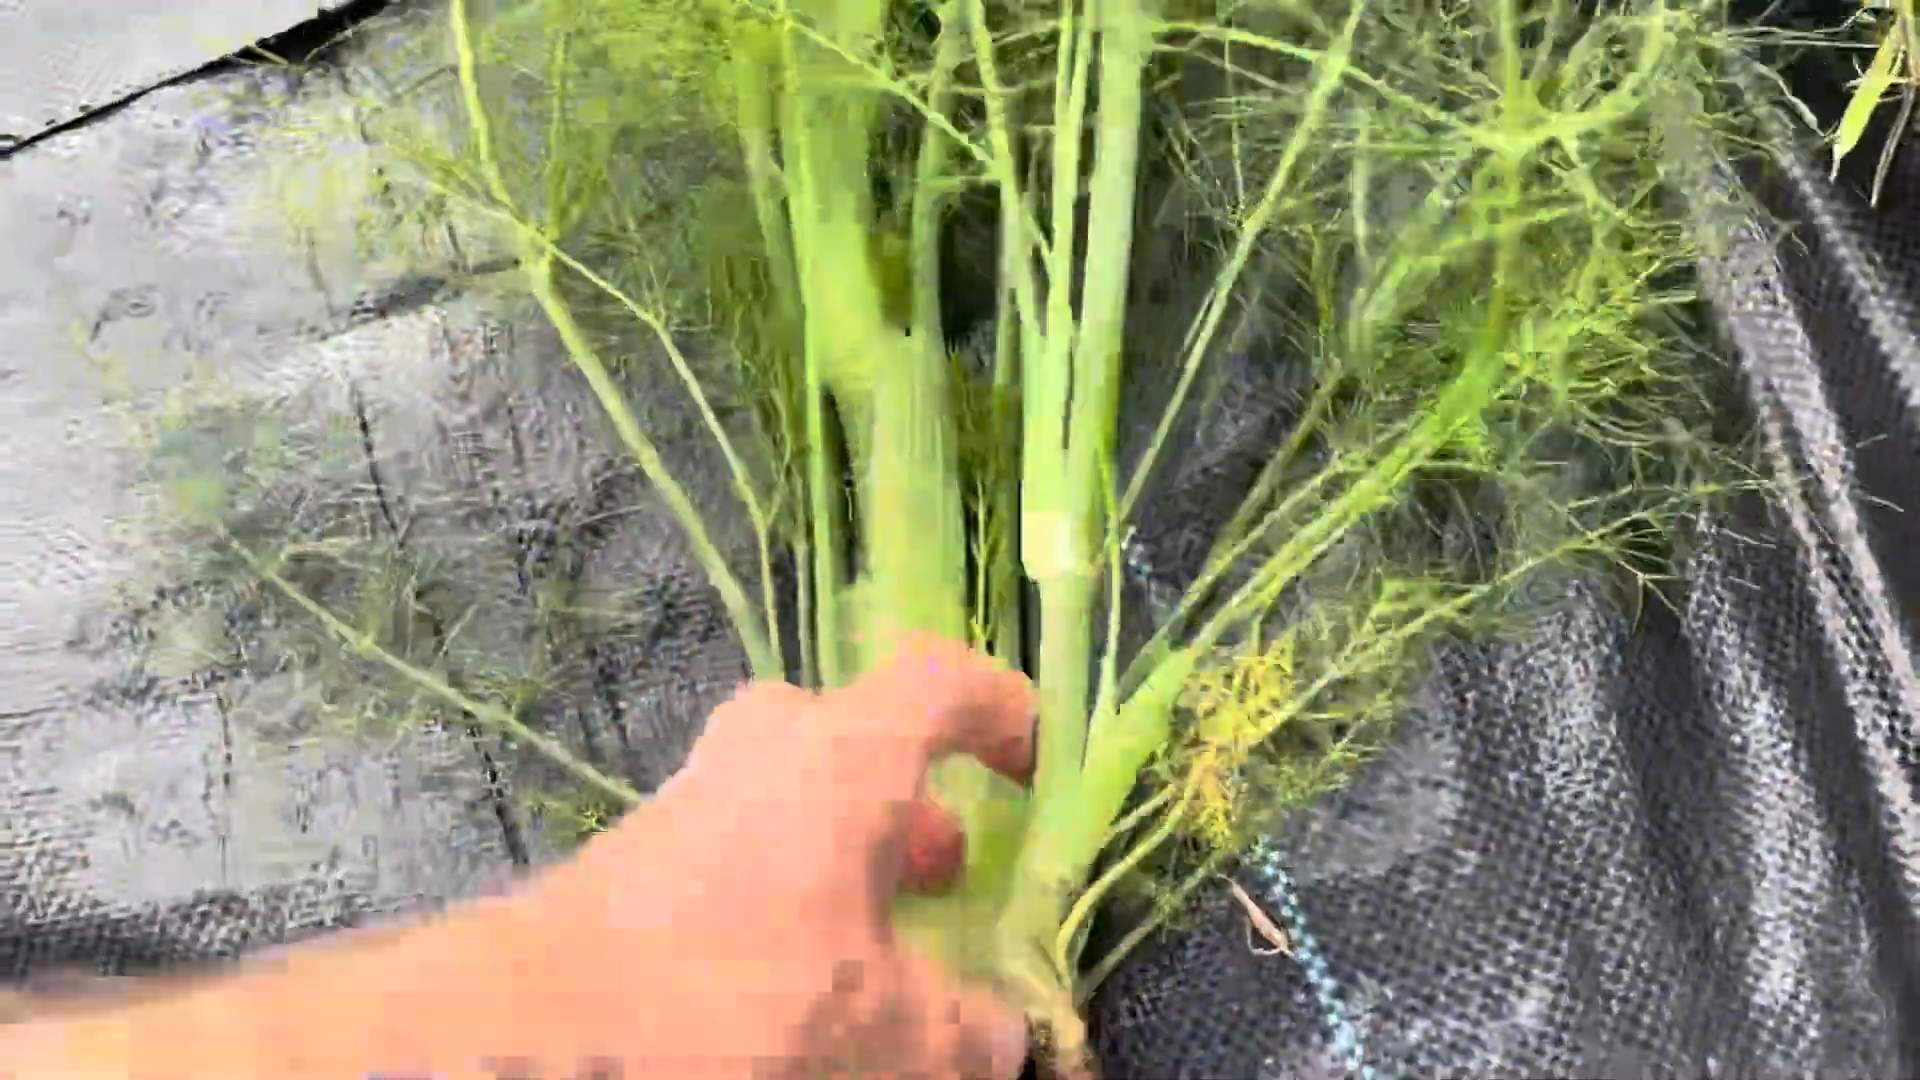
You can begin harvesting fennel leaves when the plant is about 6-8 inches tall. Harvest the outer leaves, leaving the inner leaves to continue growing. The bulbs are ready for harvest when they are firm and about 2-3 inches in diameter, usually around 70-80 days after sowing. For a continuous harvest, you can harvest leaves throughout the growing season.
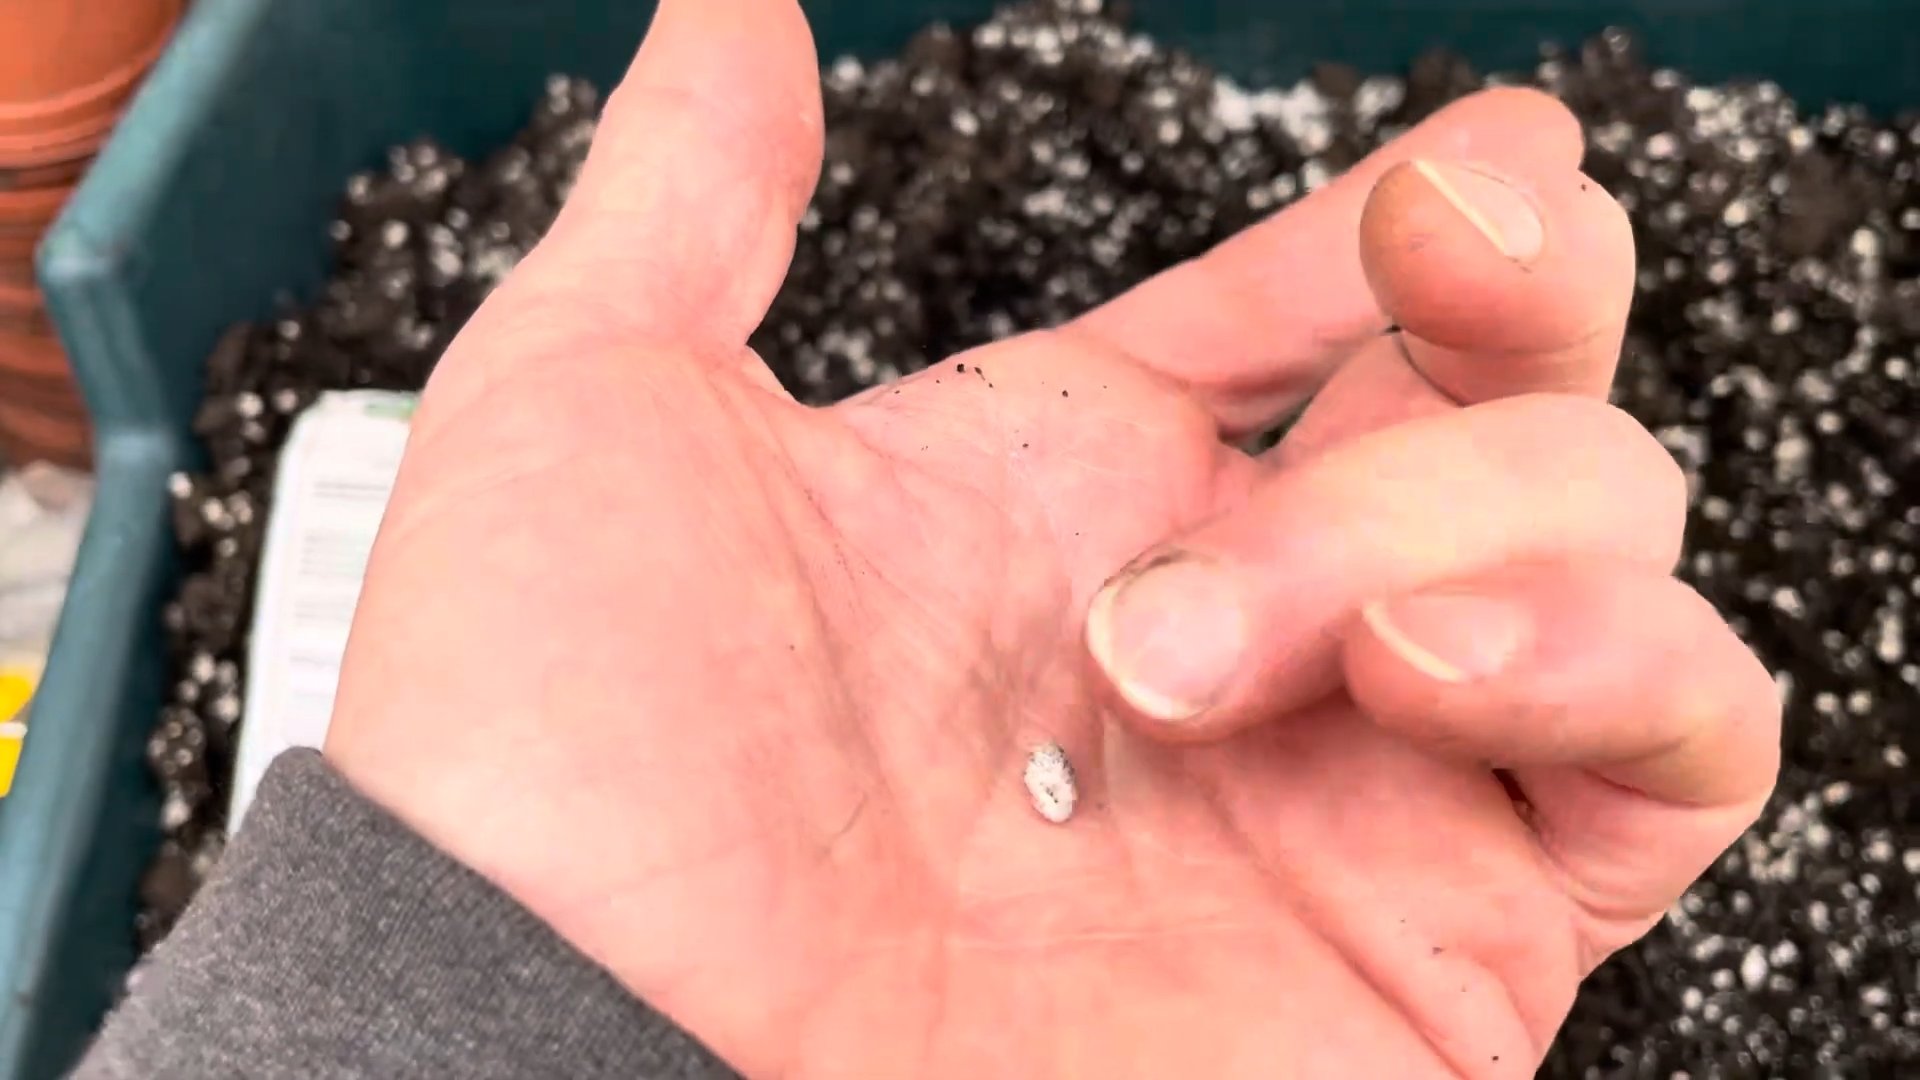
Can I grow fennel from seed or seedlings?
Both methods work well. Starting from seed allows for a wider selection of varieties, but it takes longer to reach maturity. Seedlings provide a head start, allowing for a quicker harvest. Follow the instructions on the seed packet or seedling label for optimal results.
What are some common problems when growing fennel in pots?
Overwatering is a common issue, leading to root rot. Ensure good drainage and avoid letting the pot sit in standing water. Pest infestations are less common in pots but can still occur. Regularly inspect your plants for any signs of pests and take appropriate action if necessary. Nutrient deficiencies can also occur, so consider using a balanced fertilizer if needed.
Can I overwinter my fennel pot?
Fennel is generally considered an annual plant, meaning it completes its life cycle within one year. However, in milder climates, you might be able to overwinter your fennel pot by bringing it indoors to a cool, bright location. Protect it from frost and provide minimal watering during the winter months.
What are some companion plants for fennel?
Fennel can be a beneficial companion plant for some vegetables, such as tomatoes and carrots. However, it can also inhibit the growth of certain plants, such as dill and parsley. It’s best to research companion planting thoroughly before planting fennel alongside other herbs or vegetables.


Leave a Comment