
Alcohol cleaners for grime – sounds a bit unconventional, right? But trust me, this simple DIY trick is about to become your new best friend when tackling stubborn dirt and grime around your home! We’ve all been there, scrubbing away at a sticky stovetop or battling a grimy bathroom tile, wishing there was an easier, more effective solution. Well, you’re in luck!
While the use of alcohol as a cleaning agent might seem like a modern discovery, its roots actually stretch back centuries. Historically, various cultures have utilized fermented beverages and distilled spirits not only for consumption but also for their antiseptic and solvent properties. Think about it – early apothecaries often relied on alcohol-based tinctures for medicinal purposes, unknowingly harnessing its cleaning power.
But why should you ditch those harsh chemical cleaners and embrace alcohol cleaners for grime? The answer is simple: effectiveness and affordability. Many commercial cleaners are packed with chemicals that can be harmful to your health and the environment. This DIY alternative is not only gentler but also incredibly effective at dissolving grease, removing sticky residue, and disinfecting surfaces. Plus, you probably already have a bottle of rubbing alcohol tucked away in your medicine cabinet! So, let’s dive into the world of DIY cleaning and discover how this simple trick can transform your cleaning routine.
DIY Grime-Busting Alcohol Cleaners: Your Guide to Sparkling Surfaces
Alright, let’s get down to business! I’m going to show you how to create some seriously effective alcohol-based cleaners that will tackle grime, grease, and those stubborn sticky spots around your house. Forget those expensive store-bought solutions – we’re going DIY and saving some money while creating powerful cleaners tailored to your needs.
Why Alcohol? The Science Behind the Shine
Before we dive into the recipes, let’s talk about why alcohol is such a cleaning superstar. Isopropyl alcohol (also known as rubbing alcohol) is a fantastic solvent. This means it can dissolve a wide range of substances, including grease, oils, resins, and even some types of glue. It also evaporates quickly, leaving surfaces streak-free and dry. Plus, it’s a disinfectant, killing many common household germs.
Important Safety Note: Always use alcohol in a well-ventilated area. Avoid prolonged skin contact, and never mix alcohol with bleach, as this can create toxic fumes. Keep all cleaning solutions out of reach of children and pets.
Gathering Your Supplies: The DIY Arsenal
Here’s what you’ll need to create your own alcohol-based cleaning solutions. Don’t worry, most of these items are probably already in your pantry or cleaning cabinet!
* Isopropyl Alcohol (70% or 91%): I usually prefer 91% for cleaning because it contains less water, which means it evaporates faster and is less likely to leave residue. However, 70% works just fine and is often easier to find.
* Distilled Water: Using distilled water helps prevent mineral buildup and ensures your cleaners stay clear and effective.
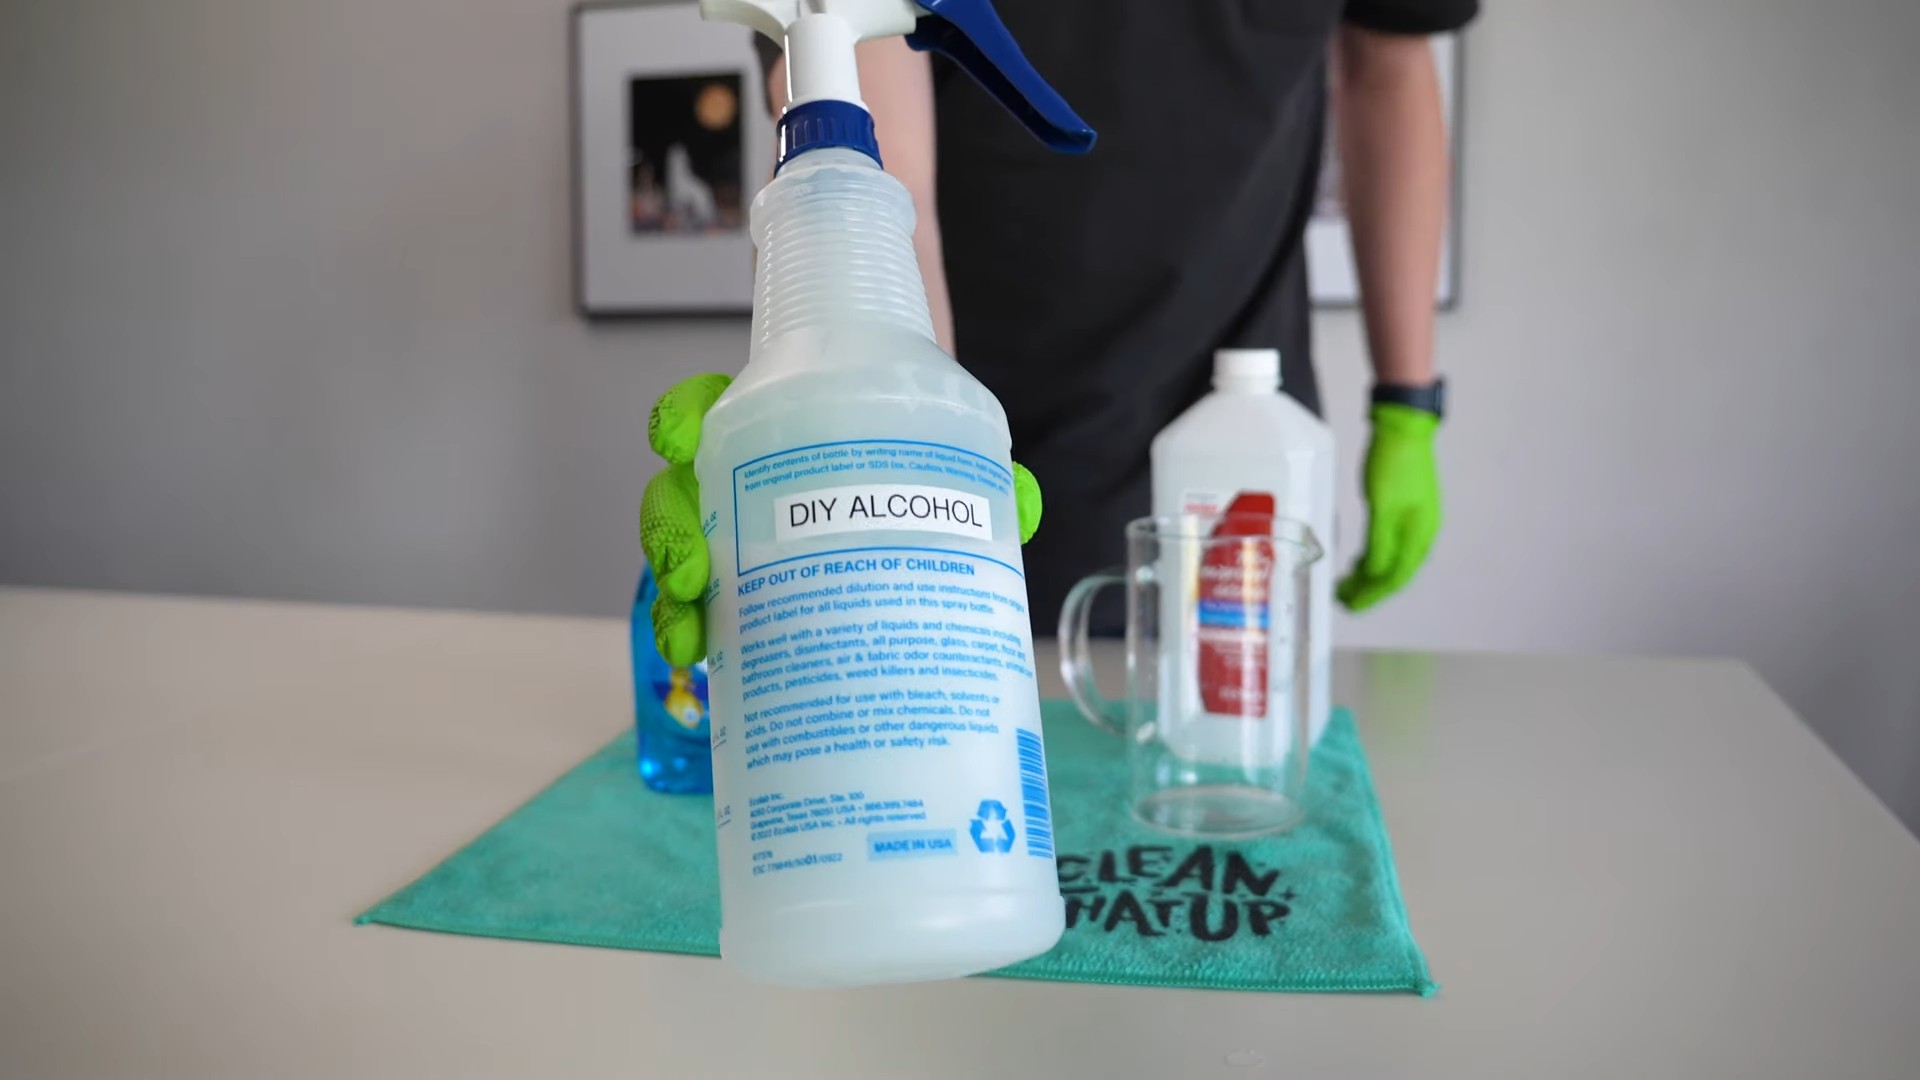
* Spray Bottles: You’ll need these to store and dispense your cleaning solutions. Make sure they’re clean and labeled clearly!
* Essential Oils (Optional): These add a pleasant scent and can even boost the cleaning power of your solutions. Lemon, tea tree, eucalyptus, and lavender are all great choices.
* White Vinegar (Optional): Vinegar is a natural disinfectant and degreaser. I sometimes add it to my alcohol cleaners for extra oomph.
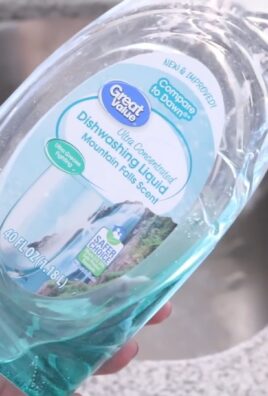
* Dish Soap (Optional): A small amount of dish soap can help cut through grease and grime. Choose a gentle, non-abrasive formula.
* Measuring Cups and Spoons: For accurate mixing.
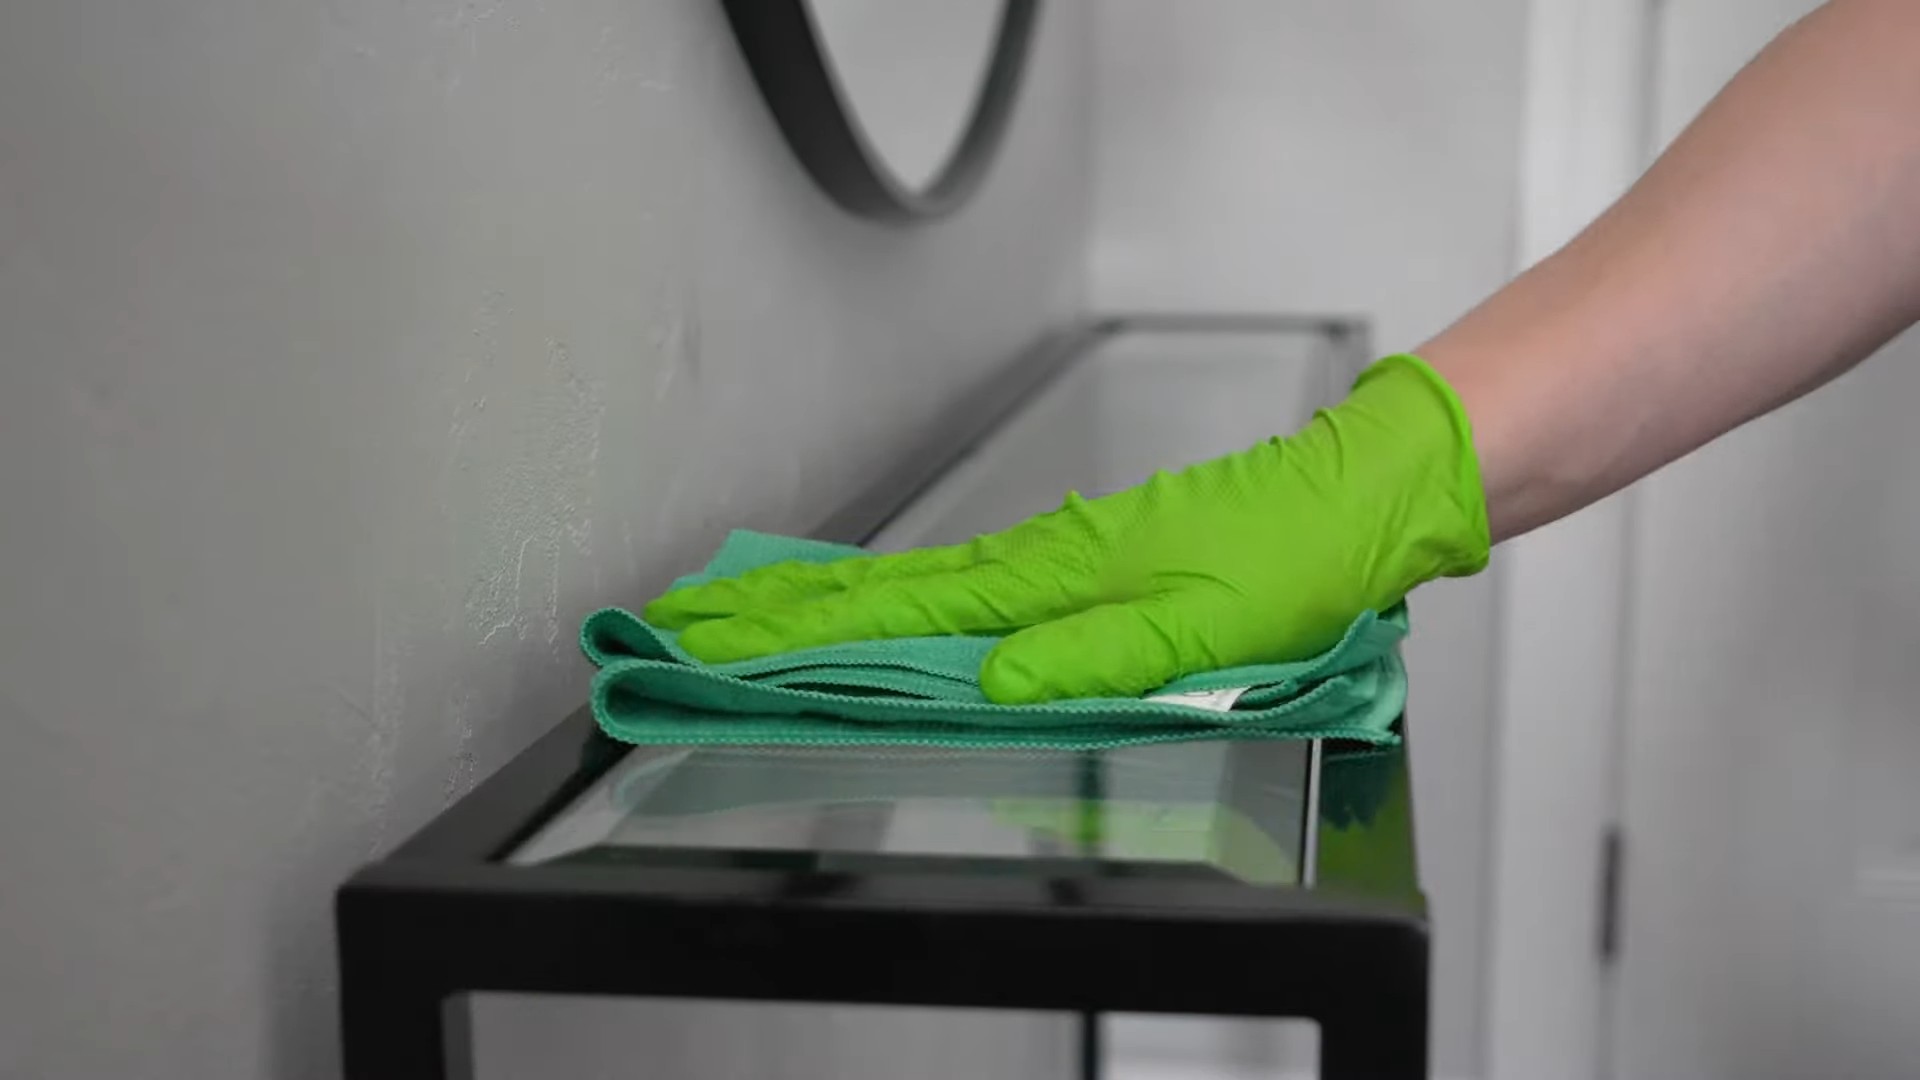
* Microfiber Cloths: These are my go-to for cleaning because they’re absorbent, lint-free, and won’t scratch surfaces.
* Gloves: To protect your hands.
Recipe 1: The All-Purpose Grime Fighter
This is my go-to cleaner for everyday messes. It’s safe for most surfaces, including countertops, appliances, and bathroom fixtures.
Ingredients:
* 1 cup Isopropyl Alcohol (70% or 91%)
* 1 cup Distilled Water
* 10-15 drops Essential Oil (optional, I like lemon or lavender)
Instructions:
1. Combine Ingredients: In a clean spray bottle, combine the isopropyl alcohol, distilled water, and essential oil (if using).
2. Shake Well: Secure the spray nozzle and shake the bottle vigorously to ensure the ingredients are thoroughly mixed.
3. Test on a Small Area: Before using the cleaner on a large surface, test it on a small, inconspicuous area to make sure it doesn’t damage the finish.
4. Spray and Wipe: Spray the cleaner onto the surface you want to clean and wipe it down with a clean microfiber cloth.
5. Dry if Necessary: If the surface is still damp after wiping, dry it with a clean, dry microfiber cloth.
Recipe 2: The Grease-Busting Kitchen Cleaner
This cleaner is perfect for tackling greasy stovetops, range hoods, and kitchen countertops. The addition of dish soap and vinegar helps cut through even the toughest grease.
Ingredients:
* 1 cup Isopropyl Alcohol (70% or 91%)
* 1/2 cup Distilled Water
* 1/4 cup White Vinegar
* 1 teaspoon Dish Soap (gentle, non-abrasive)
* 5-10 drops Lemon Essential Oil (optional)
Instructions:
1. Combine Ingredients: In a clean spray bottle, combine the isopropyl alcohol, distilled water, white vinegar, dish soap, and lemon essential oil (if using).
2. Shake Gently: Secure the spray nozzle and gently shake the bottle to mix the ingredients. Avoid shaking too vigorously, as this can create excessive suds.
3. Test on a Small Area: As with the all-purpose cleaner, test this solution on a small, inconspicuous area before using it on a large surface.
4. Spray and Wipe: Spray the cleaner onto the greasy surface and let it sit for a few minutes to loosen the grime.
5. Wipe Clean: Wipe the surface clean with a damp microfiber cloth. You may need to scrub a bit for stubborn grease.
6. Rinse if Necessary: If the surface feels soapy after wiping, rinse it with clean water and dry it with a clean microfiber cloth.
Recipe 3: The Streak-Free Glass and Mirror Cleaner
Say goodbye to streaks and smudges with this simple yet effective glass and mirror cleaner. The high alcohol content ensures quick evaporation and a sparkling clean finish.
Ingredients:
* 1 cup Isopropyl Alcohol (91% preferred)
* 1/4 cup Distilled Water
* 1 tablespoon White Vinegar (optional, for extra cleaning power)
Instructions:
1. Combine Ingredients: In a clean spray bottle, combine the isopropyl alcohol, distilled water, and white vinegar (if using).
2. Shake Well: Secure the spray nozzle and shake the bottle well to mix the ingredients.
3. Spray and Wipe: Spray the cleaner onto the glass or mirror and wipe it down with a clean, dry microfiber cloth. Use a circular motion to remove any streaks.
4. Buff to Shine: For an extra-sparkling finish, buff the surface with a clean, dry microfiber cloth.
Recipe 4: The Sticky Residue Remover
This cleaner is a lifesaver for removing sticky residue from labels, tape, and other adhesives. The alcohol dissolves the adhesive, making it easy to wipe away.
Ingredients:
* 100% Isopropyl Alcohol (91% or higher is best)
Instructions:
1. Apply Alcohol: Saturate a cotton ball or clean cloth with isopropyl alcohol.
2. Apply to Residue: Press the alcohol-soaked cotton ball or cloth onto the sticky residue and let it sit for a few minutes to soften the adhesive.
3. Wipe Away: Wipe away the residue with a clean cloth. You may need to repeat this process a few times for stubborn residue.
4. Clean the Surface: Once the residue is removed, clean the surface with a damp cloth to remove any remaining alcohol.
Recipe 5: The Disinfecting Bathroom Cleaner
This cleaner is great for disinfecting bathroom surfaces like countertops, sinks, and toilets. The high alcohol content kills germs and bacteria, leaving your bathroom clean and fresh.
Ingredients:
* 1 cup Isopropyl Alcohol (70% or 91%)
* 1/2 cup Distilled Water
* 10-15 drops Tea Tree Essential Oil (optional, for added disinfecting power)
Instructions:
1. Combine Ingredients: In a clean spray bottle, combine the isopropyl alcohol, distilled water, and tea tree essential oil (if using).
2. Shake Well: Secure the spray nozzle and shake the bottle well to mix the ingredients.
3. Spray and Let Sit: Spray the cleaner onto the surface you want to disinfect and let it sit for at least 10 minutes to kill germs.
4. Wipe Clean: Wipe the surface clean with a damp microfiber cloth.
5. Dry if Necessary: If the surface is still damp after wiping, dry it with a clean, dry microfiber cloth.
Tips and Tricks for Using Your DIY Alcohol Cleaners
* Label Your Bottles: Always label your spray bottles clearly with the name of the cleaner and the ingredients. This will prevent accidental misuse.
* Store in a Cool, Dark Place: Store your cleaning solutions in a cool, dark place away from direct sunlight and heat.
* Use Microfiber Cloths: Microfiber cloths are the best choice for cleaning with alcohol because they’re absorbent, lint-free, and won’t scratch surfaces.
* Test Before Using: Always test your cleaning solutions on a small, inconspicuous area before using them on a large surface.
* Ventilate the Area: When using alcohol-based cleaners, make sure the area is well-ventilated to avoid inhaling fumes.
* Don’t Mix with Bleach: Never mix alcohol with bleach,
Conclusion
So, there you have it! Ditching those expensive, chemical-laden commercial cleaners and embracing the power of DIY alcohol cleaners is a game-changer for a sparkling home and a healthier environment. We’ve explored how simple it is to create effective solutions using readily available ingredients, and the versatility of these cleaners is truly remarkable. From banishing stubborn grime in the bathroom to effortlessly degreasing your kitchen surfaces, alcohol cleaners offer a powerful and cost-effective alternative.
But why is this DIY trick a must-try? Beyond the cost savings and eco-friendliness, it’s about control. You know exactly what’s going into your cleaner, avoiding harsh chemicals that can irritate skin or trigger allergies. You’re also reducing your reliance on single-use plastic bottles, contributing to a more sustainable lifestyle. The effectiveness of these cleaners is undeniable; alcohol’s potent disinfecting and degreasing properties make it a formidable weapon against dirt and grime.
Looking for variations? Absolutely! Infuse your alcohol cleaner with essential oils like lemon, lavender, or tea tree for a refreshing scent and added antibacterial benefits. For tougher stains, consider adding a small amount of white vinegar or baking soda to your solution. Remember to always test your cleaner on an inconspicuous area first, especially on delicate surfaces. You can also adjust the alcohol-to-water ratio depending on the specific cleaning task. For heavy-duty cleaning, use a higher concentration of alcohol. For lighter cleaning or delicate surfaces, dilute it further.
Ultimately, the best way to discover the magic of DIY alcohol cleaners is to try them yourself. We’re confident that you’ll be amazed by the results. The satisfaction of creating a powerful, eco-friendly cleaner with your own two hands is truly rewarding.
Don’t just take our word for it! We encourage you to experiment with different recipes, find what works best for your home, and share your experiences with us. Let us know your favorite variations, the toughest cleaning challenges you’ve conquered, and any tips you’ve discovered along the way. Your feedback will help others discover the benefits of this simple yet effective DIY solution. Join the growing community of eco-conscious cleaners and experience the difference for yourself. Embrace the power of DIY and transform your cleaning routine with the incredible versatility of alcohol cleaners!
Frequently Asked Questions (FAQs)
What type of alcohol should I use for cleaning?
The best type of alcohol for cleaning is isopropyl alcohol, also known as rubbing alcohol. Look for a concentration of 70% or higher. While 91% isopropyl alcohol is even more potent, it evaporates more quickly, which can be less effective for disinfecting. 70% isopropyl alcohol contains a small amount of water, which helps it to stay in contact with surfaces longer, allowing it to kill more germs. Avoid using denatured alcohol or other types of alcohol that may contain additives that could leave a residue or damage surfaces.
Is it safe to use alcohol cleaners around children and pets?
While alcohol cleaners are generally safe when used properly, it’s crucial to take precautions when children and pets are present. Always store alcohol and alcohol-based cleaners out of their reach. Ensure adequate ventilation when cleaning to avoid inhaling fumes. Avoid spraying alcohol cleaners directly onto surfaces that children or pets may come into contact with, such as toys or food bowls. If you’re concerned about potential exposure, consider using a diluted solution or opting for a different type of cleaner altogether. Always supervise children when they are helping with cleaning tasks.
Can I use alcohol cleaners on all surfaces?
No, alcohol cleaners are not suitable for all surfaces. Avoid using them on delicate or porous materials such as wood, painted surfaces, or certain types of plastic, as they can cause damage or discoloration. Always test the cleaner on an inconspicuous area first to ensure it doesn’t cause any adverse effects. Alcohol can also damage some types of screens, so avoid using it on TVs, computer monitors, or smartphones. For these surfaces, use a cleaner specifically designed for electronics.
How do I make an alcohol cleaner for disinfecting?
For disinfecting, a 70% isopropyl alcohol solution is recommended. You can either purchase a pre-made solution or dilute 91% isopropyl alcohol with distilled water to achieve the desired concentration. To make a 70% solution from 91% alcohol, mix 7 parts of 91% alcohol with 3 parts of distilled water. For example, if you’re using cups, mix 7 cups of 91% alcohol with 3 cups of distilled water. This will give you approximately 10 cups of 70% isopropyl alcohol solution.
What are some common uses for DIY alcohol cleaners?
DIY alcohol cleaners are incredibly versatile and can be used for a wide range of cleaning tasks. Some common uses include:
* Disinfecting countertops and surfaces
* Cleaning bathroom fixtures and tiles
* Degreasing kitchen appliances and stovetops
* Removing sticky residue from labels and stickers
* Cleaning and disinfecting electronics (with caution and proper technique)
* Freshening up fabrics and upholstery (test in an inconspicuous area first)
* Cleaning mirrors and glass surfaces for a streak-free shine
How should I store my homemade alcohol cleaner?
Store your homemade alcohol cleaner in a clean, airtight spray bottle or container. Label the container clearly with the contents and date of preparation. Keep it out of reach of children and pets, and away from heat sources and open flames, as alcohol is flammable. Store it in a cool, dark place to prevent evaporation and maintain its effectiveness.
How long does a homemade alcohol cleaner last?
A homemade alcohol cleaner, when stored properly, can last for several months. However, it’s best to use it within 3-6 months to ensure its effectiveness. Over time, the alcohol may evaporate slightly, reducing its concentration. If you notice any changes in the appearance or smell of the cleaner, it’s best to discard it and make a fresh batch.
Can I add essential oils to my alcohol cleaner?
Yes, adding essential oils to your alcohol cleaner can enhance its scent and provide additional benefits. Some popular essential oils for cleaning include lemon, lavender, tea tree, eucalyptus, and peppermint. Add a few drops of your favorite essential oil to your alcohol cleaner and shake well before each use. Be sure to choose essential oils that are safe for the surfaces you’ll be cleaning.
What safety precautions should I take when using alcohol cleaners?
When using alcohol cleaners, it’s important to take the following safety precautions:
* Ensure adequate ventilation to avoid inhaling fumes.
* Wear gloves to protect your skin from irritation.
* Avoid spraying alcohol cleaners directly into your eyes or mouth.
* Keep alcohol cleaners away from heat sources and open flames, as alcohol is flammable.
* Never mix alcohol cleaners with bleach, as this can create toxic fumes.
* Always test the cleaner on an inconspicuous area first to ensure it doesn’t damage the surface.
What should I do if I accidentally ingest alcohol cleaner?
If you accidentally ingest alcohol cleaner, seek medical attention immediately. Do not induce vomiting unless directed to do so by a medical professional. Call your local poison control center or emergency services for guidance.

Leave a Comment