
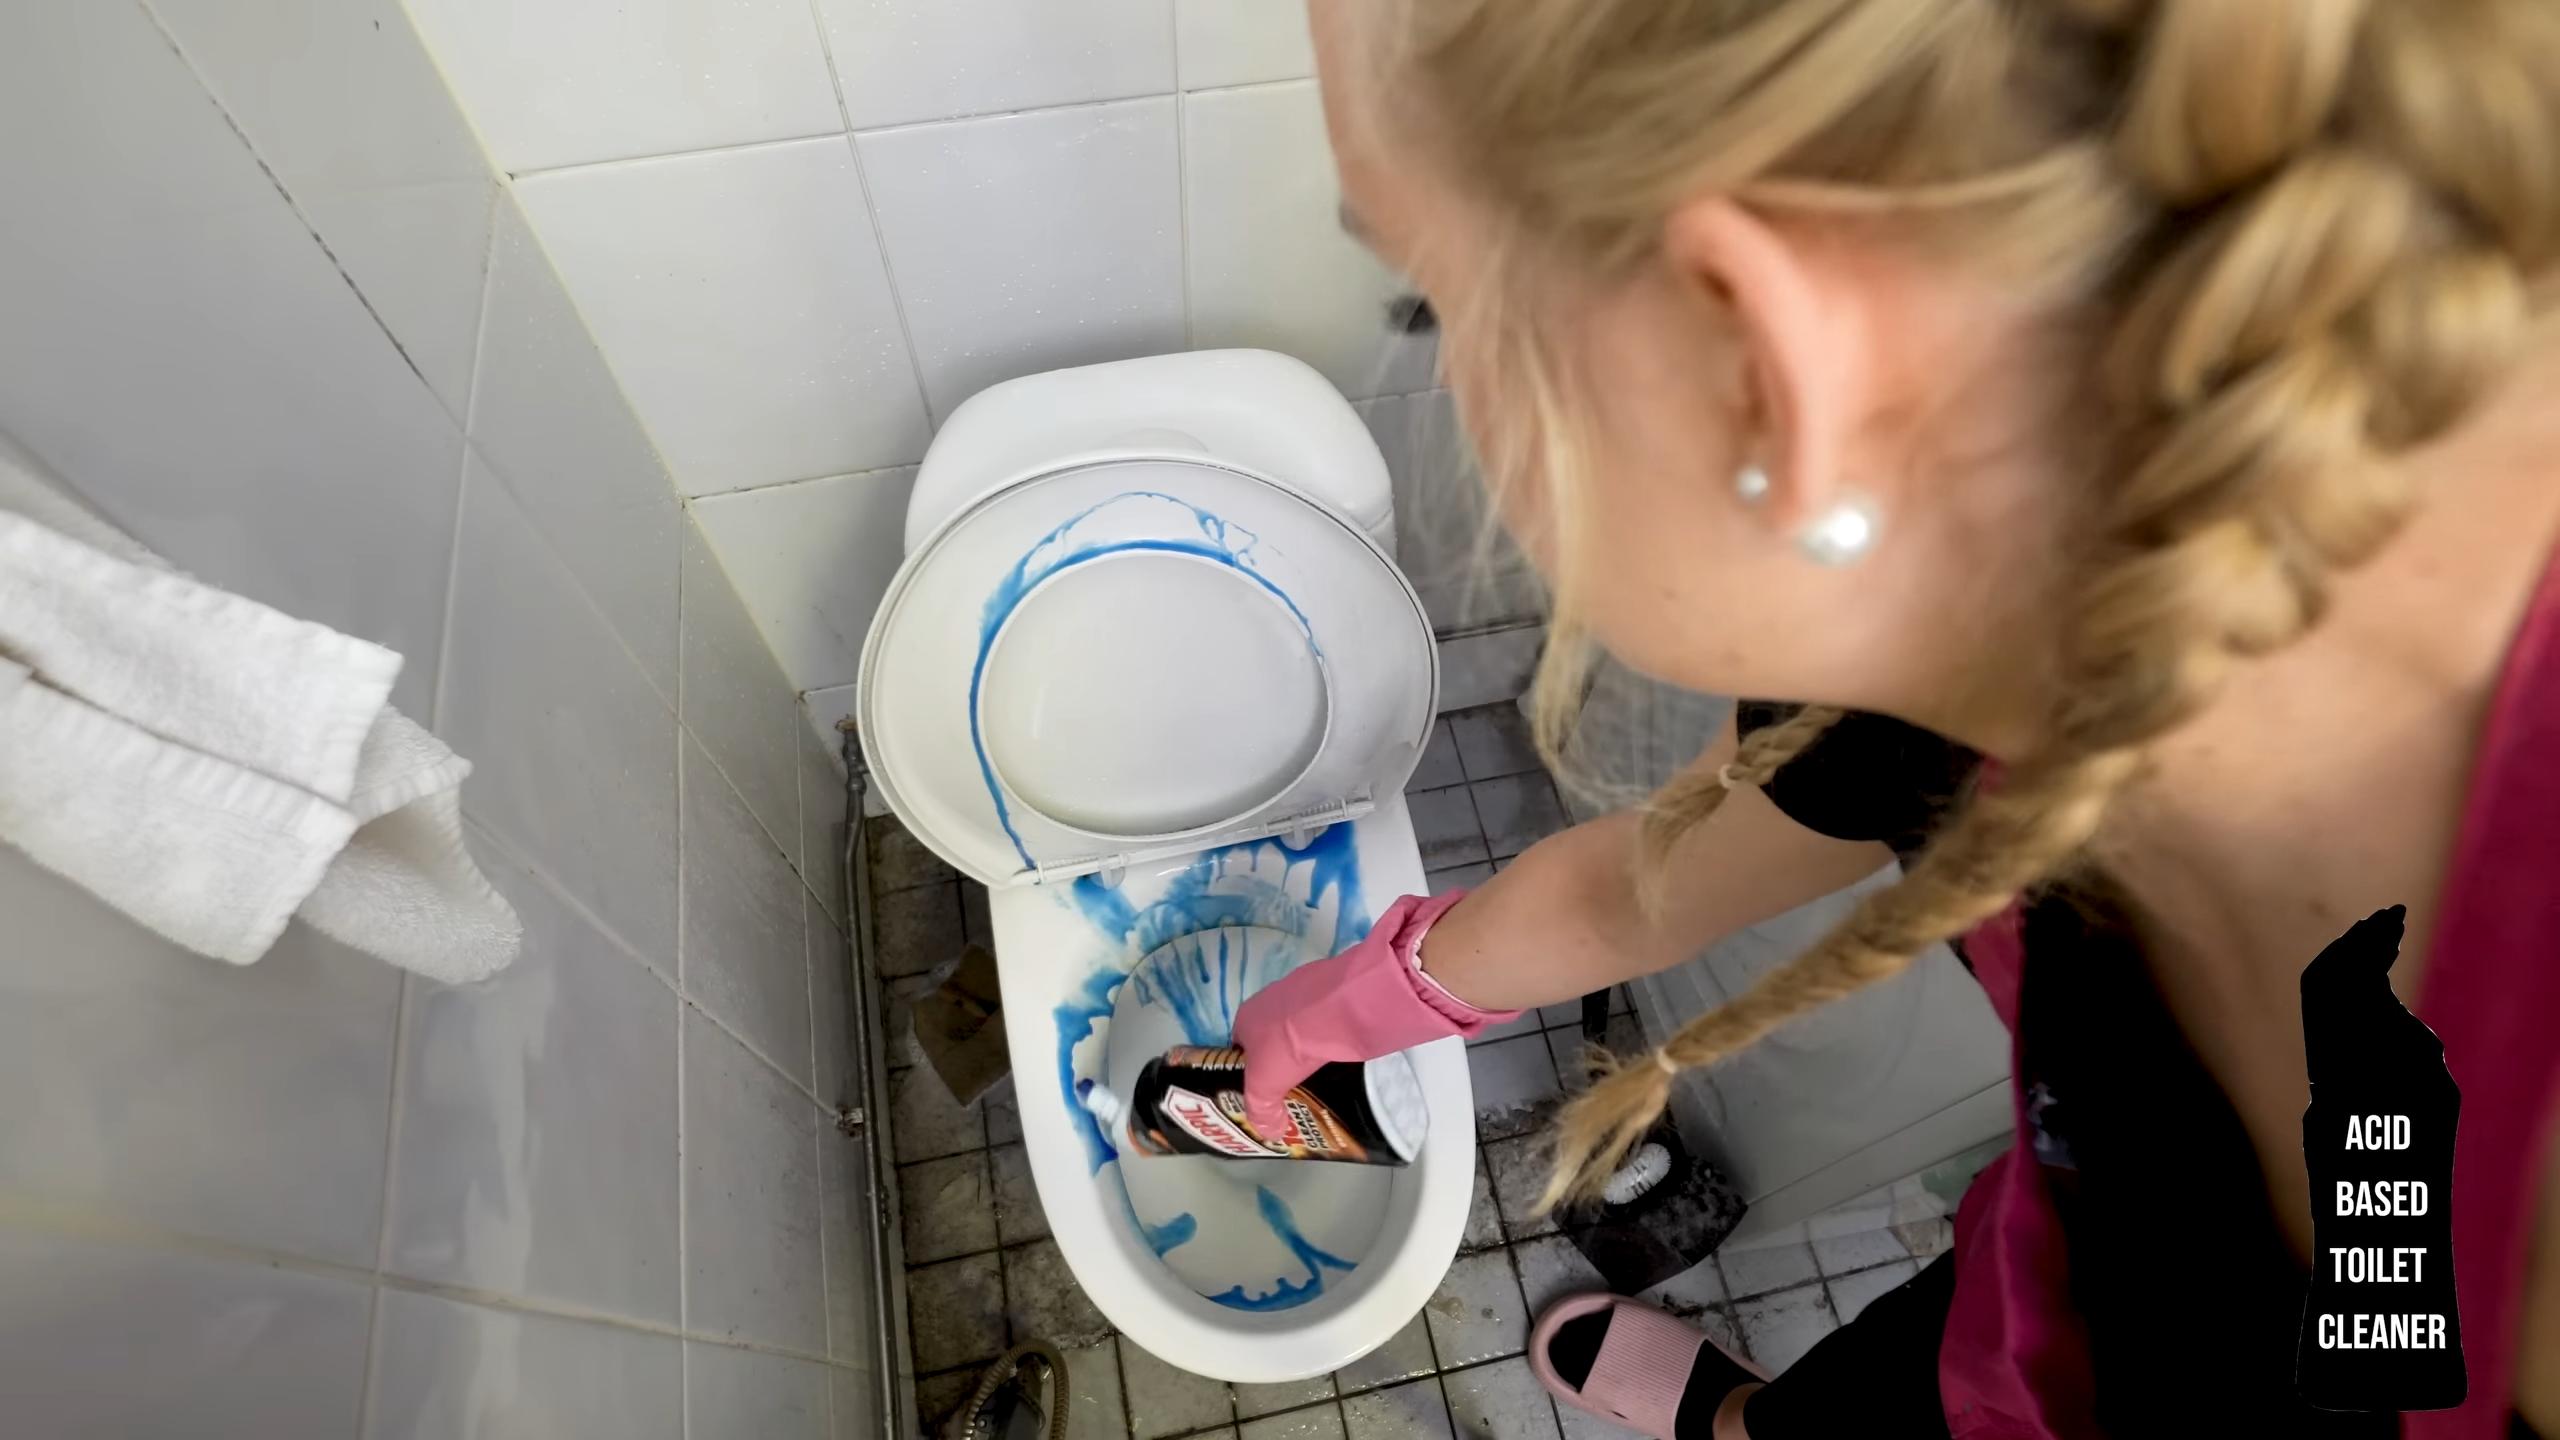
Acid toilet cleaner tips are a game-changer for anyone battling stubborn stains and mineral buildup in their toilet bowl. Let’s face it, nobody enjoys scrubbing toilets! It’s a chore we all dread, and sometimes, no matter how hard we scrub with conventional cleaners, those unsightly rings and marks just won’t budge. That’s where the power of acid-based cleaners comes in, offering a potent solution to restore your toilet to its sparkling best.
While the use of strong cleaning agents might seem like a modern solution, the concept of using acids for cleaning has roots stretching back centuries. Ancient civilizations utilized natural acids, like vinegar, to dissolve grime and disinfect surfaces. Today, we have more refined and powerful acid-based formulas at our disposal, but the underlying principle remains the same: to break down stubborn deposits that other cleaners simply can’t touch.
But before you reach for the strongest acid toilet cleaner you can find, it’s crucial to understand how to use them safely and effectively. That’s why I’ve put together this guide, packed with essential acid toilet cleaner tips and DIY hacks. I’ll walk you through everything you need to know, from choosing the right product and protecting yourself from potential hazards, to mastering the application techniques that will leave your toilet bowl looking brand new. Trust me, with the right knowledge, you can conquer even the most challenging toilet cleaning tasks and reclaim your bathroom’s sparkle!
DIY Toilet Bowl Cleaning Bombs: Conquer Stains and Freshen Your Throne!
Hey there, fellow DIY enthusiasts! Are you tired of battling stubborn toilet bowl stains and that lingering not-so-fresh smell? I know I was! That’s why I decided to ditch the harsh chemicals and create my own toilet bowl cleaning bombs. They’re super easy to make, surprisingly effective, and leave your bathroom smelling amazing. Plus, you probably already have most of the ingredients in your pantry! Let’s get started!
What You’ll Need: The Arsenal of Clean
Before we dive in, let’s gather our supplies. This is a crucial step, trust me. Nothing’s worse than getting halfway through a project and realizing you’re missing something!
* **1 ½ cups Baking Soda:** This is the workhorse of our cleaning bomb. It’s a mild abrasive that helps scrub away stains and deodorizes like a champ.
* **½ cup Citric Acid:** This is the secret weapon! Citric acid reacts with baking soda to create that fizzing action that helps lift dirt and grime. You can usually find it in the baking aisle or online.
* **½ cup Cornstarch:** This acts as a binder, helping the ingredients stick together and form a solid bomb.
* **½ cup Epsom Salt:** Epsom salt adds a bit of extra cleaning power and helps the bombs harden. Plus, it’s great for your drains!
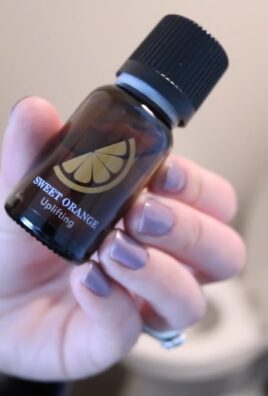
* **25-30 drops Essential Oil(s):** This is where you get to customize your cleaning bombs! I personally love using a combination of tea tree oil (for its antibacterial properties) and lemon or lavender oil for a fresh, clean scent. Peppermint is also a great choice!
* **Water in a Spray Bottle:** We’ll use this to lightly moisten the mixture so it holds its shape. Be careful not to add too much!
* **Silicone Molds:** You can use any silicone molds you like – muffin tins, ice cube trays, or even fun shaped molds. Just make sure they’re flexible so you can easily pop the bombs out.
* **Mixing Bowl:** A good old-fashioned mixing bowl will do the trick.
* **Gloves (Optional):** If you have sensitive skin, you might want to wear gloves while handling the ingredients.
* **Spoon or Whisk:** For mixing everything together.
Step-by-Step: Bomb-Making Time!
Okay, now for the fun part! Follow these steps carefully, and you’ll have a batch of sparkling toilet bowl cleaning bombs in no time.
1. **Combine the Dry Ingredients:** In your mixing bowl, combine the baking soda, citric acid, cornstarch, and Epsom salt. Whisk everything together thoroughly to ensure all the ingredients are evenly distributed. This is important for a consistent fizzing action.
2. **Add the Essential Oils:** Now, add your chosen essential oils to the dry mixture. I usually start with 25 drops and then add more if I want a stronger scent. Remember, a little goes a long way! Stir well to incorporate the oils.
3. **Moisten the Mixture (Very Carefully!):** This is the trickiest part. Using your spray bottle, lightly spritz the mixture with water. You want to add just enough water so that the mixture clumps together when you squeeze it in your hand, but not so much that it starts to fizz prematurely. I recommend spraying once or twice, mixing, and then checking the consistency. Repeat until you reach the desired consistency. Adding too much water will activate the citric acid and baking soda, and your bombs will fizz before they’re even in the toilet!
4. **Pack the Molds:** Once your mixture is the right consistency, start packing it into your silicone molds. Press firmly to ensure the mixture is tightly packed. This will help the bombs hold their shape. Fill each mold to the top.
5. **Let Them Dry:** Now comes the waiting game. Let the bombs dry in the molds for at least 24 hours, or even longer if you live in a humid climate. You want them to be completely dry and hard before you try to remove them. I usually leave mine overnight and check them the next day. If they’re still soft, I give them another few hours.
6. **Remove from Molds:** Once the bombs are completely dry, gently flex the silicone molds to release them. If they’re sticking, you can try tapping the molds on a hard surface. Be careful not to break them!
7. **Store Your Bombs:** Store your finished toilet bowl cleaning bombs in an airtight container in a cool, dry place. This will prevent them from absorbing moisture and fizzing prematurely. I like to use a glass jar or a plastic container with a tight-fitting lid.
Using Your Toilet Bowl Cleaning Bombs: A Sparkling Finale
Now that you’ve created your amazing toilet bowl cleaning bombs, it’s time to put them to work!
1. **Drop a Bomb:** Simply drop one bomb into your toilet bowl.
2. **Let it Fizz:** Watch the magic happen! The bomb will fizz and dissolve, releasing the cleaning power of the baking soda, citric acid, and essential oils.
3. **Let it Sit (Optional):** For extra cleaning power, let the bomb sit in the toilet bowl for 15-30 minutes before flushing. This will give the ingredients time to work on any stubborn stains.
4. **Scrub (If Needed):** If you have particularly stubborn stains, you can use a toilet brush to scrub the bowl after the bomb has dissolved.
5. **Flush and Enjoy:** Flush the toilet and admire your sparkling clean toilet bowl!
Troubleshooting: When Things Don’t Go as Planned
Sometimes, even with the best instructions, things can go a little sideways. Here are a few common problems and how to fix them:
* **Bombs are Fizzing Prematurely:** You probably added too much water. Try adding more baking soda and cornstarch to absorb the excess moisture.
* **Bombs are Crumbly and Won’t Hold Their Shape:** You didn’t add enough water. Spritz the mixture with a little more water, being careful not to overdo it.
* **Bombs are Taking Too Long to Dry:** You might live in a humid climate. Try placing the molds in a dry, well-ventilated area. You can also try using a dehumidifier.
* **Bombs Aren’t Fizzing Enough:** Make sure you’re using fresh citric acid and baking soda. Old ingredients can lose their potency. Also, ensure the ingredients are thoroughly mixed.
* **Bombs are Sticking to the Molds:** Make sure the bombs are completely dry before trying to remove them. You can also try lightly greasing the molds with coconut oil before filling them.
Variations and Customizations: Make Them Your Own!
The beauty of DIY is that you can customize things to your liking! Here are a few ideas to get you started:
* **Add Color:** You can add a few drops of food coloring or natural dyes to the mixture to create colorful bombs.
* **Use Different Essential Oils:** Experiment with different essential oil blends to find your favorite scent.
* **Add Borax:** For extra cleaning power, you can add a tablespoon or two of borax to the dry mixture. Be careful when handling borax, as it can be irritating to the skin.
* **Make Mini Bombs:** Use smaller molds to create mini bombs for a quick refresh.
* **Add Dried Flowers or Herbs:** Sprinkle dried flowers or herbs into the molds before filling them for a decorative touch.
Safety First: A Few Important Reminders
While these toilet bowl cleaning bombs are made with natural ingredients, it’s still important to take a few safety precautions:
* **Keep out of reach of children and pets.**
* **Avoid contact with eyes.** If contact occurs, rinse thoroughly with water.
* **Do not ingest.**
* **If you have sensitive skin, wear gloves while handling the ingredients.**
* **Store in a cool, dry place.**
Why I Love These Cleaning Bombs
Honestly, I’m obsessed with these toilet bowl cleaning bombs! They’re so much better than store-bought cleaners. Here’s why:
* **They’re natural and non-toxic.** I feel good knowing that I’m not using harsh chemicals in my home.
* **They’re effective.** They really do clean and deodorize my toilet bowl.
* **They’re customizable.** I can choose my favorite scents and colors.
* **They’re affordable.** Making my own cleaning bombs is much cheaper than buying them at the store.
* **They’re fun to make!** It’s a great way to spend an afternoon and get creative.
So, there you have it! My complete guide to making your own toilet bowl cleaning bombs. I hope you enjoy this DIY project as much as I do. Happy cleaning!
Conclusion
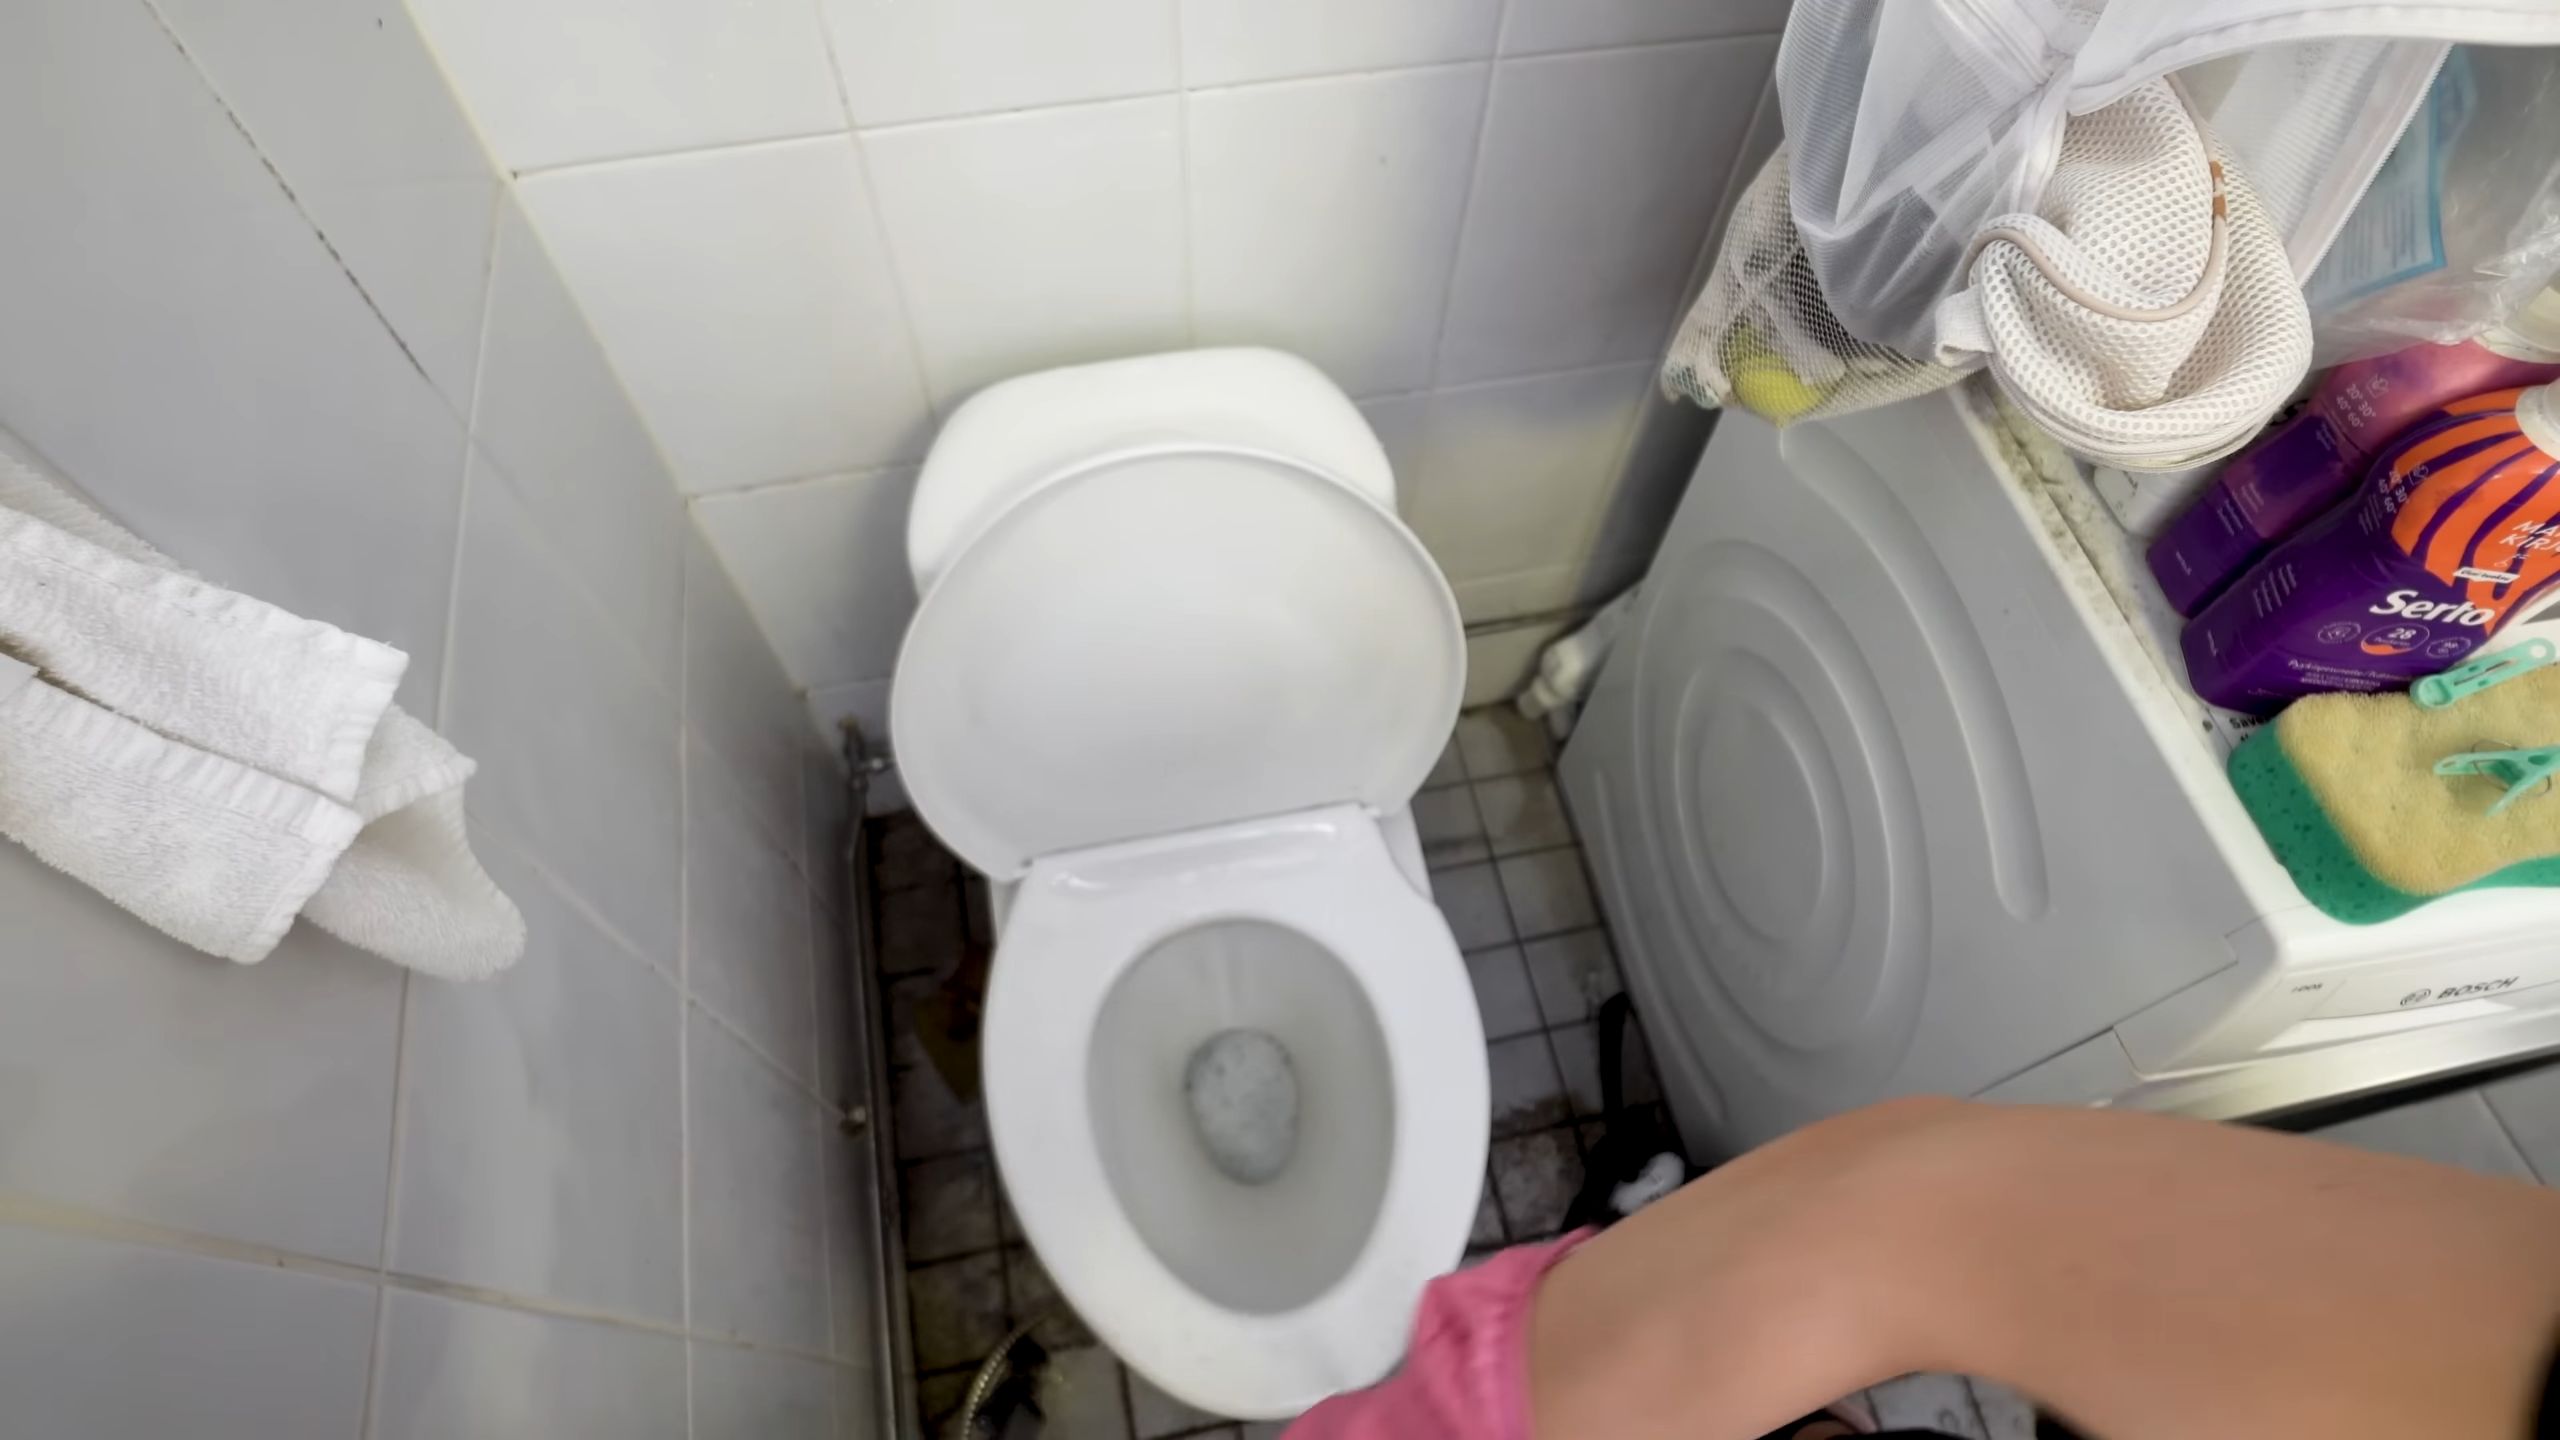
So, there you have it! Mastering the art of using acid toilet cleaner safely and effectively doesn’t have to be a daunting task. By following these simple guidelines and understanding the nuances of this powerful cleaning agent, you can achieve a sparkling clean toilet bowl that rivals professional results, all while saving money and avoiding harsh chemicals found in some commercial alternatives.
The key takeaway is that **acid toilet cleaner**, when used responsibly, is an incredibly effective tool for tackling stubborn stains, mineral deposits, and that unsightly buildup that plagues even the most diligently cleaned bathrooms. It’s a game-changer for those hard-to-reach areas and persistent problems that other cleaners simply can’t handle.
But remember, safety is paramount. Always prioritize proper ventilation, wear protective gear, and never mix acid toilet cleaner with other cleaning products, especially those containing bleach. The resulting fumes can be extremely hazardous.
Don’t be afraid to experiment with variations to find what works best for your specific needs. For example, if you’re dealing with particularly tough stains, you might consider letting the acid toilet cleaner sit for a slightly longer period, but always monitor it closely and never exceed the recommended time. Alternatively, for lighter cleaning, you can dilute the cleaner with water to reduce its potency.
Consider adding a few drops of your favorite essential oil (like tea tree or eucalyptus) to the toilet bowl after cleaning for a fresh, clean scent. This not only masks any lingering chemical odor but also provides additional antibacterial benefits.
We encourage you to try this DIY trick and experience the difference for yourself. You’ll be amazed at how easily you can restore your toilet bowl to its former glory. And once you’ve achieved that sparkling clean, don’t keep it a secret! Share your experiences, tips, and variations with us in the comments below. Let’s build a community of savvy homeowners who are empowered to tackle even the toughest cleaning challenges with confidence and expertise. Your insights could help others achieve the same amazing results. We are eager to hear about your success stories and any challenges you might encounter along the way. Together, we can refine this technique and make it even more effective for everyone. So go ahead, give it a try, and let us know what you think!
Frequently Asked Questions (FAQ)
What exactly *is* acid toilet cleaner, and why is it so effective?
Acid toilet cleaner typically contains hydrochloric acid or sulfuric acid as its active ingredient. These acids are incredibly effective at dissolving mineral deposits like calcium and lime scale, which are common culprits behind toilet bowl stains and buildup. The acid reacts with these deposits, breaking them down and allowing them to be easily flushed away. This makes acid toilet cleaner a powerful solution for tackling stubborn stains that other cleaners simply can’t remove.
Is acid toilet cleaner safe to use on all types of toilets?
Generally, acid toilet cleaner is safe for use on porcelain toilets, which are the most common type. However, it’s crucial to exercise caution when using it on other materials, such as stainless steel or plastic components within the toilet tank. Always check the manufacturer’s instructions for your specific toilet model to ensure compatibility. If you’re unsure, it’s best to test the cleaner on a small, inconspicuous area first to check for any adverse reactions.
What safety precautions should I take when using acid toilet cleaner?
Safety is paramount when working with acid toilet cleaner. Always wear protective gloves and eye protection to prevent skin and eye irritation. Ensure adequate ventilation by opening windows or turning on a bathroom fan. Never mix acid toilet cleaner with other cleaning products, especially those containing bleach, as this can create dangerous and potentially lethal fumes. Keep the cleaner out of reach of children and pets. If you accidentally get acid toilet cleaner on your skin or in your eyes, rinse immediately with plenty of water and seek medical attention.
How often should I use acid toilet cleaner?
Acid toilet cleaner is a powerful cleaning agent and should not be used too frequently. Overuse can damage the porcelain and other components of your toilet. A good rule of thumb is to use it only when necessary, such as when you notice stubborn stains or mineral buildup that other cleaners can’t remove. For regular cleaning, stick to milder, pH-neutral toilet bowl cleaners. Using acid toilet cleaner once every few months is usually sufficient for maintaining a clean and stain-free toilet bowl.
What should I do if I accidentally spill acid toilet cleaner?
If you accidentally spill acid toilet cleaner, act quickly to neutralize the spill. First, contain the spill to prevent it from spreading. Then, sprinkle baking soda or another alkaline substance onto the spill to neutralize the acid. Once the fizzing stops, carefully wipe up the residue with a damp cloth and dispose of it properly. Be sure to wear gloves and eye protection during this process.
Can I use acid toilet cleaner to clean other bathroom surfaces?
While acid toilet cleaner is effective for cleaning toilet bowls, it’s generally not recommended for use on other bathroom surfaces. The acid can damage or discolor materials like tile, grout, and metal fixtures. Stick to cleaners specifically designed for those surfaces.
What are some alternatives to acid toilet cleaner?
If you’re concerned about using acid toilet cleaner, there are several alternatives you can try. Baking soda and vinegar can be used to create a natural cleaning solution that is effective for removing mild stains and odors. Borax is another natural cleaner that can be used to scrub away stubborn stains. For more persistent stains, you can try using a pumice stone, but be careful not to scratch the porcelain. Enzyme-based cleaners are also a good option for breaking down organic matter and removing stains.
How do I dispose of acid toilet cleaner properly?
Dispose of acid toilet cleaner according to local regulations. Never pour it down the drain, as it can damage plumbing and harm the environment. Contact your local waste management authority for information on proper disposal methods. In some cases, you may be able to take it to a hazardous waste collection facility.
What if the acid toilet cleaner doesn’t remove all the stains?
If the acid toilet cleaner doesn’t completely remove all the stains, you can try repeating the process, but be sure to follow the safety precautions and avoid overuse. You can also try using a toilet bowl brush to scrub the stains while the cleaner is still in the bowl. For extremely stubborn stains, you may need to consult a professional plumber or cleaning service.
How can I prevent stains from forming in my toilet bowl in the first place?
Preventing stains is always easier than removing them. Regularly clean your toilet bowl with a mild, pH-neutral cleaner. Flush the toilet after each use to prevent waste from sitting in the bowl. Consider using a toilet bowl cleaner tablet or liquid that releases cleaning agents with each flush. If you have hard water, consider installing a water softener to reduce mineral buildup.
Leave a Comment