
Easy Cleaning Hacks – who doesn’t need them? Let’s be honest, cleaning isn’t exactly anyone’s favorite pastime. We all dream of sparkling homes, but the reality of scrubbing, dusting, and mopping can feel overwhelming. But what if I told you that achieving a clean and tidy space doesn’t have to be a monumental chore?
For centuries, people have sought clever ways to simplify their cleaning routines. From ancient civilizations using natural remedies like vinegar and baking soda to our grandmothers passing down their secret cleaning recipes, the quest for easy cleaning hacks is a timeless tradition. These aren’t just about saving time; they’re about reclaiming your weekends and enjoying a more relaxed and comfortable living environment.
In today’s busy world, time is a precious commodity. Juggling work, family, and social commitments leaves little room for extensive cleaning sessions. That’s where these DIY cleaning tricks come in! I’m going to share some of my favorite, tried-and-true methods that will transform your cleaning routine from a dreaded task into a manageable and even (dare I say?) enjoyable experience. Get ready to discover how to clean smarter, not harder, and unlock the secrets to a spotless home with minimal effort!
Easy Cleaning Hacks to Simplify Your Life!
Okay, let’s be honest, cleaning isn’t exactly anyone’s favorite pastime. But a clean home is a happy home, right? So, I’m going to share some of my absolute favorite cleaning hacks that will save you time, effort, and maybe even a little bit of sanity. These are tried and tested, and I promise they’ll make your cleaning routine a whole lot easier!
Cleaning Your Microwave Like a Pro
Microwaves are notorious for splatters and stuck-on food. But fear not, I have a super simple trick that will have your microwave sparkling in minutes!
What you’ll need:
* 1 cup of water
* 1 tablespoon of white vinegar or lemon juice
* Microwave-safe bowl
* Clean cloth or sponge
Step-by-step instructions:
1. Combine water and vinegar/lemon juice: In your microwave-safe bowl, mix together the water and vinegar (or lemon juice). The vinegar or lemon juice helps to loosen the grime and deodorize the microwave.
2. Microwave the mixture: Place the bowl in the microwave and heat it on high for 5-10 minutes. You want the mixture to boil and create steam inside the microwave. This steam is what will loosen all the stuck-on food.
3. Let it sit: Once the timer goes off, don’t open the microwave immediately! Let it sit for another 5 minutes. This allows the steam to really work its magic.
4. Wipe it clean: Carefully remove the bowl (it will be hot!). Then, using your clean cloth or sponge, wipe down the inside of the microwave. You’ll be amazed at how easily the grime comes off! For stubborn spots, you might need to scrub a little, but it should be significantly easier than before.
5. Dry it off: Finally, dry the inside of the microwave with a clean cloth. And voila! A sparkling clean microwave with minimal effort.
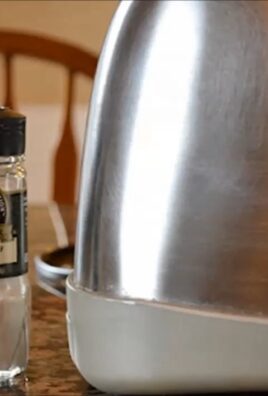
De-Gunking Your Showerhead for Better Water Pressure
Hard water can wreak havoc on your showerhead, causing mineral buildup that reduces water pressure. Here’s how to fix it:
What you’ll need:
* White vinegar
* Plastic bag (gallon-sized works best)
* Rubber band or twist tie
* Old toothbrush (optional)
Step-by-step instructions:
1. Fill the bag with vinegar: Pour enough white vinegar into the plastic bag to completely submerge your showerhead.
2. Attach the bag to the showerhead: Carefully position the bag over the showerhead, making sure the showerhead is fully immersed in the vinegar. Secure the bag tightly with a rubber band or twist tie.
3. Soak overnight: Let the showerhead soak in the vinegar overnight (or for at least a few hours). This allows the vinegar to dissolve the mineral deposits.
4. Remove the bag and rinse: Remove the bag and discard the vinegar. Turn on the shower and let the water run for a few minutes to flush out any remaining vinegar and loosened debris.
5. Scrub if needed: If you still see some stubborn buildup, use an old toothbrush to gently scrub the showerhead.
6. Enjoy improved water pressure: You should now have a showerhead with much better water pressure! Repeat this process every few months to prevent future buildup.
Cleaning Your Blender Like a Boss
Blenders can be tricky to clean, especially after making smoothies or sauces. This hack makes it a breeze!
What you’ll need:
* Dish soap
* Water
Step-by-step instructions:
1. Fill the blender halfway with warm water: After using your blender, immediately fill it about halfway with warm water.
2. Add a drop of dish soap: Add a single drop of dish soap to the water. Too much soap will create excessive suds.
3. Blend for 30 seconds: Secure the lid and blend on high speed for about 30 seconds. This will loosen any food particles stuck to the blades and sides of the blender.
4. Rinse thoroughly: Pour out the soapy water and rinse the blender thoroughly with clean water.
5. Air dry: Let the blender air dry completely before storing it. For extra sanitation, you can also disassemble the blender and wash the individual parts in the dishwasher (check your blender’s manual to make sure the parts are dishwasher safe).
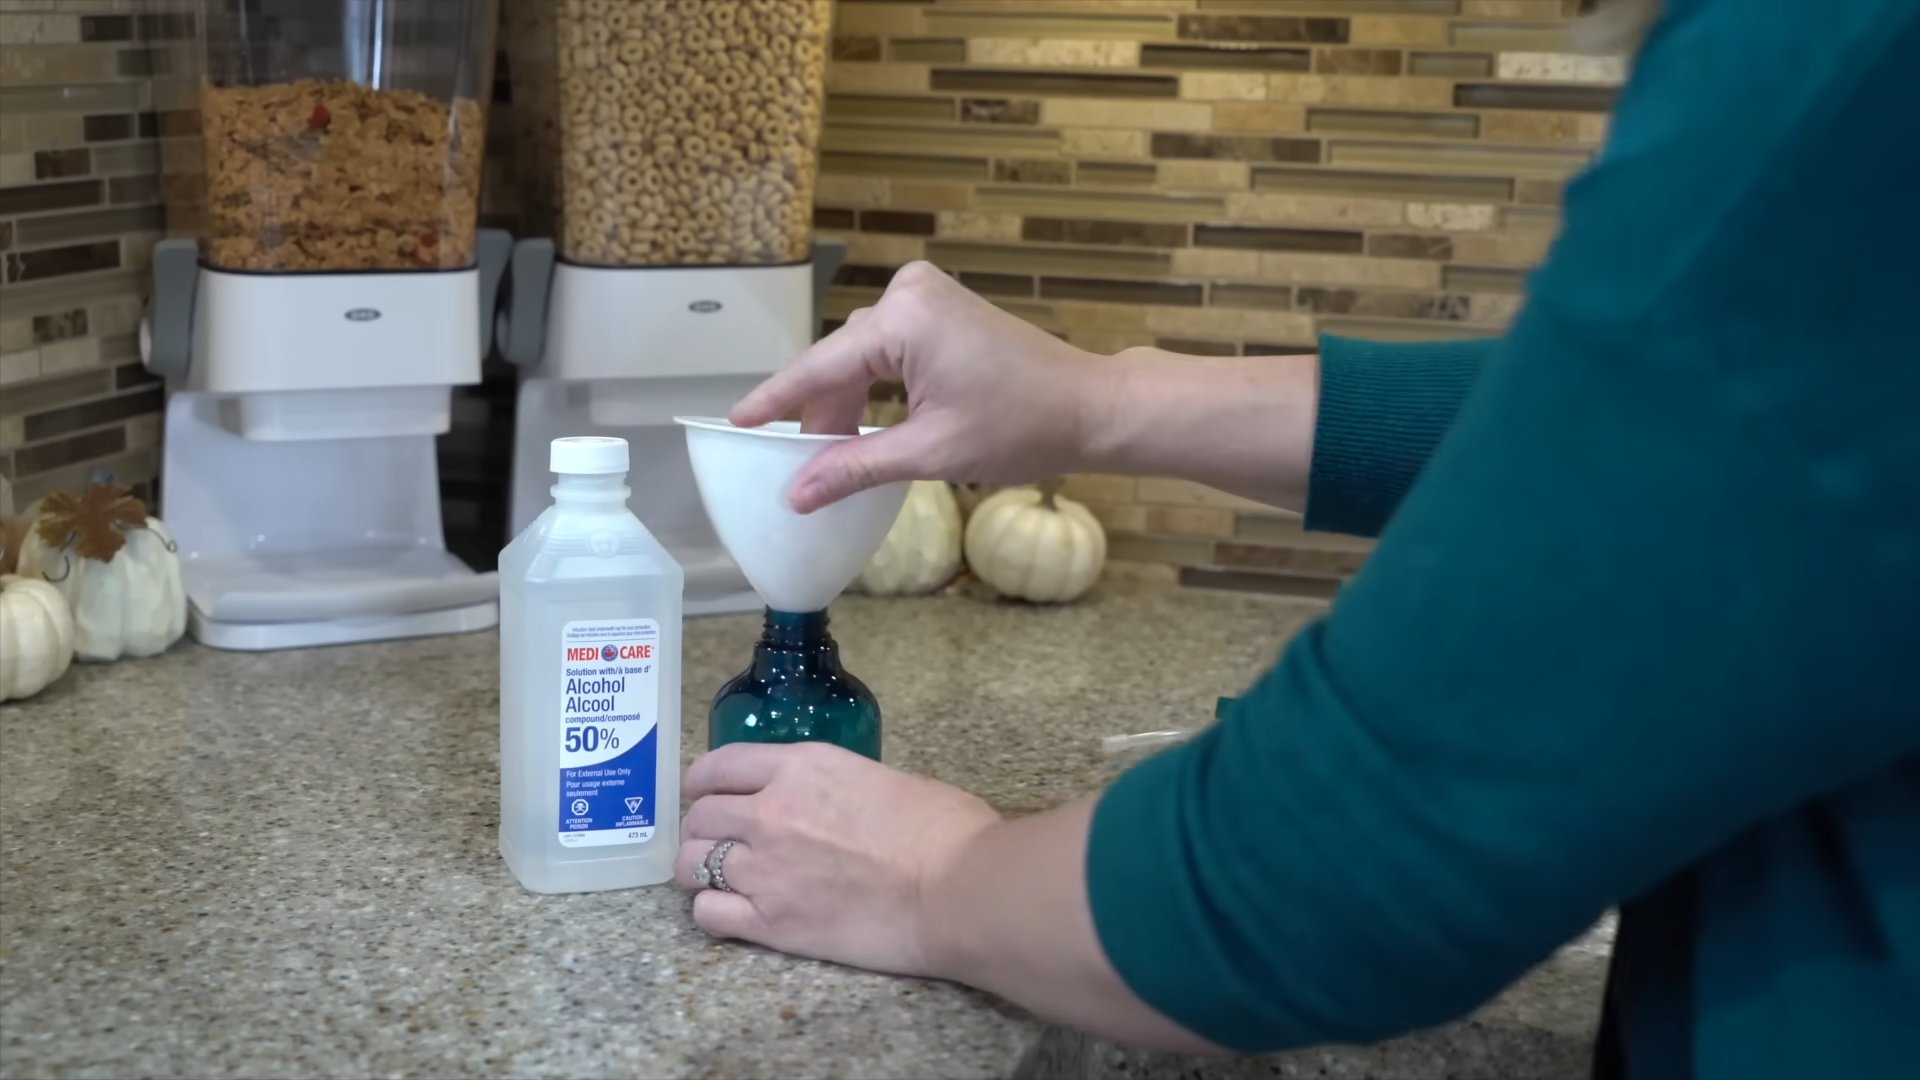
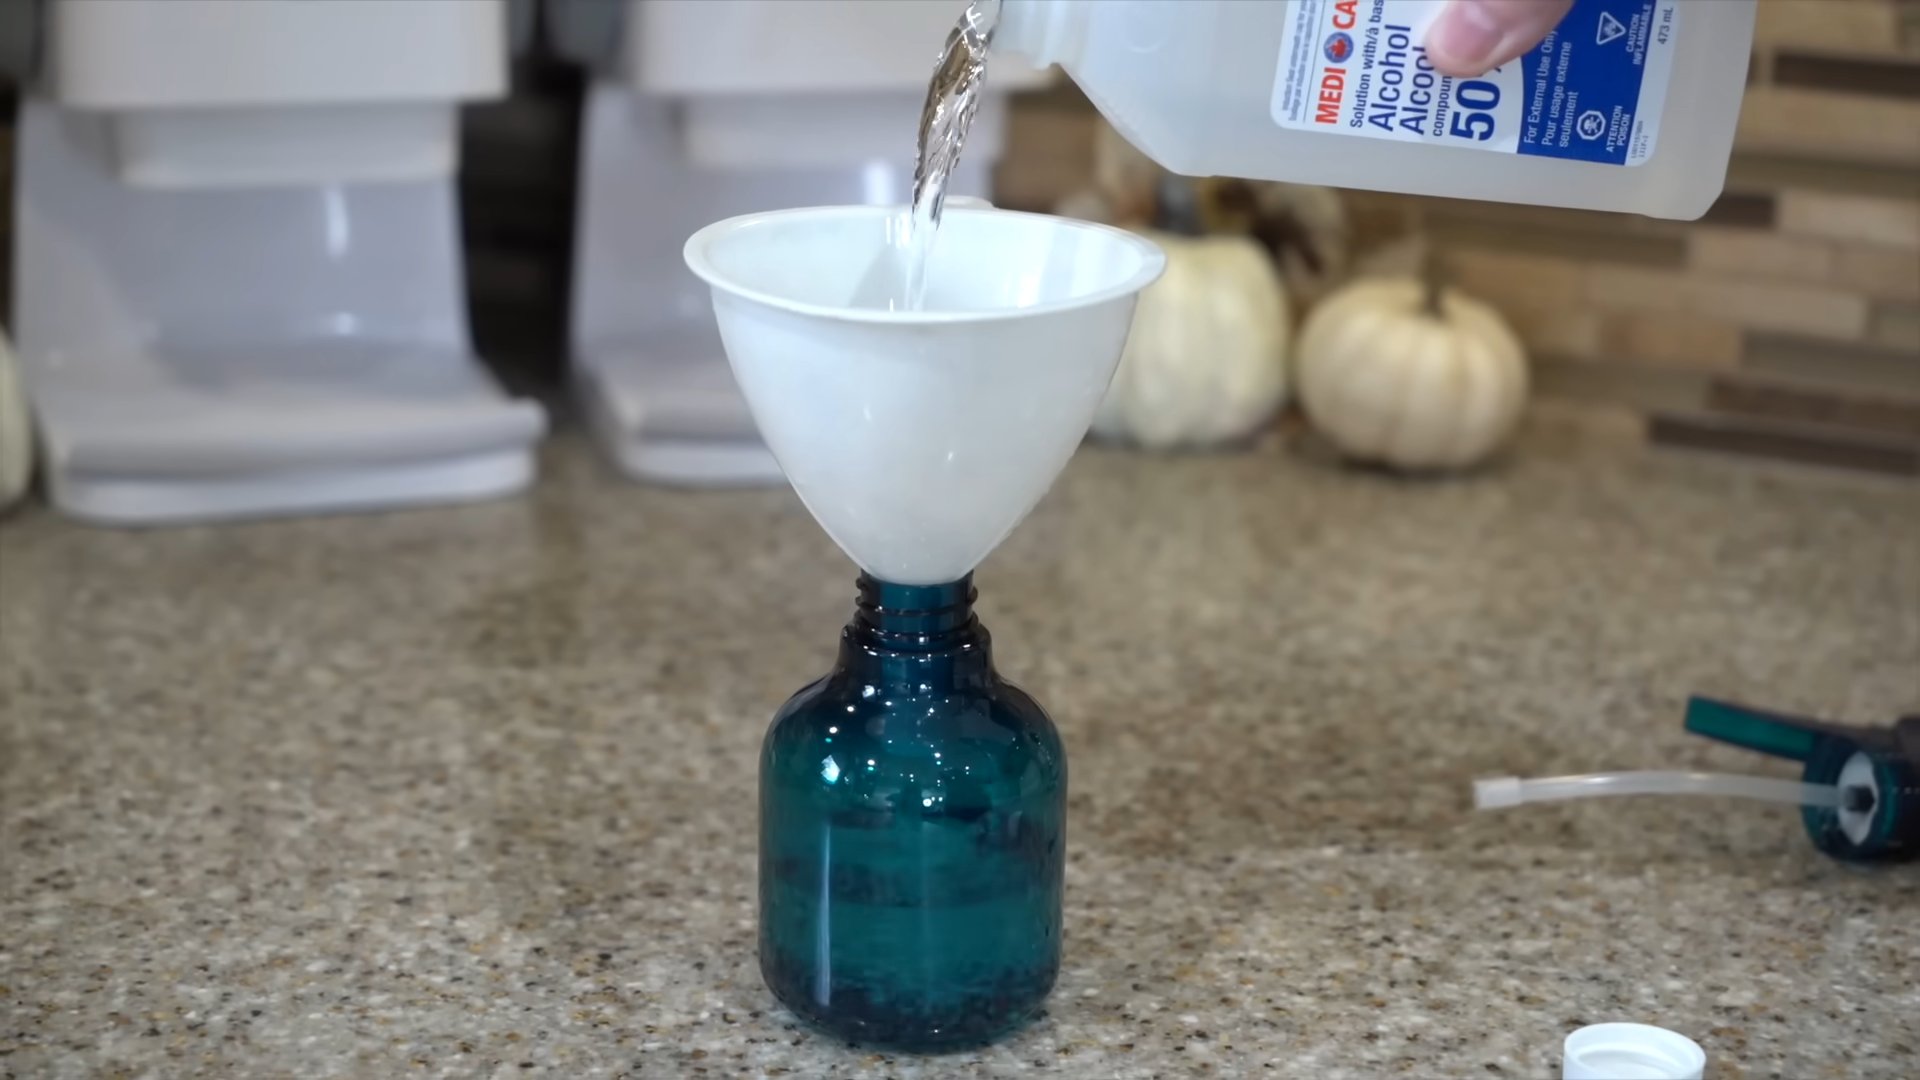
Making Your Own All-Purpose Cleaner
Why spend a fortune on store-bought cleaners when you can easily make your own effective and eco-friendly all-purpose cleaner?
What you’ll need:
* Spray bottle
* 1 part white vinegar
* 1 part water
* Optional: a few drops of essential oil (lemon, lavender, or tea tree are great choices)
Step-by-step instructions:
1. Combine ingredients in the spray bottle: In your spray bottle, combine equal parts white vinegar and water.
2. Add essential oils (optional): If you want to add a pleasant scent and boost the cleaning power, add a few drops of your favorite essential oil. I personally love lemon for its fresh, clean scent.
3. Shake well: Shake the bottle well to mix the ingredients.
4. Use as needed: Spray the cleaner onto surfaces and wipe clean with a cloth or sponge. This cleaner is great for countertops, sinks, floors, and more!
Important Note: Do not use this cleaner on natural stone surfaces like granite or marble, as the vinegar can damage them.
Freshening Up Your Garbage Disposal
Garbage disposals can get pretty smelly. Here’s a simple way to freshen them up and keep them running smoothly:
What you’ll need:
* Ice cubes
* Lemon or lime wedges
* Salt
Step-by-step instructions:
1. Fill the disposal with ice cubes: Fill your garbage disposal with ice cubes.
2. Add lemon or lime wedges: Add a few lemon or lime wedges to the disposal.
3. Sprinkle with salt: Sprinkle a generous amount of salt over the ice and citrus.
4. Turn on the disposal and run cold water: Turn on the disposal and run cold water for about 30 seconds. The ice cubes will help to scrub the disposal blades and remove any buildup, while the citrus will freshen the scent and the salt acts as a mild abrasive.
5. Repeat as needed: Repeat this process every few weeks to keep your garbage disposal fresh and clean.
Cleaning Your Oven with Baking Soda and Vinegar
Oven cleaning is the worst, I know! But this method is surprisingly effective and doesn’t involve harsh chemicals.
What you’ll need:
* Baking soda
* Water
* White vinegar
* Spray bottle
* Sponge or cloth
* Rubber gloves
Step-by-step instructions:
1. Remove oven racks: Remove the oven racks and set them aside. You can soak them in hot, soapy water while you’re cleaning the oven.
2. Make a baking soda paste: In a bowl, mix together baking soda and water to form a thick paste.
3. Coat the oven with the paste: Using your rubber gloves, spread the baking soda paste all over the inside of the oven, avoiding the heating elements. Be generous with the paste, especially on areas with baked-on grease and grime.
4. Let it sit overnight: Let the baking soda paste sit in the oven overnight (or for at least 12 hours). This allows the baking soda to loosen the grime.
5. Wipe out the paste: The next day, use a damp sponge or cloth to wipe out as much of the baking soda paste as possible. You may need to use a little elbow grease to remove stubborn spots.
6. Spray with vinegar: Fill a spray bottle with white vinegar and spray it all over the inside of the oven. The vinegar will react with any remaining baking soda, creating a foamy mixture.
7. Wipe clean: Wipe the oven clean with a damp sponge or cloth.
8. Replace oven racks: Replace the oven racks and you’re done!
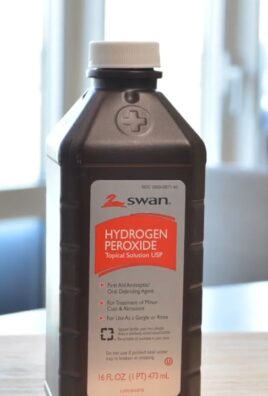
Cleaning Grout with Baking Soda and Hydrogen Peroxide
Dirty grout can make your entire bathroom look dingy. Here’s how to brighten it up:
What you’ll need:
* Baking soda
* Hydrogen peroxide
* Old toothbrush
* Water
Step-by-step instructions:
1. Make a paste: Mix baking soda and hydrogen peroxide to form a paste. The consistency should be similar to toothpaste.
2. Apply the paste to the grout: Apply the paste to the grout lines using your fingers or a small spatula.
3. Let it sit: Let the paste sit on
Conclusion
So, there you have it! This simple yet incredibly effective DIY cleaning hack is more than just a trend; it’s a game-changer for anyone looking to streamline their cleaning routine and achieve sparkling results with minimal effort. We’ve shown you how to create a powerful, all-purpose cleaner using ingredients you likely already have in your pantry. Forget spending a fortune on commercial cleaning products filled with harsh chemicals. This method is not only budget-friendly but also environmentally conscious, reducing your reliance on plastic bottles and potentially harmful substances.
Why is this DIY cleaning hack a must-try? Because it’s efficient, economical, and eco-friendly. It tackles grime, grease, and everyday messes with ease, leaving your home feeling fresh and clean. The versatility of this solution is another major selling point. You can use it on countertops, sinks, tiles, floors (test in an inconspicuous area first!), and even as a pre-treatment for laundry stains.
But the benefits don’t stop there. This DIY approach allows you to customize the scent and strength of your cleaner to suit your preferences and needs. For a more potent degreaser, add a bit more vinegar. If you prefer a floral aroma, infuse your vinegar with citrus peels or herbs like lavender or rosemary for a few weeks before mixing your cleaning solution. Experiment with different essential oils to create a signature scent that makes your home smell divine. Tea tree oil can add extra antibacterial power, while lemon oil is great for cutting through grease and leaving a fresh, citrusy scent.
Consider these variations to tailor the recipe to your specific needs:
* **For stubborn stains:** Create a paste by mixing baking soda with a small amount of your DIY cleaner and apply it directly to the stain. Let it sit for a few minutes before scrubbing gently.
* **For glass and mirrors:** Dilute the cleaner with more water to prevent streaking. Use a microfiber cloth for a streak-free shine.
* **For wood surfaces:** Always test the cleaner in an inconspicuous area first. Use a very diluted solution and wipe the surface dry immediately after cleaning.
We’re confident that once you try this DIY cleaning hack, you’ll be amazed by its effectiveness and simplicity. It’s a small change that can make a big difference in your cleaning routine and your overall well-being.
Now, it’s your turn! We encourage you to give this DIY cleaning hack a try and see the results for yourself. Don’t be afraid to experiment with different variations and find what works best for you. And most importantly, we want to hear about your experience! Share your tips, tricks, and success stories in the comments below. Let’s build a community of DIY cleaning enthusiasts and help each other create cleaner, healthier homes. We believe that cleaning doesn’t have to be a chore. With the right tools and techniques, it can be a rewarding and even enjoyable experience. So, grab your ingredients, get mixing, and get ready to experience the magic of this incredible DIY cleaning hack!
Frequently Asked Questions (FAQ)
What exactly is this “DIY cleaning hack” you’re referring to?
This DIY cleaning hack refers to creating your own all-purpose cleaner at home using simple, readily available ingredients like vinegar, baking soda, water, and optionally, essential oils. It’s a cost-effective and eco-friendly alternative to commercial cleaning products.
What are the basic ingredients needed for this DIY cleaning hack?
The core ingredients are white vinegar, baking soda, and water. Essential oils are optional but can add a pleasant scent and additional cleaning properties. A typical ratio might be 1 part vinegar, 1 part water, and a tablespoon of baking soda. Remember to add baking soda slowly to avoid excessive fizzing.
Why use vinegar in a cleaning solution? Doesn’t it smell strong?
Vinegar is a natural disinfectant and degreaser. Its acidity helps to break down grime, soap scum, and hard water stains. While it does have a distinct smell, the odor dissipates quickly after cleaning. You can also mask the vinegar smell by infusing it with citrus peels or herbs or by adding essential oils to your cleaning solution.
Can I use any type of vinegar?
White vinegar is generally recommended for cleaning due to its higher acidity and lack of coloring, which prevents staining. Apple cider vinegar can also be used, but it may leave a slight residue on some surfaces. Avoid using balsamic or red wine vinegar, as they can stain.
Is baking soda really necessary? What does it do?
Baking soda is a mild abrasive and deodorizer. It helps to scrub away dirt and grime without scratching surfaces. It also neutralizes odors and adds a bit of extra cleaning power to the solution.
What kind of essential oils are best to use in this DIY cleaner?
The best essential oils to use depend on your personal preferences and desired cleaning properties. Lemon, tea tree, lavender, eucalyptus, and peppermint are all popular choices. Lemon and tea tree oil have antibacterial properties, while lavender and eucalyptus offer a calming and refreshing scent.
Can I use this DIY cleaner on all surfaces?
While this DIY cleaner is generally safe for most surfaces, it’s always a good idea to test it in an inconspicuous area first, especially on delicate surfaces like wood, marble, or granite. Avoid using it on waxed furniture or unsealed grout.
How should I store this DIY cleaning solution?
Store your DIY cleaning solution in a clean, labeled spray bottle. Keep it out of reach of children and pets. It’s best to use a dark-colored bottle to protect the essential oils from light degradation.
How long does this DIY cleaning solution last?
This DIY cleaning solution typically lasts for several weeks. However, it’s best to make a fresh batch every month or so to ensure its effectiveness. If you notice any changes in color, odor, or consistency, discard the solution and make a new batch.
Is this DIY cleaning hack safe for pets and children?
While the ingredients are generally considered safe, it’s still important to exercise caution when using this DIY cleaner around pets and children. Keep the solution out of their reach and avoid spraying it directly on them. If your pet or child ingests the solution, contact a veterinarian or poison control center immediately.
My DIY cleaner is leaving streaks on my mirrors and windows. What am I doing wrong?
Streaking is often caused by using too much cleaner or not wiping the surface dry properly. Dilute the cleaner with more water and use a microfiber cloth to wipe the surface dry. You can also try using a squeegee for a streak-free finish.
Can I use this DIY cleaner to clean my toilet?
Yes, you can use this DIY cleaner to clean your toilet. Simply spray the solution into the bowl and around the rim, let it sit for a few minutes, and then scrub with a toilet brush. You can also add a bit of baking soda directly to the bowl for extra cleaning power.
What if I don’t have all the ingredients? Can I still make a version of this cleaner?
Yes, you can still make a simplified version of this cleaner using just vinegar and water. This solution is effective for cleaning many surfaces and is a great option if you’re short on ingredients.
How often should I use this DIY cleaning hack?
You can use this DIY cleaning hack as often as needed to keep your home clean and fresh. It’s a great option for daily cleaning tasks and can also be used for more intensive cleaning projects.
What if I don’t like the smell of vinegar, even with essential oils?
If you really dislike the smell of vinegar, you can try using lemon juice as a substitute. Lemon juice has similar cleaning properties and a more pleasant scent. However, it may not be as effective as vinegar for removing tough stains.
Leave a Comment