
Vinegar and Salt Cleaning: Sounds like a recipe for disaster, right? Wrong! It’s actually a powerhouse duo for tackling some of the toughest cleaning challenges around your home. Forget those expensive, chemical-laden cleaners – I’m here to show you how this simple, all-natural combination can revolutionize your cleaning routine.
For centuries, vinegar has been a staple in households for its cleaning and disinfecting properties. Its acidic nature makes it a fantastic grime fighter. Salt, on the other hand, acts as a gentle abrasive, helping to scrub away stubborn stains without scratching surfaces. Think of it as the dynamic duo of the cleaning world! Our grandmothers knew this secret, and now it’s time we rediscovered it.
Let’s be honest, who *enjoys* spending hours scrubbing away at burnt-on food, soap scum, or rust? I know I don’t! That’s why I’m so excited to share these vinegar and salt cleaning tricks with you. Not only are they incredibly effective, but they’re also budget-friendly and environmentally conscious. You’ll save money, reduce your exposure to harsh chemicals, and feel good about using natural ingredients. So, ditch the elbow grease and get ready to learn some game-changing DIY cleaning hacks that will leave your home sparkling!
DIY Miracle Cleaner: Vinegar and Salt Powerhouse!
Hey everyone! I’m so excited to share one of my absolute favorite DIY cleaning hacks with you – a super effective cleaner made with just two ingredients: vinegar and salt! Seriously, this stuff is amazing for tackling grime, soap scum, and even some rust. Plus, it’s eco-friendly and way cheaper than those fancy store-bought cleaners. Let’s get started!
What You’ll Need
Before we dive in, let’s gather our supplies. This is a pretty simple recipe, so you probably already have everything you need.
* **White Vinegar:** The star of the show! White vinegar’s acidity helps break down dirt and grime.
* **Table Salt:** Salt acts as a mild abrasive, helping to scrub away stubborn stains.
* **Spray Bottle:** To easily apply the cleaner. Make sure it’s clean!
* **Measuring Cups/Spoons:** For accurate measurements.
* **Mixing Bowl (Optional):** If you prefer to mix the solution before pouring it into the spray bottle.
* **Cleaning Cloths or Sponges:** For wiping and scrubbing.
* **Gloves (Optional):** To protect your hands, especially if you have sensitive skin.
* **Old Toothbrush (Optional):** For scrubbing hard-to-reach areas.
The Magic Ratio: Getting the Mixture Right
The key to a powerful vinegar and salt cleaner is getting the ratio right. I’ve experimented a lot, and I’ve found that this works best:
* **For General Cleaning:** 1 cup white vinegar to 1/2 cup table salt.
* **For Stubborn Stains (like soap scum):** 1 cup white vinegar to 3/4 cup table salt.
* Always test the solution on an inconspicuous area first, especially on delicate surfaces.
Step-by-Step Instructions: Mixing and Using Your Cleaner
Okay, let’s get down to business! Here’s how to make and use your DIY vinegar and salt cleaner:
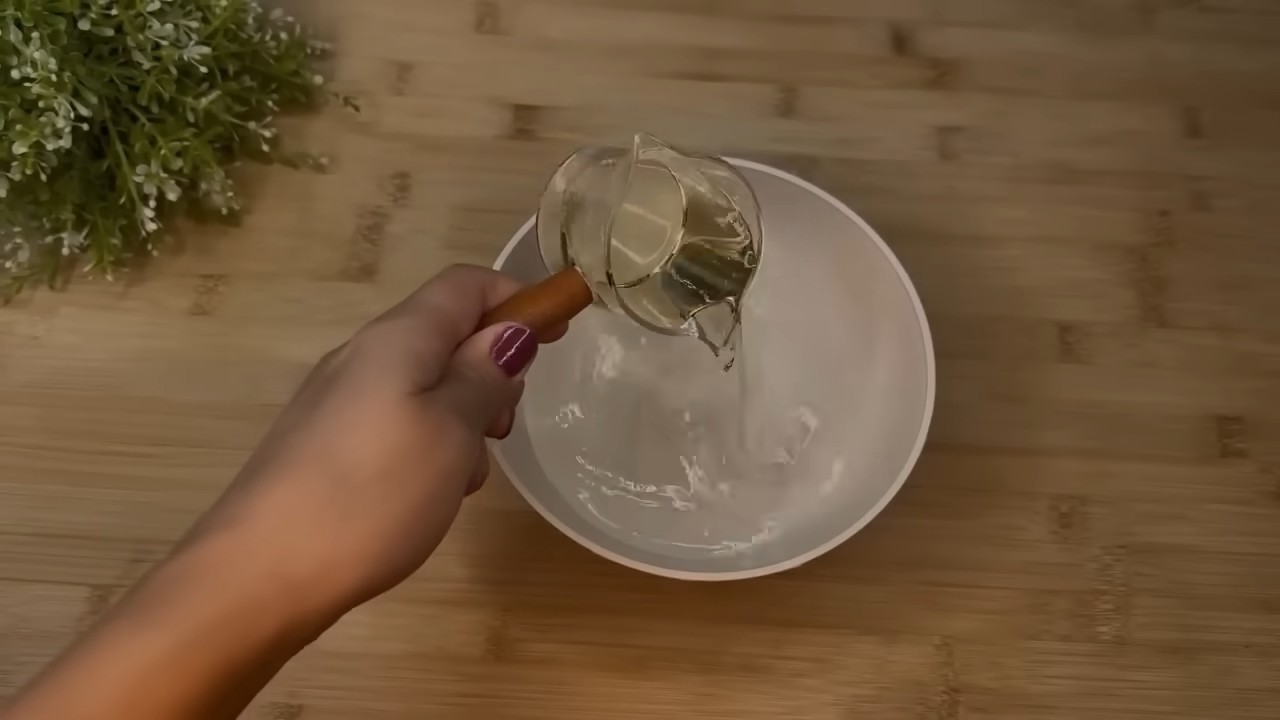
1. **Heat the Vinegar (Optional, but Recommended):** Heating the vinegar slightly helps the salt dissolve more easily. You can do this in the microwave for about 30-60 seconds, or on the stovetop over low heat. Just make sure it doesn’t boil!
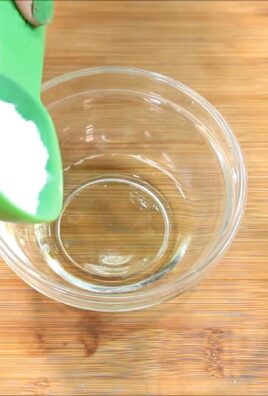
2. **Combine Vinegar and Salt:** In your mixing bowl (or directly in the spray bottle, if you’re feeling brave!), pour in the heated vinegar. Then, add the salt.
3. **Stir (or Shake) Well:** If you’re using a mixing bowl, stir the mixture until the salt is mostly dissolved. If you’re mixing directly in the spray bottle, put the lid on tightly and shake vigorously until the salt dissolves. It might take a few minutes, so be patient! Don’t worry if there are still a few salt crystals at the bottom; they’ll dissolve over time.
4. **Transfer to Spray Bottle (If Necessary):** If you mixed the solution in a bowl, carefully pour it into your spray bottle.
5. **Label Your Bottle:** This is important! Clearly label the bottle “Vinegar & Salt Cleaner” so you don’t accidentally use it for something else.
6. **Test on an Inconspicuous Area:** Before you go wild spraying everything, test the cleaner on a small, hidden area of the surface you’re planning to clean. This is especially important for delicate surfaces like marble or certain types of metal. Wait a few minutes and check for any discoloration or damage.
7. **Spray and Let Sit:** Spray the cleaner generously onto the surface you want to clean. Let it sit for a few minutes (5-10 minutes is usually good) to allow the vinegar and salt to work their magic. For really tough stains, you can let it sit for up to 30 minutes.
8. **Scrub (If Necessary):** For stubborn grime, use a cleaning cloth, sponge, or old toothbrush to scrub the area. You’ll be surprised how easily the dirt comes off!
9. **Rinse Thoroughly:** After scrubbing, rinse the area thoroughly with clean water. This is important to remove any vinegar residue, which can sometimes leave a slight odor.
10. **Dry the Surface:** Use a clean, dry cloth to dry the surface. This will prevent water spots and leave your surfaces sparkling!
Where to Use Your Vinegar and Salt Cleaner: My Favorite Applications
This cleaner is incredibly versatile! Here are some of my favorite ways to use it:
* **Bathroom Cleaning:**
* **Soap Scum on Shower Doors and Tiles:** This is where this cleaner really shines! Spray it on, let it sit, scrub, and rinse. You’ll be amazed at how easily the soap scum disappears.
* **Toilet Bowl Cleaning:** Pour a cup of the cleaner into the toilet bowl, let it sit for a few minutes, scrub with a toilet brush, and flush.
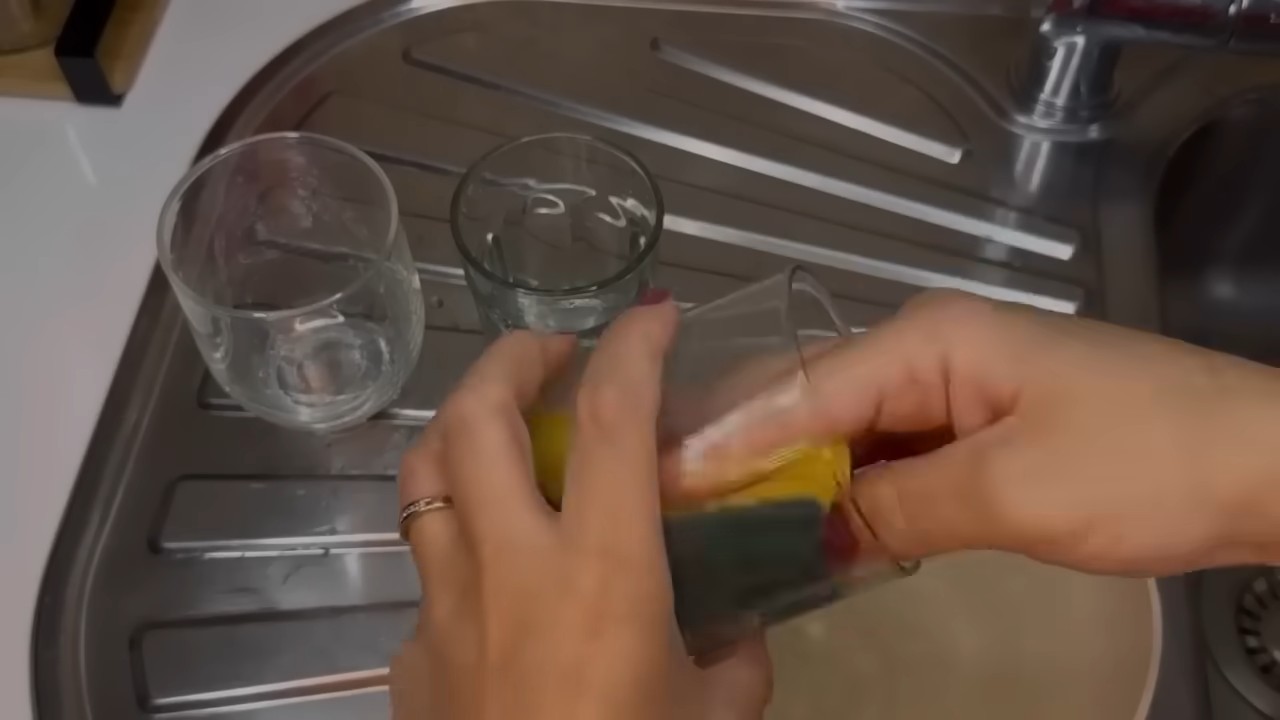
* **Sink and Faucet Cleaning:** Spray the cleaner on your sink and faucet, scrub, rinse, and dry. It will remove water spots and leave them sparkling.
* **Kitchen Cleaning:**
* **Greasy Stovetop Cleaning:** Spray the cleaner on your stovetop, let it sit for a few minutes, scrub, and wipe clean.
* **Microwave Cleaning:** Heat a cup of the cleaner in the microwave for a few minutes to loosen grime, then wipe clean. Be careful when removing the hot cup!
* **Sink Cleaning:** Just like in the bathroom, this cleaner works wonders on kitchen sinks.
* **Other Uses:**
* **Cleaning Grout:** Spray the cleaner on grout lines, let it sit, scrub with an old toothbrush, and rinse.
* **Removing Mild Rust:** This cleaner can help remove mild rust from metal surfaces. Spray it on, let it sit, scrub with a steel wool pad, and rinse. Always test on an inconspicuous area first!
* **Cleaning Cutting Boards:** Sanitize your wooden or plastic cutting boards by spraying them with the cleaner, letting it sit for a few minutes, and rinsing thoroughly.
Important Precautions and Things to Keep in Mind
While this cleaner is generally safe and effective, there are a few things to keep in mind:
* **Don’t Mix with Bleach:** Never, ever mix vinegar with bleach. This creates toxic fumes that can be very dangerous.
* **Avoid Certain Surfaces:** Avoid using this cleaner on marble, granite, or other natural stone surfaces, as the acidity of the vinegar can damage them. Also, avoid using it on waxed wood furniture, as it can strip the wax.
* **Test First:** As I mentioned before, always test the cleaner on an inconspicuous area before using it on a larger surface.
* **Ventilation:** When using this cleaner in a confined space, make sure to open a window or turn on a fan to provide adequate ventilation.
* **Storage:** Store your vinegar and salt cleaner in a cool, dark place. It should last for several months.
* Eye Contact: Avoid contact with eyes. If contact occurs, rinse thoroughly with water.
* Keep out of reach of children and pets.
Troubleshooting: Common Issues and Solutions
Sometimes, things don’t go exactly as planned. Here are a few common issues you might encounter and how to fix them:
* **Salt Not Dissolving:** If the salt isn’t dissolving completely, try heating the vinegar a little more or adding a bit more water to the mixture. You can also let the mixture sit for a few hours, shaking it occasionally, to give the salt more time to dissolve.
* **Vinegar Smell Lingering:** If the vinegar smell is lingering after cleaning, try rinsing the area more thoroughly with clean water. You can also open a window or turn on a fan to help air out the room.
* **Cleaner Not Working on Tough Stains:** If the cleaner isn’t working on tough stains, try increasing the amount of salt in the mixture or letting the cleaner sit on the stain for a longer period of time. You can also try scrubbing the area more vigorously.
* **Surface Discoloration:** If you notice any discoloration after using the cleaner, stop using it immediately and rinse the area thoroughly with clean water. The cleaner may be too strong for that particular surface.
Why I Love This DIY Cleaner
I absolutely love this DIY vinegar and salt cleaner because it’s:
* **Effective:** It really works! It cuts through grime, soap scum, and even some rust.
* **Affordable:** Vinegar and salt are both very inexpensive, so this cleaner is a great way to save money.
* **Eco-Friendly:** It’s made with natural ingredients and doesn’t contain any harsh chemicals.
* **Easy to Make:** It only takes a few minutes to mix up a batch of this cleaner.
* Versatile: I can use it all over my house!
So there you have it! My go-to DIY vinegar and salt cleaner. I hope you give it a try and see for yourself how amazing it is. Happy cleaning!
Conclusion
So, there you have it! This simple yet incredibly effective vinegar and salt cleaning solution is a game-changer for anyone looking to ditch harsh chemicals and embrace a more natural and budget-friendly approach to cleaning. We’ve explored how the acidic power of vinegar, combined with the abrasive action of salt, creates a dynamic duo capable of tackling a wide range of cleaning challenges throughout your home.
But why is this DIY trick a must-try? Beyond its simplicity and cost-effectiveness, it’s about taking control of the ingredients you’re bringing into your living space. You know exactly what’s in your cleaning solution – no hidden chemicals, no mysterious fragrances, just pure, simple ingredients that are safe for your family and the environment.
Think about the possibilities! You can use this solution to scrub stubborn stains from your kitchen sink, revitalize grimy bathroom tiles, or even remove rust from metal surfaces. The versatility of vinegar and salt cleaning is truly remarkable.
Looking for variations? Consider adding a few drops of your favorite essential oil, like lemon or lavender, to infuse your cleaning solution with a pleasant scent. For tougher stains, you can create a paste of vinegar and salt and let it sit on the affected area for a longer period before scrubbing. Experiment with different ratios of vinegar and salt to find the perfect balance for your specific cleaning needs. For example, a particularly stubborn stain might benefit from a higher concentration of salt, while a more delicate surface might require a gentler approach with a higher vinegar-to-salt ratio. You can also infuse the vinegar with citrus peels for a few days before mixing it with salt to add extra cleaning power and a fresh scent.
Don’t be afraid to get creative and adapt this recipe to suit your individual preferences and cleaning challenges. The beauty of DIY cleaning is that you have the freedom to customize it to your exact needs.
We are confident that once you experience the cleaning power of vinegar and salt, you’ll be hooked. It’s a simple, effective, and sustainable way to keep your home sparkling clean.
So, what are you waiting for? Gather your vinegar and salt, and get ready to transform your cleaning routine! We encourage you to try this DIY trick and share your experiences with us. Let us know what surfaces you’ve cleaned, what variations you’ve tried, and what amazing results you’ve achieved. Your feedback will not only help us improve this recipe but also inspire others to embrace the power of natural cleaning. Share your before-and-after photos, your tips and tricks, and your overall impressions in the comments section below. We can’t wait to hear from you! Let’s build a community of eco-conscious cleaners who are passionate about creating a healthier and more sustainable home environment.
Frequently Asked Questions (FAQs)
Is vinegar and salt cleaning safe for all surfaces?
While vinegar and salt is a powerful cleaning combination, it’s not suitable for all surfaces. Avoid using it on natural stone surfaces like marble, granite, and limestone, as the acidity of the vinegar can etch and damage them. It’s also best to avoid using it on waxed or oiled wood furniture, as it can strip the finish. Always test the solution on a small, inconspicuous area first to ensure it doesn’t cause any discoloration or damage. For delicate surfaces, dilute the vinegar with water to reduce its acidity.
What type of vinegar and salt should I use?
White distilled vinegar is the best choice for cleaning due to its high acidity and lack of color, which prevents staining. You can use regular table salt or coarse salt, depending on the cleaning task. Coarse salt provides more abrasive power for scrubbing stubborn stains, while table salt is gentler for more delicate surfaces. Avoid using iodized salt, as the iodine can sometimes cause staining.
How do I make the vinegar and salt cleaning solution?
The basic recipe is a 1:1 ratio of white distilled vinegar and salt. You can adjust the ratio depending on the cleaning task. For a general-purpose cleaner, mix equal parts vinegar and salt in a spray bottle. Shake well to dissolve the salt. For a more abrasive scrub, create a paste by mixing vinegar and salt until it forms a thick consistency.
Can I store the vinegar and salt cleaning solution?
Yes, you can store the vinegar and salt cleaning solution in a sealed container for several weeks. However, it’s best to make a fresh batch each time to ensure maximum effectiveness. Over time, the salt may settle at the bottom of the container, so shake well before each use.
What are some specific uses for vinegar and salt cleaning?
Vinegar and salt cleaning is incredibly versatile. Here are some specific uses:
* **Cleaning kitchen sinks and countertops:** Scrub away food stains and grime with a vinegar and salt paste.
* **Removing hard water stains from showerheads and faucets:** Soak the affected area in a vinegar and salt solution.
* **Cleaning bathroom tiles and grout:** Scrub away mildew and soap scum with a vinegar and salt paste.
* **Removing rust from metal surfaces:** Apply a vinegar and salt paste to the rusted area and let it sit for a few hours before scrubbing.
* **Cleaning cutting boards:** Sanitize and deodorize cutting boards with a vinegar and salt solution.
* **Cleaning coffee makers:** Run a vinegar and salt solution through your coffee maker to remove mineral buildup.
* **Cleaning drains:** Pour a mixture of vinegar and salt down the drain, followed by hot water, to help unclog it.
Is vinegar and salt cleaning environmentally friendly?
Yes, vinegar and salt cleaning is a much more environmentally friendly option than using harsh chemical cleaners. Vinegar and salt are both natural and biodegradable, so they won’t pollute the environment. By using this DIY cleaning solution, you can reduce your reliance on harmful chemicals and contribute to a healthier planet.
What safety precautions should I take when using vinegar and salt cleaning?
While vinegar and salt are generally safe, it’s always a good idea to take some basic safety precautions. Wear gloves to protect your hands from irritation, especially if you have sensitive skin. Avoid getting the solution in your eyes. If contact occurs, rinse thoroughly with water. Ensure adequate ventilation when cleaning in enclosed spaces. Keep the solution out of reach of children and pets.
Can I add other ingredients to the vinegar and salt cleaning solution?
Yes, you can add other ingredients to enhance the cleaning power or scent of the solution. As mentioned earlier, essential oils like lemon, lavender, or tea tree oil can add a pleasant fragrance and provide additional antibacterial properties. You can also add baking soda to create a fizzing action that helps loosen stubborn stains. However, avoid mixing vinegar with bleach, as this can create toxic fumes.
How often should I use vinegar and salt cleaning?
The frequency of use depends on your cleaning needs. For general cleaning, you can use vinegar and salt solution as often as needed. For more intensive cleaning tasks, such as removing rust or hard water stains, you may only need to use it occasionally. Pay attention to the surface you’re cleaning and adjust the frequency accordingly.
What if the vinegar and salt cleaning solution doesn’t work?
If the vinegar and salt cleaning solution doesn’t completely remove a stain or grime, try increasing the concentration of salt or letting the solution sit on the affected area for a longer period before scrubbing. You can also try using a more abrasive scrubbing tool, such as a scrub brush or scouring pad. For extremely stubborn stains, you may need to repeat the process several times or try a different cleaning method.

Leave a Comment