
Clean Fridge Fast: Is your refrigerator a chaotic landscape of forgotten leftovers and mysterious spills? Let’s be honest, we’ve all been there! A clean and organized fridge isn’t just aesthetically pleasing; it’s crucial for food safety, reducing waste, and saving you money. Think about it – how many times have you bought ingredients only to find you already had them hiding behind a science experiment in the back?
While the modern refrigerator is a relatively recent invention, the desire to keep food cold and fresh dates back centuries. Ancient civilizations used cellars, ice houses, and even evaporation techniques to preserve their provisions. Today, we have the luxury of temperature-controlled appliances, but maintaining them can still feel like a chore. That’s where these DIY tricks come in!
I’m going to share some of my favorite and most effective methods to clean fridge fast and efficiently. These aren’t just quick fixes; they’re strategies to help you maintain a sparkling clean refrigerator with minimal effort. From simple cleaning solutions you can whip up with ingredients you already have, to organizational hacks that will transform your fridge into a model of efficiency, this guide has everything you need. So, ditch the dread and let’s get started on creating a fridge you’ll actually enjoy opening!
DIY: Sparkling Clean Fridge in Under an Hour!
Okay, let’s be honest, cleaning the fridge is nobody’s favorite chore. But a clean fridge is a happy fridge (and a healthier one!), and it doesn’t have to take all day. I’m going to walk you through my tried-and-true method for getting your fridge sparkling clean in under an hour. Trust me, you’ll feel so much better afterward!
What You’ll Need:
* Microfiber cloths (at least 3-4)
* Warm water
* Baking soda
* White vinegar
* Dish soap (optional)
* A large bowl or bucket
* An old toothbrush
* Paper towels
* Cooler or insulated bag (to keep food cold)
* Trash bags
* Your favorite cleaning playlist (essential!)
Phase 1: The Great Fridge Purge
This is where we get rid of all the expired, questionable, and just plain gross stuff lurking in the back corners. Be ruthless!
1. Unplug the Fridge: Safety first! Unplugging the fridge will prevent any accidental shocks and also help it defrost slightly while you’re cleaning.
2. Empty the Fridge: This is the big one. Take everything out of your fridge, shelf by shelf. As you remove items, assess their condition.
* Check Expiration Dates: Toss anything that’s past its prime. Seriously, don’t even think about keeping that yogurt that expired last month.
* Look for Mold or Spoilage: If something looks or smells off, get rid of it. Better safe than sorry!
* Group Similar Items: As you take things out, group them together (e.g., condiments, dairy, produce). This will make it easier to put everything back in an organized way.
3. Store Perishables Properly: Place all perishable items (meat, dairy, eggs) in your cooler or insulated bag with ice packs to keep them cold while you’re cleaning. This is crucial to prevent food spoilage.
4. Discard Trash: Immediately throw away any obvious trash, like empty containers or spoiled food. This will help minimize odors and keep your workspace clean.
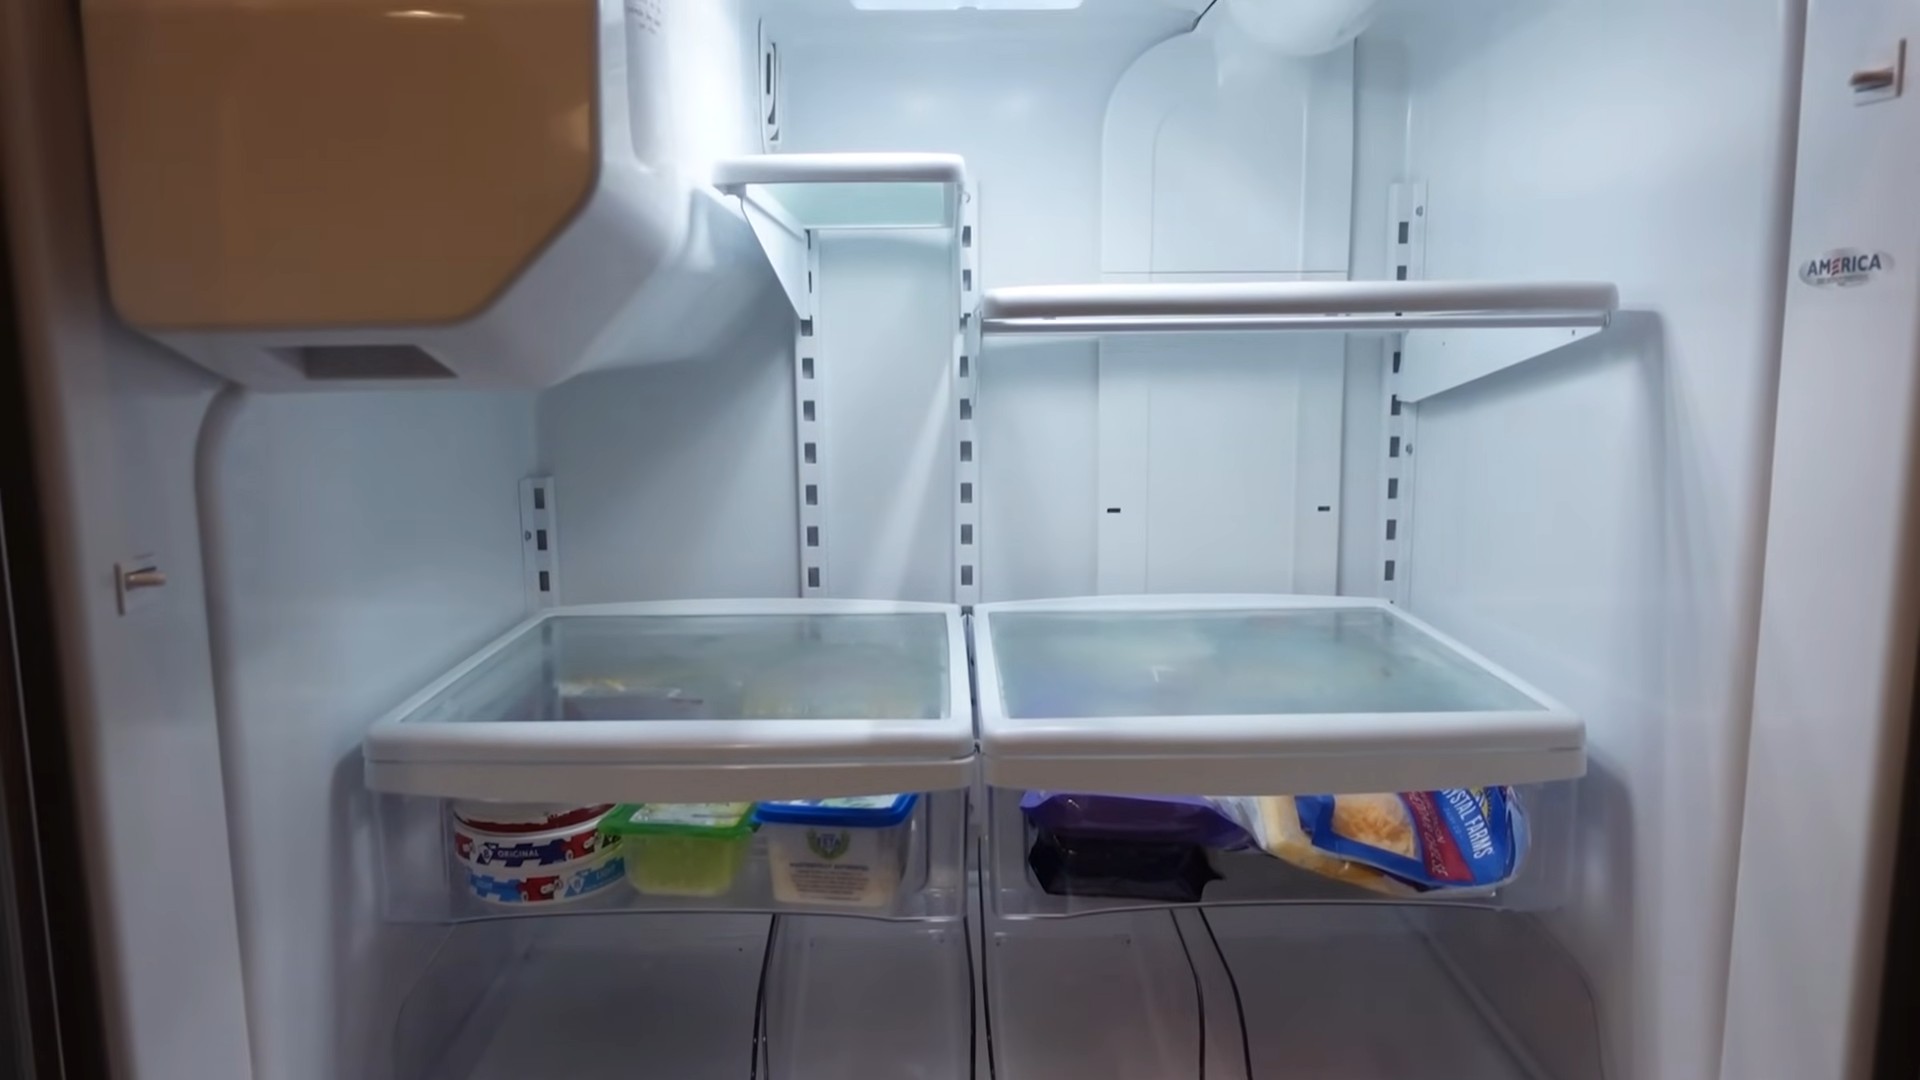
5. Remove Shelves and Drawers: Take out all removable shelves, drawers, and bins. This will allow you to clean them thoroughly and also give you better access to the interior of the fridge.
Phase 2: Cleaning the Interior
Now for the fun part (okay, maybe not fun, but definitely satisfying!). We’re going to tackle the inside of the fridge, getting rid of spills, stains, and lingering odors.
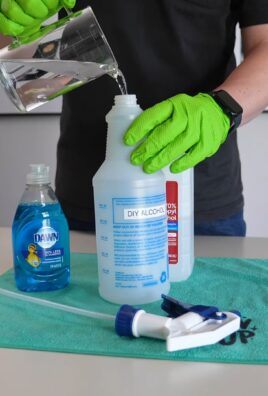
1. Prepare Your Cleaning Solution: I prefer a simple and natural cleaning solution of baking soda and water. Mix about 1/4 cup of baking soda with 1 quart of warm water in your large bowl or bucket. The baking soda helps to absorb odors and gently scrub away stains. You can also add a squirt of dish soap for extra cleaning power, but it’s not always necessary. For tougher stains, you can use a solution of equal parts white vinegar and water.
2. Wipe Down the Interior: Dip a clean microfiber cloth into your cleaning solution and wring it out well. Start at the top of the fridge and work your way down, wiping down all surfaces, including the walls, ceiling, and floor. Pay special attention to any spills or stains.
3. Tackle Stubborn Stains: For stubborn stains, make a paste of baking soda and water. Apply the paste to the stain, let it sit for a few minutes, and then scrub gently with your old toothbrush or a non-abrasive sponge. Wipe away the paste with a clean, damp cloth.
4. Clean the Door: Don’t forget the door! Wipe down the shelves, compartments, and seals with your cleaning solution. Use the toothbrush to clean any hard-to-reach areas.
5. Rinse and Dry: Once you’ve wiped down the entire interior, rinse it with a clean, damp cloth to remove any residue from the cleaning solution. Then, dry all surfaces thoroughly with a clean, dry microfiber cloth or paper towels. This will help prevent mold and mildew growth.
Phase 3: Cleaning Shelves and Drawers
These removable parts often get the dirtiest, so they deserve some extra attention.
1. Wash with Warm, Soapy Water: Wash the shelves, drawers, and bins in warm, soapy water. You can do this in your sink or bathtub. Use a sponge or brush to scrub away any food residue or stains.
2. Rinse Thoroughly: Rinse all the shelves and drawers thoroughly with clean water to remove any soap residue.
3. Disinfect (Optional): If you want to disinfect the shelves and drawers, you can spray them with a solution of equal parts white vinegar and water. Let the solution sit for a few minutes, and then wipe it away with a clean cloth.
4. Dry Completely: Before putting the shelves and drawers back in the fridge, make sure they are completely dry. You can air dry them or use a clean, dry cloth to speed up the process.
Phase 4: Reorganizing and Restocking
Now for the most rewarding part – putting everything back in an organized and efficient way!
1. Replace Shelves and Drawers: Put the clean and dry shelves, drawers, and bins back into the fridge.
2. Organize Food Items: As you put food back into the fridge, think about how you can organize it for maximum efficiency and freshness.
* Top Shelf: Store ready-to-eat foods, like leftovers, yogurt, and cheese.
* Middle Shelves: Store dairy products, eggs, and deli meats.
* Bottom Shelf: Store raw meat and poultry in sealed containers to prevent cross-contamination.
* Drawers: Use the crisper drawers for fruits and vegetables. Adjust the humidity settings to keep them fresh longer.
* Door: Store condiments, sauces, and drinks. Keep in mind that the door is the warmest part of the fridge, so avoid storing highly perishable items there.
3. Use Clear Containers: Store leftovers and other food items in clear containers so you can easily see what’s inside. This will help you avoid food waste.
4. Label Everything: Label containers with the date you stored the food. This will help you keep track of how long it’s been in the fridge and prevent you from eating spoiled food.
5. Baking Soda for Odor Control: Place an open box of baking soda in the fridge to absorb any lingering odors. Replace the baking soda every few months.
6. Plug the Fridge Back In: Once everything is back in its place, plug the fridge back in. It will take a few hours for it to reach its optimal temperature.
Extra Tips for a Sparkling Fridge:
* Clean Up Spills Immediately: Don’t let spills sit and harden. Clean them up as soon as they happen to prevent stains and odors.
* Wipe Down Shelves Regularly: Give your fridge a quick wipe-down once a week to prevent buildup.
* Check Expiration Dates Regularly: Make it a habit to check expiration dates every week and toss out anything that’s past its prime.
* Don’t Overcrowd the Fridge: Overcrowding can restrict airflow and make it harder for the fridge to stay cold.
* Consider Fridge Liners: Fridge liners can help protect your shelves from spills and make cleaning easier.
* Clean the Condenser Coils: The condenser coils are located on the back or bottom of the fridge. Cleaning them regularly will help your fridge run more efficiently. You can use a vacuum cleaner with a brush attachment to remove dust and debris.
* Defrost Regularly: If your fridge has a manual defrost function, defrost it regularly to prevent ice buildup. Ice buildup can reduce the efficiency of the fridge and take up valuable space.
And there you have it! A sparkling clean fridge in under an hour. Now you can enjoy the peace of mind that comes with knowing your food is stored in a clean and healthy environment. Plus, you’ll be more likely to eat healthy when you can actually see what’s in your fridge! Happy cleaning!
Conclusion
So, there you have it! This simple, yet incredibly effective DIY trick for a clean fridge fast is a game-changer for anyone looking to maintain a hygienic and organized kitchen. Forget spending hours scrubbing away at stubborn spills and lingering odors. This method streamlines the process, saving you valuable time and energy.
Why is this a must-try? Because a clean fridge isn’t just about aesthetics; it’s about food safety and extending the life of your groceries. A fridge free from bacteria and mold ensures that your food stays fresher for longer, reducing waste and saving you money in the long run. Plus, a well-organized fridge makes it easier to find what you need, minimizing the time your fridge door is open and conserving energy.
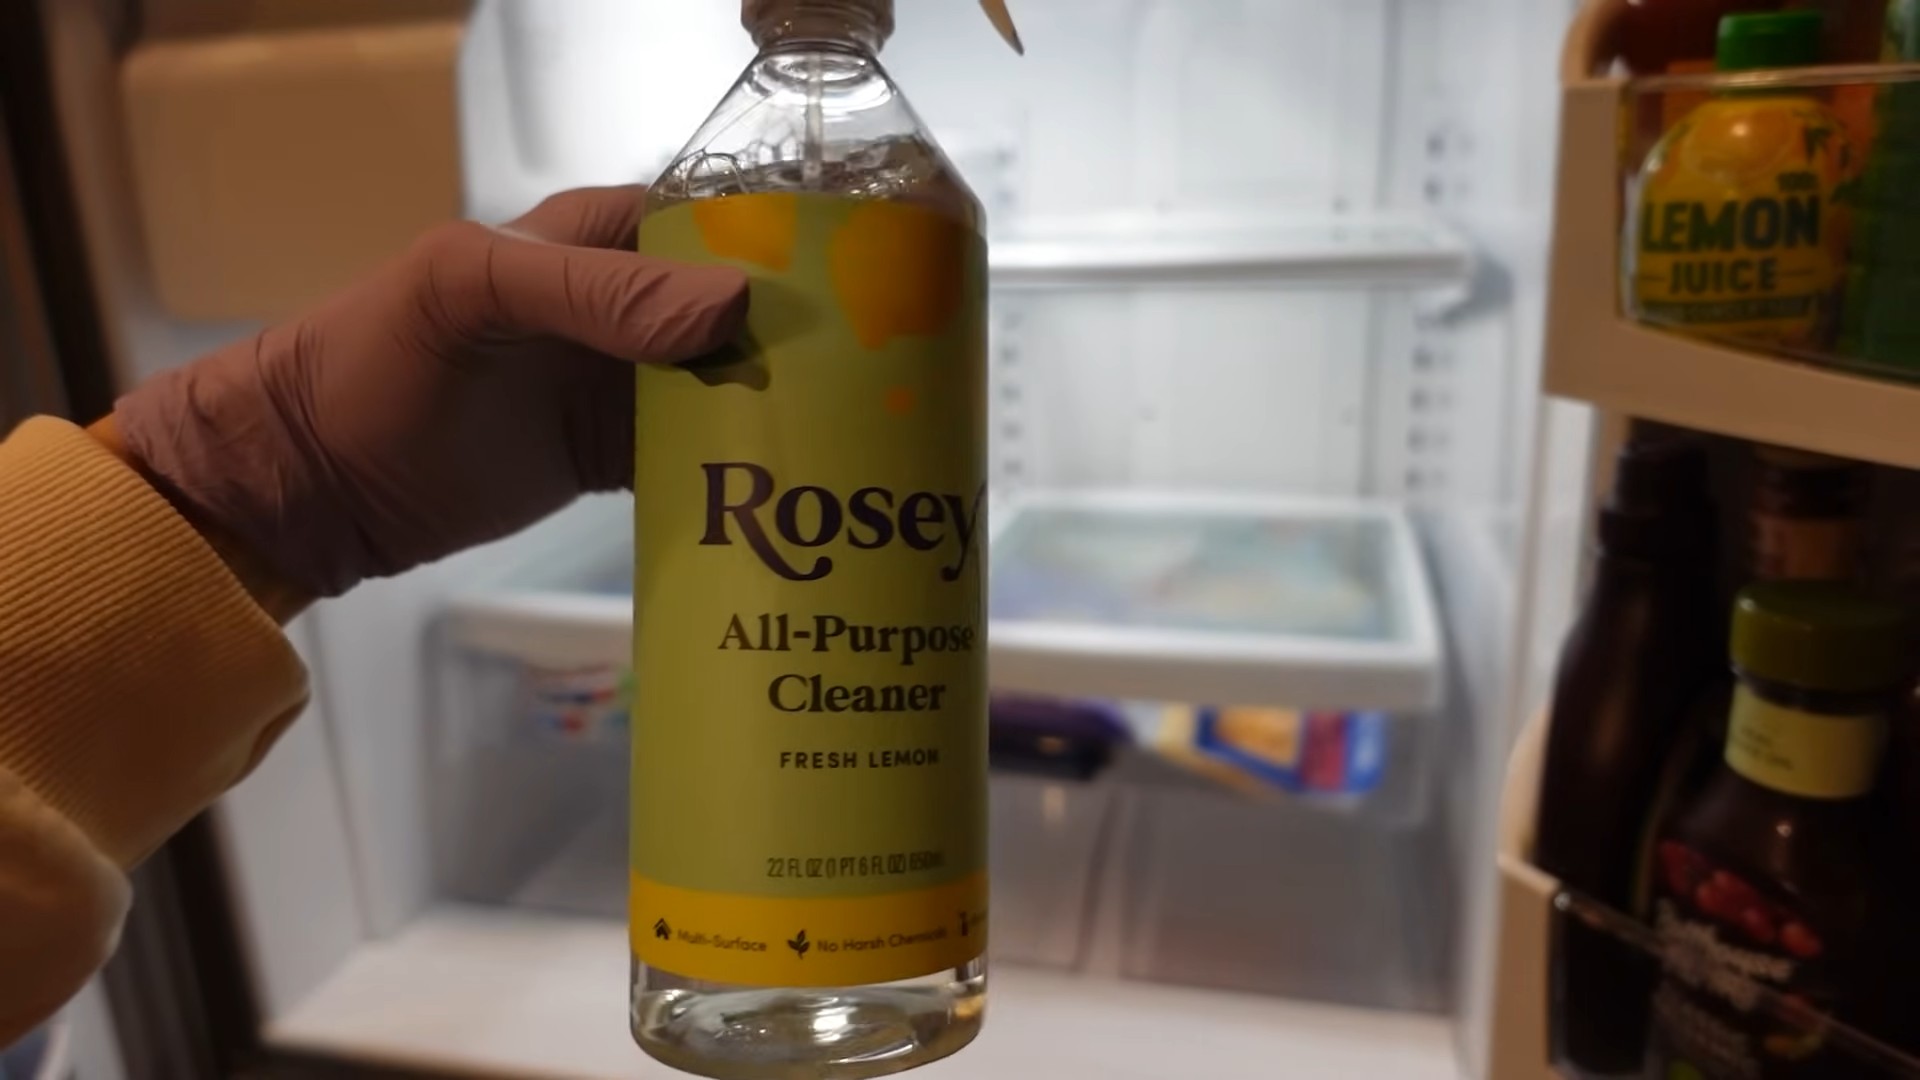
But the benefits don’t stop there. This DIY approach is also eco-friendly. By using readily available household ingredients like baking soda, vinegar, and lemon juice, you’re avoiding harsh chemicals that can be harmful to the environment and your health. It’s a win-win situation!
Looking to customize this method to suit your specific needs? Here are a few suggestions and variations:
* For extra stubborn stains: Create a paste of baking soda and water and apply it directly to the stain. Let it sit for a few minutes before scrubbing gently.
* To combat lingering odors: Place an open box of baking soda in the back of your fridge to absorb any unpleasant smells. You can also use a cotton ball soaked in vanilla extract for a more pleasant scent.
* For a deeper clean: Remove all shelves and drawers and wash them in warm, soapy water. This will help eliminate any hidden bacteria or food particles.
* Preventative measures: Line your fridge shelves with paper towels or shelf liners to catch spills and make cleanup even easier.
We’re confident that this DIY trick will revolutionize your fridge cleaning routine. It’s quick, easy, effective, and environmentally friendly. What more could you ask for?
Now, it’s your turn! Give this method a try and experience the joy of a sparkling clean fridge. We encourage you to share your results and any variations you discover in the comments below. Let’s create a community of clean fridge enthusiasts! We are eager to hear your experiences and learn from your insights. Did you find a particular ingredient combination that worked wonders? Did you adapt the method to suit your specific fridge type? Your feedback is invaluable and will help us refine and improve this DIY trick for everyone. Don’t be shy – share your tips and tricks! Let’s make fridge cleaning a breeze for everyone. Remember, a clean fridge is a happy fridge, and a happy fridge means a happy you! So go ahead, give it a try, and let us know what you think. We can’t wait to hear from you!
Frequently Asked Questions (FAQs)
1. How often should I clean my fridge using this DIY method?
The frequency of cleaning depends on how often you use your fridge and how prone it is to spills and messes. However, a general guideline is to give your fridge a thorough cleaning using this DIY method at least once a month. For high-traffic fridges or those prone to spills, consider cleaning it every two weeks. Spot cleaning spills as they occur is also crucial to prevent buildup and odors. Regular maintenance will not only keep your fridge clean but also extend the life of your food and prevent the growth of harmful bacteria.
2. What if I don’t have all the ingredients listed in the DIY trick?
The beauty of this DIY trick is its flexibility. While baking soda, vinegar, and lemon juice are highly effective, you can substitute or omit ingredients based on what you have available. For example, if you don’t have lemon juice, you can use a few drops of essential oils like tea tree or lemon for their antibacterial properties. If you don’t have vinegar, you can use a mild dish soap solution. The key is to use gentle, non-toxic cleaning agents that won’t leave behind harmful residues. Remember to always rinse thoroughly after cleaning, regardless of the ingredients you use.
3. Is this DIY cleaning method safe for all types of refrigerators?
This DIY cleaning method is generally safe for most types of refrigerators, including stainless steel, plastic, and glass. However, it’s always a good idea to test the cleaning solution on a small, inconspicuous area first to ensure it doesn’t damage the surface. Avoid using abrasive cleaners or scrub brushes, especially on stainless steel, as they can scratch the finish. For stainless steel fridges, wipe in the direction of the grain to prevent streaks. If you have any concerns about cleaning a specific type of refrigerator, consult the manufacturer’s instructions.
4. How can I prevent my fridge from getting dirty in the first place?
Prevention is key to keeping your fridge clean and organized. Here are a few tips to minimize messes:
* Store food properly: Use airtight containers to prevent spills and leaks.
* Wipe up spills immediately: Don’t let spills sit and harden. Clean them up as soon as they happen.
* Check expiration dates regularly: Discard expired food to prevent mold and bacteria growth.
* Organize your fridge: Keep similar items together and use clear containers to easily see what you have.
* Use shelf liners: Line your fridge shelves with paper towels or shelf liners to catch spills and make cleanup easier.
5. My fridge has a strong odor. Will this DIY method get rid of it?
Yes, this DIY method can help eliminate strong odors in your fridge. Baking soda is a natural odor absorber, and vinegar and lemon juice have deodorizing properties. After cleaning your fridge, place an open box of baking soda in the back to absorb any lingering smells. You can also use a cotton ball soaked in vanilla extract or a few coffee grounds to freshen the air. If the odor persists, it may be due to a hidden spill or a malfunctioning component. In that case, you may need to consult a professional appliance repair technician.
6. How long does it take to clean a fridge using this DIY trick?
The time it takes to clean your fridge using this DIY trick depends on the size of your fridge and the extent of the mess. However, on average, you can expect to spend about 30-60 minutes. This includes removing the food, preparing the cleaning solution, wiping down the surfaces, and putting everything back in place. To save time, you can break the task into smaller chunks, such as cleaning one shelf or drawer at a time.
7. Can I use this DIY method to clean the freezer as well?
Yes, you can use this DIY method to clean your freezer. However, you’ll need to defrost the freezer first. Unplug the freezer and let it thaw completely. Remove all the food and store it in a cooler or another freezer. Once the freezer is defrosted, you can use the same cleaning solution to wipe down the surfaces. Be sure to dry the freezer thoroughly before plugging it back in and restocking it with food.
8. What are some other natural cleaning agents I can use in my fridge?
Besides baking soda, vinegar, and lemon juice, there are several other natural cleaning agents you can use in your fridge:
* Hydrogen peroxide: A mild disinfectant that can be used to kill bacteria.
* Tea tree oil: An essential oil with antibacterial and antifungal properties.
* Castile soap: A gentle, all-natural soap that can be used to clean various surfaces.
* Grapefruit seed extract: A natural disinfectant and preservative.
Remember to always dilute these cleaning agents with water before using them and to rinse thoroughly afterward.
9. Is it necessary to remove all the food from the fridge before cleaning?
Yes, it’s highly recommended to remove all the food from the fridge before cleaning. This will allow you to thoroughly clean all the surfaces and prevent any cleaning solution from contaminating your food. It also gives you an opportunity to check expiration dates and discard any expired or spoiled items. Before removing the food, have a cooler or another refrigerator ready to store it temporarily.
10. What should I do if I accidentally spill cleaning solution on my food?
If you accidentally spill cleaning solution on your food, discard the contaminated food immediately. Do not attempt to wash or salvage it, as the cleaning solution may contain harmful chemicals. It’s always better to be safe than sorry when it comes to food safety.

Leave a Comment