
Grow Microgreens Indoors Easily and unlock a world of fresh, flavorful, and nutrient-packed goodness right in your own home! Forget those sad, wilted greens from the grocery store – imagine snipping vibrant, healthy microgreens just moments before adding them to your salad, sandwich, or smoothie.
For centuries, cultures around the globe have recognized the power of sprouts and young greens. From ancient Chinese medicine to modern-day health enthusiasts, the benefits of these tiny powerhouses have been celebrated. Now, you can tap into that wisdom and cultivate your own miniature garden, regardless of your outdoor space or gardening experience.
Why should you learn to grow microgreens indoors easily? Because life is busy! We all want to eat healthier, but finding the time and resources can be a challenge. Microgreens offer a simple, affordable, and incredibly rewarding solution. They’re packed with vitamins, minerals, and antioxidants, often exceeding the nutritional value of their mature counterparts. Plus, they add a burst of flavor and texture to any dish. I’m going to show you some simple DIY tricks and hacks that will have you harvesting your own delicious microgreens in just a matter of weeks. Get ready to transform your kitchen counter into a thriving, edible oasis!
Grow Microgreens Indoors: A Beginner’s Guide
Hey there, fellow plant enthusiasts! Ever wanted to have fresh, nutrient-packed greens right at your fingertips, no matter the season? Well, you’re in the right place! I’m going to walk you through the super simple process of growing microgreens indoors. Trust me, it’s easier than you think, and the rewards are delicious and oh-so-satisfying.
What are Microgreens Anyway?
Before we dive in, let’s quickly define what microgreens are. They’re basically baby vegetable greens, harvested just after the cotyledon leaves (the first leaves to emerge from the seed) have developed, and sometimes after the first true leaves appear. They’re packed with flavor and nutrients, often more so than their mature counterparts. Plus, they add a beautiful pop of color and texture to any dish.
Why Grow Microgreens Indoors?
* Year-Round Harvest: No need to wait for spring! You can grow microgreens indoors any time of the year.
* Space-Saving: Perfect for apartment dwellers or anyone with limited outdoor space.
* Fast Results: You can harvest microgreens in as little as 7-14 days. Talk about instant gratification!
* Nutrient-Rich: Microgreens are packed with vitamins, minerals, and antioxidants.
* Delicious: They add a burst of flavor to salads, sandwiches, soups, and more.
* Cost-Effective: Growing your own microgreens is much cheaper than buying them at the store.
* Sustainable: Reduce your carbon footprint by growing your own food.
Choosing Your Seeds
The first step is selecting the right seeds. Not all seeds are created equal when it comes to microgreens. Here are some popular and easy-to-grow options:
* Radish: Spicy and peppery, a great addition to salads.
* Broccoli: Mild and slightly sweet, packed with nutrients.
* Sunflower: Nutty and crunchy, a favorite among many.
* Pea Shoots: Sweet and tender, delicious in stir-fries.
* Mustard: Pungent and flavorful, adds a kick to any dish.
* Arugula: Peppery and slightly bitter, a classic microgreen.
* Beet: Earthy and vibrant, adds a beautiful color to your meals.
* Cilantro: Fresh and citrusy, perfect for Mexican-inspired dishes.
Important Note: Make sure you’re using seeds specifically intended for sprouting or microgreens. Avoid using seeds that have been treated with fungicides or other chemicals.
Gathering Your Supplies
Now, let’s get our supplies in order. You won’t need much, which is another reason why this is such a great project.
* Growing Trays: You’ll need two trays – one with drainage holes and one without. The tray without holes will act as a reservoir for watering. I like to use shallow trays, about 1-2 inches deep.
* Growing Medium: You have a few options here. I prefer using coconut coir (also known as coco coir) because it’s sustainable, holds moisture well, and is pH neutral. You can also use seed starting mix or potting soil, but make sure it’s fine-textured and doesn’t contain large chunks of bark.
* Spray Bottle: For misting your microgreens.
* Seeds: Of course! Choose your favorite varieties.
* Water: Filtered water is best.
* Weight (Optional): A small weight, like a book or a brick wrapped in plastic, can help with germination.
* Grow Light (Optional): While microgreens can grow with natural light, a grow light will ensure they get enough light, especially during the winter months.
Step-by-Step Instructions: Planting Your Microgreens
Okay, let’s get our hands dirty! Here’s the step-by-step process for planting your microgreens:
1. Soak the Seeds (Optional): Some seeds benefit from soaking before planting. This helps to soften the seed coat and speed up germination. Radish, broccoli, and mustard seeds don’t typically need soaking. However, larger seeds like sunflower and pea shoots will benefit from being soaked in water for 4-8 hours.
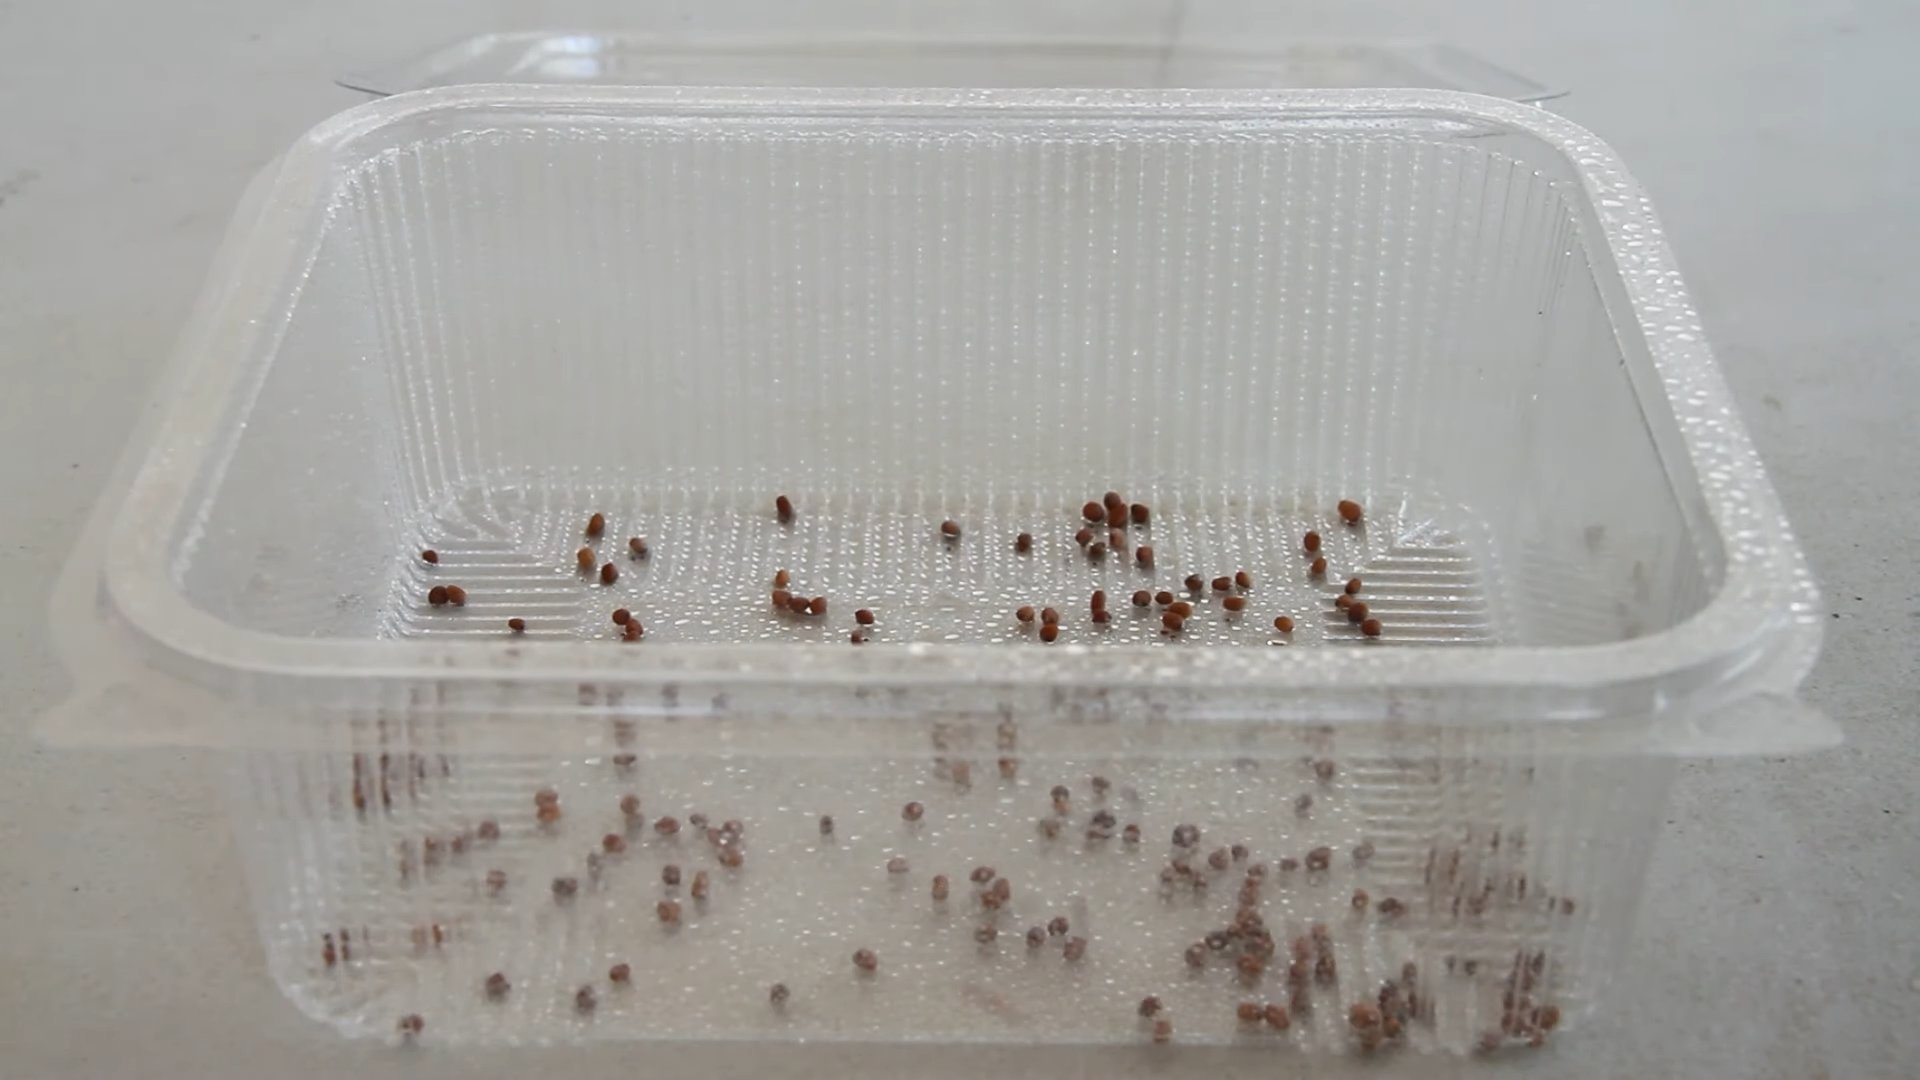
2. Prepare the Growing Tray: Moisten your growing medium with water until it’s damp but not soggy. You should be able to squeeze it in your hand without water dripping out. Fill the tray with drainage holes with about 1-2 inches of the moistened growing medium. Gently level the surface.
3. Sow the Seeds: Sprinkle the seeds evenly over the surface of the growing medium. You want a fairly dense layer of seeds, but don’t overcrowd them. A good rule of thumb is to aim for about 10-15 seeds per square inch.
4. Mist the Seeds: Gently mist the seeds with water using your spray bottle. This will help them settle into the growing medium.
5. Cover the Seeds (Blackout Period): This is a crucial step for many microgreens. Cover the tray with a lid or another tray to create a dark, humid environment. This encourages the seeds to germinate and sprout. You can also place a weight on top of the cover to help the seedlings establish strong roots. This blackout period typically lasts for 2-3 days, or until the seeds have germinated and started to sprout.
6. Monitor and Mist: During the blackout period, check the seeds daily to make sure the growing medium is still moist. Mist with water as needed.
Step-by-Step Instructions: Growing Your Microgreens
Now that our seeds have sprouted, it’s time to give them some light and watch them grow!
1. Remove the Cover: Once the seeds have germinated and started to sprout, remove the cover and expose them to light. If you’re using a grow light, position it about 6-12 inches above the tray. If you’re using natural light, place the tray in a bright, sunny location.
2. Watering: Water your microgreens from the bottom. Pour water into the tray without drainage holes (the reservoir tray) and place the tray with drainage holes inside. The growing medium will absorb the water from the bottom. This helps to prevent damping off, a fungal disease that can affect young seedlings. Water whenever the growing medium feels dry to the touch. Usually, watering every 1-2 days is sufficient.
3. Rotate the Tray: If you’re using natural light, rotate the tray daily to ensure that the microgreens receive even light exposure. This will prevent them from leaning towards the light source.
4. Monitor for Mold: Keep an eye out for mold or mildew. Good air circulation is key to preventing these problems. If you notice any mold, remove the affected areas and improve air circulation by using a small fan.
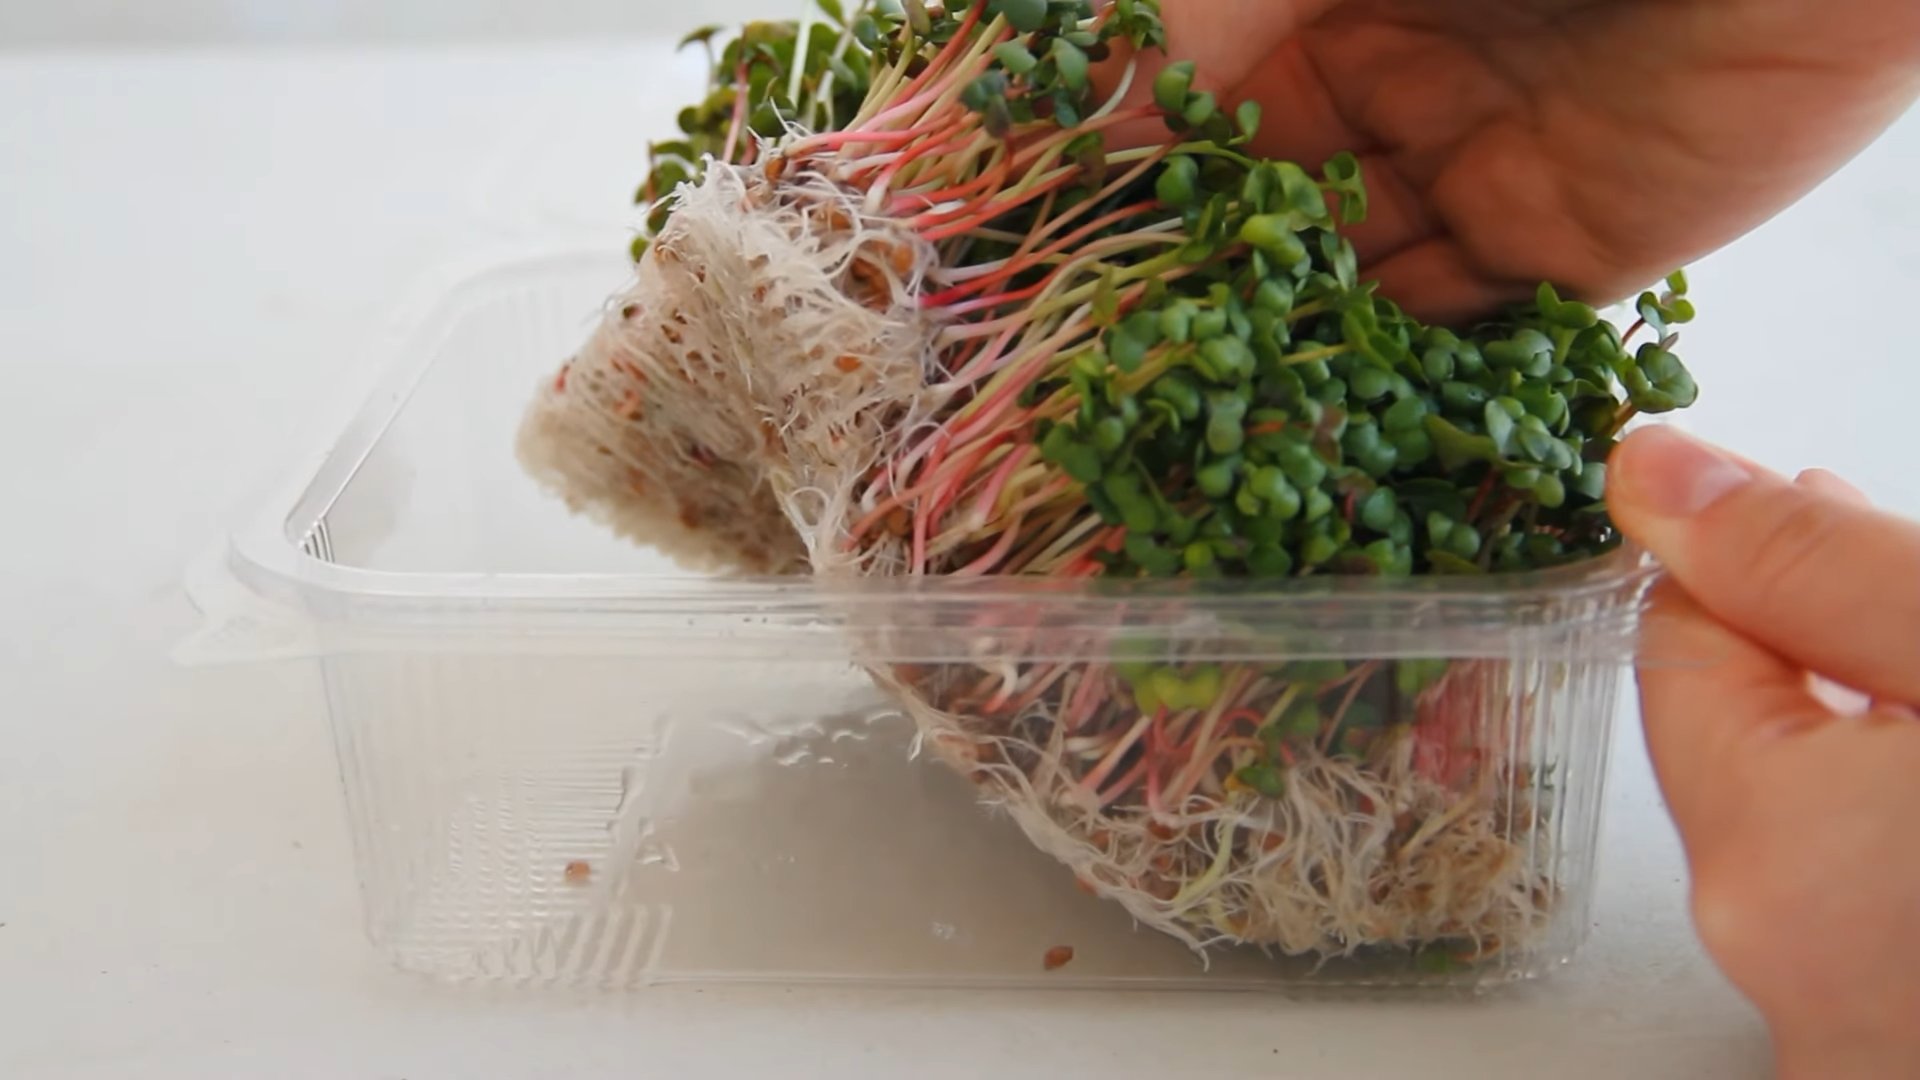
Step-by-Step Instructions: Harvesting Your Microgreens
The best part! Harvesting is when you get to enjoy the fruits (or rather, the greens) of your labor.
1. Harvest Time: Your microgreens are ready to harvest when they have developed their cotyledon leaves (the first leaves) and sometimes their first true leaves. This usually takes about 7-14 days, depending on the variety.
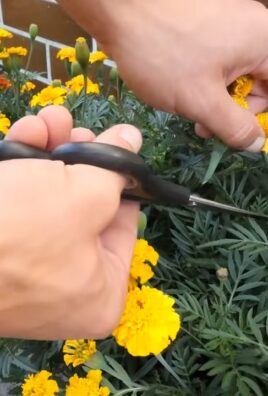
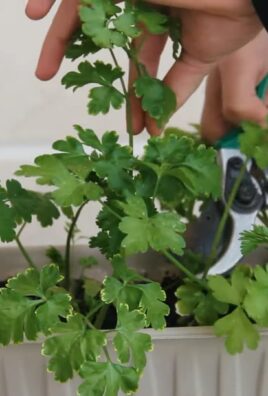
2. Harvesting: Use a sharp pair of scissors or a knife to cut the microgreens just above the soil line.
3. Washing: Gently wash the harvested microgreens in cool water to remove any soil or debris.
4. Drying: Pat the microgreens dry with a paper towel or spin them in a salad spinner.
5. Storing: Store the harvested microgreens in an airtight container in the refrigerator. They will typically last for about 5-7 days.
Troubleshooting
Even with the best intentions, sometimes things don’t go exactly as planned. Here are a few common problems and how to fix them:
* Poor Germination: This could be due to old seeds, improper watering, or incorrect temperature. Make sure you’re using fresh seeds, keeping the growing medium moist but not soggy, and maintaining a temperature between 65-75°F (18-24°C).
* Leggy Microgreens: This means the microgreens are stretching towards the light. This is usually caused by insufficient light. Provide more light by using a grow light or moving the tray to a brighter location.
* Mold or Mildew: This is usually caused by poor air circulation and excessive moisture. Improve air circulation by using a small fan and avoid overwatering.
* Damping Off: This is a fungal disease that can cause seedlings to collapse and die. Prevent damping off by using a sterile growing medium, watering from the bottom, and providing good air circulation.
Enjoying Your Microgreens
Now that you’ve harvested your delicious microgreens, it’s time to
Conclusion
So, there you have it! Growing microgreens indoors easily is not just a trendy kitchen experiment; it’s a gateway to fresher, more nutritious meals, a sustainable lifestyle, and a rewarding connection to the food you eat. We’ve walked you through the simple steps, from selecting your seeds to harvesting your vibrant greens, and hopefully, dispelled any myths about it being a complicated or time-consuming process.
Why is this DIY trick a must-try? Because it empowers you to take control of your food source, even in the smallest of spaces. Imagine adding a burst of peppery radish microgreens to your morning avocado toast, sprinkling delicate sunflower shoots over your lunchtime salad, or garnishing your dinner with the vibrant hues of beet microgreens. The possibilities are endless, and the flavor payoff is immense. Plus, you’re cutting down on your grocery bills and reducing your carbon footprint by growing your own food locally – right in your kitchen!
But don’t stop there! Experiment with different seed varieties to discover your favorite flavor profiles. Try a spicy mix of mustard and arugula, a mild blend of broccoli and kale, or a colorful combination of rainbow chard and amaranth. You can also adjust the growing medium to see what works best for you. Some people prefer coconut coir, while others swear by hemp mats. The key is to find what suits your environment and your preferences.
Consider variations like using different containers. While we recommended shallow trays, you could also repurpose plastic takeout containers or even use vertical growing systems for a more space-efficient setup. Think about adding a small fan to improve air circulation and prevent mold growth, especially in humid environments. And if you’re feeling adventurous, explore the world of hydroponic microgreen growing for an even faster and cleaner harvest.
We truly believe that anyone can successfully grow microgreens indoors easily. It’s a fun, educational, and incredibly rewarding experience. So, ditch the store-bought greens and embrace the satisfaction of harvesting your own homegrown goodness.
Now, it’s your turn! We encourage you to give this DIY trick a try. Start small, be patient, and don’t be afraid to experiment. And most importantly, share your experience with us! We’d love to hear about your successes, your challenges, and your favorite microgreen varieties. Post photos of your thriving microgreen gardens on social media using #DIYMicrogreens and tag us so we can celebrate your green thumb achievements. Let’s build a community of microgreen enthusiasts and inspire others to discover the joy of growing their own food. Happy growing!
Frequently Asked Questions (FAQ)
What exactly are microgreens, and how are they different from sprouts?
Microgreens are young vegetable greens that are harvested after the cotyledon leaves (the first leaves to emerge from the seed) have developed and often after the first “true” leaves have appeared. This typically happens within 7-21 days of germination. Sprouts, on the other hand, are germinated seeds that are eaten whole, including the root, stem, and seed. Sprouts are grown in water and harvested much earlier, usually within 2-7 days. Microgreens offer a more intense flavor and a wider range of nutrients compared to sprouts. They also require soil or a growing medium, while sprouts only need water.
What are the best types of seeds to use for growing microgreens indoors easily?
The best seeds for microgreens are those that are specifically labeled for microgreen or sprouting use. This ensures that they are free from harmful pathogens and have a high germination rate. Popular choices include:
* **Brassicas:** Broccoli, kale, cabbage, radish, mustard, arugula
* **Legumes:** Peas, lentils, chickpeas
* **Amaranthaceae:** Amaranth, quinoa, beet, Swiss chard
* **Asteraceae:** Sunflower, lettuce, endive
* **Apiaceae:** Carrot, celery, dill, fennel
Avoid using seeds that have been treated with fungicides or other chemicals, as these are not safe for consumption.
How much light do microgreens need to grow indoors easily?
Microgreens need adequate light to thrive. While they can germinate in the dark, they require light to develop their vibrant color and flavor. Natural sunlight from a south-facing window can work, but it’s often not enough, especially during the winter months. We recommend using a grow light for optimal results. A simple fluorescent shop light or an LED grow light will suffice. Position the light a few inches above the microgreens and keep it on for 12-16 hours per day.
What kind of growing medium should I use?
Several growing mediums work well for microgreens. Some popular options include:
* **Potting soil:** Use a high-quality, well-draining potting mix.
* **Coconut coir:** This is a sustainable and pH-neutral option that retains moisture well.
* **Hemp mats:** These are biodegradable and provide a clean and easy-to-use surface for growing microgreens.
* **Seed starting mix:** This is a lightweight mix that is specifically designed for starting seeds.
Avoid using garden soil, as it may contain pathogens and pests.
How often should I water my microgreens?
Microgreens need to be kept consistently moist, but not waterlogged. Water them gently once or twice a day, depending on the humidity and temperature of your environment. Use a spray bottle to avoid disturbing the delicate seedlings. The growing medium should feel damp to the touch, but not soggy. Overwatering can lead to mold growth, while underwatering can cause the microgreens to dry out and wilt.
How do I prevent mold growth on my microgreens?
Mold growth is a common problem when growing microgreens, but it can be prevented by following these tips:
* **Use clean equipment:** Sanitize your trays and tools before planting.
* **Provide good air circulation:** Use a small fan to improve airflow around the microgreens.
* **Avoid overwatering:** Water only when the growing medium is dry to the touch.
* **Use a well-draining growing medium:** This will prevent water from pooling around the roots.
* **Remove any dead or decaying plant matter:** This will help to prevent the spread of mold.
If you do notice mold growth, you can try spraying the affected area with a diluted hydrogen peroxide solution (1 part hydrogen peroxide to 10 parts water).
When are microgreens ready to harvest?
Microgreens are typically ready to harvest when they have developed their cotyledon leaves and often after the first “true” leaves have appeared. This usually takes 7-21 days, depending on the variety. The microgreens should be about 1-3 inches tall. To harvest, simply snip the stems just above the growing medium with scissors or a sharp knife.
How long do harvested microgreens last?
Harvested microgreens are best consumed fresh, but they can be stored in the refrigerator for up to a week. To store them, gently rinse them with water and pat them dry with a paper towel. Store them in a sealed container or a plastic bag in the refrigerator.
Can I regrow microgreens after harvesting them?
No, microgreens cannot be regrown after harvesting. They are a one-time crop. However, you can easily start a new batch of seeds to have a continuous supply of fresh microgreens.
Are there any microgreens that I should avoid growing?
Yes, some plants are toxic and should not be grown as microgreens. These include:
* **Nightshade family:** Tomatoes, potatoes, eggplants, peppers (leaves are toxic, fruits are fine)
* **Rhubarb:** Leaves are toxic
* **Beans:** Kidney beans, lima beans (must be cooked to remove toxins)
Always research the safety of a plant before growing it as a microgreen. When in doubt, err on the side of caution and choose a different variety.

Leave a Comment