
Grow Turnips on Patio? Absolutely! Imagine stepping onto your patio and harvesting fresh, crisp turnips, ready to be roasted, mashed, or added to your favorite stew. It sounds like a dream, right? Well, it doesn’t have to be! For centuries, people have cultivated vegetables in small spaces, from rooftop gardens in ancient Babylon to window boxes in bustling European cities. This tradition of urban and small-space gardening is alive and well, and I’m here to show you how you can easily participate, even if you only have a patio to work with.
In today’s fast-paced world, access to fresh, healthy produce can be a challenge. Supermarket vegetables often travel long distances, losing flavor and nutrients along the way. That’s where the magic of growing your own food comes in. Learning how to grow turnips on patio is not just a fun hobby; it’s a way to connect with nature, reduce your carbon footprint, and enjoy the unparalleled taste of homegrown goodness. Plus, there’s something incredibly satisfying about nurturing a plant from seed to harvest. This DIY guide will provide you with simple, step-by-step instructions and insider tips to ensure your patio turnip garden thrives. Let’s get started!
Growing Turnips in Containers: A Beginner’s Guide
Hey there, fellow gardening enthusiasts! Ever thought about growing your own turnips? They’re not just for root cellars anymore! You can absolutely cultivate these tasty veggies right on your patio, balcony, or even a sunny windowsill. I’m going to walk you through everything you need to know to get started. Trust me, it’s easier than you think, and the reward of fresh, homegrown turnips is totally worth it.
Choosing the Right Turnip Variety
First things first, let’s talk turnips. Not all turnips are created equal, especially when it comes to container gardening. You’ll want to choose varieties that are known for their smaller size and faster maturity. Here are a few of my favorites:
* ‘Tokyo Cross’: These are super quick to mature (around 30 days!) and have a mild, sweet flavor. They’re perfect for salads.
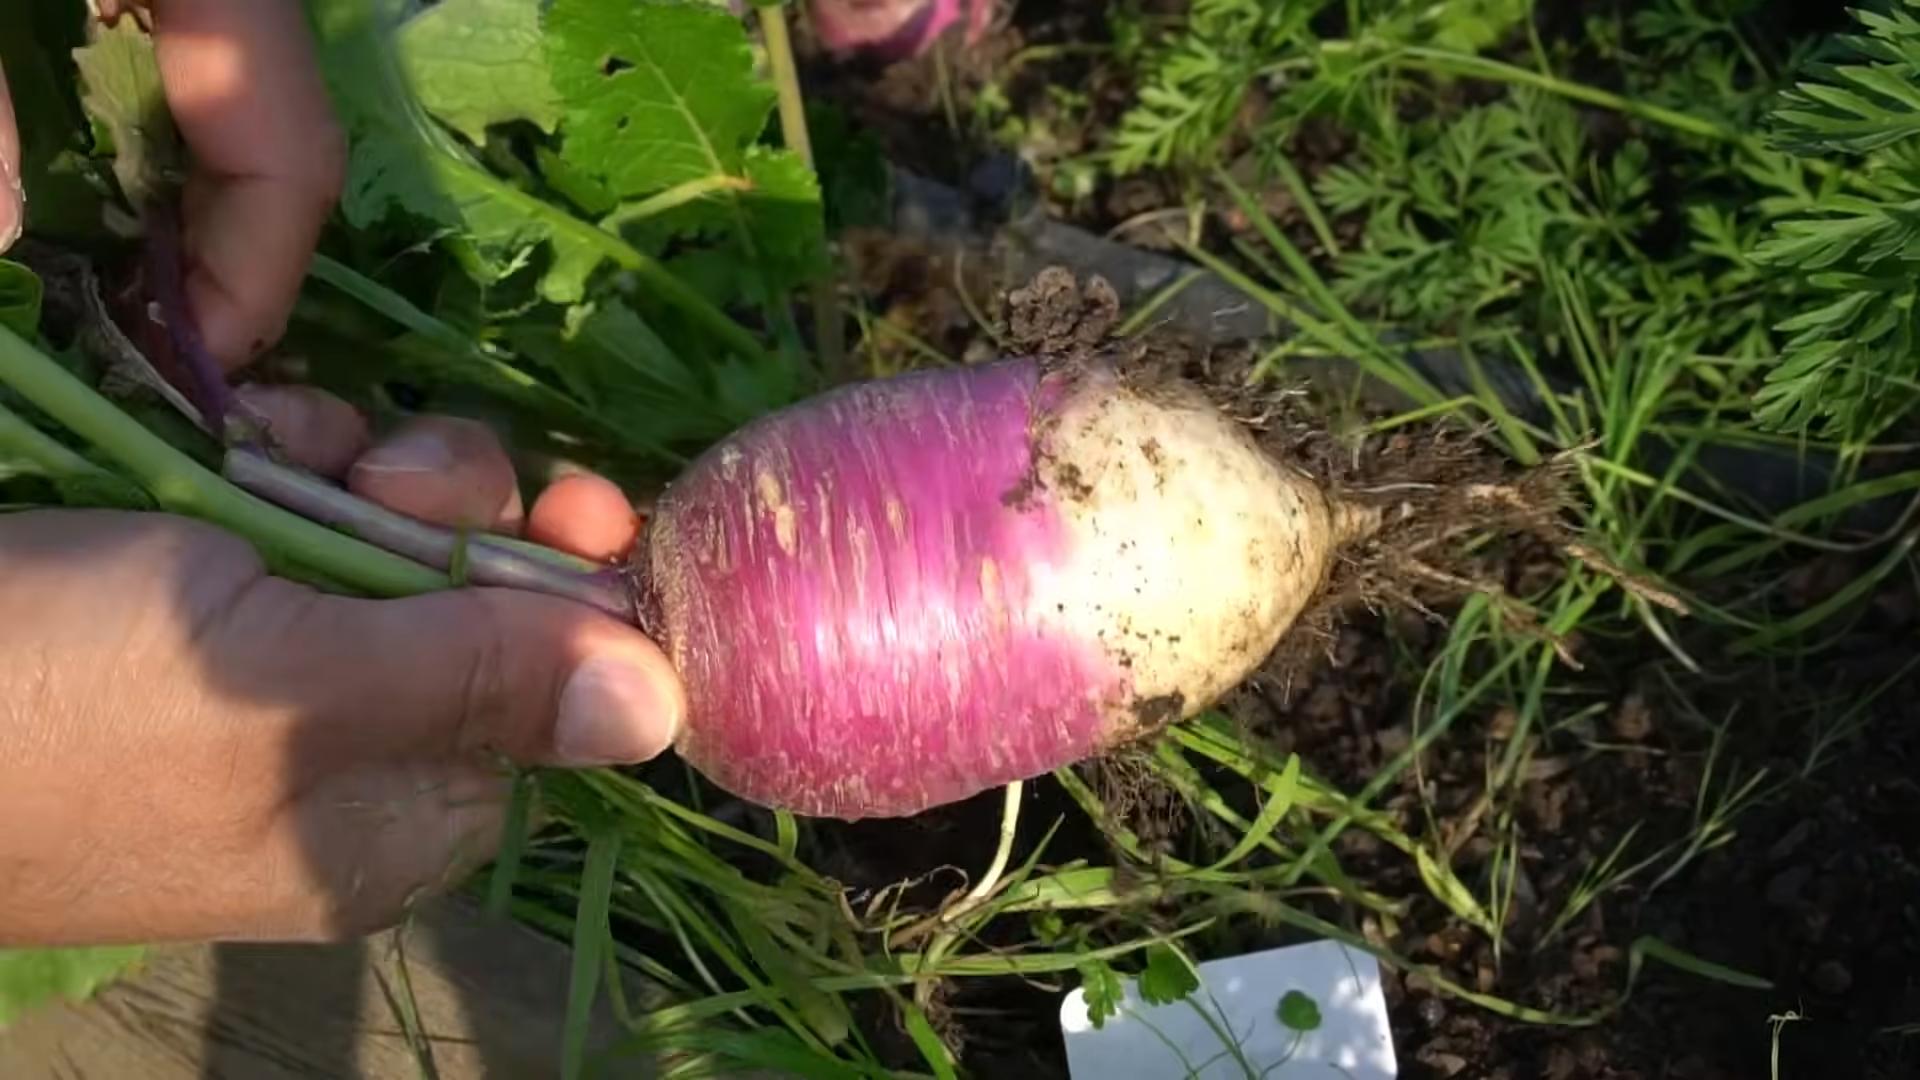
* ‘Purple Top White Globe’: A classic choice, these turnips are a bit larger but still manageable in containers. They have a slightly more pungent flavor.
* ‘Golden Ball’: As the name suggests, these turnips are golden yellow and have a sweet, delicate taste.
* ‘Hakurei’: These are Japanese turnips, known for their crisp texture and mild flavor. You can even eat the greens!
Gathering Your Supplies
Okay, now that we’ve picked our turnip stars, let’s gather our supplies. Here’s what you’ll need:
* Containers: Choose containers that are at least 8-12 inches deep and wide. Turnips need room to grow their roots. I prefer using plastic or terracotta pots, but anything with good drainage will work.
* Potting Mix: Don’t use garden soil! It’s too heavy and compacts easily in containers. Opt for a high-quality, well-draining potting mix. I like to add some compost to mine for extra nutrients.
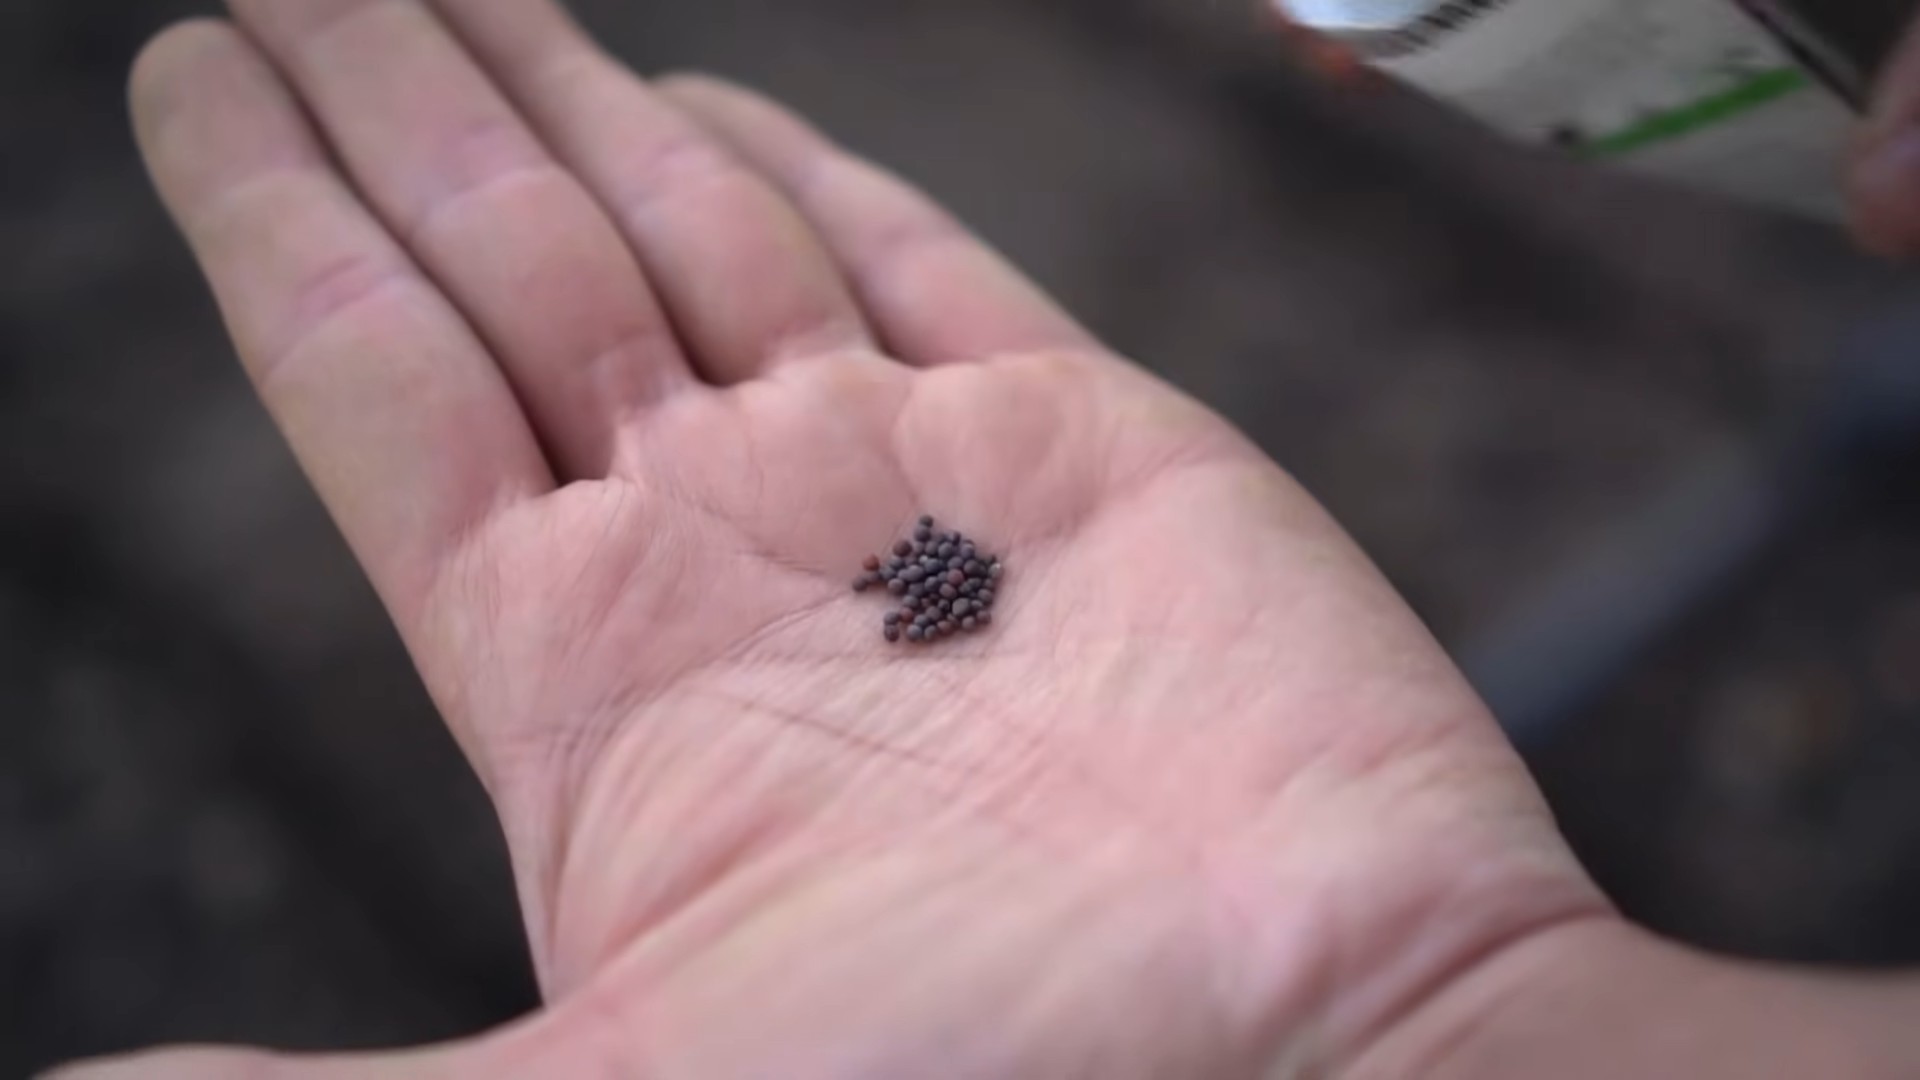
* Turnip Seeds: Obviously! Make sure you’re getting your seeds from a reputable source.
* Watering Can or Hose: For keeping your turnips hydrated.
* Fertilizer (Optional): A balanced, water-soluble fertilizer can give your turnips a boost.
* Trowel or Small Shovel: For planting your seeds.
* Gardening Gloves (Optional): To keep your hands clean.
Planting Your Turnip Seeds
Alright, let’s get our hands dirty! This is the fun part.
1. Prepare Your Containers: Fill your containers with potting mix, leaving about an inch of space at the top. Gently pat down the soil.
2. Sow the Seeds: Sprinkle the turnip seeds evenly over the surface of the soil. You can sow them quite densely, as you’ll be thinning them out later. Aim for about 1/2 inch spacing between seeds.
3. Cover the Seeds: Lightly cover the seeds with about 1/4 inch of potting mix.
4. Water Gently: Water the soil gently, making sure not to wash away the seeds. You want the soil to be moist but not soggy.
5. Label Your Containers: Don’t forget to label your containers with the variety of turnip you planted and the date. This will help you keep track of things.
6. Find a Sunny Spot: Place your containers in a location that receives at least 6 hours of sunlight per day. Turnips need plenty of sun to thrive.
Caring for Your Turnip Plants
Now that your turnip seeds are planted, it’s time to nurture them. Here’s what you need to do:
1. Water Regularly: Keep the soil consistently moist, but not waterlogged. Water when the top inch of soil feels dry to the touch. I usually water every other day, but it depends on the weather.
2. Thin the Seedlings: Once your seedlings have emerged and have a few true leaves (usually about 2-3 weeks after planting), it’s time to thin them out. This means removing some of the seedlings to give the remaining ones more space to grow. Aim for about 2-3 inches between plants. Don’t just pull them out! Gently snip them off at the soil line with scissors to avoid disturbing the roots of the remaining plants.
3. Fertilize (Optional): If you want to give your turnips a boost, you can fertilize them every 2-3 weeks with a balanced, water-soluble fertilizer. Follow the instructions on the fertilizer package.
4. Weed Regularly: Keep your containers free of weeds. Weeds compete with your turnips for nutrients and water.
5. Monitor for Pests and Diseases: Keep an eye out for any signs of pests or diseases. Common turnip pests include aphids, flea beetles, and cabbage worms. If you spot any pests, you can try spraying them with insecticidal soap or neem oil. Diseases are less common in container-grown turnips, but if you notice any signs of fungal infection, such as powdery mildew, you can treat them with a fungicide.
Harvesting Your Turnips
The moment we’ve all been waiting for! Harvesting your turnips is the most rewarding part of the process.
1. Check for Maturity: Turnips are usually ready to harvest about 30-60 days after planting, depending on the variety. Check the seed packet for specific maturity dates. The roots should be about 2-3 inches in diameter.
2. Harvest Carefully: To harvest your turnips, gently loosen the soil around the roots with a trowel. Then, carefully pull the turnips out of the soil.
3. Enjoy Your Harvest: Wash your turnips thoroughly and enjoy them in salads, soups, stews, or roasted. You can also eat the greens! They’re delicious sautéed or steamed.
Troubleshooting Common Problems
Even with the best care, you might encounter a few problems along the way. Here are some common issues and how to fix them:
* Leggy Seedlings: If your seedlings are tall and spindly, they’re not getting enough light. Move them to a sunnier location or provide supplemental lighting.
* Yellowing Leaves: Yellowing leaves can be a sign of nutrient deficiency. Try fertilizing your plants with a balanced fertilizer.
* Slow Growth: Slow growth can be caused by a number of factors, including lack of sunlight, poor soil, or insufficient watering. Make sure your plants are getting enough sun, water, and nutrients.
* Pest Infestations: As mentioned earlier, keep an eye out for pests and treat them promptly with insecticidal soap or neem oil.
Extending Your Turnip Season
Want to enjoy fresh turnips for as long as possible? Here are a few tips for extending your turnip season:
* Succession Planting: Sow a new batch of seeds every 2-3 weeks to ensure a continuous harvest.
* Cool-Season Growing: Turnips are cool-season crops, so they grow best in the spring and fall. Avoid planting them during the hottest months of summer.
* Cold Frames or Greenhouses: If you live in a colder climate, you can use cold frames or greenhouses to protect your turnips from frost and extend the growing season.
Turnip Greens: Don’t Throw Them Away!
I can’t stress this enough: don’t throw away those turnip greens! They’re incredibly nutritious and delicious. Here are a few ways to enjoy them:
* Sautéed: Sauté turnip greens with garlic, olive oil, and a pinch of red pepper flakes.
* Steamed: Steam turnip greens until they’re tender-crisp.
* In Soups and Stews: Add turnip greens to your favorite soups and stews.
* In Salads: Young, tender turnip greens can be added to salads.
Final Thoughts
Growing turnips in containers is a fun and rewarding experience. With a little bit of care and attention, you can enjoy fresh, homegrown turnips right on your patio. So, what are you waiting for? Grab some seeds and get planting! Happy gardening!
Conclusion
So, there you have it! Growing turnips on your patio isn’t just a whimsical gardening dream; it’s a surprisingly achievable reality. We’ve walked through the simple steps, from selecting the right container and soil to nurturing your little turnip sprouts into plump, delicious roots and vibrant greens. But why should you bother? Why dedicate precious patio space to these humble root vegetables?
The answer is multifaceted. First, there’s the unparalleled freshness. Imagine stepping outside your door to harvest turnips for your dinner, knowing exactly where they came from and what went into growing them. No more wondering about pesticides or long-distance transportation; just pure, homegrown goodness. Second, it’s incredibly rewarding. Witnessing the entire life cycle of a plant, from seed to table, is a deeply satisfying experience that connects you to nature in a tangible way. Third, it’s economical. While the initial investment in containers and soil might seem like a hurdle, the long-term savings on grocery bills, especially if you regularly consume turnips, will quickly offset those costs. And finally, let’s not forget the taste! Freshly harvested turnips have a crisp, slightly sweet flavor that is far superior to anything you’ll find in the supermarket.
But the real magic lies in the versatility of this DIY project. Feel free to experiment with different turnip varieties. ‘Purple Top White Globe’ is a classic choice, but consider trying ‘Golden Ball’ for a milder flavor or ‘Tokyo Cross’ for faster maturity. You can also adjust the planting density to suit your space and desired yield. If you’re short on space, try growing turnips in a vertical garden or hanging baskets. Just be sure to provide adequate support for the foliage.
Furthermore, don’t limit yourself to just the roots. Turnip greens are a nutritional powerhouse, packed with vitamins and minerals. They can be sauteed, steamed, or added to soups and stews. You can even use them in salads for a peppery kick. Consider succession planting to ensure a continuous harvest of both roots and greens throughout the growing season. Plant a new batch of seeds every few weeks to keep the bounty coming.
Growing turnips on your patio is more than just a gardening project; it’s a lifestyle choice. It’s about embracing sustainability, connecting with nature, and enjoying the simple pleasures of homegrown food. It’s about taking control of your food supply and knowing exactly what you’re putting on your plate.
So, what are you waiting for? Grab your seeds, your soil, and your containers, and get ready to embark on a turnip-growing adventure. We’re confident that you’ll be amazed by the results. And once you’ve harvested your first crop, we encourage you to share your experience with us. Post photos of your turnips on social media, tag us in your posts, and let us know what you think. We’re eager to hear your stories and learn from your successes (and even your failures!). Together, we can create a community of patio turnip growers and spread the joy of homegrown food. This DIY trick is a game changer for small space gardening.
Frequently Asked Questions (FAQ)
What is the best time of year to plant turnips on my patio?
Turnips are a cool-season crop, meaning they thrive in cooler temperatures. The best time to plant them is in early spring or late summer/early fall. For a spring crop, sow seeds 4-6 weeks before the last expected frost. For a fall crop, sow seeds 6-8 weeks before the first expected frost. In warmer climates, you can often grow turnips throughout the winter, provided you protect them from extreme cold. Pay attention to your local weather patterns and adjust your planting schedule accordingly.
What kind of soil is best for growing turnips in containers?
Turnips prefer well-drained, fertile soil with a slightly acidic pH (around 6.0-6.5). A good potting mix specifically formulated for vegetables is ideal. You can also create your own mix by combining equal parts of compost, peat moss (or coconut coir), and perlite or vermiculite. Avoid using garden soil in containers, as it tends to compact and doesn’t drain well. Good drainage is crucial to prevent root rot.
How much sunlight do turnips need?
Turnips need at least 6 hours of sunlight per day to thrive. Choose a sunny spot on your patio for your containers. If you don’t have a spot that receives full sun, you can supplement with grow lights. However, natural sunlight is always preferable. Insufficient sunlight can result in leggy growth and reduced root development.
How often should I water my turnips?
Keep the soil consistently moist, but not waterlogged. Water deeply whenever the top inch of soil feels dry to the touch. Avoid overhead watering, as this can promote fungal diseases. Instead, water at the base of the plants. The frequency of watering will depend on the weather conditions and the type of container you’re using. Clay pots, for example, tend to dry out faster than plastic pots.
Do I need to fertilize my turnips?
Turnips are relatively light feeders, but they will benefit from regular fertilization. Use a balanced fertilizer (e.g., 10-10-10) diluted to half strength. Apply the fertilizer every 2-3 weeks, following the instructions on the label. Avoid over-fertilizing, as this can lead to excessive foliage growth at the expense of root development. You can also amend the soil with compost or other organic matter to provide a slow-release source of nutrients.
How long does it take for turnips to mature?
Turnips are a fast-growing crop. Most varieties mature in 50-60 days. However, some varieties, like ‘Tokyo Cross,’ can be harvested in as little as 30 days. Check the seed packet for specific maturity times. You can harvest the roots when they reach the desired size. The greens can be harvested at any time, but they are most tender when young.
What are some common pests and diseases that affect turnips?
Common pests that can affect turnips include aphids, flea beetles, and cabbage loopers. You can control these pests with insecticidal soap, neem oil, or by handpicking them off the plants. Common diseases include downy mildew and clubroot. To prevent these diseases, ensure good air circulation, avoid overhead watering, and practice crop rotation. If you notice signs of disease, remove the affected plants immediately.
Can I grow turnips in the same container as other plants?
Yes, you can grow turnips in the same container as other cool-season vegetables, such as lettuce, spinach, and radishes. Companion planting can help to improve growth and deter pests. However, avoid planting turnips with other members of the brassica family (e.g., cabbage, broccoli, cauliflower), as they can attract the same pests and diseases.
How do I know when my turnips are ready to harvest?
The size of the turnip root is the best indicator of maturity. Most varieties are ready to harvest when the roots are 2-3 inches in diameter. You can also check the seed packet for specific size recommendations. To harvest, gently loosen the soil around the turnip and pull it out of the ground. If the soil is dry, water it beforehand to make harvesting easier.
Can I store turnips after harvesting them?
Yes, you can store turnips for several weeks in the refrigerator. Remove the greens and store them separately. Wash the turnips and pat them dry. Place them in a plastic bag or container and store them in the crisper drawer. The greens should be used within a few days.
What are some creative ways to use my homegrown turnips?
Beyond the classic mashed turnips, consider roasting them with other root vegetables, adding them to soups and stews, or grating them into salads. Turnip greens can be sauteed with garlic and olive oil, added to frittatas, or used as a substitute for spinach in any recipe. Get creative and experiment with different flavors and textures. Don’t be afraid to try new things!
Is growing turnips on my patio organic?
Growing turnips on your patio can absolutely be organic. By using organic potting mix, fertilizers, and pest control methods, you can ensure that your turnips are free from synthetic chemicals. Look for products that are certified organic by a reputable organization.
What if my turnips don’t form large roots?
Several factors can contribute to small turnip roots. Insufficient sunlight, poor soil, overcrowding, and lack of water can all hinder root development. Make sure your turnips are getting at least 6 hours of sunlight per day, are planted in well-drained, fertile soil, are properly spaced, and are watered regularly. Thinning out the seedlings can also help to improve root size.
Can I save seeds from my homegrown turnips?
Saving seeds from turnips can be a bit tricky, as they are biennials, meaning they typically don’t produce seeds until their second year. However, if you live in a mild climate, you may be able to overwinter your turnips and allow them to flower and produce seeds the following spring. Be aware that turnips can cross-pollinate with other members of the brassica family, so if you’re growing multiple varieties, you may not get true-to-type seeds.
Leave a Comment