
Cleaning Shortcuts Save Time, and let’s be honest, who doesn’t want more of that? I know I do! We all juggle busy lives, and spending hours scrubbing and tidying isn’t exactly anyone’s idea of a good time. But what if I told you there were clever, easy-to-implement tricks that could dramatically cut down on your cleaning time, leaving you with more moments to enjoy the things you actually love?
The desire for efficient cleaning isn’t new. Throughout history, people have sought ways to streamline household chores. From ancient Roman bathhouses with their intricate cleaning systems to the invention of the vacuum cleaner in the early 20th century, the quest for a cleaner home with less effort has always been a driving force. These cleaning shortcuts save time and energy, allowing us to focus on what truly matters.
That’s why I’m so excited to share these DIY cleaning hacks with you. They’re not just about making your home sparkle; they’re about reclaiming your precious time. Imagine spending less time scrubbing the bathroom and more time relaxing with a good book, playing with your kids, or pursuing your hobbies. These simple, yet effective, strategies will revolutionize your cleaning routine and give you back the gift of time. So, let’s dive in and discover how to work smarter, not harder, when it comes to keeping your home clean and tidy!
Cleaning Shortcuts to Save You Time and Sanity!
Okay, let’s be honest, cleaning isn’t exactly anyone’s favorite pastime. But a clean home is a happy home, right? So, I’ve compiled some of my absolute favorite cleaning shortcuts that will help you get the job done faster and with less effort. These aren’t just quick fixes; they’re smart strategies to keep your house sparkling without sacrificing your precious free time. Let’s dive in!
Speed Cleaning the Bathroom
The bathroom can quickly become a breeding ground for grime. But with these tricks, you can keep it fresh with minimal effort.
The Game Plan:
* Shower Power: Focus on preventing buildup rather than constantly scrubbing.
* Mirror Magic: Streak-free shine in seconds.
* Toilet Tactics: Quick and easy cleaning solutions.
* Sink Sanity: Keeping the sink sparkling.
Step-by-Step Instructions:
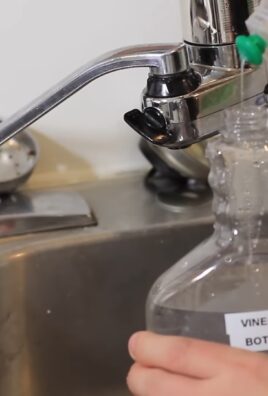
1. Shower Spray After Every Shower: This is my number one tip! Keep a spray bottle filled with a mixture of equal parts white vinegar and water in your shower. After each shower, give the walls and door a quick spray. This prevents soap scum and mildew from building up, saving you tons of scrubbing time later. Seriously, this is a game-changer.
2. Shower Head Soak (Monthly): Mineral buildup can clog your shower head and reduce water pressure. To fix this, fill a plastic bag with white vinegar and secure it around your shower head with a rubber band. Make sure the shower head is fully submerged in the vinegar. Let it soak for at least an hour, or even overnight. Remove the bag and run the shower for a few minutes to flush out any remaining vinegar and debris. You’ll be amazed at the difference!
3. Mirror Wipe Down (Weekly): Keep a microfiber cloth and a bottle of glass cleaner (or even just a damp cloth) in your bathroom. After you shower, quickly wipe down the mirror to prevent water spots and keep it sparkling. It literally takes seconds!
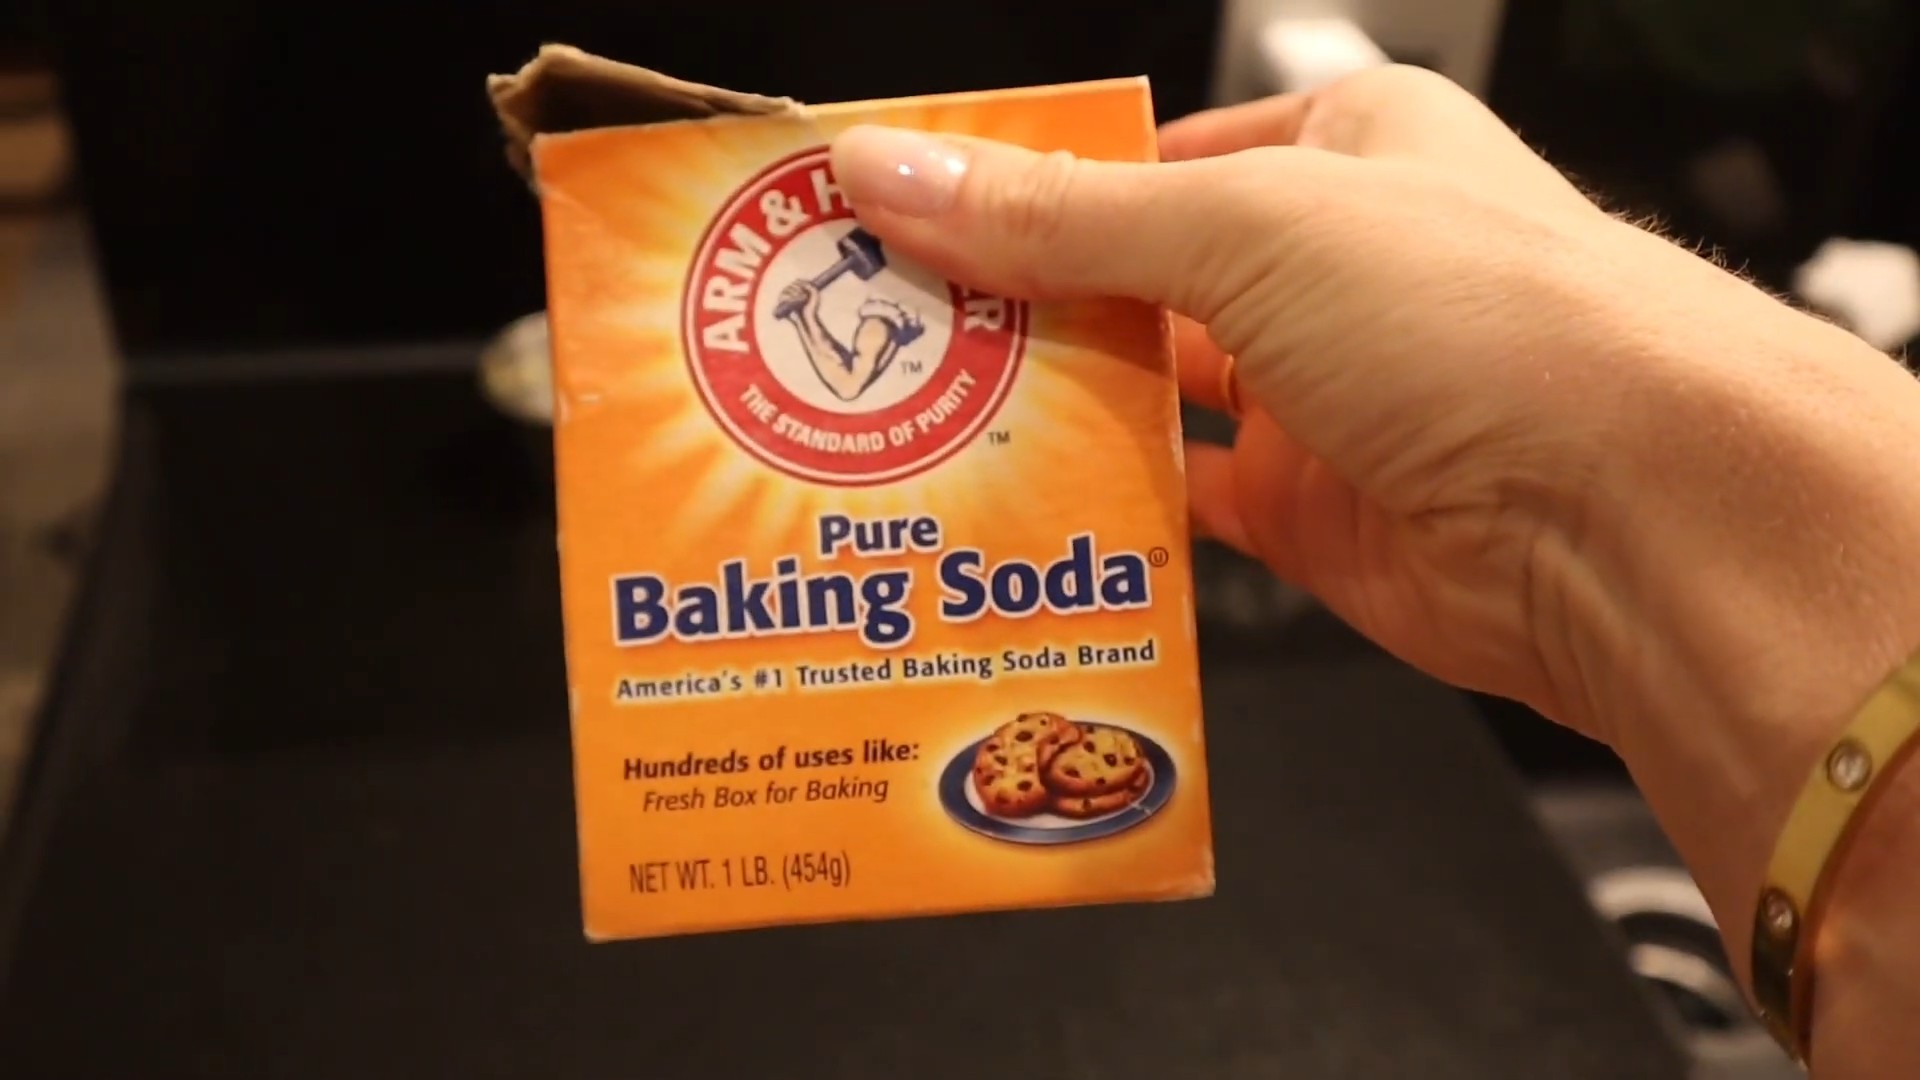
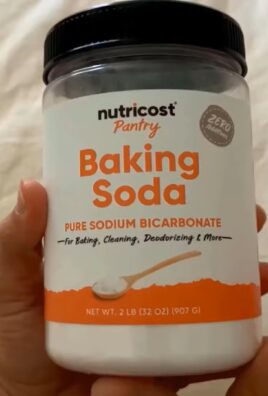
4. Toilet Bowl Cleaner (Weekly): Squirt toilet bowl cleaner under the rim of the toilet bowl and let it sit for a few minutes. Then, scrub with a toilet brush and flush. For a natural alternative, you can use baking soda and vinegar. Pour a cup of baking soda into the bowl, followed by a cup of white vinegar. Let it fizz for about 30 minutes, then scrub and flush.
5. Sink Scrub (Daily): After brushing your teeth or washing your hands, quickly wipe down the sink with a damp cloth or sponge. This prevents toothpaste splatters and soap scum from building up. You can also use a multi-surface cleaner for a more thorough clean.
6. Use Disposable Cleaning Wipes: Keep a container of disposable cleaning wipes under the sink for quick cleanups. These are perfect for wiping down countertops, faucets, and other surfaces.
Kitchen Cleaning Hacks for Busy Cooks
The kitchen is often the heart of the home, but it can also be the messiest! These shortcuts will help you keep your kitchen clean and organized without spending hours scrubbing.
The Game Plan:
* Dish Duty Done Right: Efficient dishwashing techniques.
* Countertop Care: Keeping surfaces clean and clutter-free.
* Microwave Magic: Easy microwave cleaning.
* Oven Overhaul: Simple oven cleaning solutions.
Step-by-Step Instructions:
1. Load the Dishwasher Strategically: Maximize your dishwasher’s efficiency by loading it properly. Place larger items on the bottom rack and smaller items on the top rack. Make sure dishes aren’t blocking each other, and always scrape off food scraps before loading.
2. Soak Stubborn Dishes: Don’t waste time scrubbing burnt-on food. Instead, soak the dishes in hot, soapy water for at least 30 minutes before washing. For really tough stains, add a tablespoon of baking soda to the soaking water.
3. Wipe Down Counters After Every Use: This is another crucial habit to develop. After preparing food, immediately wipe down the countertops with a damp cloth or sponge. This prevents spills and crumbs from hardening and becoming difficult to remove.
4. Microwave Steam Clean: To clean your microwave quickly and easily, fill a microwave-safe bowl with one cup of water and a few tablespoons of white vinegar or lemon juice. Microwave on high for 5-10 minutes, or until the water boils and the microwave is filled with steam. Let it sit for a few minutes to allow the steam to loosen any food particles. Then, carefully remove the bowl and wipe down the inside of the microwave with a clean cloth or sponge.
5. Oven Cleaning with Baking Soda Paste: For a natural oven cleaner, mix baking soda with water to form a thick paste. Spread the paste all over the inside of your oven, avoiding the heating elements. Let it sit overnight. The next day, wipe out the paste with a damp cloth or sponge. For stubborn areas, use a scraper or scrub brush.
6. Clean as You Cook: This is a lifesaver! While you’re waiting for water to boil or food to bake, use that time to clean up any messes you’ve made. Wipe down counters, wash dishes, and sweep the floor. This prevents the mess from piling up and becoming overwhelming.
7. Declutter Regularly: A cluttered kitchen is a stressful kitchen. Take a few minutes each day to declutter your countertops and cabinets. Get rid of items you don’t use or need, and organize the remaining items so they’re easy to find.
Living Room Refresh: Quick Cleaning Tips
The living room is where we relax and unwind, so it’s important to keep it clean and inviting. These tips will help you refresh your living room in no time.
The Game Plan:
* Dusting Domination: Efficient dusting techniques.
* Floor Focus: Quick floor cleaning solutions.
* Upholstery Uplift: Keeping furniture clean and fresh.
Step-by-Step Instructions:
1. Dust from Top to Bottom: Always start dusting at the highest point in the room and work your way down. This prevents dust from falling onto already cleaned surfaces. Use a microfiber duster or a damp cloth to remove dust from shelves, furniture, and other surfaces.
2. Use a Vacuum with Attachments: A vacuum with attachments is your best friend for cleaning hard-to-reach areas. Use the crevice tool to clean along baseboards and in corners, and the upholstery tool to clean furniture.
3. Spot Clean Upholstery: Spills happen! To spot clean upholstery, blot the stain immediately with a clean cloth. Avoid rubbing, as this can spread the stain. Use a mild detergent or upholstery cleaner to remove the stain, following the manufacturer’s instructions.
4. Freshen Up Fabrics with Baking Soda: To freshen up your carpets and upholstery, sprinkle baking soda over the surface and let it sit for at least 30 minutes. Then, vacuum it up. Baking soda absorbs odors and helps to lift dirt and grime.
5. Sweep or Vacuum Regularly: Sweep or vacuum your floors at least once a week to remove dirt, dust, and debris. For hardwood floors, use a soft-bristled broom or a vacuum with a hardwood floor attachment. For carpets, use a vacuum with a beater bar.
6. Use a Lint Roller: A lint roller is perfect for quickly removing pet hair and lint from furniture and clothing. Keep one handy in your living room for quick touch-ups.
Bedroom Bliss: Easy Cleaning Strategies
Your bedroom should be a sanctuary, a place of peace and relaxation. Keeping it clean and organized is key to creating that atmosphere.
The Game Plan:
* Bedding Basics: Quick and easy bedding cleaning.
* Surface Sanity: Keeping surfaces clean and clutter-free.
* Floor Focus: Maintaining clean floors.
Step-by-Step Instructions:
1. Make Your Bed Every Day: This is the simplest and most effective way to keep your bedroom looking tidy. It takes just a few minutes, but it makes a huge difference.
2. Wash Your Bedding Regularly: Wash your sheets, pillowcases, and duvet cover at least once a week to remove dust mites, allergens, and body oils. Use hot water and a mild detergent.
3. Declutter Your Nightstand: Keep your nightstand clutter-free by only keeping essential items on it, such as a lamp, a book, and a glass of water. Store other items in drawers or baskets.
4. Dust Regularly: Dust your furniture, shelves, and other surfaces at least once a week to remove dust and allergens.
5. Vacuum or Sweep Regularly: Vacuum or sweep your floors at least once a week to remove dirt, dust, and debris.
6. Open the Windows: Open your windows regularly to air out your bedroom and let in fresh air. This helps to improve air quality and reduce odors.

Conclusion
So, there you have it! This simple yet incredibly effective cleaning shortcut is a game-changer for anyone looking to reclaim their precious time and maintain a sparkling home. We’ve all been there, staring down a mountain of chores, feeling overwhelmed and wishing for a magic wand. While we can’t offer you literal magic, this DIY cleaning trick is the next best thing. It’s not just about saving time; it’s about simplifying your life and freeing up energy for the things you truly enjoy.
Think about it: no more endless scrubbing, no more expensive specialty cleaners cluttering your cabinets, and no more dreading cleaning day. This method is cost-effective, environmentally friendly (especially if you opt for natural ingredients), and remarkably efficient. It tackles grime and dirt with ease, leaving your surfaces gleaming and your home feeling fresh and inviting.
But the beauty of this cleaning shortcut lies in its adaptability. Feel free to experiment with variations to suit your specific needs and preferences. For instance, if you’re dealing with particularly stubborn stains, consider adding a bit of baking soda to your solution for extra scrubbing power. Or, if you prefer a specific scent, a few drops of your favorite essential oil can transform your cleaning routine into an aromatherapy session. Lavender, lemon, and tea tree oil are all excellent choices, known for their antibacterial and mood-boosting properties.
Don’t be afraid to get creative and personalize this cleaning shortcut to make it your own. The key is to find what works best for you and your home.
We’re confident that once you try this method, you’ll wonder how you ever lived without it. It’s a true time-saver, a money-saver, and a sanity-saver all rolled into one. It’s a cleaning shortcut that truly delivers on its promise.
Now, it’s your turn! We wholeheartedly encourage you to give this DIY cleaning trick a try. We’re eager to hear about your experiences and any variations you discover along the way. Share your tips, tricks, and before-and-after photos in the comments below. Let’s create a community of cleaning enthusiasts who are all about simplifying their lives and enjoying a cleaner, happier home.
Remember, cleaning doesn’t have to be a chore. With the right tools and techniques, it can be a quick, easy, and even enjoyable part of your routine. So, go ahead, give this cleaning shortcut a whirl, and prepare to be amazed! We can’t wait to hear your success stories!
Frequently Asked Questions (FAQ)
What types of surfaces can I use this cleaning shortcut on?
This cleaning shortcut is generally safe for most non-porous surfaces, including countertops (granite, quartz, laminate), sinks (stainless steel, porcelain), tiles (ceramic, porcelain), appliances (stainless steel, enamel), and glass. However, it’s always a good idea to test a small, inconspicuous area first, especially on delicate or antique surfaces. Avoid using it on unfinished wood, natural stone (like marble), or surfaces that are sensitive to acidic solutions. When in doubt, consult the manufacturer’s instructions for your specific surface.
Can I use this cleaning shortcut on wood floors?
While the solution is gentle, it’s generally not recommended for use on wood floors, especially if they are not properly sealed. Excessive moisture can damage wood floors over time. If you choose to use it on wood floors, make sure to use a very diluted solution and dry the floor immediately after cleaning. A better option for wood floors is a cleaner specifically designed for wood, or a simple solution of water and a mild dish soap.
How often should I use this cleaning shortcut?
The frequency of use depends on your cleaning habits and the level of dirt and grime buildup. For general cleaning, you can use this shortcut as often as needed, even daily. For heavier cleaning tasks, such as removing stubborn stains or buildup, you may need to use it more frequently or let the solution sit for a longer period of time before wiping it away.
What if I don’t have all the ingredients listed? Can I substitute anything?
The beauty of this cleaning shortcut is its flexibility. While the recommended ingredients are ideal, you can often substitute them with similar alternatives. For example, if you don’t have white vinegar, you can use lemon juice (although it may not be as effective for disinfecting). If you don’t have a specific essential oil, you can omit it altogether or use a different scent that you prefer. The key is to experiment and find what works best for you.
Is this cleaning shortcut safe for pets and children?
While the ingredients are generally considered safe, it’s always best to exercise caution when using any cleaning product around pets and children. Keep the solution out of reach of children and pets, and ensure that surfaces are thoroughly rinsed and dried after cleaning. If you’re concerned about potential sensitivities, you can opt for natural and non-toxic ingredients, such as vinegar, baking soda, and essential oils.
How do I store the cleaning solution?
Store the cleaning solution in a clean, labeled spray bottle. It’s best to use a dark-colored bottle to protect the solution from light, which can degrade the ingredients over time. Store the bottle in a cool, dry place away from direct sunlight and heat. The solution should last for several weeks, but it’s always a good idea to make a fresh batch every month or so to ensure its effectiveness.
The solution seems to leave a residue on my surfaces. What am I doing wrong?
Residue can sometimes occur if you’re using too much of the solution or if your water is hard. Try diluting the solution further with more water. Also, make sure to wipe the surfaces thoroughly with a clean, damp cloth after cleaning to remove any remaining residue. If you have hard water, consider using distilled water to make the solution.
Can I use this cleaning shortcut to clean my oven?
While this cleaning shortcut can be used to clean the exterior of your oven, it’s not recommended for cleaning the interior, especially if your oven has a self-cleaning function. The high heat of the self-cleaning cycle can react with the cleaning solution and create harmful fumes. For cleaning the interior of your oven, it’s best to use a dedicated oven cleaner or a paste made from baking soda and water.
What are the benefits of using a DIY cleaning solution versus store-bought cleaners?
DIY cleaning solutions offer several advantages over store-bought cleaners. They are typically more cost-effective, environmentally friendly, and customizable. You have complete control over the ingredients, so you can avoid harsh chemicals, artificial fragrances, and other potentially harmful substances. DIY solutions are also a great way to reduce waste and minimize your environmental impact.
I tried the cleaning shortcut, and it didn’t work as well as I expected. What can I do?
If the cleaning shortcut didn’t work as well as you expected, there are a few things you can try. First, make sure you’re using the correct proportions of ingredients. Second, try letting the solution sit on the surface for a longer period of time before wiping it away. Third, consider adding a bit of baking soda to the solution for extra scrubbing power. Finally, if you’re dealing with particularly stubborn stains, you may need to use a stronger cleaning solution or a dedicated stain remover. Remember, patience and persistence are key!
Leave a Comment