
Grow Dill Indoors? Absolutely! Imagine having fresh, fragrant dill readily available, even when the snow is falling outside. No more sad, wilted bunches from the grocery store! This DIY guide is your ticket to a constant supply of this delightful herb, bringing a burst of flavor to your kitchen year-round.
Dill, with its feathery leaves and distinctive aroma, has been cherished for centuries. Originating in the Mediterranean and Southern Russia, it was used by ancient Egyptians for medicinal purposes and by the Romans as a symbol of good fortune. Today, dill remains a culinary staple, adding a zesty touch to everything from pickles and dips to fish and salads.
But why bother with growing dill indoors? Well, for starters, it’s incredibly convenient! I know I’ve been there, needing just a sprig of dill for a recipe and having to buy a whole bunch that inevitably goes bad. Plus, growing your own means you control the quality and avoid pesticides. This DIY project is perfect for apartment dwellers, busy individuals, or anyone who simply wants to enjoy the freshest possible herbs. I’m going to show you how easy it is to grow dill indoors, even if you don’t have a green thumb. Get ready to unlock the secrets to a thriving indoor dill garden!
Growing Dill Indoors: A Beginner’s Guide to Fresh Herbs Year-Round
Hey there, fellow herb enthusiasts! Are you tired of relying on wilted, overpriced dill from the grocery store? Do you dream of having fresh, fragrant dill at your fingertips, ready to elevate your culinary creations? Well, you’re in the right place! I’m going to walk you through the surprisingly simple process of growing dill indoors, so you can enjoy this flavorful herb all year long. Trust me, it’s easier than you think!
What You’ll Need
Before we dive in, let’s gather our supplies. Here’s a checklist of everything you’ll need to successfully grow dill indoors:
* Dill Seeds: Choose a variety specifically suited for containers, if possible. ‘Fernleaf’ is a popular compact choice.
* Potting Mix: Use a well-draining potting mix. Avoid garden soil, as it can compact and hinder drainage in containers.
* Container: Select a pot that’s at least 6-8 inches deep and wide. Dill has a taproot, so depth is important. Make sure it has drainage holes!
* Grow Lights (Optional, but Recommended): Dill needs plenty of light. If you don’t have a sunny windowsill, grow lights are essential.
* Watering Can or Spray Bottle: For gentle watering.
* Small Shovel or Trowel: For planting the seeds.
* Seed Starting Tray (Optional): If you prefer to start your seeds indoors before transplanting.
* Fertilizer (Optional): A balanced liquid fertilizer can help boost growth.
Choosing the Right Dill Variety
While most dill varieties can be grown indoors, some are better suited for containers than others. Taller varieties might require staking and more light. Here are a few options to consider:
* ‘Fernleaf’: This is a compact variety that’s perfect for containers. It’s slow to bolt (go to seed), which means you’ll have a longer harvest period.
* ‘Dukat’: Another popular choice for indoor growing, ‘Dukat’ is known for its strong flavor and aroma.
* ‘Bouquet’: A standard dill variety that can be grown indoors, but it might require more space and light.
Step-by-Step Planting Guide
Now for the fun part – planting your dill seeds! I’ll break it down into easy-to-follow steps:
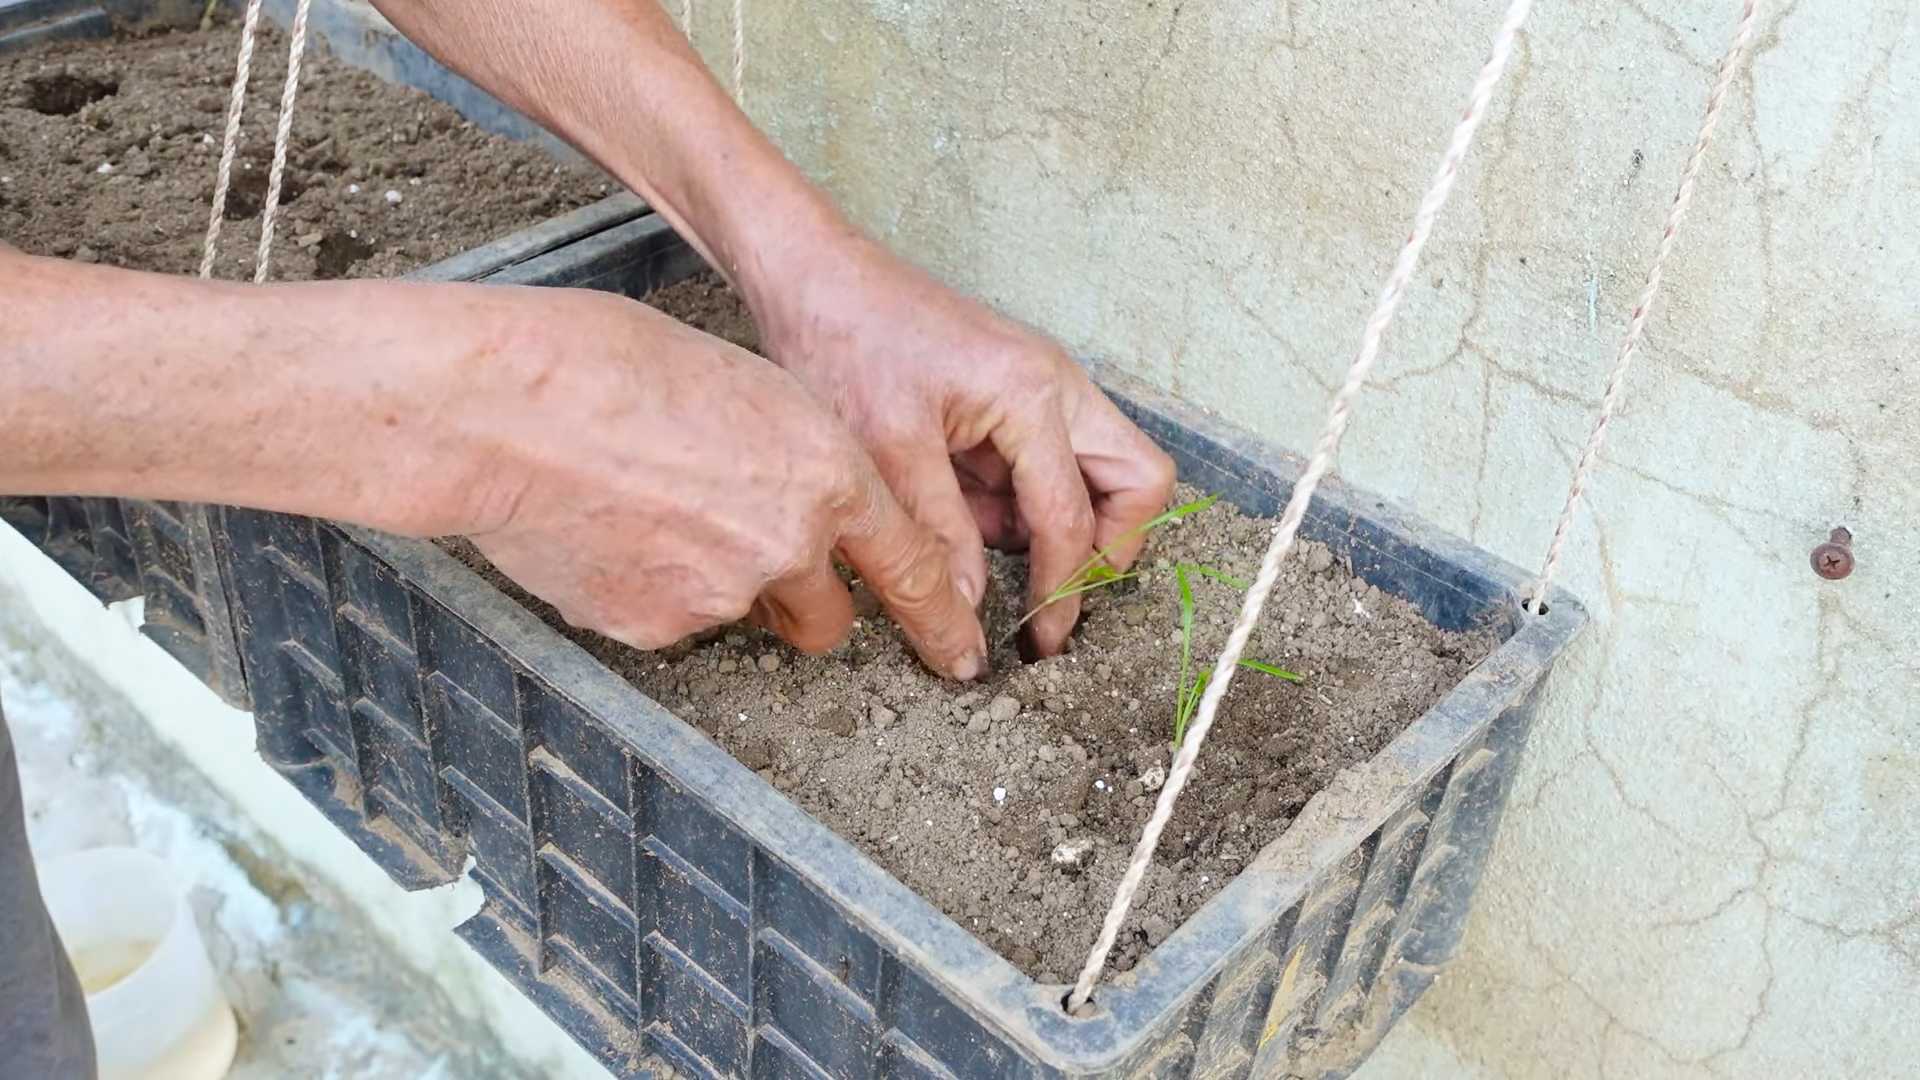
1. Prepare the Pot: Fill your chosen container with well-draining potting mix, leaving about an inch of space at the top. Gently pat down the soil to remove any large air pockets.
2. Sow the Seeds: Dill seeds are relatively small, so you don’t need to plant them too deep. Sprinkle the seeds evenly over the surface of the soil. Aim for about 2-3 seeds per inch.
3. Cover the Seeds: Lightly cover the seeds with a thin layer of potting mix (about 1/4 inch).
4. Water Gently: Use a watering can or spray bottle to gently moisten the soil. Avoid overwatering, as this can cause the seeds to rot. The soil should be damp, but not soggy.
5. Provide Light and Warmth: Place the pot in a warm location with plenty of light. A sunny windowsill that receives at least 6 hours of direct sunlight per day is ideal. If you don’t have enough natural light, use grow lights. Keep the lights on for 12-14 hours per day. The ideal temperature for germination is between 70-75°F (21-24°C).
6. Maintain Moisture: Keep the soil consistently moist, but not waterlogged. Check the soil moisture daily and water when the top inch feels dry to the touch.
7. Thin Seedlings (If Necessary): Once the seedlings emerge (usually within 7-14 days), thin them out if they’re too crowded. Choose the strongest seedlings and snip off the weaker ones at the soil line. This will give the remaining seedlings enough space to grow.
Caring for Your Indoor Dill Plant
Once your dill seedlings have sprouted, it’s time to focus on providing them with the care they need to thrive.
1. Watering: Water your dill plant regularly, allowing the top inch of soil to dry out between waterings. Avoid overwatering, as this can lead to root rot. Check the soil moisture daily and adjust your watering schedule accordingly.
2. Lighting: Dill needs plenty of light to grow well. If you’re using a windowsill, rotate the pot regularly to ensure that all sides of the plant receive equal light. If you’re using grow lights, keep them on for 12-14 hours per day. Position the lights a few inches above the plant.
3. Fertilizing (Optional): Dill doesn’t require a lot of fertilizer, but a light feeding every few weeks can help boost growth. Use a balanced liquid fertilizer diluted to half strength. Follow the instructions on the fertilizer label.
4. Pinching and Pruning: Pinch off the flower buds as they appear to encourage leaf production. Dill is an annual, and it will bolt (go to seed) if allowed to flower. Pinching off the buds will prolong the harvest period. You can also prune the plant to maintain its shape and encourage bushier growth.
5. Pest Control: Keep an eye out for pests such as aphids and spider mites. If you notice any pests, treat them with insecticidal soap or neem oil.
Harvesting Your Dill
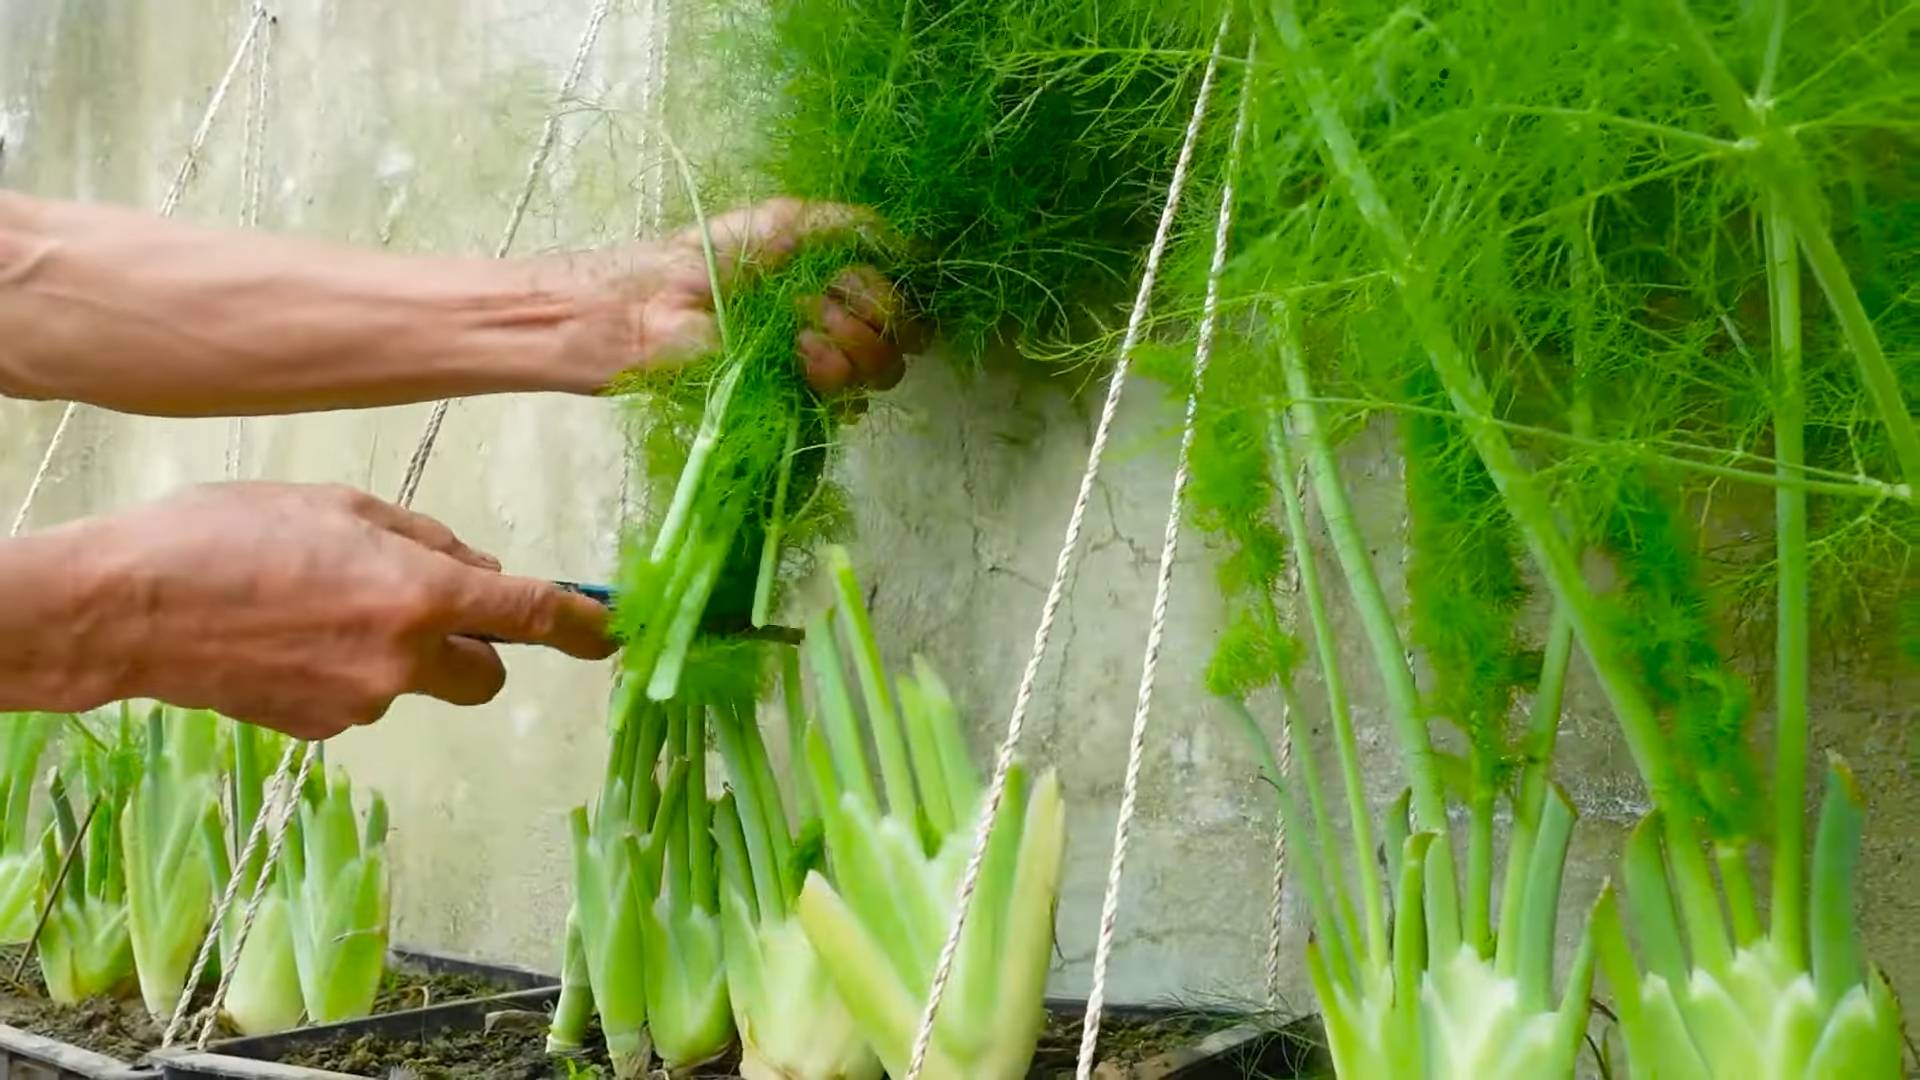
The best part of growing dill indoors is, of course, harvesting your own fresh herbs! You can start harvesting dill leaves when the plant is about 6-8 inches tall.
1. Harvesting Leaves: Use scissors or pruning shears to snip off the leaves as needed. Cut the stems just above a leaf node to encourage new growth.
2. Harvesting Seeds: If you want to harvest dill seeds, allow the plant to flower and go to seed. Once the seed heads turn brown and dry, cut them off and hang them upside down in a paper bag to dry completely. Once dry, you can shake the seeds out of the seed heads.
Troubleshooting Common Dill Problems
Even with the best care, you might encounter a few problems when growing dill indoors. Here are some common issues and how to address them:
* Yellowing Leaves: This could be a sign of overwatering, underwatering, or nutrient deficiency. Check the soil moisture and adjust your watering schedule accordingly. If the soil is dry, water thoroughly. If the soil is soggy, allow it to dry out before watering again. If the leaves are yellowing due to nutrient deficiency, fertilize with a balanced liquid fertilizer.
* Leggy Growth: This is usually caused by insufficient light. Move the plant to a sunnier location or provide supplemental light with grow lights.
* Bolting (Going to Seed): Dill is an annual, and it will naturally bolt when it’s ready to reproduce. Pinching off the flower buds can help delay bolting, but eventually, the plant will start to produce flowers. Once the plant bolts, the leaves will become bitter.
* Pests: Keep an eye out for pests such as aphids and spider mites. Treat them with insecticidal soap or neem oil.
Tips for Success
Here are a few extra tips to help you succeed in growing dill indoors:
* Use a well-draining potting mix: This is crucial for preventing root rot.
* Provide plenty of light: Dill needs at least 6 hours of direct sunlight per day, or 12-14 hours of grow light.
* Water regularly, but don’t overwater: Allow the top inch of soil to dry out between waterings.
* Pinch off the flower buds: This will encourage leaf production and prolong the harvest period.
* Rotate the pot regularly: This will ensure that all sides of the plant receive equal light.
* Be patient: It takes time for dill to grow, so don’t get discouraged if you don’t see results immediately.
Enjoy Your Fresh Dill!
Growing dill indoors is a rewarding experience that allows you to enjoy fresh, flavorful herbs all year long. With a little bit of care and attention, you can have a thriving dill plant that provides you with a constant supply of this versatile herb. So go ahead, give it a try! I’m sure you’ll be amazed at how easy and rewarding it is. Happy gardening!
Conclusion
So, there you have it! Growing dill indoors is not only achievable, but it’s also a rewarding experience that brings the fresh, vibrant taste of summer right into your kitchen, all year round. Forget those sad, wilted bunches from the grocery store – imagine snipping fresh, fragrant dill whenever you need it, adding a burst of flavor to your favorite dishes.
This DIY trick is a must-try for several reasons. First and foremost, it gives you control over the quality of your dill. You know exactly what goes into growing it – no pesticides, no questionable fertilizers, just pure, unadulterated dill goodness. Secondly, it’s incredibly convenient. No more last-minute trips to the store when you realize you’re out of dill. It’s right there, ready and waiting. Thirdly, it’s surprisingly easy and cost-effective. With just a few simple supplies and a little bit of patience, you can have a thriving dill plant in your home.
But the benefits don’t stop there. Growing your own dill indoors is also a fantastic way to add a touch of greenery to your living space. It’s a small but significant connection to nature, especially during the colder months when outdoor gardening is impossible. Plus, the aroma of fresh dill is simply delightful, filling your kitchen with a refreshing and invigorating scent.
Looking for variations? Consider experimenting with different varieties of dill. ‘Bouquet’ dill is a popular choice for its compact size and abundant foliage, making it ideal for indoor growing. ‘Fernleaf’ dill is another great option, known for its feathery leaves and strong flavor. You can also try growing dill in different types of containers. Terracotta pots are a classic choice, but you can also use self-watering planters or even repurposed containers like mason jars or tin cans. Just make sure your container has adequate drainage.
Another fun variation is to companion plant your dill with other herbs. Dill is known to attract beneficial insects, which can help protect your other plants from pests. Basil, parsley, and chives are all good companions for dill.
Don’t be afraid to experiment and find what works best for you. The beauty of growing dill indoors is that it’s a flexible and forgiving process. Even if you make a few mistakes along the way, you’ll still learn something valuable.
We wholeheartedly encourage you to give this DIY trick a try. It’s a simple, satisfying, and delicious way to enhance your cooking and bring a little bit of nature into your home. Once you’ve experienced the joy of harvesting your own fresh dill, you’ll never go back to store-bought again.
And most importantly, we want to hear about your experience! Share your photos, tips, and stories in the comments below. Let us know what worked for you, what challenges you faced, and what delicious dishes you created with your homegrown dill. Together, we can create a community of indoor dill enthusiasts and inspire others to embrace the joys of growing their own herbs. So, grab your seeds, your pots, and your potting mix, and get ready to embark on a flavorful adventure. Happy growing!
Frequently Asked Questions (FAQ)
1. What kind of light does indoor dill need?
Dill thrives in bright, direct sunlight. Ideally, your dill plant should receive at least 6 hours of sunlight per day. A south-facing window is usually the best option. If you don’t have access to enough natural light, you can supplement with a grow light. Position the grow light a few inches above the plant and keep it on for 12-16 hours per day. Insufficient light will result in leggy, weak growth and a less flavorful herb.
2. What is the best soil for growing dill indoors?
Dill prefers well-draining soil that is rich in organic matter. A good potting mix for dill should be light and airy, allowing for good root development. You can use a commercially available potting mix specifically formulated for herbs, or you can make your own by mixing equal parts of potting soil, perlite, and compost. Avoid using garden soil, as it can be too heavy and may contain pests or diseases.
3. How often should I water my indoor dill plant?
Water your dill plant when the top inch of soil feels dry to the touch. Avoid overwatering, as this can lead to root rot. When you water, water thoroughly until water drains out of the bottom of the pot. Allow the excess water to drain away completely. During the warmer months, you may need to water more frequently than during the cooler months. Check the soil moisture regularly and adjust your watering schedule accordingly.
4. How do I fertilize my indoor dill plant?
Dill is not a heavy feeder, but it will benefit from occasional fertilization. Use a balanced liquid fertilizer diluted to half strength. Fertilize every 2-4 weeks during the growing season (spring and summer). Avoid over-fertilizing, as this can lead to leggy growth and a less flavorful herb. You can also use a slow-release fertilizer at the time of planting.
5. How do I harvest dill from my indoor plant?
You can start harvesting dill leaves as soon as the plant is about 6 inches tall. Simply snip off the leaves with scissors or your fingers. Harvest from the top of the plant, as this will encourage bushier growth. You can also harvest the entire plant at once if you need a large quantity of dill. Dill flowers are also edible and can be used to add a unique flavor to salads and other dishes.
6. How do I prevent pests and diseases on my indoor dill plant?
Indoor dill plants are generally less susceptible to pests and diseases than outdoor plants. However, it’s still important to take precautions. Inspect your plant regularly for signs of pests, such as aphids, spider mites, or whiteflies. If you find any pests, you can try washing them off with a strong stream of water or using an insecticidal soap. To prevent fungal diseases, avoid overwatering and ensure good air circulation around the plant.
7. Can I grow dill from seed indoors?
Yes, growing dill from seed indoors is a great way to start your own dill plant. Sow the seeds directly into your potting mix, about ¼ inch deep. Keep the soil moist but not soggy. The seeds should germinate in about 7-14 days. Once the seedlings are a few inches tall, thin them out so that only one plant remains in each pot.
8. My dill plant is getting leggy. What should I do?
Leggy growth is often a sign of insufficient light. Move your dill plant to a brighter location or supplement with a grow light. You can also try pinching back the stems to encourage bushier growth.
9. How long will my indoor dill plant last?
Dill is an annual herb, which means that it completes its life cycle in one growing season. However, with proper care, you can extend the life of your indoor dill plant for several months. Once the plant starts to flower, it will begin to decline. You can prolong its life by pinching off the flowers as they appear.
10. Can I dry or freeze my homegrown dill?
Yes, you can dry or freeze your homegrown dill to preserve it for later use. To dry dill, simply hang the stems upside down in a cool, dry place until the leaves are completely dry. You can also use a dehydrator. To freeze dill, chop the leaves and place them in ice cube trays with water or olive oil. Once frozen, transfer the cubes to a freezer bag.

Leave a Comment