
Bean Sprouts: Kitchen Staple – ever wondered how to conjure up those crunchy, delicious bean sprouts you find in your favorite Asian dishes right in your own kitchen? Forget those pricey trips to the grocery store! I’m about to let you in on a little secret: growing your own bean sprouts is surprisingly easy, incredibly rewarding, and a fantastic way to add a burst of freshness to your meals.
Sprouting beans has a rich history, dating back thousands of years in Asian cultures where they were valued not only for their flavor but also for their nutritional benefits, especially during times of scarcity. Think of it as a miniature, edible garden right on your countertop!
Why should you bother with this DIY trick? Well, for starters, store-bought bean sprouts can sometimes be a bit… lackluster. They might not be as fresh as you’d like, and you’re never quite sure how they were grown. But when you grow your own, you control everything! You get the freshest, crispiest, most flavorful bean sprouts imaginable. Plus, it’s a super affordable way to boost your veggie intake. I’ve found that having a constant supply of fresh sprouts on hand encourages me to eat healthier and experiment with new recipes. So, get ready to ditch the store-bought stuff and embrace the joy of homegrown goodness! This DIY guide will show you how to make bean sprouts a true kitchen staple.
Growing Bean Sprouts: A Kitchen Staple You Can DIY!
Hey there, fellow food enthusiasts! Ever find yourself needing a handful of fresh bean sprouts for your stir-fry or salad, only to realize you’re out? Well, fret no more! I’m going to show you how incredibly easy it is to grow your own bean sprouts right in your kitchen. It’s a fun, rewarding, and surprisingly quick project that will add a touch of freshness to your meals. Plus, you’ll know exactly where your food comes from – talk about farm-to-table (or rather, kitchen-to-table!).
This guide will walk you through the entire process, from selecting your beans to enjoying your crunchy, homegrown sprouts. Let’s get started!
What You’ll Need
Before we dive in, let’s gather our supplies. The beauty of this project is that you probably already have most of these items in your kitchen:
* **Beans:** Mung beans are the most common and easiest to sprout, but you can also use adzuki beans, lentils, chickpeas, or even radish seeds. Just make sure they are whole, un-split, and specifically intended for sprouting or cooking (not treated for planting). I usually get mine from the bulk section of my local grocery store.
* **A Wide-Mouth Jar:** A quart-sized mason jar works perfectly. The wide mouth makes it easy to rinse and drain the sprouts.
* **Sprouting Lid or Cheesecloth:** You’ll need something to cover the jar that allows for drainage and airflow. A sprouting lid is ideal, but a piece of cheesecloth secured with a rubber band works just as well.
* **Water:** Clean, filtered water is best.
* **A Bowl:** To soak the beans initially.
* **A Dark Place:** A cupboard or pantry works great. Sprouts need darkness to germinate properly.
* **Optional: Hydrogen Peroxide (3%):** This can help prevent mold growth, especially in warmer climates.
The Sprouting Process: Step-by-Step
Okay, now for the fun part! Here’s how to grow your own bean sprouts:
1. **Soak the Beans:**
* Rinse about 1/4 cup of beans thoroughly under cool water, removing any debris or broken beans.
* Place the rinsed beans in a bowl and cover them with plenty of cool water (at least 2-3 times the volume of the beans). They will expand as they soak.
* Let the beans soak for 8-12 hours, or overnight. This rehydrates them and starts the germination process. I usually do this before I go to bed so they’re ready to go in the morning.
2. **Transfer to the Jar:**
* Drain the soaked beans and rinse them again thoroughly.
* Transfer the beans to your wide-mouth jar.
3. **Cover and Drain:**
* Cover the jar with your sprouting lid or cheesecloth secured with a rubber band.
* Drain all the water from the jar. It’s important to get as much water out as possible to prevent the sprouts from rotting.
4. **Invert and Position:**
* Invert the jar and prop it up at an angle in a bowl or dish rack. This allows any excess water to drain out and provides good airflow. I usually use a small ramekin to prop mine up.
5. **Rinse and Drain (Twice a Day):**
* This is the most crucial step! Rinse the sprouts with cool water twice a day (morning and evening).
* To rinse, fill the jar with water, swirl the sprouts around gently, and then drain thoroughly.
* After draining, return the jar to its inverted position in the bowl or dish rack.
6. **Darkness is Key:**
* Place the jar in a dark, cool place, such as a cupboard or pantry. Sprouts need darkness to germinate properly and develop their characteristic crispness.
7. **Optional: Hydrogen Peroxide Treatment:**
* If you live in a warm climate or are concerned about mold, you can add a tablespoon of 3% hydrogen peroxide to the rinsing water once a day. This will help inhibit mold growth without harming the sprouts.
8. **Repeat and Observe:**
* Continue rinsing and draining the sprouts twice a day for 3-5 days, or until they reach your desired length. You’ll notice them growing bigger each day!
9. **Green Up (Optional):**
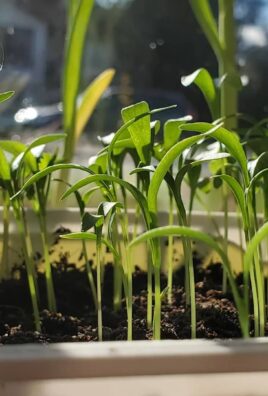
* If you want your sprouts to be a bit greener, you can expose them to indirect sunlight for the last day or two. Just be careful not to put them in direct sunlight, as this can overheat them.
10. **Harvest and Store:**
* Once the sprouts are ready, give them a final rinse.
* Remove any remaining bean hulls (the outer skins) if desired. This is optional, but some people prefer the texture without them.
* Store the sprouts in an airtight container in the refrigerator. They should last for up to a week.
Troubleshooting: Common Issues and Solutions
Even with the best intentions, sometimes things don’t go exactly as planned. Here are some common issues you might encounter and how to fix them:
* **Mold:** Mold is the biggest enemy of bean sprouts. It usually appears as fuzzy white or gray patches.
* **Prevention:** The best way to prevent mold is to rinse the sprouts thoroughly twice a day and ensure good drainage. Using hydrogen peroxide in the rinsing water can also help.
* **Treatment:** If you see mold, discard the entire batch of sprouts. It’s not worth risking your health. Thoroughly clean and sanitize your jar and sprouting lid before trying again.
* **Rotting:** Rotting sprouts will smell unpleasant and may appear slimy.
* **Cause:** This is usually caused by poor drainage or insufficient rinsing.
* **Solution:** Discard the sprouts and make sure to drain them thoroughly after each rinse in your next batch.
* **Slow Growth:** If your sprouts aren’t growing as quickly as you expect, it could be due to several factors:
* **Temperature:** Sprouts grow best in a cool environment (around 65-75°F). If your kitchen is too warm, try moving them to a cooler location.
* **Bean Quality:** Old or damaged beans may not sprout well. Make sure you’re using fresh, high-quality beans.
* **Insufficient Soaking:** Make sure you soak the beans for at least 8 hours before starting the sprouting process.
* **Bitter Taste:** Sometimes, bean sprouts can have a slightly bitter taste.
* **Cause:** This can be due to the type of bean or the growing conditions.
* **Solution:** Try a different type of bean or expose the sprouts to indirect sunlight for the last day or two to help reduce the bitterness.
Tips and Tricks for Sprouting Success
Here are a few extra tips to help you become a bean-sprouting pro:
* Start Small: Begin with a small amount of beans (1/4 cup) until you get the hang of the process. This will minimize waste if something goes wrong.
* Use Filtered Water: Tap water can sometimes contain chlorine or other chemicals that can inhibit sprouting. Filtered water is always a safer bet.
* Experiment with Different Beans: Once you’ve mastered mung beans, try sprouting other types of beans, lentils, or seeds. Each one has a unique flavor and texture.
* Keep it Clean: Always use clean jars and utensils to prevent contamination.
* Don’t Overcrowd: Avoid using too many beans in the jar, as this can lead to overcrowding and poor airflow.
* Enjoy the Process! Sprouting beans is a fun and rewarding activity. Don’t be afraid to experiment and learn from your mistakes.
Using Your Homegrown Bean Sprouts
Now that you have a jar full of fresh, crunchy bean sprouts, it’s time to put them to good use! Here are some of my favorite ways to enjoy them:
* **Stir-fries:** Bean sprouts are a classic addition to stir-fries, adding a satisfying crunch and mild flavor.
* **Salads:** Toss them into salads for extra texture and nutrients.
* **Sandwiches and Wraps:** Add a handful of sprouts to your sandwiches or wraps for a healthy and refreshing boost.
* **Soups:** Sprinkle them on top of soups for a garnish and added crunch.
* **Spring Rolls:** Bean sprouts are a key ingredient in many spring roll recipes.
* **As a Snack:** I sometimes just eat them straight from the jar as a healthy and refreshing snack!
So there you have it! Growing your own bean sprouts is a simple, affordable, and rewarding way to add fresh, healthy ingredients to your diet. With a little practice, you’ll be sprouting like a pro in no time. Happy sprouting!
Conclusion
So, there you have it! Cultivating your own bean sprouts at home is not just a fun project; it’s a game-changer for anyone who values fresh, nutritious, and readily available ingredients. Forget those wilted, sad-looking sprouts from the grocery store. With this simple DIY trick, you can have a constant supply of crisp, flavorful bean sprouts right at your fingertips.
Why is this a must-try? Because it’s incredibly easy, cost-effective, and significantly reduces food waste. You’re in complete control of the growing process, ensuring the highest quality and freshness. Plus, the satisfaction of harvesting your own food is surprisingly rewarding. Imagine adding a handful of vibrant, crunchy bean sprouts to your stir-fries, salads, or sandwiches, knowing you grew them yourself. The difference in taste and texture compared to store-bought sprouts is truly remarkable.
But the benefits don’t stop there. Growing your own bean sprouts is also an excellent way to introduce children to the wonders of gardening and healthy eating. It’s a quick and visually engaging project that can spark their curiosity about where food comes from.
Looking for variations? Experiment with different types of beans! Mung beans are the most common, but you can also try adzuki beans, lentils, or even chickpeas. Each variety will offer a slightly different flavor and texture profile. You can also adjust the sprouting time to achieve your desired sprout length. Some people prefer shorter, more delicate sprouts, while others like them longer and crunchier. Don’t be afraid to experiment and find what works best for you. Consider adding a touch of turmeric powder to the water during the sprouting process. This not only adds a subtle earthy flavor but also boosts the sprouts’ antioxidant content.
We wholeheartedly encourage you to give this DIY bean sprouts trick a try. It’s a simple yet transformative way to elevate your cooking and embrace a more sustainable lifestyle. Once you experience the joy of harvesting your own fresh sprouts, you’ll never go back to store-bought again.
And most importantly, we want to hear about your experience! Share your photos, tips, and variations in the comments below. Let’s build a community of home sprouters and inspire others to discover the magic of growing their own food. Happy sprouting!
Frequently Asked Questions (FAQ)
What kind of beans can I use to grow bean sprouts?
The most common and readily available bean for sprouting is the mung bean. However, you can also successfully sprout other types of beans and legumes, including adzuki beans, lentils, chickpeas, and even some types of peas. Keep in mind that different beans will have different sprouting times and flavor profiles. Mung beans are known for their mild, slightly sweet flavor and crisp texture, while adzuki beans have a nuttier taste. Experimenting with different varieties can be a fun way to discover your favorite type of bean sprout. Avoid using kidney beans for sprouting, as they contain toxins that are only deactivated when cooked.
How long does it take to grow bean sprouts?
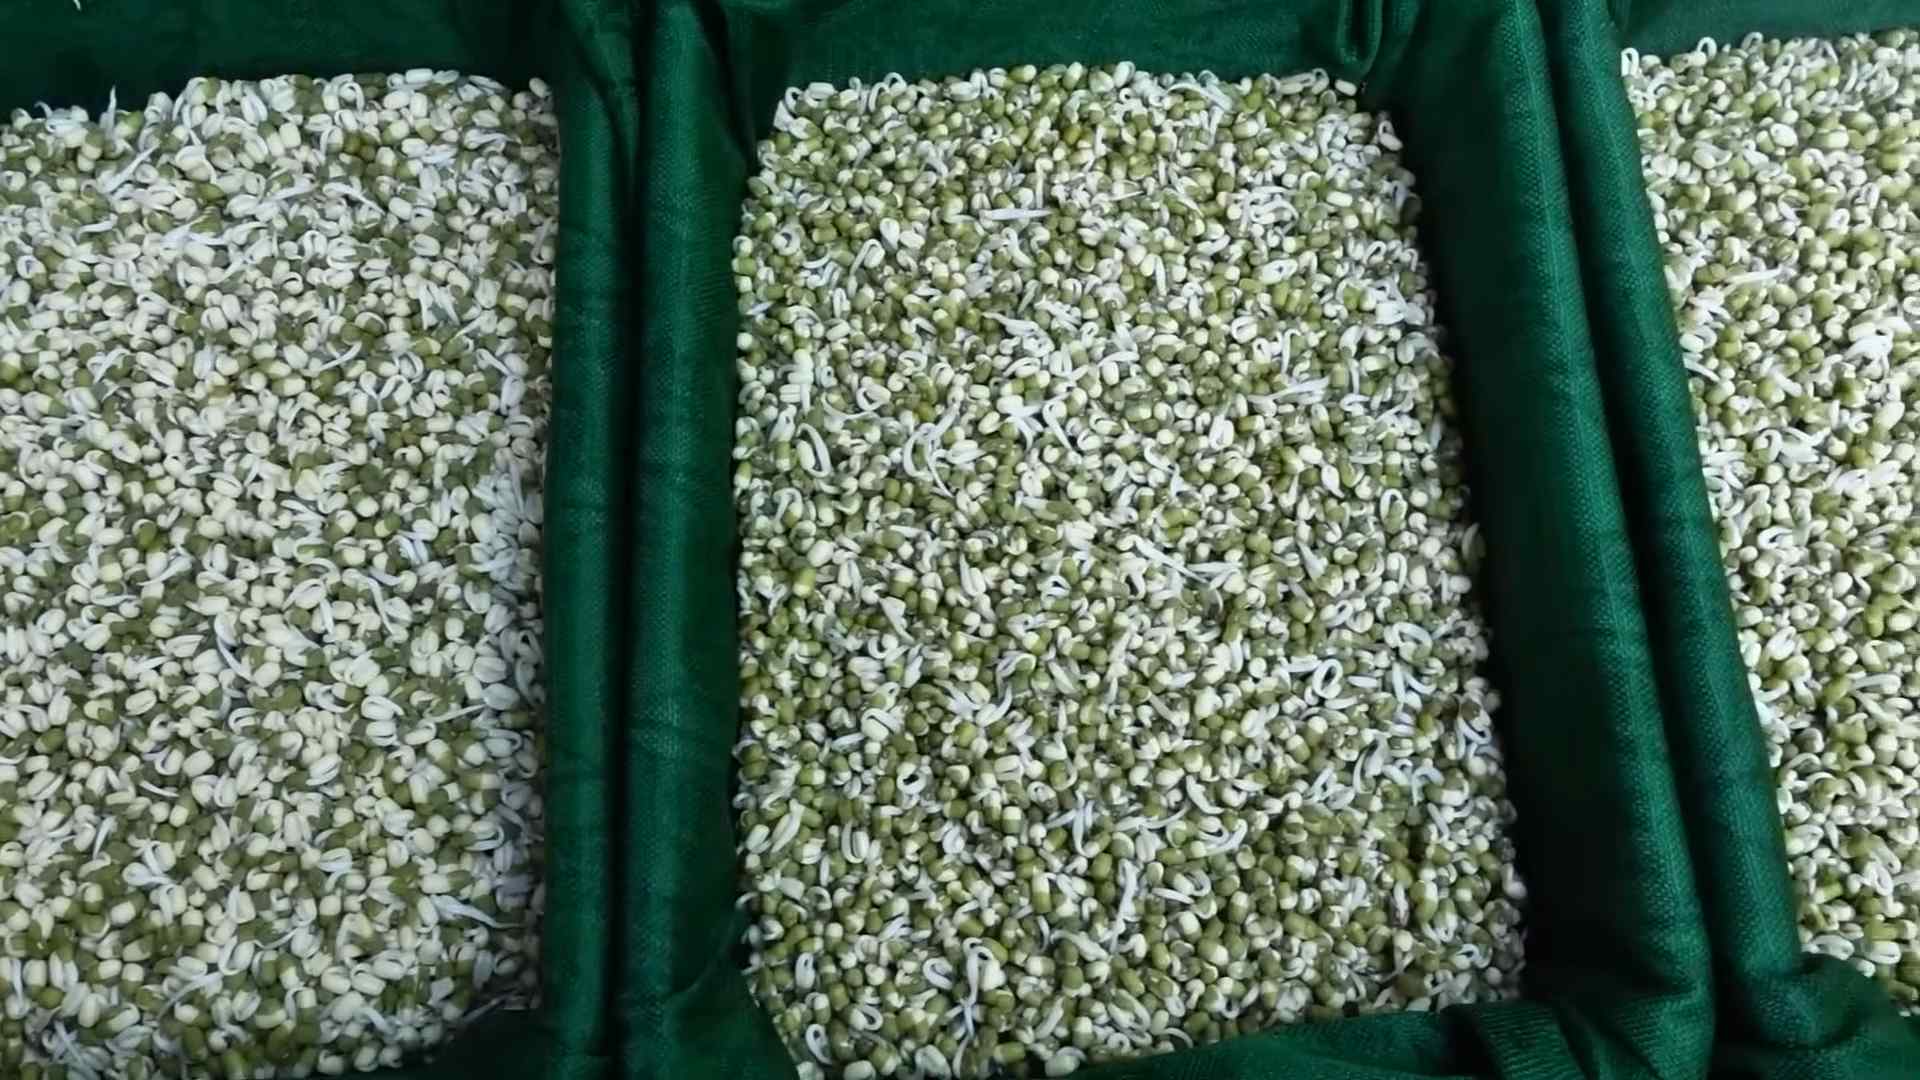
The sprouting time for bean sprouts typically ranges from 3 to 5 days, depending on the type of bean, the temperature, and the humidity. Mung beans usually sprout within 3 to 4 days. You’ll know they’re ready when the sprouts are about 1 to 2 inches long and have a crisp, white stem with small leaves. It’s important to check the sprouts regularly and rinse them thoroughly at least twice a day to prevent mold growth and ensure they stay fresh.
What is the best container to use for sprouting bean sprouts?
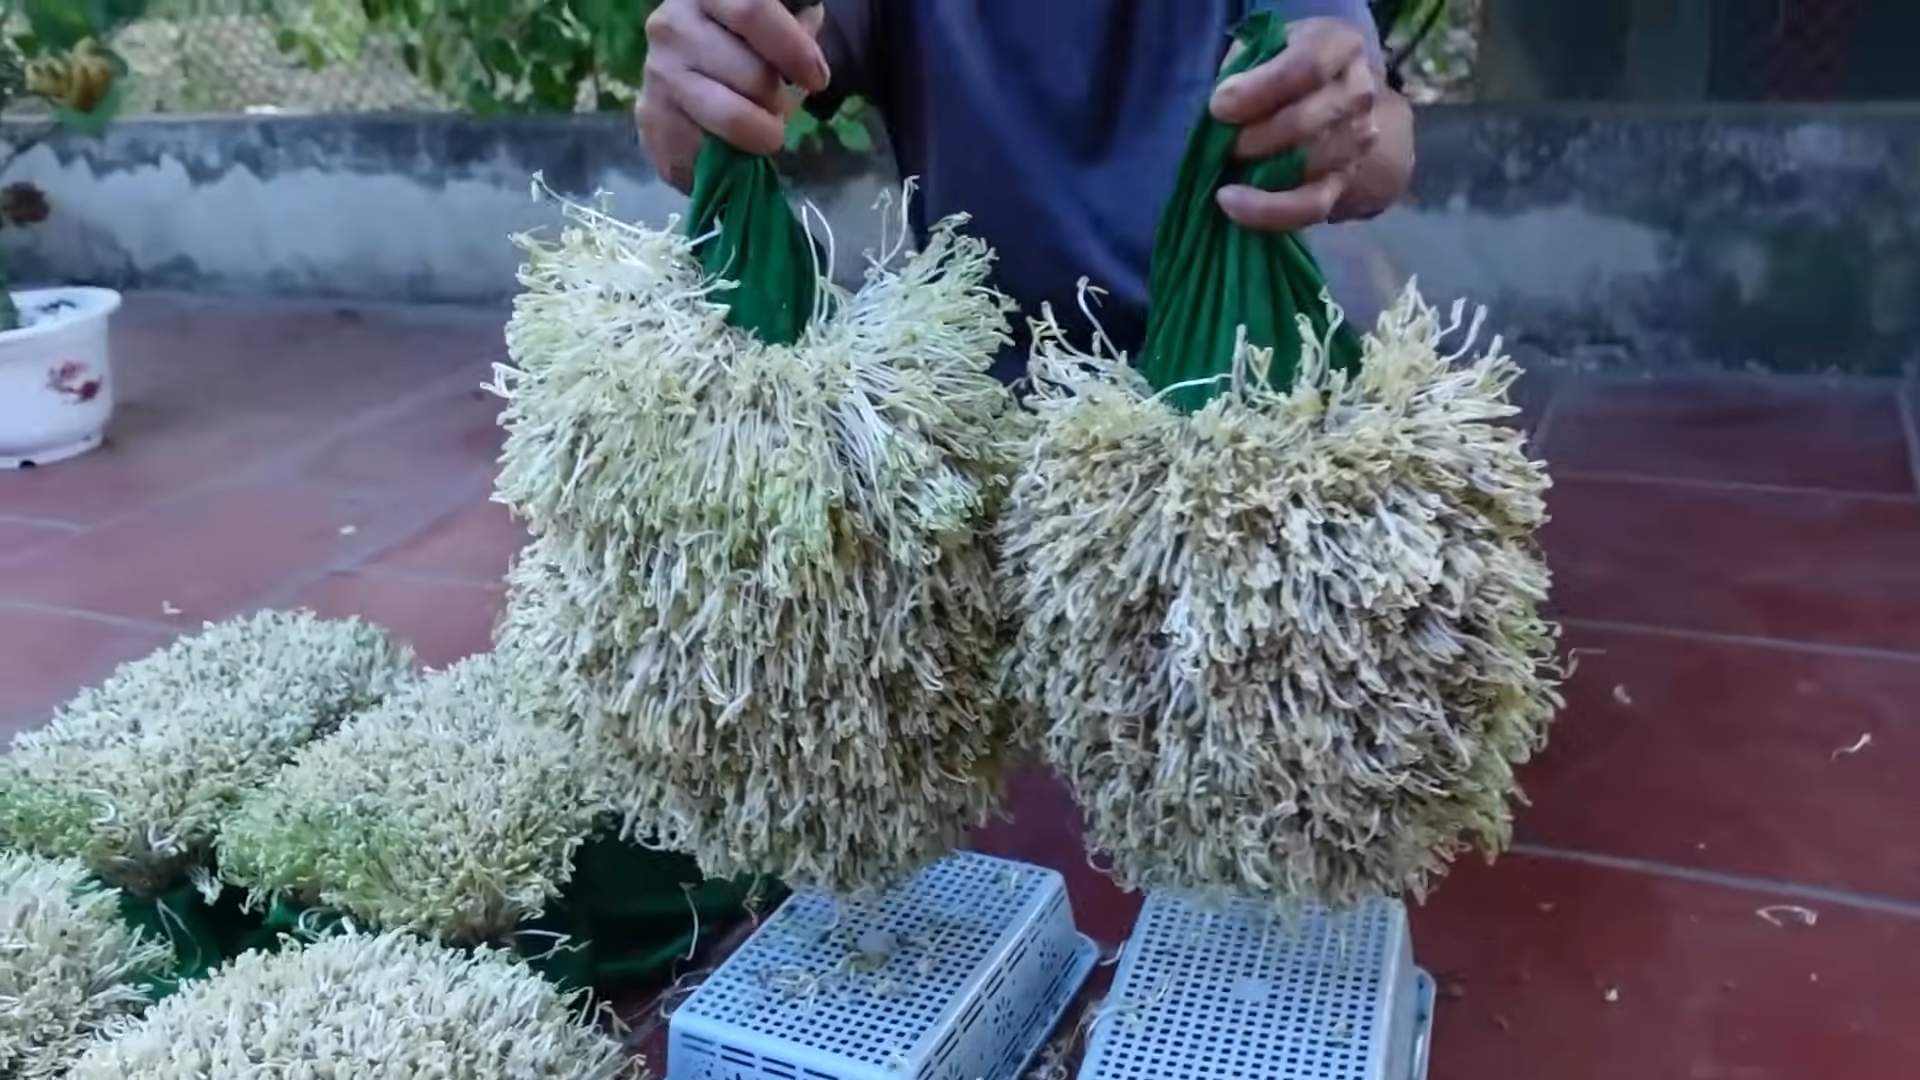
A wide-mouth jar, a sprouting tray, or even a colander lined with cheesecloth can be used for sprouting bean sprouts. The key is to choose a container that allows for good drainage and air circulation. A wide-mouth jar is a popular choice because it’s easy to clean and allows you to monitor the sprouting process. Sprouting trays are designed specifically for sprouting and often have multiple tiers, allowing you to grow different types of sprouts at the same time. If using a colander, make sure to line it with cheesecloth or a sprouting bag to prevent the beans from falling through.
How often should I rinse the bean sprouts?
Rinsing the bean sprouts at least twice a day is crucial for preventing mold growth and keeping them fresh. Rinse them thoroughly under cool, running water, making sure to remove any loose hulls or debris. After rinsing, drain the sprouts well to prevent them from becoming waterlogged. Proper rinsing and drainage are essential for successful sprouting.
How do I store bean sprouts?
Once the bean sprouts have reached your desired length, you can store them in the refrigerator for up to a week. To store them properly, rinse them thoroughly and drain them well. Then, place them in a clean container lined with a paper towel. The paper towel will help absorb any excess moisture and keep the sprouts crisp. Store the container in the crisper drawer of your refrigerator.
Are bean sprouts healthy?
Yes, bean sprouts are a very healthy addition to your diet. They are low in calories and fat and are a good source of vitamins, minerals, and fiber. They are particularly rich in vitamin C, vitamin K, and folate. Bean sprouts also contain antioxidants, which can help protect your body against damage from free radicals. Adding bean sprouts to your meals can boost your nutrient intake and contribute to a healthy diet.
Can I eat bean sprouts raw?
Yes, you can eat bean sprouts raw, but it’s important to ensure they are thoroughly rinsed and properly sprouted. Raw bean sprouts can be a refreshing and crunchy addition to salads, sandwiches, and wraps. However, some people may experience digestive discomfort from eating raw sprouts. If you have a sensitive stomach, you may prefer to cook them lightly before eating.
How can I prevent mold growth on my bean sprouts?
Preventing mold growth is essential for successful sprouting. The key is to ensure good drainage and air circulation. Rinse the sprouts thoroughly at least twice a day and drain them well after rinsing. Avoid overcrowding the container, as this can restrict air circulation. If you notice any signs of mold, such as a fuzzy or slimy texture, discard the sprouts immediately. Using clean containers and fresh water is also important for preventing mold growth.
What if my bean sprouts don’t sprout?
If your bean sprouts don’t sprout, there could be several reasons. First, make sure you are using fresh, viable beans. Old or damaged beans may not sprout properly. Second, ensure that the beans are properly soaked before sprouting. Soaking them for at least 8 hours helps to activate the germination process. Third, check the temperature. Bean sprouts prefer a warm, humid environment. If the temperature is too cold, they may not sprout. Finally, make sure you are rinsing the sprouts regularly and providing adequate drainage.
Can I grow bean sprouts in the dark?
While bean sprouts don’t require light to sprout, growing them in a dark or dimly lit environment can help them stay crisp and white. Exposure to direct sunlight can cause them to turn green and become bitter. Covering the sprouting container with a cloth or placing it in a dark cupboard can help create the ideal environment for sprouting.

Leave a Comment