
DIY Oven Cleaning: Sparkling Results Without the Harsh Chemicals
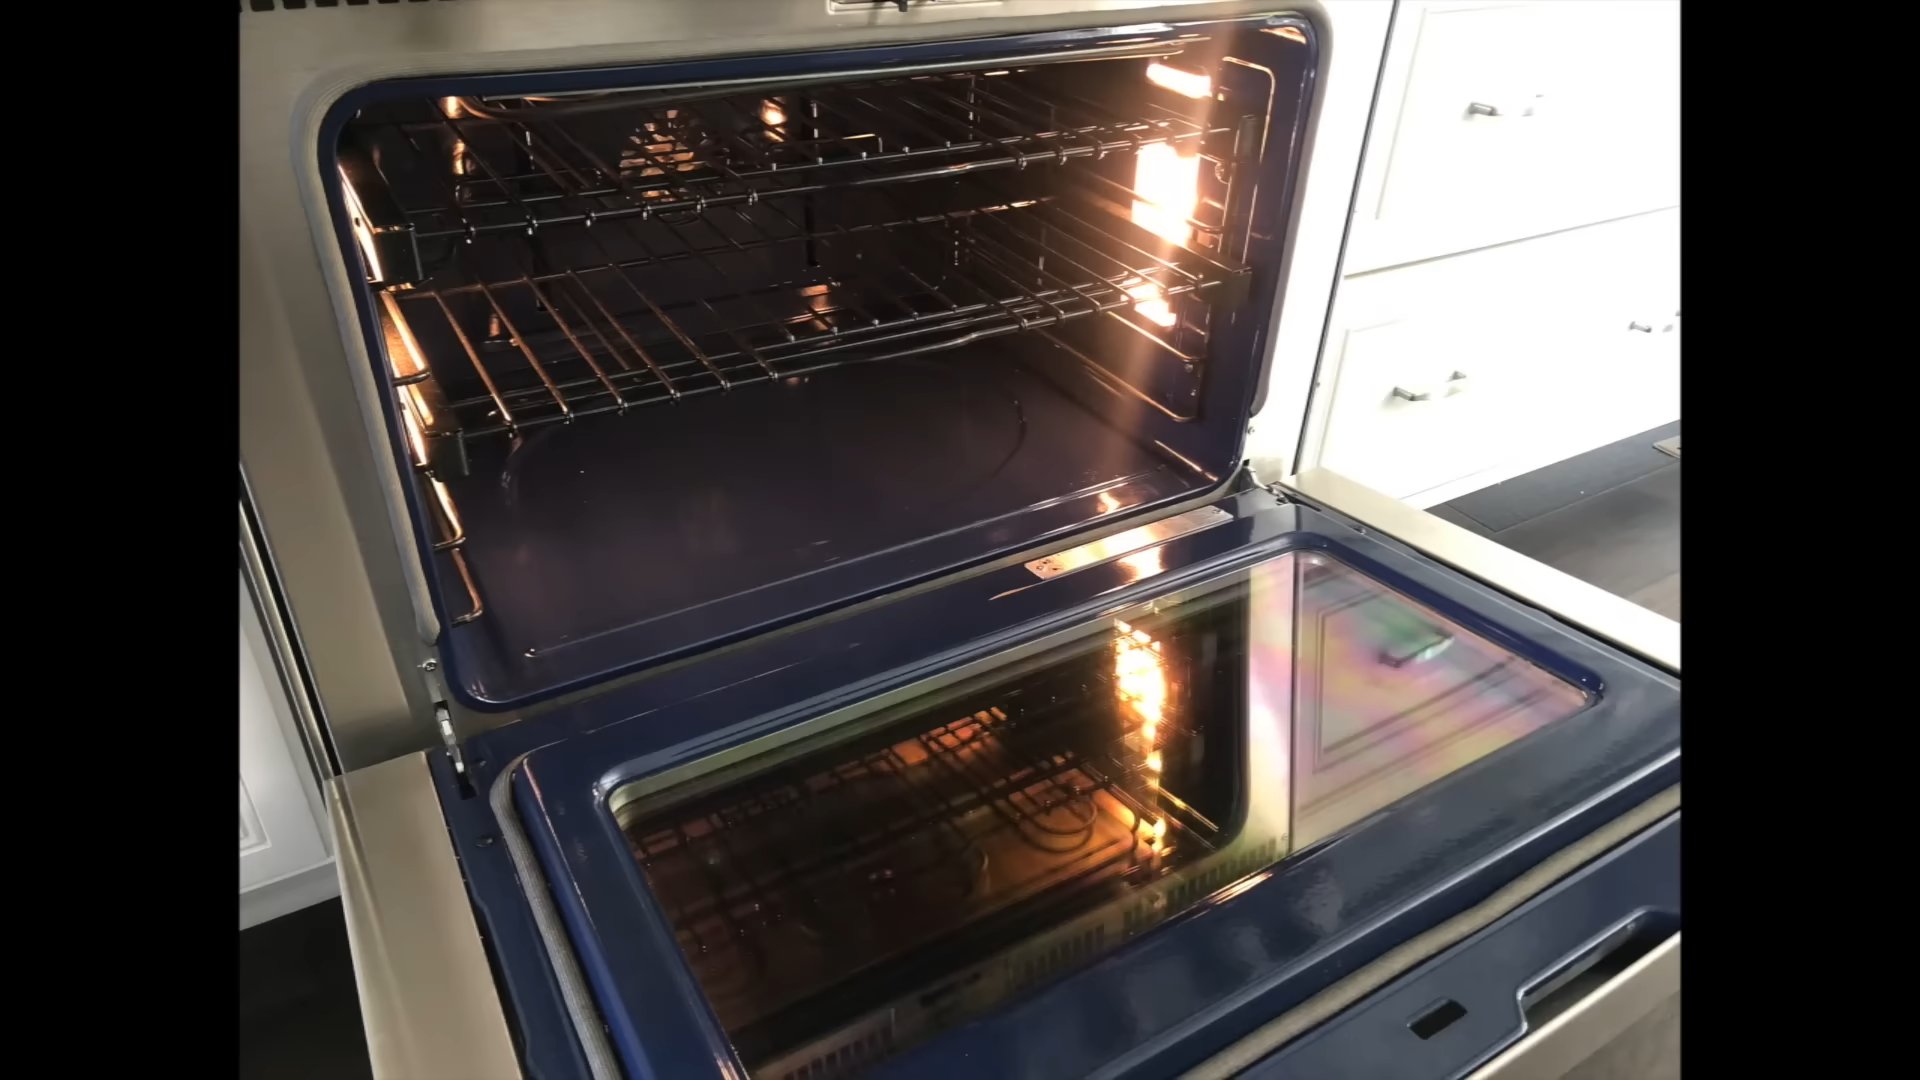
Let’s be honest, cleaning the oven is nobody’s favorite chore. That baked-on grime and stubborn grease can seem insurmountable, leading many to dread the task and even consider calling in professional help. But what if I told you there’s a better way? This article is all about DIY oven cleaning, offering simple, effective, and eco-friendly methods to get your oven sparkling clean without resorting to harsh, potentially harmful chemicals.
For centuries, people have wrestled with keeping their cooking appliances clean. From the simple wood-fired ovens of our ancestors to the modern marvels we have today, the challenge of removing baked-on food remains a constant. While commercial oven cleaners have become readily available, many contain strong chemicals that can be irritating to the skin and lungs, and potentially harmful to the environment. That’s why mastering the art of DIY oven cleaning is so important.
Why You Need These DIY Oven Cleaning Tricks
This article isn’t just about saving money; it’s about taking control of your cleaning routine and creating a healthier home environment. By learning these simple DIY techniques, you’ll be able to tackle oven cleaning with confidence, knowing you’re using safe and effective methods. You’ll save money on expensive commercial cleaners, reduce your exposure to harmful chemicals, and enjoy the satisfaction of a sparkling clean oven achieved through your own ingenuity. So, let’s dive in and discover the secrets to a cleaner, healthier, and more eco-friendly kitchen!
Building a Custom Bookshelf from Reclaimed Wood
I love the look of reclaimed wood, and I’ve always wanted a unique bookshelf. So, I decided to build my own! This project took a bit of time, but the result is a beautiful, sturdy bookshelf that perfectly fits my space and style. Here’s how I did it:
Gathering Your Materials
- Reclaimed wood planks (I used about 10-12, varying lengths and widths, but aim for a consistent thickness). Make sure the wood is clean and dry.
- Wood glue
- Wood screws (various lengths depending on plank thickness)
- Wood filler
- Sandpaper (various grits, starting with coarser and finishing with finer)
- Wood stain (your choice of color)
- Polyurethane sealant (clear or tinted)
- Measuring tape
- Level
- Drill with various drill bits
- Safety glasses
- Work gloves
- Clamps (lots of them!)
- Putty knife
- Paintbrushes
- Rags
Preparing the Wood
1. Clean the wood: Before you start, give your reclaimed wood planks a good cleaning. I used a wire brush to remove any loose debris, then wiped them down with a damp cloth. Let them dry completely.
2. Assess and Plan: Lay out your planks to visualize the overall design of your bookshelf. Consider the height and width you want, and how many shelves you’d like. I sketched a quick plan to help me visualize the arrangement. This step is crucial for avoiding mistakes later on.
3. Cut the Wood (If Necessary): If your planks aren’t the right length, now is the time to cut them. Use a saw (circular saw or hand saw, depending on your comfort level and the type of wood) to cut the planks to your desired lengths. Remember to wear safety glasses!
4. Sand the Wood: Sand each plank thoroughly, starting with a coarser grit sandpaper and gradually moving to finer grits. This will create a smooth surface for staining and ensure a professional finish. Sanding is important, don’t rush this step!
Assembling the Bookshelf
1. Apply Wood Glue: Apply a generous amount of wood glue to the ends of the planks that will form the vertical supports of your bookshelf. Make sure the glue is evenly distributed.
2. Clamp the Pieces Together: Carefully clamp the vertical supports together, ensuring they are aligned and square. Use plenty of clamps to hold everything firmly in place while the glue dries. This is crucial for a strong and stable bookshelf.
3. Pre-Drill Pilot Holes: Once the glue is set (check the glue’s instructions for drying time), pre-drill pilot holes for the screws. This will prevent the wood from splitting when you drive in the screws.
4. Screw the Pieces Together: Use wood screws to secure the vertical supports together. Make sure the screws are driven in straight and flush with the wood.
5. Add the Shelves: Repeat the process of applying glue, clamping, pre-drilling, and screwing to attach the shelves to the vertical supports. Use a level to ensure the shelves are perfectly horizontal. Take your time and double-check your measurements.
6. Fill any Gaps: Once everything is assembled, use wood filler to fill any gaps or imperfections in the joints. Let the filler dry completely, then sand it smooth.
Finishing Touches
1. Stain the Wood: Apply your chosen wood stain according to the manufacturer’s instructions. I applied two coats, allowing each coat to dry completely before applying the next. Make sure to work in a well-ventilated area.
2. Seal the Wood: Once the stain is dry, apply a coat of polyurethane sealant. This will protect the wood from moisture and scratches and enhance its beauty. Again, I applied two coats, allowing each coat to dry completely before applying the next.
3. Clean Up: Once the sealant is dry, clean up any excess wood filler, stain, or sealant with a damp cloth.
Optional Enhancements
- Add decorative elements: Consider adding metal brackets or other decorative elements to further enhance the look of your bookshelf.
- Use different types of wood: Experiment with different types of reclaimed wood to create a more unique and visually interesting bookshelf.
- Incorporate lighting: Add LED strip lights to the back or underside of the shelves for a dramatic effect.
Troubleshooting
Uneven Shelves:
If your shelves are uneven, carefully remove the screws, reapply glue, and re-clamp the pieces before screwing them back together. Use a level to ensure the shelves are perfectly horizontal.
Splitting Wood:
If the wood splits while screwing, use a smaller drill bit for the pilot holes or switch to a lower torque setting on your drill.
Glue Stains:
If you get glue stains on the wood, carefully scrape them off with a putty knife before sanding and staining.
And there you have it! My custom reclaimed wood bookshelf. It was a rewarding project, and I’m so happy with how it turned out. Remember to always prioritize safety and take your time. Good luck with your own project!
Conclusion
So there you have it – your guide to achieving a sparkling clean oven without the harsh chemicals and hefty price tag of commercial oven cleaners. This DIY oven cleaning method is a true game-changer, offering a surprisingly effective and eco-friendly alternative to traditional methods. It’s a must-try for anyone looking to save money, reduce their environmental impact, and reclaim their oven’s pristine condition. The simplicity of the process, coupled with the impressive results, makes this a cleaning solution you’ll want to add to your regular cleaning routine. You’ll be amazed at how easily you can banish baked-on grime and stubborn grease, leaving your oven looking and smelling fresh as a daisy. Forget scrubbing for hours with harsh chemicals; this method allows you to spend less time cleaning and more time enjoying your beautifully clean oven and the delicious meals you cook in it.
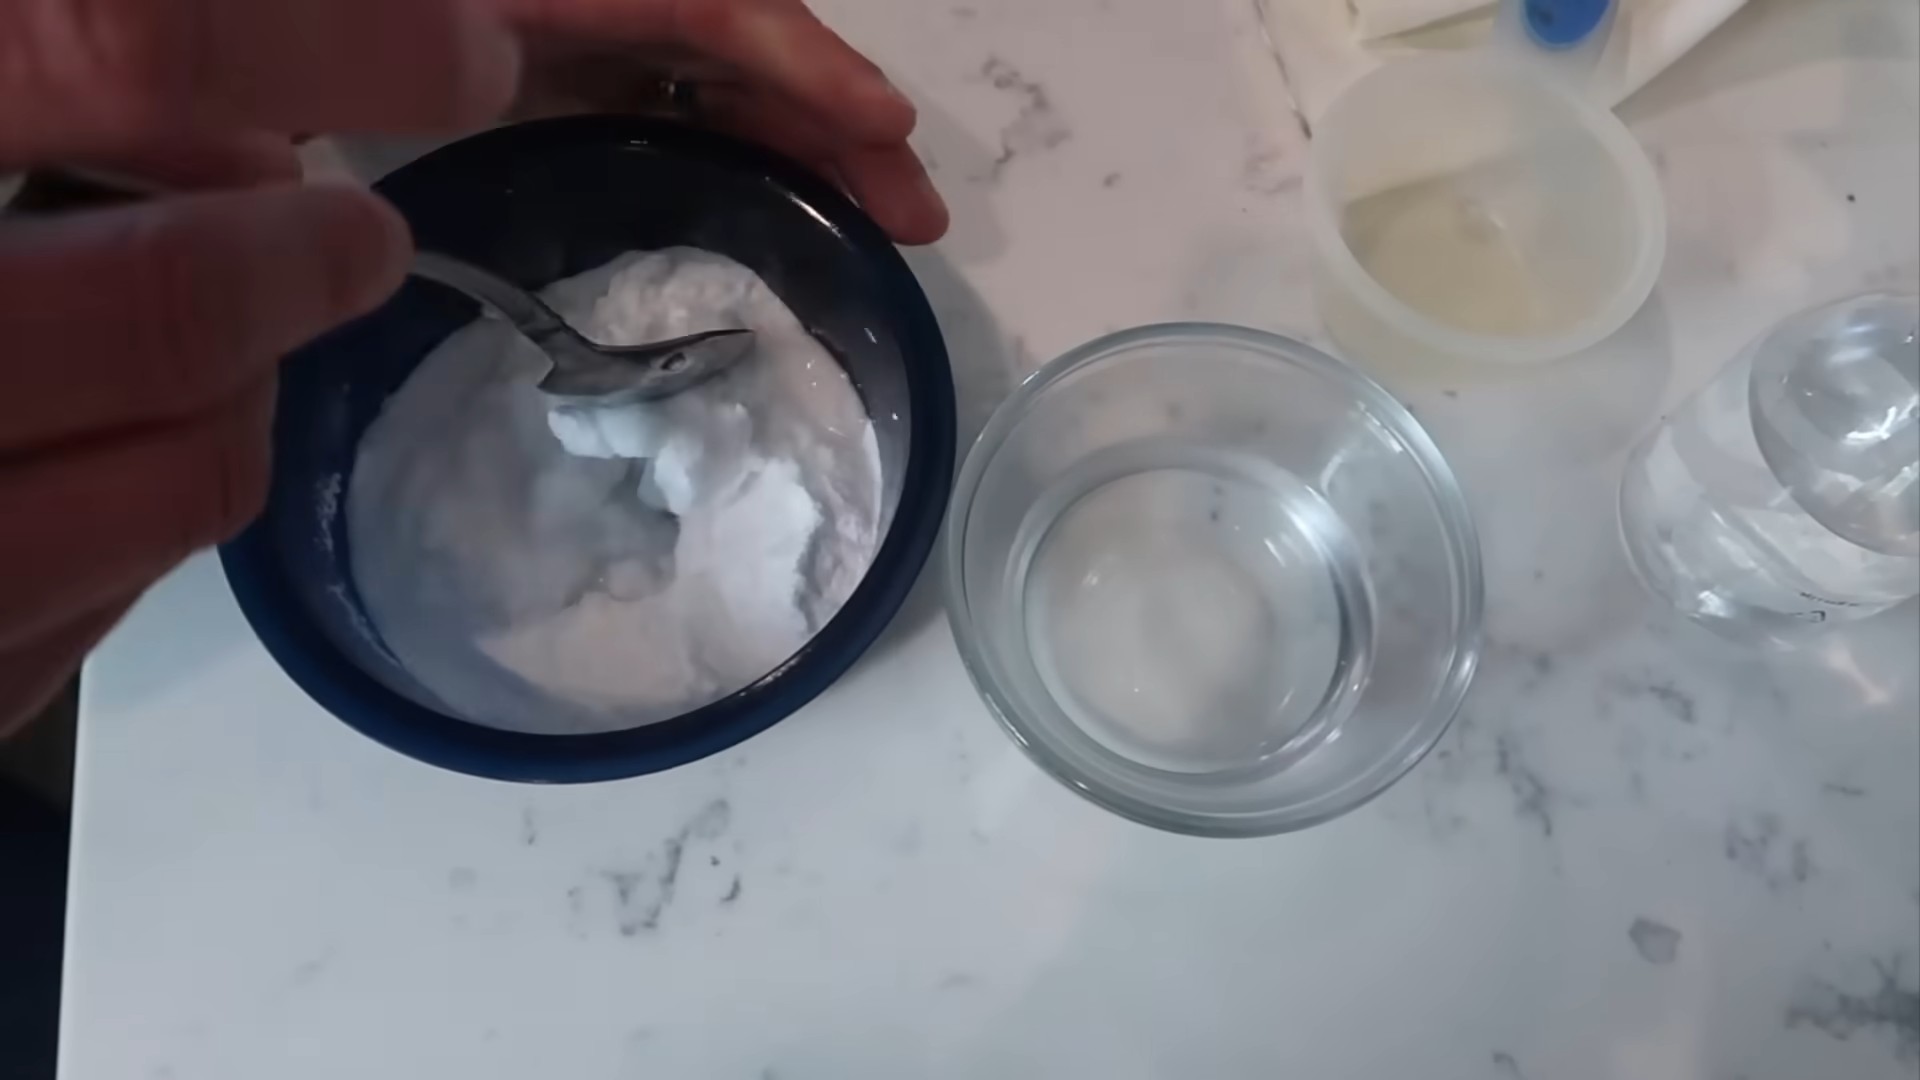
Beyond the core method, the possibilities for customization are endless. Experiment with different ratios of baking soda and water to find what works best for your oven’s specific needs and the level of grime you’re tackling. For particularly stubborn stains, consider letting the paste sit overnight for a more intense cleaning action. If you prefer a more fragrant experience, add a few drops of essential oil, like lemon or tea tree oil, to the paste for a pleasant aroma during and after the cleaning process. You can also adjust the soaking time depending on the severity of the mess. For light cleaning, a shorter soak might suffice, while heavily soiled ovens will benefit from a longer soak. Remember to always exercise caution when handling hot water and surfaces.
This DIY oven cleaning method isn’t just about achieving a spotless oven; it’s about taking control of your cleaning routine and making it more sustainable. By choosing natural ingredients, you’re reducing your exposure to harsh chemicals and minimizing your environmental footprint. This is a win-win situation for both your health and the planet. We strongly encourage you to try this method and experience the transformative power of this simple yet effective DIY solution. Share your results with us! We’d love to hear about your experiences, any modifications you made, and the sparkling clean results you achieved. Post your before-and-after photos on social media and tag us – let’s inspire others to embrace this eco-friendly and budget-friendly approach to oven cleaning. Join the growing community of DIY enthusiasts who are ditching the harsh chemicals and embracing the power of natural cleaning solutions. Let’s make oven cleaning a less daunting and more rewarding task!
Frequently Asked Questions
What if my oven is extremely dirty?
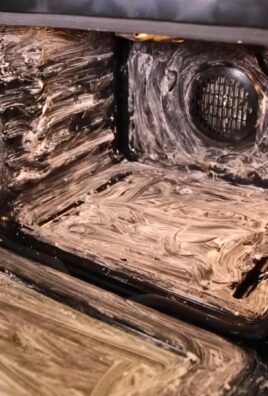
For extremely dirty ovens, you might need to repeat the process or extend the soaking time. Consider applying the baking soda paste in multiple layers, allowing each layer to dry slightly before applying the next. For exceptionally stubborn baked-on food, you may need to use a plastic scraper or spatula to gently loosen the residue after soaking. Remember to always be careful not to scratch the oven’s surface. Patience is key when dealing with heavily soiled ovens.
Can I use this method on all types of ovens?
While this method is generally safe for most oven types, it’s crucial to check your oven’s manufacturer’s instructions before proceeding. Some ovens may have specific cleaning recommendations or restrictions. Avoid using this method on self-cleaning ovens unless explicitly stated as safe by the manufacturer. Always prioritize the safety and longevity of your appliance.
What should I do if I see some residue remaining after cleaning?
If some residue remains after the initial cleaning, you can repeat the process, focusing on the stubborn areas. You can also try using a slightly damp cloth or sponge to gently wipe away any remaining residue. For particularly persistent stains, you might consider using a non-abrasive cleaning pad. Avoid using harsh scouring pads or abrasive cleaners, as these can damage the oven’s surface.
Are there any safety precautions I should take?
Always allow the oven to cool completely before starting the cleaning process. Wear protective gloves to avoid skin irritation from the baking soda paste. Be cautious when handling hot water and ensure proper ventilation in your kitchen. Never use metal scouring pads or abrasive cleaners, as these can scratch the oven’s surface. If you have any concerns or doubts, consult your oven’s manual or a professional cleaning service.
How often should I clean my oven using this method?
The frequency of cleaning depends on how often you use your oven and the level of mess you create. For regular use, cleaning your oven every few months using this DIY method should suffice. However, if you notice a significant buildup of grease or food residue, you may need to clean it more frequently. Regular cleaning will prevent the buildup of stubborn stains and make future cleaning sessions easier. Remember, prevention is key! Regular wiping down of spills and splatters will significantly reduce the need for deep cleaning.
What are the benefits of using this DIY method compared to commercial oven cleaners?
This DIY oven cleaning method offers several advantages over commercial cleaners. It’s significantly more affordable, using readily available and inexpensive ingredients. It’s also much safer for your health and the environment, avoiding harsh chemicals and fumes. Furthermore, it’s a more sustainable option, reducing waste and promoting eco-friendly cleaning practices. Finally, it’s often just as effective, if not more so, than commercial oven cleaners, especially for less severe messes. The satisfaction of achieving a sparkling clean oven using natural ingredients is an added bonus!

Leave a Comment