
Harvesting Okra: Your Guide to a Bountiful Okra Harvest
Harvesting okra might seem straightforward, but there’s a surprising amount to learn to ensure you get the most delicious and tender pods from your garden! I’ve always loved the unique taste and texture of okra, and nothing beats the satisfaction of harvesting your own homegrown vegetables. This article is your complete guide to mastering the art of Harvesting Okra, packed with simple DIY tricks and hacks to maximize your yield and enjoy the freshest okra possible.
For centuries, okra has held a significant place in various cultures, from its origins in Africa to its widespread use in Southern US cuisine and beyond. Its versatility in the kitchen, from stews to pickles, makes it a beloved vegetable worldwide. But even the most experienced gardeners can benefit from learning the optimal techniques for harvesting okra. Knowing when and how to harvest makes all the difference in the taste and quality of your okra.
Why This Matters:
Why bother with all these tips and tricks for harvesting okra? Because the difference between a perfectly tender okra pod and a tough, stringy one is night and day! Proper harvesting ensures you get the most flavorful and enjoyable okra for your meals. Plus, learning these simple techniques will help you get the most out of your garden, leading to a more abundant and satisfying harvest. You’ll be amazed at the difference a little knowledge can make!
So, let’s dive in and unlock the secrets to a successful okra harvest. Get ready to transform your garden into an okra paradise!
My Sparkling Sink Makeover: A DIY Deep Clean
Let’s face it, the kitchen sink is a germ hotspot. But don’t despair! With a little elbow grease and the right approach, you can achieve a sparkling, sanitary sink that you’ll actually enjoy looking at. This guide will walk you through my foolproof method for a deep clean, leaving your sink gleaming.
Phase 1: Preparation and Initial Cleaning
- Gather your supplies: You’ll need rubber gloves, a scrub brush (I prefer a stiff-bristled one), baking soda, white vinegar, dish soap, a spray bottle, a microfiber cloth, and a sponge. Optional: a pumice cleaning stone for stubborn stains.
- Clear the sink: Remove all dishes, sponges, and anything else from the sink and surrounding area. This gives you a clean workspace.
- Pre-rinse: Give the sink a quick rinse with hot water to remove loose food particles and debris. This makes the cleaning process much more effective.
- Apply dish soap: Squirt a generous amount of dish soap into the sink. I find that a good quality dish soap cuts through grease more effectively.
- Scrub the sink: Using your scrub brush, thoroughly scrub the entire surface of the sink, paying close attention to any areas with stubborn stains or grime. Don’t be afraid to put some muscle into it!
- Rinse thoroughly: Rinse the sink with hot water to remove all traces of soap and loosened debris. Make sure to rinse under the faucet and around the drain.
Phase 2: Tackling Tough Stains and Build-up
Even after a good scrub, some sinks might still have lingering stains or mineral deposits. This is where the baking soda and vinegar come in handy.
- Baking soda paste: In a small bowl, mix baking soda with a small amount of water to create a thick paste. The consistency should be similar to toothpaste.
- Apply the paste: Apply the baking soda paste to any stubborn stains or areas with heavy build-up. Focus on the areas that need the most attention. For really tough stains, let the paste sit for 15-20 minutes.
- Scrub again: Using your scrub brush, scrub the baking soda paste into the stained areas. The abrasive nature of baking soda helps to lift and remove stubborn stains.
- Vinegar rinse: After scrubbing, rinse the baking soda paste away with hot water. Then, fill the sink with hot water and add about 1 cup of white vinegar. Let it sit for 10-15 minutes. The vinegar helps to disinfect and remove any remaining residue.
- Final scrub: After the vinegar soak, give the sink another quick scrub with your brush to remove any remaining residue. Rinse thoroughly with hot water.
Phase 3: Addressing Specific Sink Issues
Depending on your sink material and the type of stains you’re dealing with, you might need to take additional steps.
Dealing with Hard Water Stains
Hard water stains can be particularly stubborn. If baking soda and vinegar aren’t enough, try using a pumice cleaning stone. Be very gentle when using a pumice stone, as it can scratch some sink surfaces. Always test it on an inconspicuous area first.
- Wet the pumice stone: Lightly wet the pumice stone before using it.
- Gently scrub: Use gentle, circular motions to scrub the hard water stains. Avoid applying too much pressure.
- Rinse thoroughly: Rinse the area thoroughly with water after scrubbing.
Cleaning Stainless Steel Sinks
Stainless steel sinks require a bit of extra care. Avoid using abrasive cleaners that can scratch the surface. Instead, stick to gentle cleaners like baking soda and vinegar, or a specialized stainless steel cleaner.
- Clean with the grain: When cleaning a stainless steel sink, always scrub in the direction of the grain to avoid scratching the surface.
- Avoid harsh chemicals: Avoid using bleach or other harsh chemicals, as they can damage the finish of your stainless steel sink.
Cleaning Porcelain or Enamel Sinks
Porcelain and enamel sinks are generally quite durable, but they can still be susceptible to scratches. Avoid using abrasive cleaners or scouring pads. Baking soda and vinegar are usually sufficient for cleaning these types of sinks.
Phase 4: Final Touches and Maintenance
Once you’ve completed the deep clean, it’s time to give your sink the final polish and think about maintaining its cleanliness.
- Dry the sink: Use a clean microfiber cloth to dry the entire sink thoroughly. This prevents water spots and keeps it looking its best.
- Polish (optional): For an extra shine, you can use a stainless steel polish (for stainless steel sinks) or a general-purpose cleaner designed for your sink material.
- Regular maintenance: To prevent future build-up, wipe down your sink after each use. A quick rinse and wipe-down will go a long way in keeping your sink clean and sparkling.
- Deep clean regularly: Aim to perform a deep clean like this one at least once a month, or more frequently if needed, depending on your usage.
And there you have it! With a little effort and these simple steps, you can transform your kitchen sink from a grimy eyesore into a sparkling centerpiece. Enjoy your sparkling clean sink!
Conclusion
So there you have it – a simple, effective, and rewarding method for harvesting your okra. This DIY approach to harvesting ensures you get the freshest, most flavorful okra possible, directly from your garden to your plate. By following these steps, you’ll avoid the disappointment of tough, overripe okra and instead enjoy the tender, vibrant pods at their peak. This method isn’t just about harvesting; it’s about connecting with your food, understanding the growth cycle of your plants, and reaping the rewards of your gardening efforts. It’s a truly satisfying experience that elevates the entire process, from planting to enjoying the delicious results. This simple DIY harvesting trick is a game-changer for anyone growing okra, regardless of your experience level. It’s a must-try for both seasoned gardeners and enthusiastic beginners alike.
Beyond the basic method outlined, there are several exciting variations you can explore. Experiment with harvesting at different times of the day to see if you notice any differences in flavor or texture. Some gardeners prefer early morning harvesting, while others find the late afternoon yields the best results. You can also try different harvesting tools; while your hands work perfectly well for smaller plants, a pair of small, sharp scissors can be helpful for larger plants or those with particularly stubborn pods. Consider experimenting with different preservation techniques, such as freezing or pickling, to extend the enjoyment of your harvest throughout the year. The possibilities are endless!
We strongly encourage you to try this DIY okra harvesting technique and share your experience with us! Let us know in the comments below how your harvest went, what variations you tried, and most importantly, what delicious dishes you created with your freshly harvested okra. Your feedback and experiences will inspire other gardeners and help us build a thriving community of okra enthusiasts. Remember, the journey of growing and harvesting your own food is as rewarding as the delicious meal itself. So, get out there, harvest your okra, and savor the fruits (or rather, pods!) of your labor.
Frequently Asked Questions
Q: How often should I harvest my okra?
The frequency of harvesting depends on the variety of okra and the growing conditions. Generally, you should aim to harvest okra every 2-3 days, or even more frequently during peak production. The key is to harvest the pods while they are still young and tender, typically when they are 2-4 inches long. Delaying harvesting will result in tough, fibrous pods.
Q: What should I do with okra I can’t use immediately?
Freshly harvested okra is best enjoyed immediately, but you can extend its shelf life through various preservation methods. Freezing is a popular option: simply blanch the pods in boiling water for a minute or two, then plunge them into ice water to stop the cooking process. After drying, you can freeze them in airtight bags or containers. Pickling is another excellent way to preserve okra, creating a delicious and long-lasting condiment. You can also dehydrate okra for later use in soups or stews.
Q: What are the signs of overripe okra?
Overripe okra is easily identifiable. The pods will be large, thick, and tough, often with a woody texture. The seeds inside will be large and hard. The color may also be darker than usual, and the pods may have a slightly fuzzy or rough surface. Harvesting okra before it reaches this stage is crucial for optimal flavor and texture.
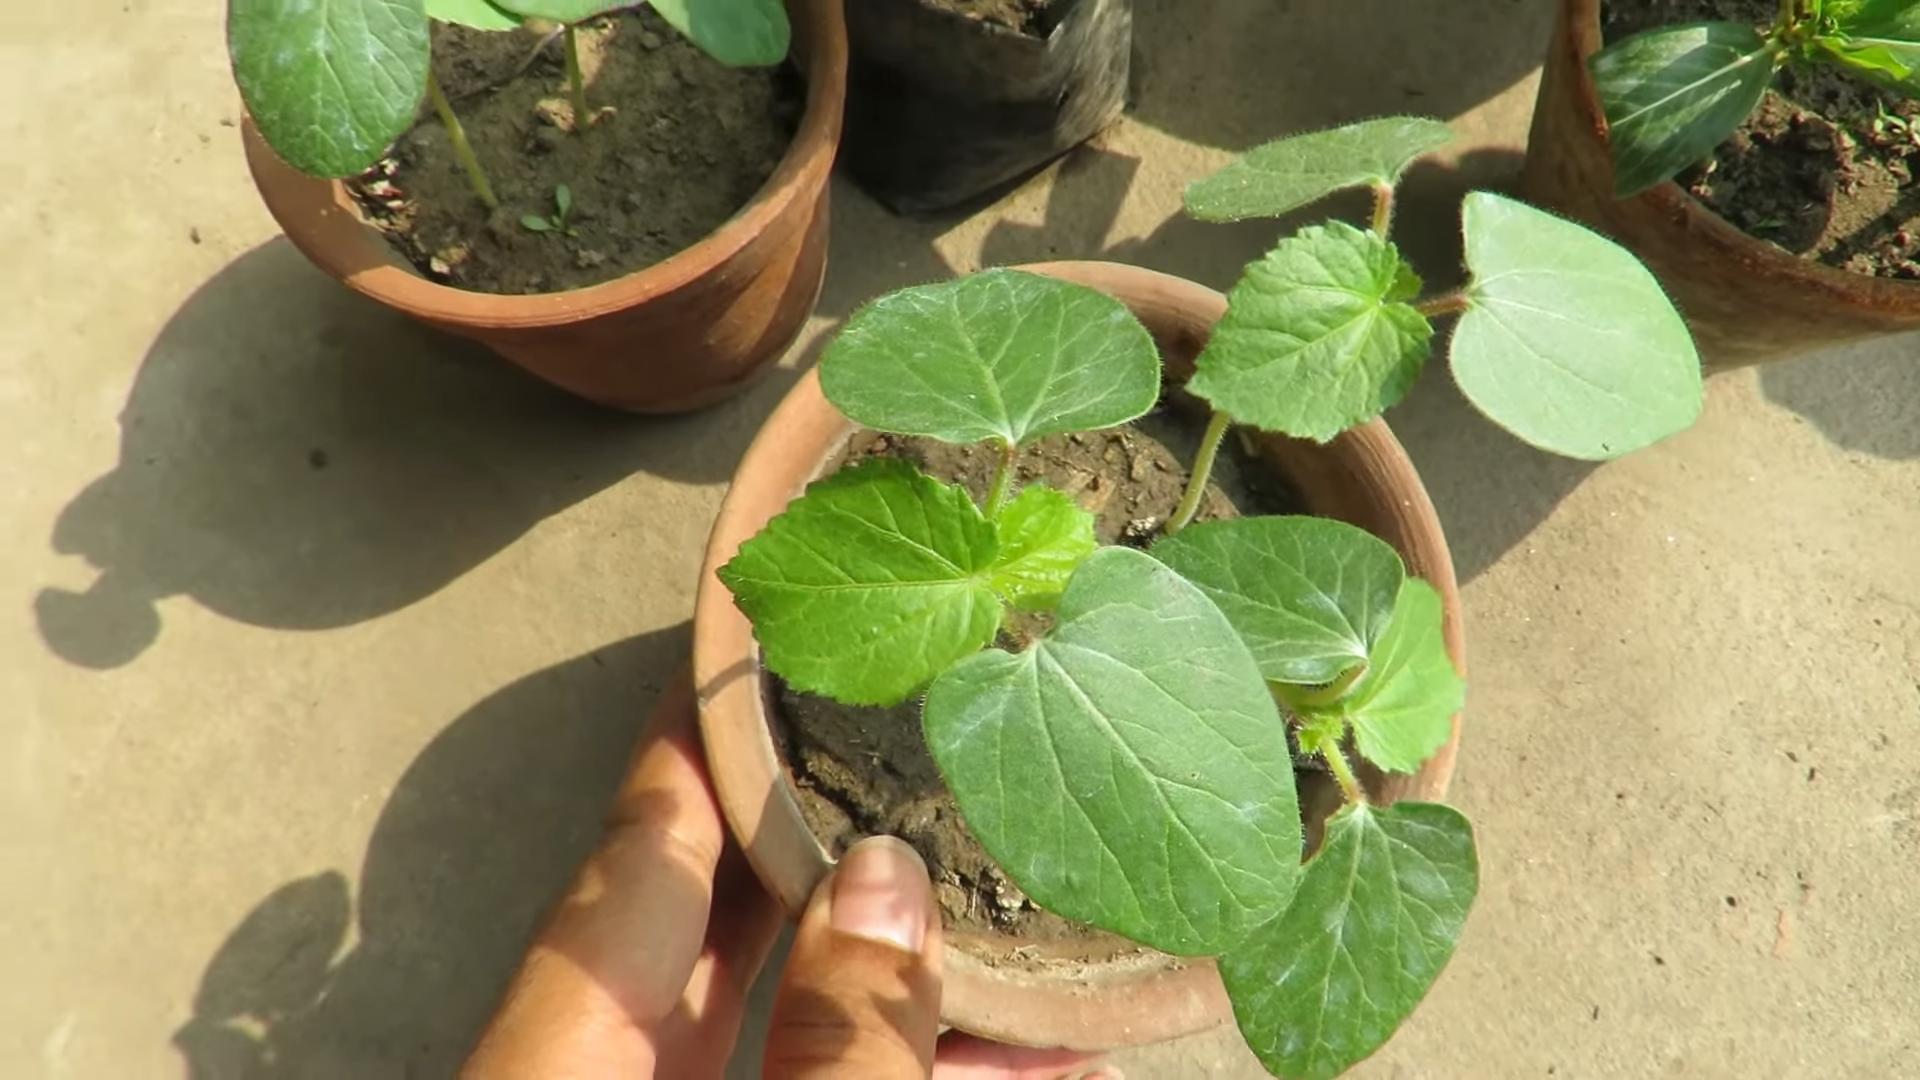
Q: My okra plants are small. Can I still use this harvesting method?
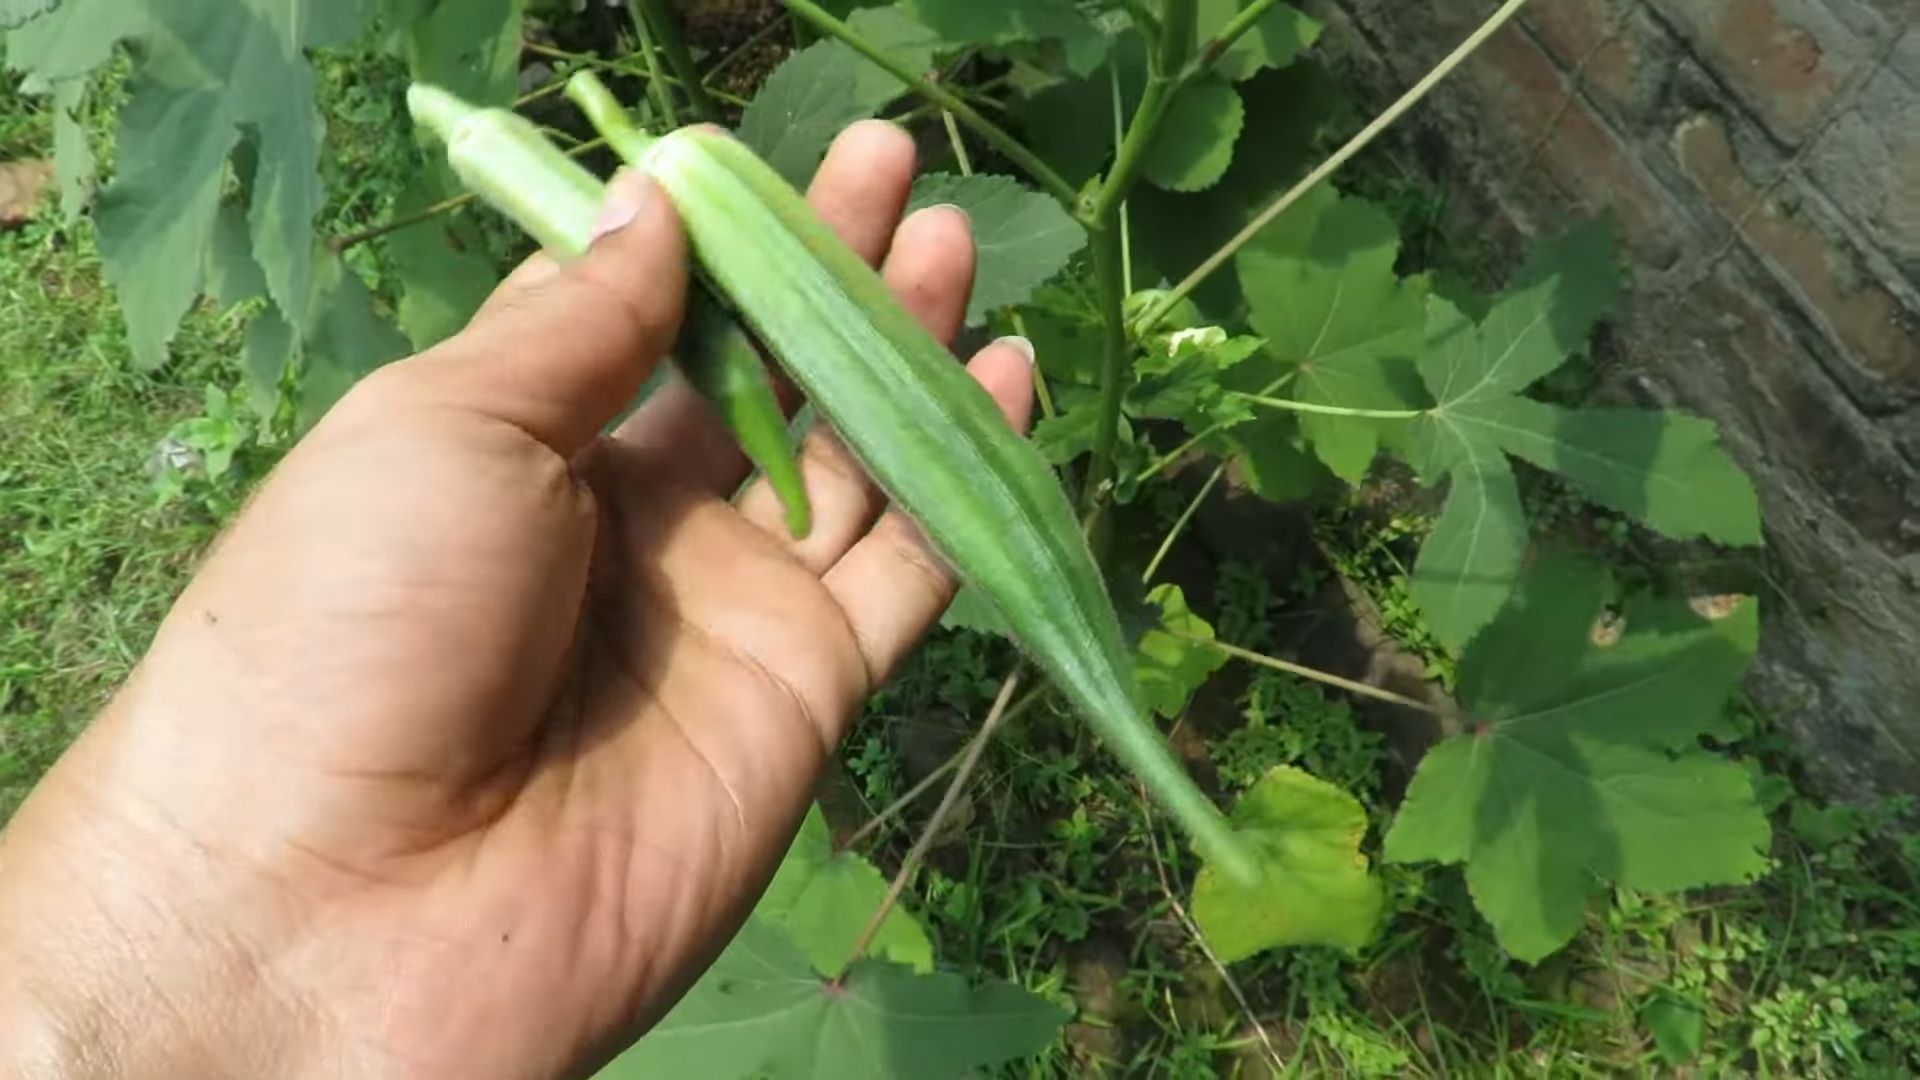
Absolutely! This harvesting method is suitable for okra plants of all sizes. For smaller plants, you may find that harvesting with your hands is the easiest and most efficient approach. Simply gently grasp the pod at its base and pull it away from the plant. Be careful not to damage the plant itself.
Q: Can I use this method for all types of okra?
Yes, this harvesting method applies to all types of okra. While the size and shape of the pods may vary depending on the variety, the basic principle of harvesting young, tender pods remains the same. Always refer to the specific instructions for your okra variety if you have any concerns.
Q: What should I do with the harvested okra after picking?
Once harvested, okra should be stored in a cool, dry place. Ideally, it should be refrigerated and used within a day or two for the best flavor and texture. Avoid washing the okra until just before you are ready to use it, as washing it too early can lead to spoilage.
Q: Why is harvesting okra important?
Harvesting okra regularly is crucial for several reasons. Firstly, it encourages the plant to produce more pods. Secondly, it ensures that you get the best flavor and texture from your okra. Finally, it prevents the plant from becoming overburdened with mature pods, which can lead to reduced yields and poor quality. Regular harvesting is a key component of successful okra cultivation.
Q: Where can I find more information on growing and harvesting okra?
Numerous resources are available online and in libraries to help you learn more about growing and harvesting okra. Search for “okra growing guide” or “okra harvesting techniques” to find articles, videos, and other helpful materials. Your local agricultural extension office can also provide valuable information and support.


Leave a Comment